How to Create Background Paper Using Stamps & Ink
Creating your own background paper is one of the best ways to have your background coordinate with the focal point of your handmade card. Because you have control over both the stamps and inks used, your background it will coordinate perfectly with the rest of your card. Plus, Stampin’ Up! offers great stamp sets for creating backgrounds. In addition, many stamp sets include stamps designed for creating your own background paper..
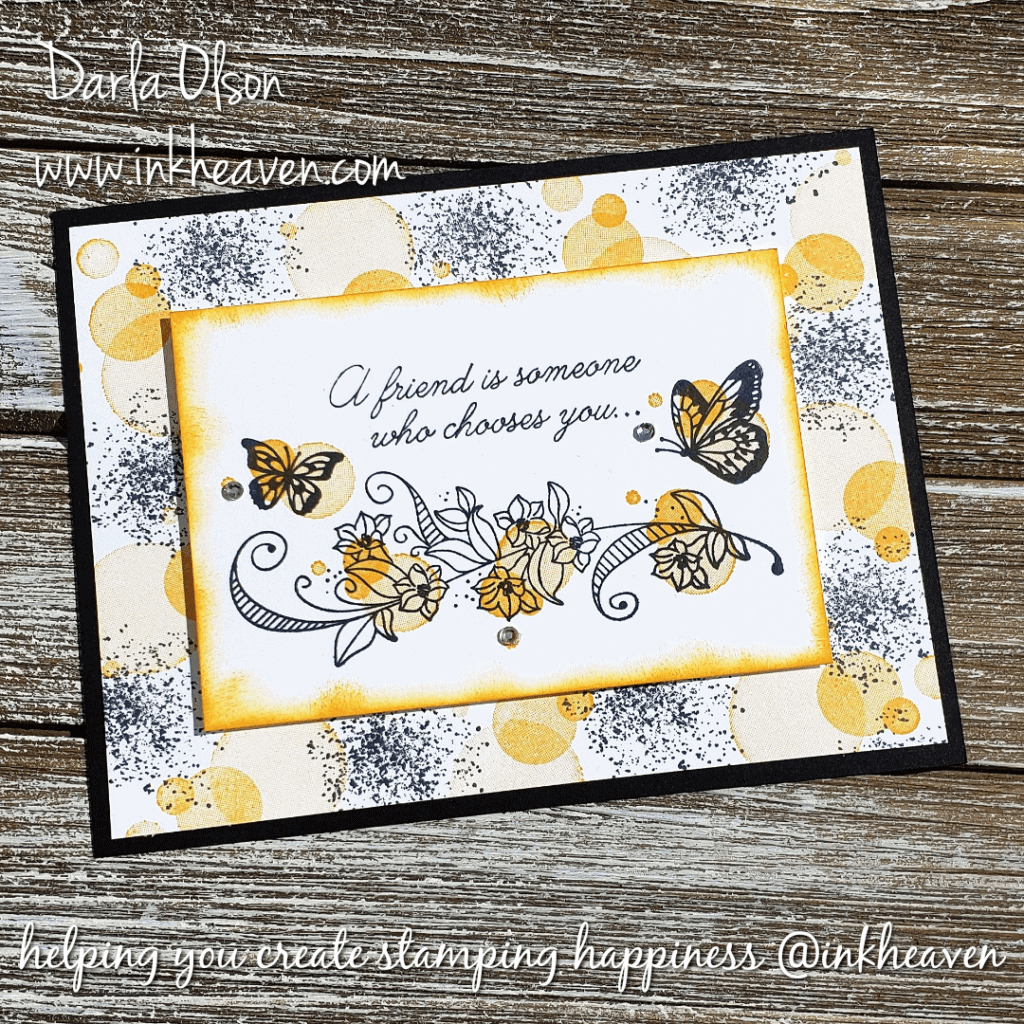
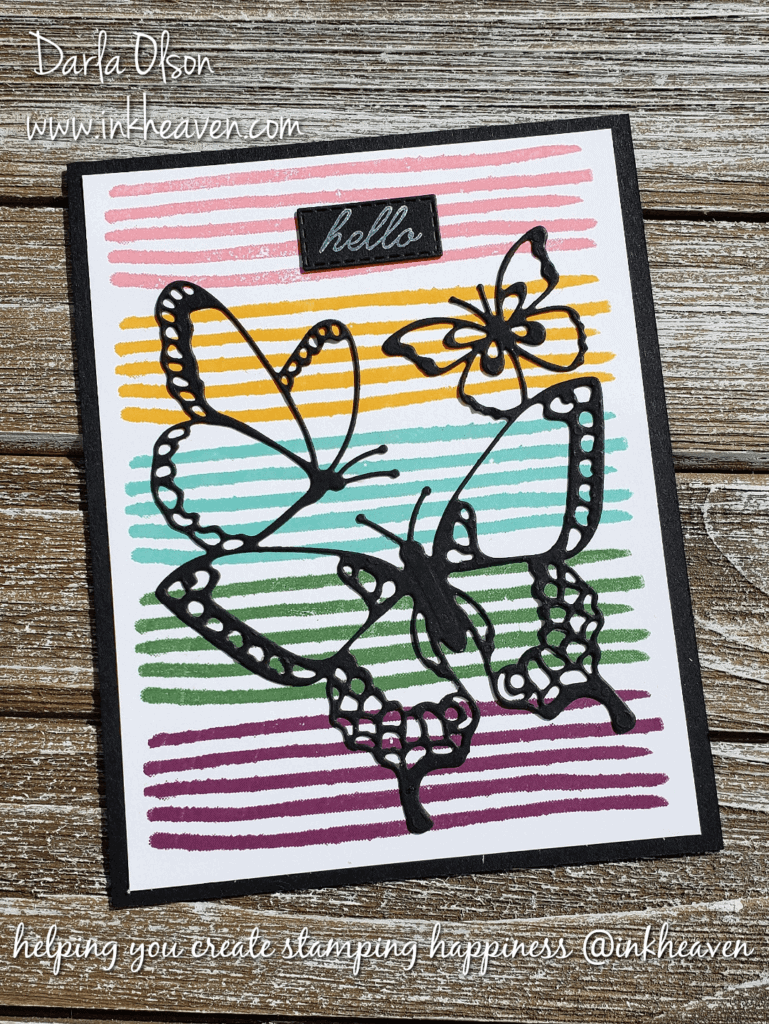
For example, this card has a background created with stamps and ink. Since the Beauty Abounds stamp set includes stamps designed for backgrounds, all the images work well together. Consequently, it is perfect for simple stamping and creating backgrounds!
In this instance, I paired Basic Black ink with Mango Melody ink reminiscent of common butterfly colors. For additional coordination, these same colors are used on the front layer. Then a border of Mango Melody ink is sponged around the front layer in order to help it stand out from the stamped background .
For this card, the background is stamped with two different stamps which are inked in different colors and then alternately stamped in a pattern. However, there are many options in addition to this for creating a background.
Here are some ideas to demonstrate different ways to create background paper with stamps and ink:
- One ink color, one image, randomly repeated. See background example – CLICK HERE
- One ink color, one image, stamped in a repeated pattern. See background example – CLICK HERE
- One ink color, one image, stamped to create a corner. See background example – CLICK HERE
- Two ink colors, two images, stamped in a repeated pattern, and overlaid. See background example – CLICK HERE
As can be seen, these ideas for creating backgrounds are just the tip of the iceberg! To get you started here is a shopping list and a tutorial for this card!
Get the supplies you need to create this card:
CLICK HERE to get the free tutorial
Sponge Brayer Background Technique Creates Quick Color
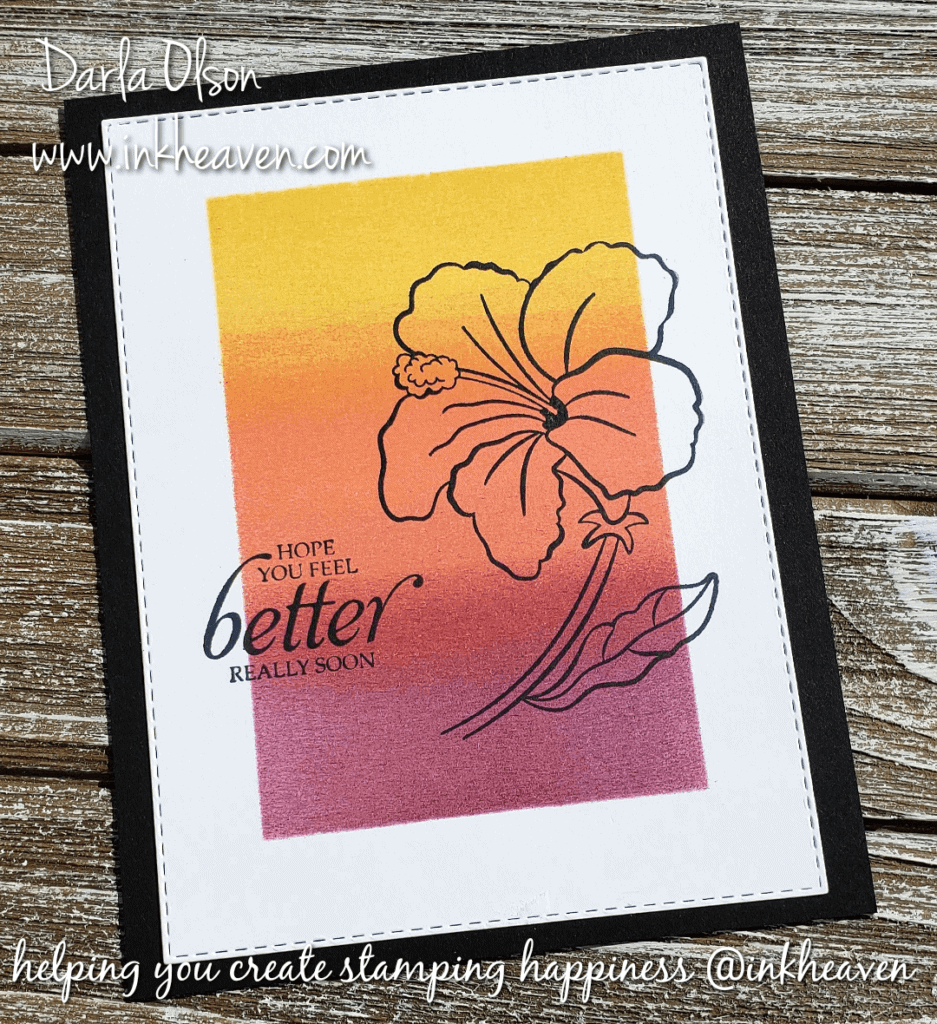
Easy Sponge Brayer Background Technique
I’m not a huge fan of doing lots of coloring on my handmade cards. As a result, I love techniques that provide quick color for my stamped images. This sponge brayer background technique does just that and it’s very easy to do!
Things you will need to create a background like the one above:
- Sponge brayer
- A template or mask to define background
- Silicone mat or other surface to adhere mask and cardstock to
- 3 ink pads in colors that coordinate
Watch the Facebook Live video replay below for a demonstration of the technique:
Get The Supplies I Used:
Wishing You A Lovely Day With a Simple Sponging Technique
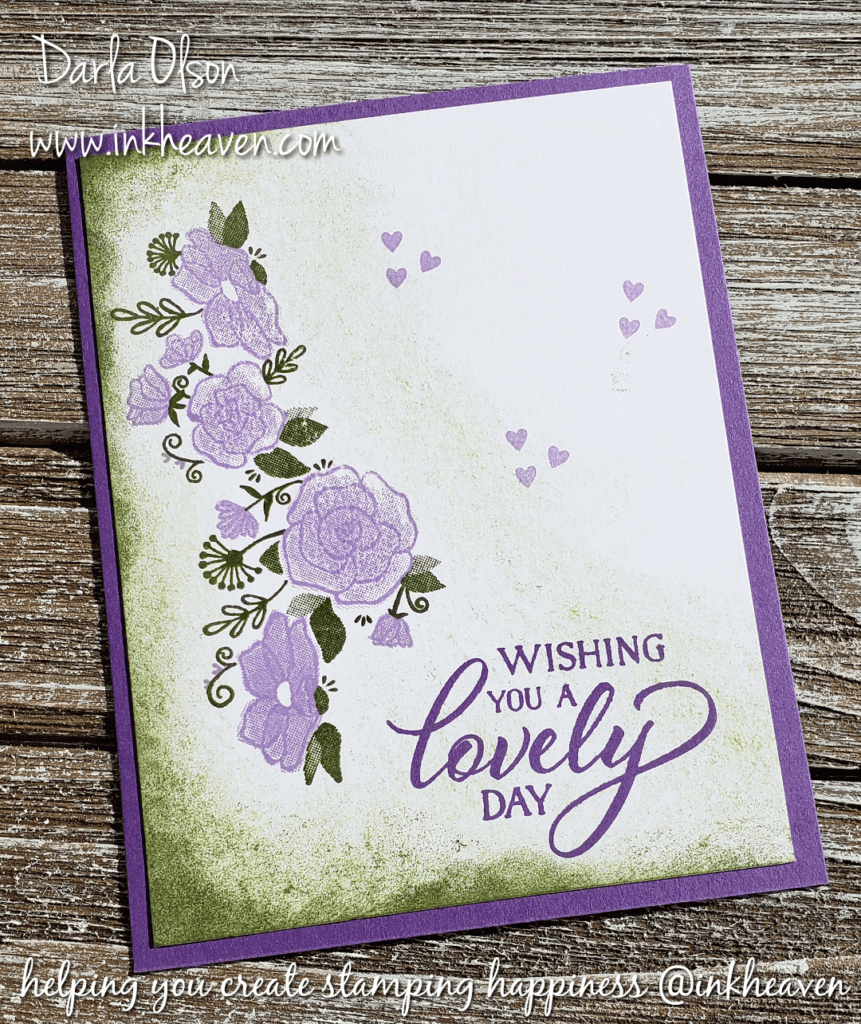
Use Simple Sponging Technique To Add More Color & Interest
Sometimes, all you need is some simple sponging to add more color and interest to a card. For instance, the sponging on this card adds a patina to the background. In addition, it draws the eye towards the key images and sentiment.
This lovely sponged card was one of four make and takes at my Sale-a-bration Open House events. Since I know that not all of you are able to attend these fun events, I like to share the tutorials with you! Get the tutorial – CLICK HERE
In addition, sponge brayers are an easy way to add background color – check out that technique – CLICK HERE
Preparing for my Open House events takes an enormous amount of time. Consequently, I am unable to do a blog post for all of my creations. Since that is the case, I thought I would share two projects per post for a few weeks even though Sale-a-bration is over. (Some of the projects may contain Sale-a-bration stamps. I will try to recommend a substitution when possible).
This Card Has A Fun Feature!
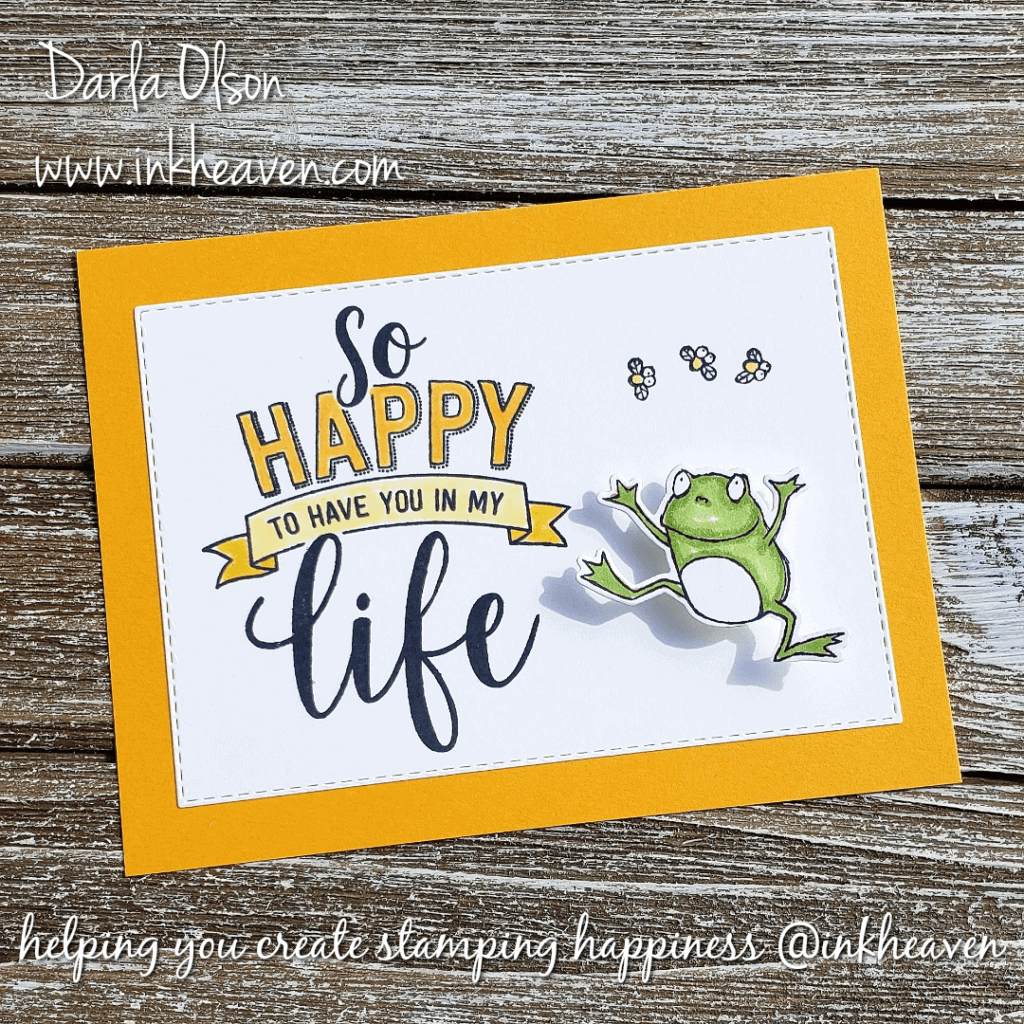
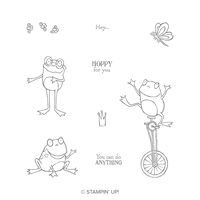
This fun card has no sponging. However, it does have a fun feature that is quite easy to do! This cute frog from So Hoppy Together literally leaps right off the card! Plus, this style of card can be created with any critter that you have in your stamp stash! To make your critter leap off the card all you need is:
- Window Sheet
- Scoring Tool
- Bone Folder
- Glue Dots
I cut a strip of Window Sheet about 1/2″ wide and about 1-1/2″ long. Then, I scored it every 1/2″. After scoring, I creased it into a zig zag (Z) with my bone folder. Lastly, I used glue dots to attach it to the frog and card. How simple is that? Get the supplies you need to create this card:
Get the supplies you need to create this card:
Please note that Sale-a-bration is over and the So Hoppy Together stamp set is no longer available. However, I think the squirrel from Fable Friends would be a great substitution if you don’t own So Hoppy Together!
Specials and Offers – CLICK HERE
To learn more about the 2019 Occasions Catalog – CLICK HERE
Thank you for stopping by to visit. If you have any questions, or need any help creating these cards, please ask! I love helping you create stamping happiness for yourself and loved ones!
If you enjoyed these projects and simple sponging technique you might also enjoy this technique – CLICK HERE

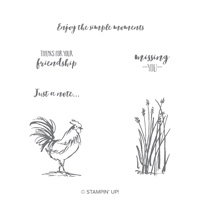
This “Masked In Burlap” Rooster Can’t Crow For Missing You!
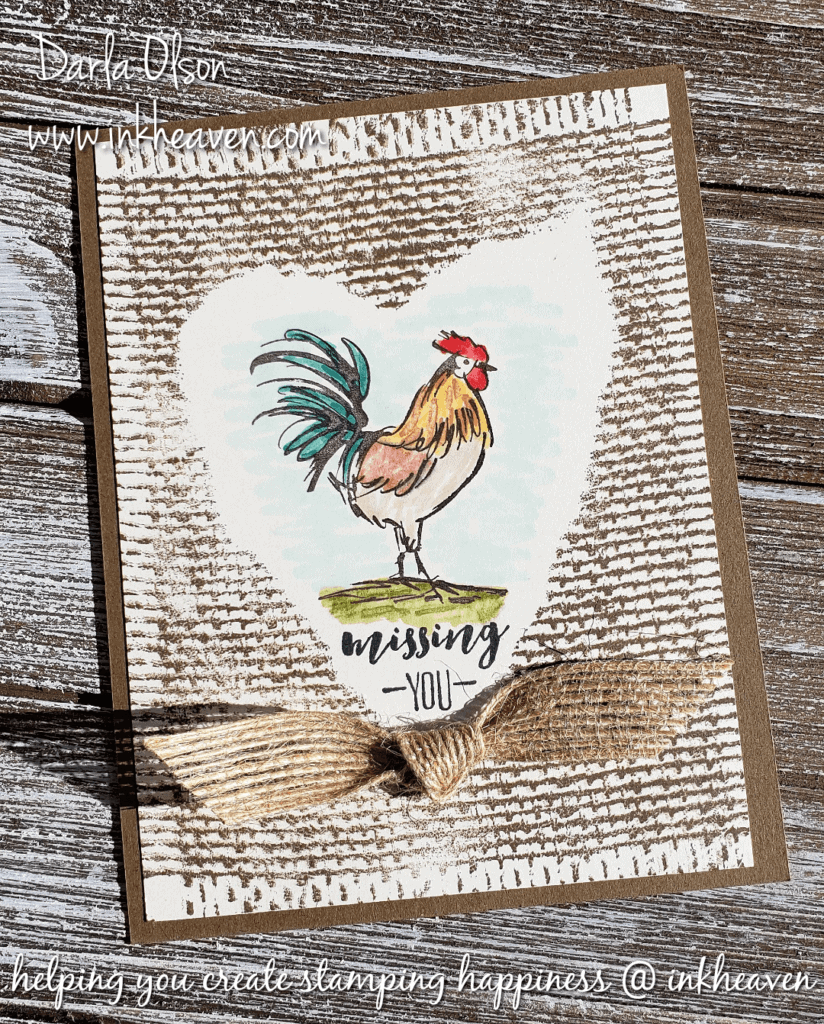
Masked In Burlap – Who Was That Masked Man?
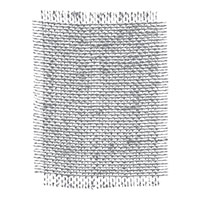
Okay, so it’s not a masked man – but it is rooster masked in burlap! I just love the Home to Roost stamp set! This rooster is no Lone Ranger and is a perfect fit with so many other stamps from our catalog. This time I have masked the rooster with the Burlap background stamp. I used the “stencil” I created and used for creating a mask on this card – CLICK HERE
In addition, even though I am not a huge fan of coloring, the rooster is a pretty small area, so I thought I’d get out my Stampin’ Blends and through some color on him for you!
Here are some quick steps for masking your rooster in burlap:
- Create a heart mask with a window sheet (you can use paper or card stock, I prefer a window sheet since it is reusable).
- Use a little piece of washi tape or semi-permanent adhesive to adhere the heart mask to the card where you want it to be.
- Ink up the Burlap stamp and stamp over the mask and card.
- Carefully remove your heart mask and stamp your rooster and sentiment inside.
To demonstrate this card, I did a Facebook Live video! I also demonstrated two other cards with the Home to Roost stamp set during this video. Please like and follow my Facebook page to be notified when I go live (and to watch the video) – CLICK HERE
Get These Supplies To Create This Card:
But wait! Before you shop – you need to know about Sale-a-bration! (Home to Roost is a limited-time FREE Sale-a-bration item!) Sale-a-bration is Stampin’ Up!’s premier annual sale! Given that, with every $50 you spend you will earn a FREE Sale-a-bration item of your choice! To learn more about Sale-a-bration – CLICK HERE.
This Rooster Rules The Roost On The Farm And In Monochrome!
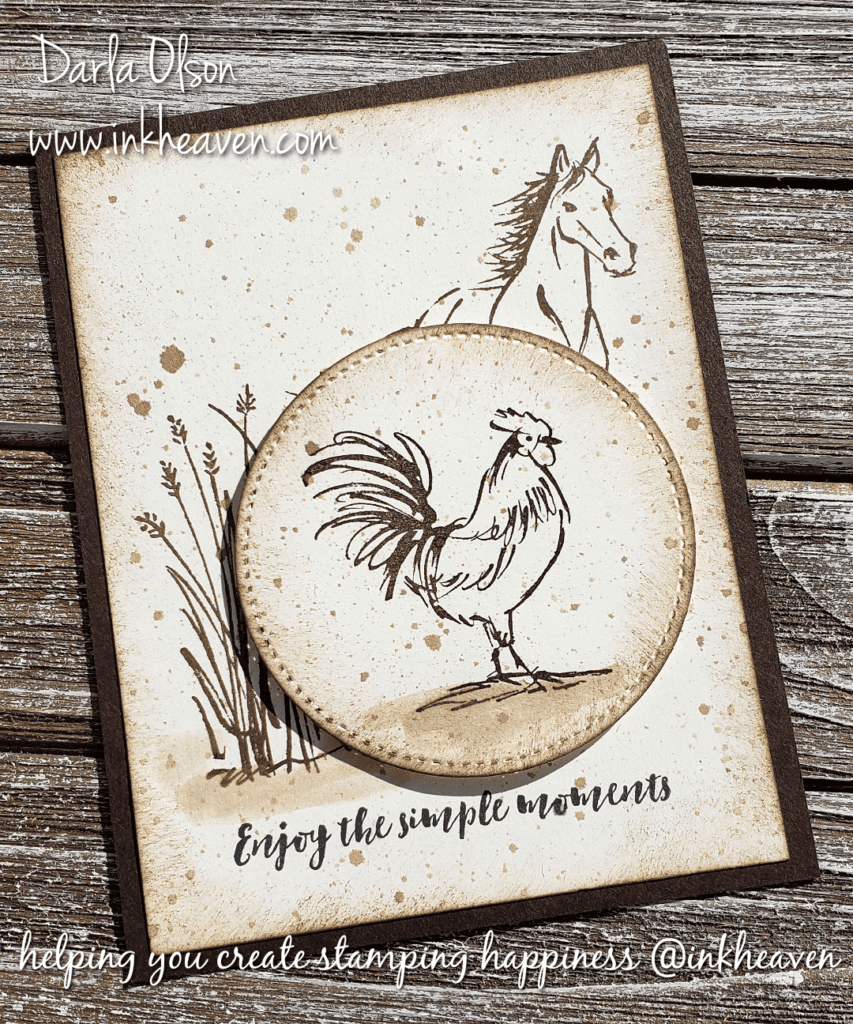
Ruling The Roost On The Farm And In Monochrome
This proud fella rules the roost on the farm and in monochrome! Since I’m not a big fan of spending lots of time on coloring (I really have to be in the mood, which is rare), monochrome is one of my go to favorites! Plus, just in case you are new to the term monochrome, here is a definition by Webopedia that I like:
Monochrome means one color. Typically one color is presented in different values and intensities — or different shades of the single color.
It’s amazing to me how one color presented in different shades can create images that speak volumes! In this instance, I used several different techniques on this card to obtain those various shades of the same color. Plus, I took the liberty of stretching the rule of monochrome a bit and used black for the sentiment to help it pop. Here they are in no particular order:
- Sponging
- Spattering
- Watercolor
To demonstrate this card, I did a Facebook Live video! I also demonstrated two other cards with the Home to Roost stamp set during this video. Please like and follow my Facebook page to be notified when I go live (and to watch the video) – CLICK HERE
Since the rooster and the horse are both farm animals, pairing the rooster (Home to Roost) with the horse (Let it Ride) just made sense. It’s a great pairing! To see another great stamp set pairing idea – CLICK HERE
Get These Supplies To Create This Monochrome Card:
But wait! Before you shop – you need to know about Sale-a-bration! (Home to Roost is a limited-time FREE Sale-a-bration item!) Sale-a-bration is Stampin’ Up!’s premier annual sale! Given that, with every $50 you spend you will earn a FREE Sale-a-bration item of your choice! To learn more about Sale-a-bration – CLICK HERE.
How To Use Layers And Texture To Add Interest To Your Handmade Cards
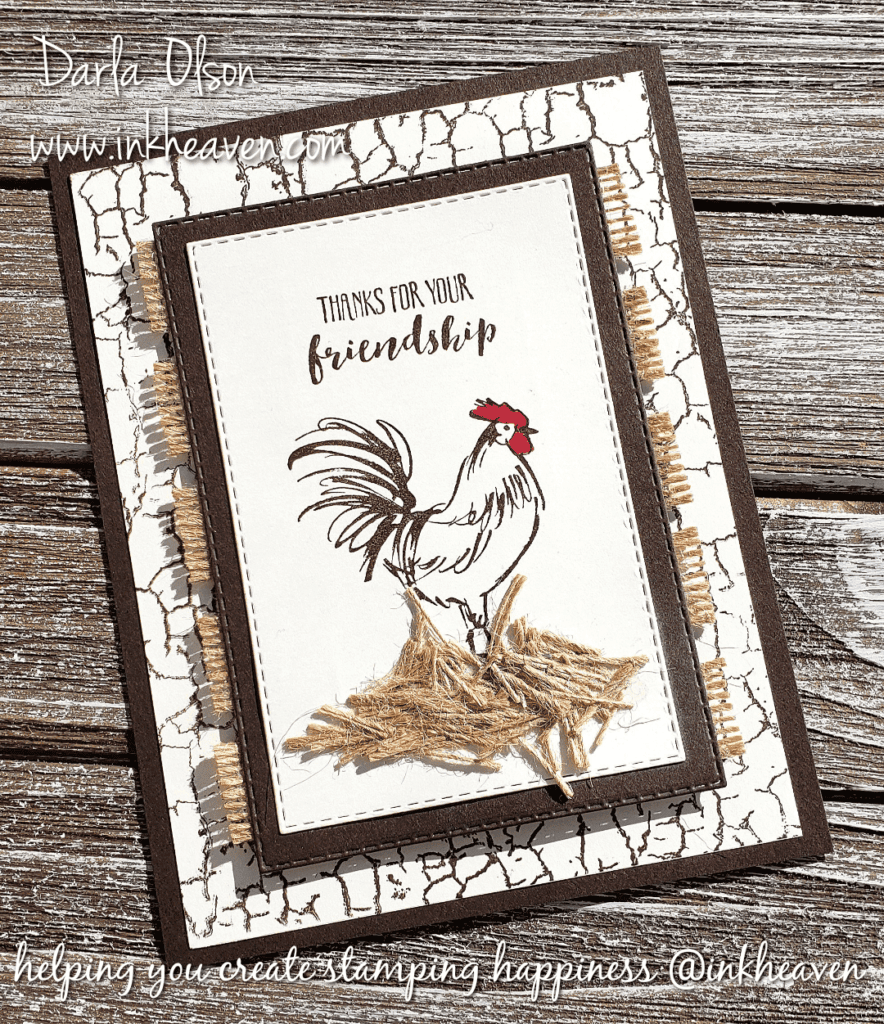
Adding Layers And Texture
I’m not a huge fan of coloring. (Gasp! I know, many of you enjoy a good coloring session). Consequently, I look for other ways to add interest to my cards. Two things that I like to use are layers and textures.
Layers and texture can be added in several different ways (please note this is not necessarily a complete list) :
- Masking
- Background stamps or images
- Cardstock
- Accessories
Each of these can be used separately or combined together depending on the look you are trying to create. In this instance, I really did not want to color the rooster. I was tired of coloring him! Plus, there is a card sample on page 36 in our Occasions Catalog that uses the white flax ribbon like a card layer. (To learn more about the Occasions Catalog – CLICK HERE
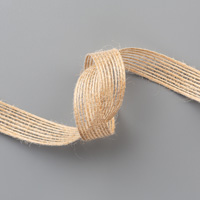
Of course, when I saw that and said, “Shut the front door! I have to play with that idea!” However, since I was going for a rustic look with the Home to Roost stamp set, I chose to use the burlap ribbon for my layer. I also wanted to play with the new Crackle Paint background stamp, so I decided to combine several things to make up for my lack of coloring!
Adding Interest Layer by Layer
To keep things simple I chose a simple color combo of Early Espresso, Very Vanilla, and a very small pop of Cherry Cobbler. After establishing my color combo I took these steps to create my layers:
- Stamped the Crackle Paint background in Early Espresso ink on a Very Vanilla to layer on an Early Espresso card base.
- Created a focal point with the rooster and sentiment in Early Espresso ink on a rectangle shape of Very Vanilla card stock. (I used the Rectangle Stitched Framelits to create the rectangle, but that is optional.)
- I then layered the focal point on another rectangle created with Early Espresso card stock. (Again, using the optional Rectangle Stitched Framelits.)
- After this, I added the strips of burlap ribbon to the back of the focal point. Each strip was about 5 inches long so I trimmed them after adding them.
- The focal point was then added to the card base with Stampin’ Dimensionals to give it a little lift off the card.
The card looked pretty good at this point. However, as I was looking at it trying to decided if I wanted to do a little watercolor wash at the bottom, I happened to look at my burlap ribbon trimmings. It was at this moment that inspiration to use the burlap trimmings as straw struck me. I snipped them up a little more and threw them on with a little glue. The added texture made an immediate difference to the card! Not to mention, I barely had to color at all to create this amazing card! I kind of feel like I won the lottery! Okay, that might be a slight exaggeration on my part. But you can help me out there by purchasing the supplies you need from me!
Get These Supplies To Create This Card:
But wait! Before you shop – you need to know about Sale-a-bration! (Home to Roost is a limited-time FREE Sale-a-bration item!) Sale-a-bration is Stampin’ Up!’s premier annual sale! Given that, with every $50 you spend you will earn a FREE Sale-a-bration item of your choice! To learn more about Sale-a-bration – CLICK HERE.
Happy Valentine’s Day! You Make Me Happy Masking Technique Card
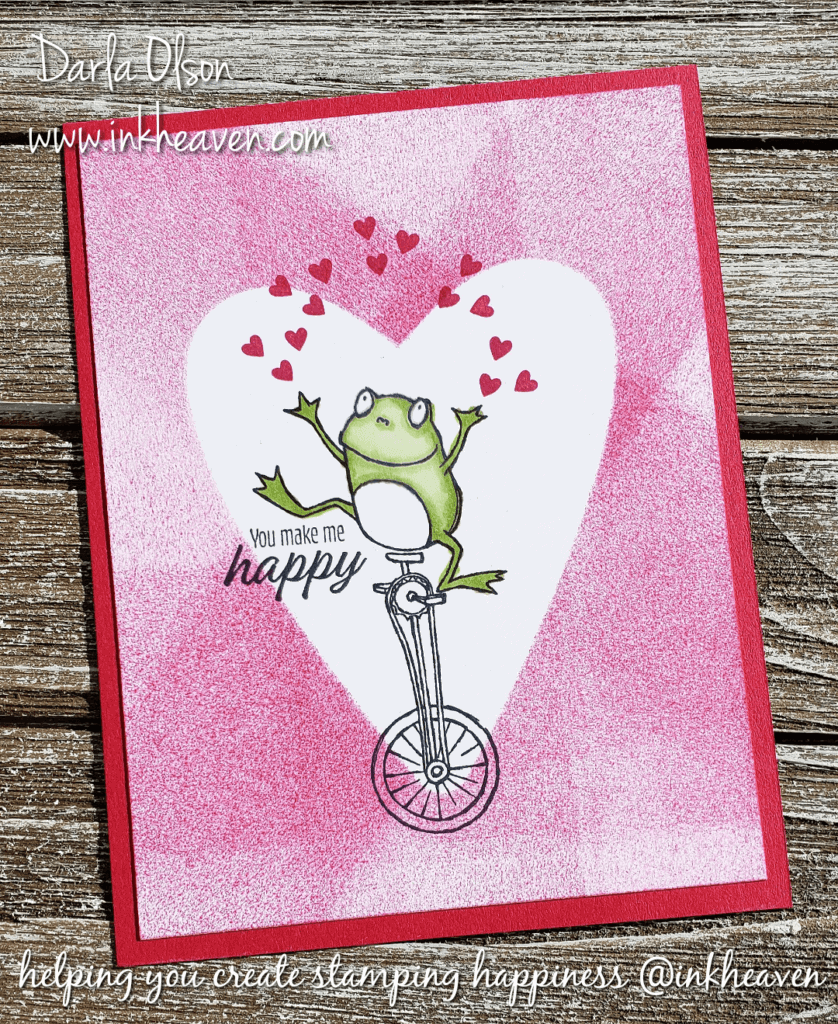
Happy Valentine’s Day From Me To You!
I shared this fun Valentine’s Day card earlier during my Online Sale-a-bration launch on Facebook. Furthermore, I have already shared a few of those fun projects with you here on my blog. I also meant to share this one with you a bit sooner. However, I have been dealing with some structural, physical issues that make it difficult to do too many hours of computer work. Consequently, this post is a little later than I would have liked! In addition, if you missed my online launch, you can request to join the group to see all the projects, get the tutorials, and watch the videos. (Please note, there is no charge to be in this group!) CLICK HERE TO JOIN
This is a fun card that can be used for Valentine’s Day, or anytime, to acknowledge those in your life that make you happy. It looks complicated. However, it’s created using a simple masking technique that packs a lot of punch!
Additionally – I have some happy news about the free, So Hoppy Together, Sale-a-bration stamp set that I used to create this card! (To learn more about Sale-a-bration – CLICK HERE) Beginning March 1st, Stampin’ Up! will be offering Sale-a-bration Coordination products for a limited time! One of them will be framelits for this this adorable stamp set! The framelits will be available from March 1st through March 31st OR while supplies last! Be sure to check my specials and offers page on March 1st for all of the juicy details!
The Masking Technique
Masking with shapes to highlight an image is one of my favorite techniques. This is probably due to so many shapes nowadays that can be created with dies and punches which means no fussy cutting!
Here is what you will need to duplicate this technique:
- Heart shaped die or punch
- Foam brayer
- Image stamp to highlight
- Ink pads
- Card stock
- Window Sheet (optional)
- Washi Tape or temporary adhesive
Follow these steps:
- Die cut or punch your heart shape from Window Sheet (You can also use paper or card stock. I like to use a window sheet and save it for future use.)
- Attach the shape to your card with washi tape rolled up underneath (or with temporay adhesive)
- Ink up your foam brayer and roll over your card randomly until you like how it looks.
- Carefully remove your Window Sheet shape (it will be covered in ink!)
- Stamp the image you want to highlight in the center of the image you created with mask.
Create your own Valentine’s Day You Make Me Happy Masking Technique card with this tutorial and shopping list:
But wait! Before you shop – you need to know about Sale-a-bration! Sale-a-bration is Stampin’ Up!’s premier annual sale! Given that, with every $50 you spend you will earn a FREE Sale-a-bration item of your choice! To learn more about Sale-a-bration – CLICK HERE.
For the tutorial with photo, measurements, shopping list, and directions – CLICK HERE
Please remember, shopping with me allows me to continue sharing these fabulous techniques, ideas, and tutorials!
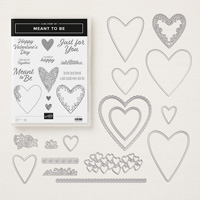
Learn This Easy Blender Pen Technique Featuring Meant To Be
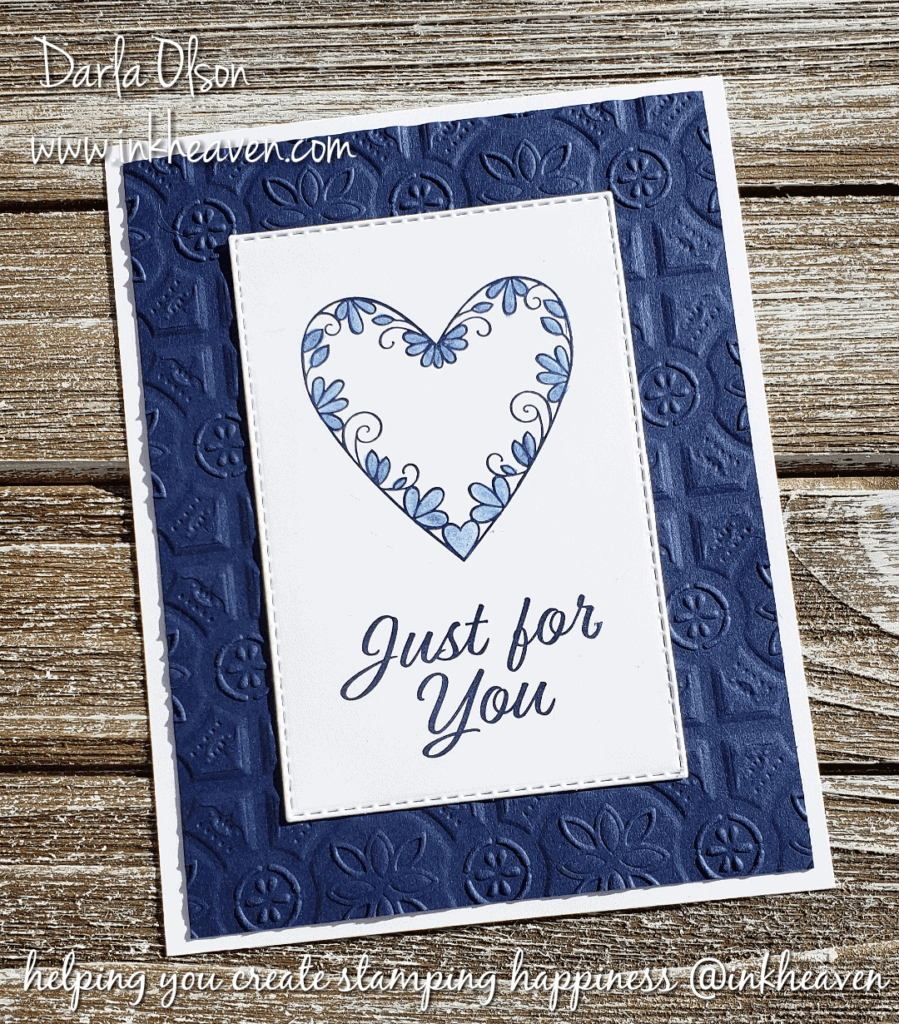
Easy Blender Pen Technique For Monochromatic Coloring
This easy blender pen coloring technique has been around forever! However, I have a tendency to get all caught up in the latest trends. Which means, sadly, that I forget about these oldies, but goodies! In the event that this technique is old news to you, I have paired it with some exciting new things from the brand new , 2019 Occasions Catalog! To learn more about the 2019 Occasions Catalog, CLICK HERE
To be honest, I do not know what this blender pen technique is officially called. However, since the technique pulls color from a stamped image, I have dubbed it, “Color Pulling.”
To color pull you will need:
- A blender pen
- Water-based dye ink
- Stamp of your choice
- Whisper White card stock
Now you are ready to color pull! First, stamp your image on Whisper White card stock. Secondly, use the blender pen to pull color from the stamped image and blend it out to the areas that you would like color to be. That’s it! Easy peasy! Tip: I have found that color pulling works best on a freshly stamped image.
Because the blender pen picks up ink, it will be necessary to clean it. To remove the excess ink from your blender pen, swipe it across scratch paper until it no longer spreads color. Keep in mind that the ink will stain the blender pen. However, the solution in the blender pen will be clear when the excess ink has been removed.
Create your own card with this tutorial and shopping list:
But wait! Before you shop – you need to know about Sale-a-bration! Sale-a-bration is Stampin’ Up!’s premier annual sale! Given that, with every $50 you spend you will earn a FREE Sale-a-bration item of your choice! To learn more about Sale-a-bration, CLICK HERE.
For the FREE tutorial, CLICK HERE.
Specials and Offers – CLICK HERE
To learn more about the 2019 Occasions Catalog – CLICK HERE
To learn more about Sale-a-bration – CLICK HERE
Here is a quick FB Live video demonstrating this card:
This video was a FB Live during my 2019 Occasions & Sale-a-bration Online Launch. CLICK HERE to like and follow my Facebook Page.
During this video you may have heard me mention my January 10 for 1000 party. To make sure that you don’t miss special events like this that I sponsor for my customers, be sure to subscribe to my mailing list!
Thank you for stopping by to visit. If you have any questions, or need any help with the blender pen technique or creating this card, please ask! I love helping you create stamping happiness for yourself and loved ones!
If you enjoyed this card – you might like this sweet one featuring a free Sale-a-bration set – CLICK HERE

Masculine Birthday Card Idea – Get Ready For The New Year
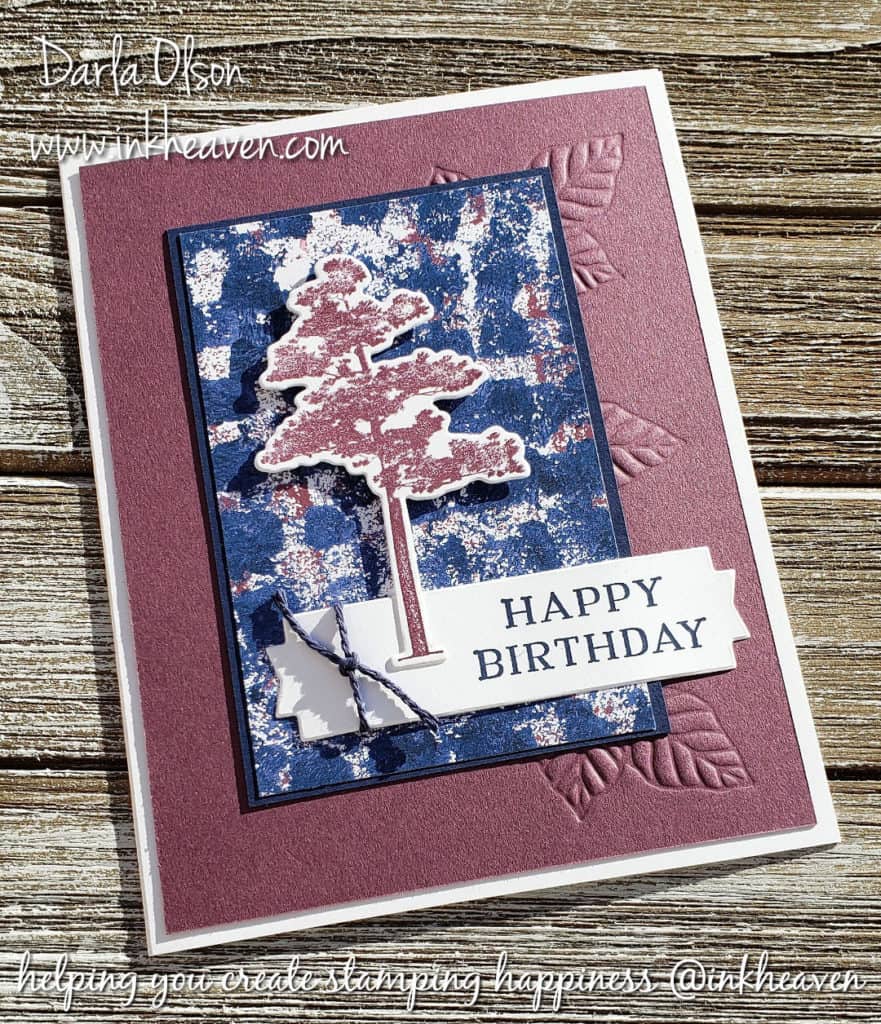
Masculine Birthday Cards For The New Year
Soon, Christmas will be over and we will be faced with a new year of birthdays! With that in mind, I wanted to share a masculine birthday card idea with you.
It just so happens that I recently sent out the last card from my birthday card stash that I made at the beginning of 2018 and needed a few more. Incidentally, I ran out just before my dad’s birthday. Plus, there were a couple more guys with birthdays coming up so I decided to create some masculine cards.
I had purchased the Tranquil Textures Designer Series Paper because of its great abstract designs; but had not used it yet. I used it as a starting point to create my birthday card after selecting a paper from the package that I thought had perfect masculine colors. In addition, I created this card during a Facebook Live and have the video replay posted below. I also shared some tips in the video on how to get perfect placement with the embossing dies:
This is also a great card for mass production using the Stamparatus. To learn more about the Stamparatus – CLICK HERE
Masculine Birthday Card Shopping List
Stress Free, Quick And Easy, Last-Minute Christmas Cards
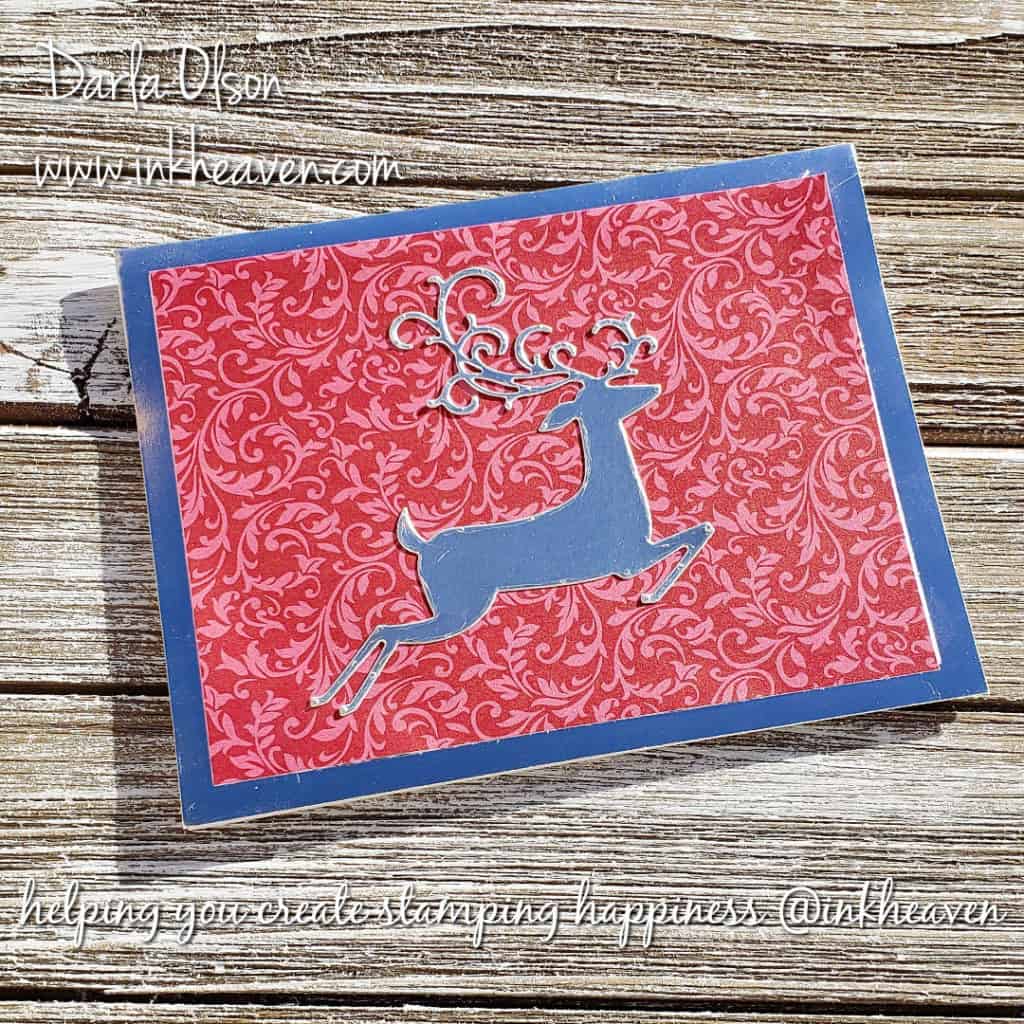
Stress Free,Quick And Easy, For The Last-Minute Idea
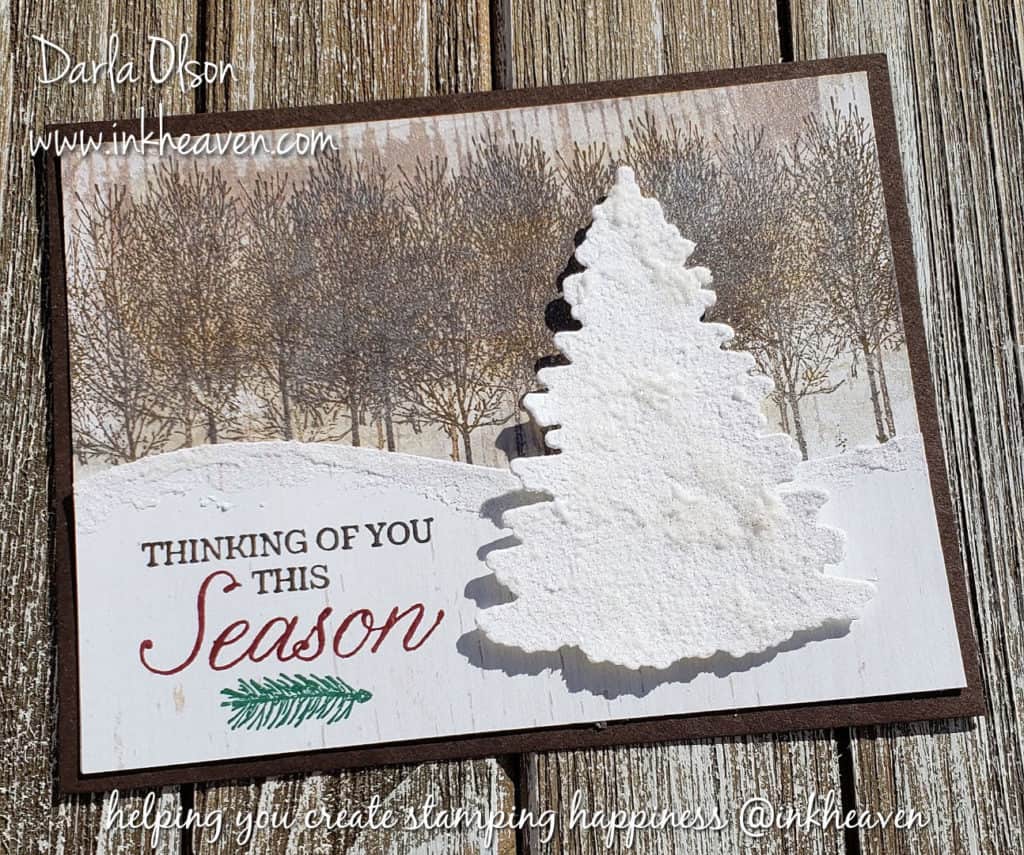
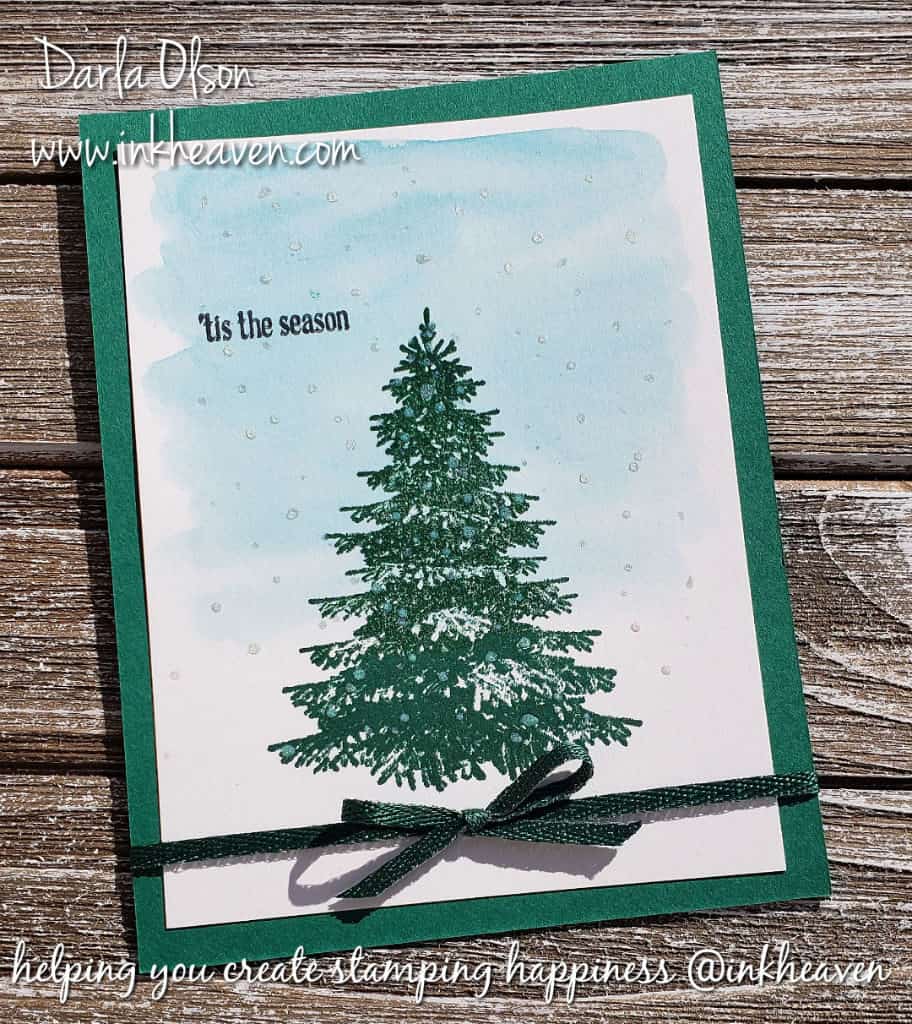
Are you looking for a stress free, quick and easy, Christmas card for the last-minute? (Besides running to the store and quickly buying the first box you see!) This idea will have you whipping out Christmas cards in record time!
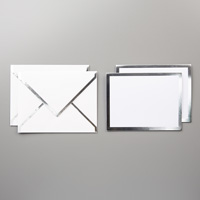
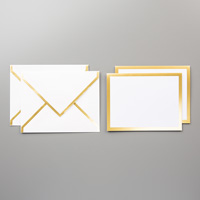
First, to save time and reduce stress, don’t cut your own card bases. Get cards and envelopes that are ready-to-go! I highly recommend these for convenience and elegance:
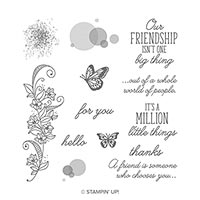














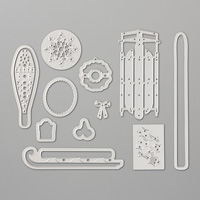
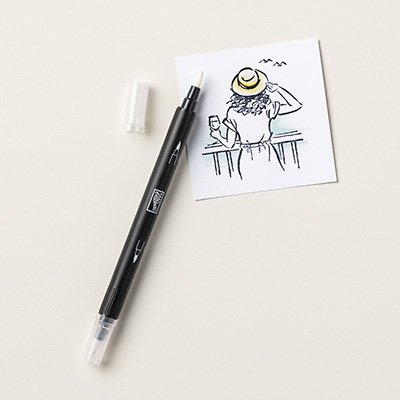



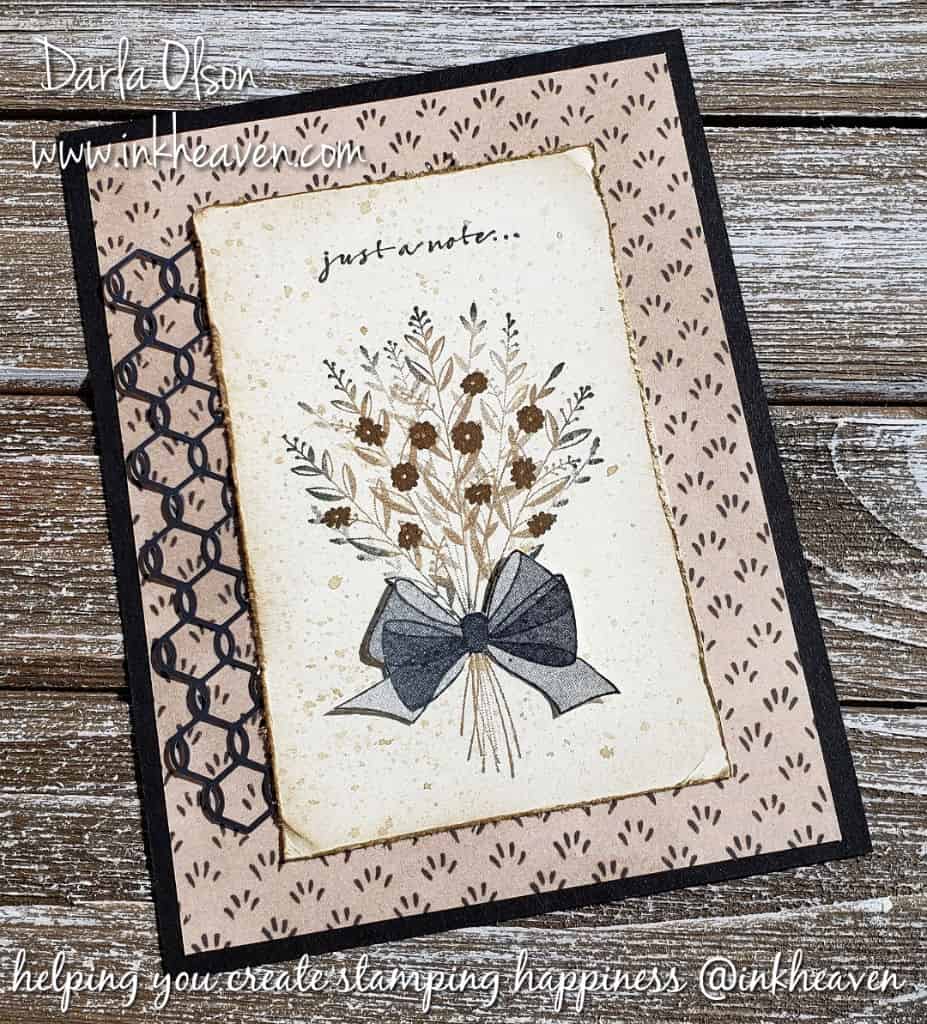
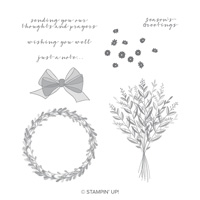 Wishing You Well Clear-Mount Stamp Set
 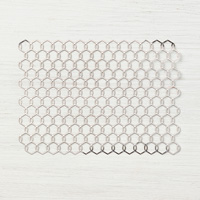 Chicken Wire Elements
 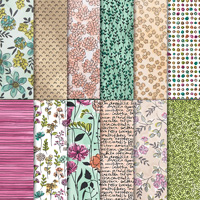 Share What You Love Specialty Designer Series Paper
  Crumb Cake Classic Stampin’ Ink Refill
  Paper Snips
  Clear Wink Of Stella Glitter Brush
  Crumb Cake Classic Stampin’ Pad