Happy Valentine’s Day From Me To You!
I shared this fun Valentine’s Day card earlier during my Online Sale-a-bration launch on Facebook. Furthermore, I have already shared a few of those fun projects with you here on my blog. I also meant to share this one with you a bit sooner. However, I have been dealing with some structural, physical issues that make it difficult to do too many hours of computer work. Consequently, this post is a little later than I would have liked! In addition, if you missed my online launch, you can request to join the group to see all the projects, get the tutorials, and watch the videos. (Please note, there is no charge to be in this group!) CLICK HERE TO JOIN
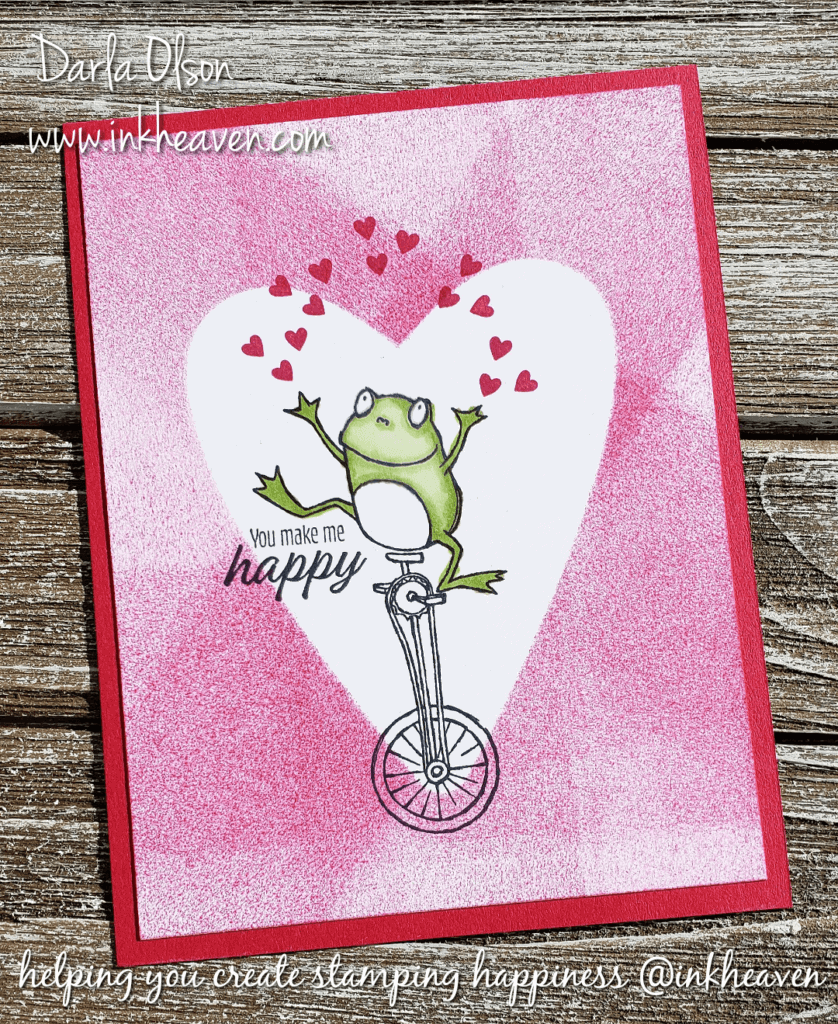
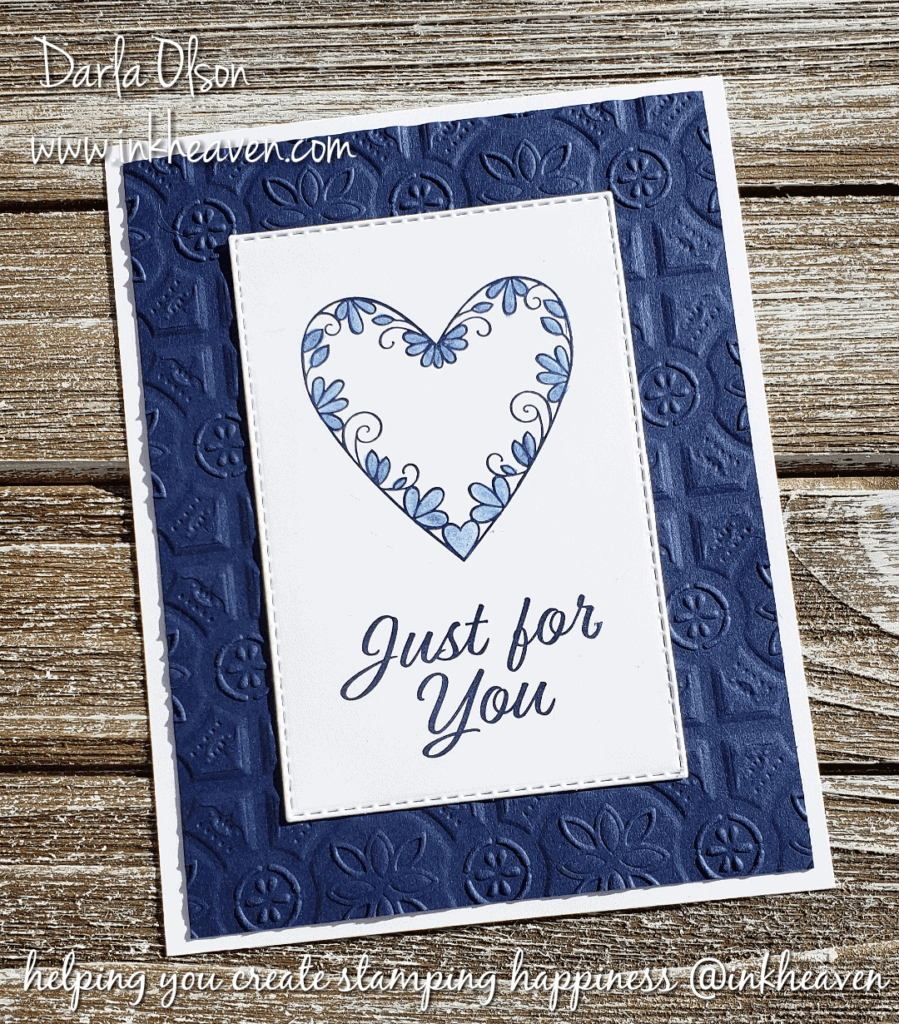
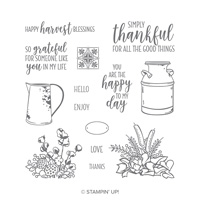
This is a fun card that can be used for Valentine’s Day, or anytime, to acknowledge those in your life that make you happy. It looks complicated. However, it’s created using a simple masking technique that packs a lot of punch!
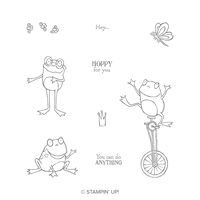
Additionally – I have some happy news about the free, So Hoppy Together, Sale-a-bration stamp set that I used to create this card! (To learn more about Sale-a-bration – CLICK HERE) Beginning March 1st, Stampin’ Up! will be offering Sale-a-bration Coordination products for a limited time! One of them will be framelits for this this adorable stamp set! The framelits will be available from March 1st through March 31st OR while supplies last! Be sure to check my specials and offers page on March 1st for all of the juicy details!
The Masking Technique
Masking with shapes to highlight an image is one of my favorite techniques. This is probably due to so many shapes nowadays that can be created with dies and punches which means no fussy cutting!
Here is what you will need to duplicate this technique:
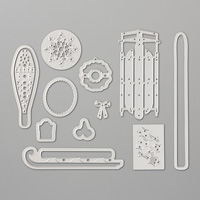
- Heart shaped die or punch
- Foam brayer
- Image stamp to highlight
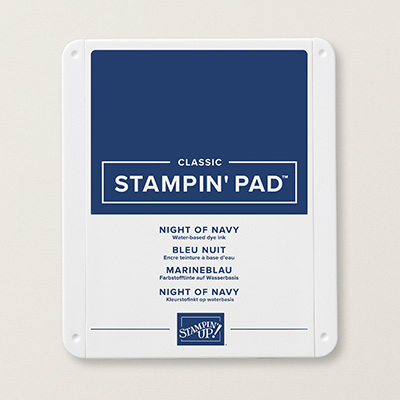
- Ink pads
- Card stock
- Window Sheet (optional)
- Washi Tape or temporary adhesive
Follow these steps:
- Die cut or punch your heart shape from Window Sheet (You can also use paper or card stock. I like to use a window sheet and save it for future use.)
- Attach the shape to your card with washi tape rolled up underneath (or with temporay adhesive)
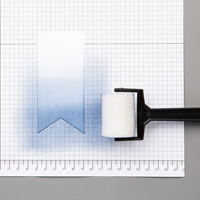
- Ink up your foam brayer and roll over your card randomly until you like how it looks.
- Carefully remove your Window Sheet shape (it will be covered in ink!)
- Stamp the image you want to highlight in the center of the image you created with mask.
Create your own Valentine’s Day You Make Me Happy Masking Technique card with this tutorial and shopping list:
But wait! Before you shop – you need to know about Sale-a-bration! Sale-a-bration is Stampin’ Up!’s premier annual sale! Given that, with every $50 you spend you will earn a FREE Sale-a-bration item of your choice! To learn more about Sale-a-bration – CLICK HERE.
For the tutorial with photo, measurements, shopping list, and directions – CLICK HERE
Please remember, shopping with me allows me to continue sharing these fabulous techniques, ideas, and tutorials!


Specials and Offers – CLICK HERE
To learn more about the 2019 Occasions Catalog – CLICK HERE
To learn more about Sale-a-bration – CLICK HERE
Thank you for stopping by to visit. If you have any questions, or need any help with this masking technique, please ask! I love helping you create stamping happiness for yourself and loved ones!
If you enjoyed this project and technique you might also enjoy this project and technique – CLICK HERE

Learn This Easy Blender Pen Technique Featuring Meant To Be
Easy Blender Pen Technique For Monochromatic Coloring
This easy blender pen coloring technique has been around forever! However, I have a tendency to get all caught up in the latest trends. Which means, sadly, that I forget about these oldies, but goodies! In the event that this technique is old news to you, I have paired it with some exciting new things from the brand new , 2019 Occasions Catalog! To learn more about the 2019 Occasions Catalog, CLICK HERE
To be honest, I do not know what this blender pen technique is officially called. However, since the technique pulls color from a stamped image, I have dubbed it, “Color Pulling.”
To color pull you will need:
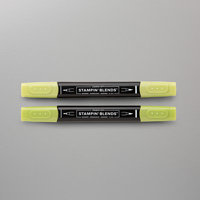
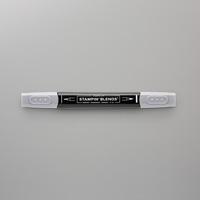
- A blender pen
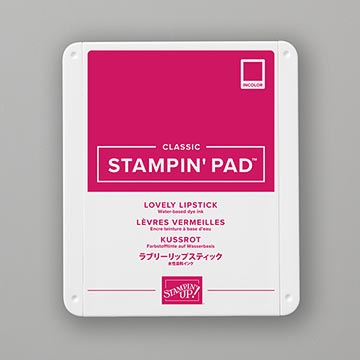
- Water-based dye ink
- Stamp of your choice
- Whisper White card stock
Now you are ready to color pull! First, stamp your image on Whisper White card stock. Secondly, use the blender pen to pull color from the stamped image and blend it out to the areas that you would like color to be. That’s it! Easy peasy! Tip: I have found that color pulling works best on a freshly stamped image.
Because the blender pen picks up ink, it will be necessary to clean it. To remove the excess ink from your blender pen, swipe it across scratch paper until it no longer spreads color. Keep in mind that the ink will stain the blender pen. However, the solution in the blender pen will be clear when the excess ink has been removed.
Create your own card with this tutorial and shopping list:
But wait! Before you shop – you need to know about Sale-a-bration! Sale-a-bration is Stampin’ Up!’s premier annual sale! Given that, with every $50 you spend you will earn a FREE Sale-a-bration item of your choice! To learn more about Sale-a-bration, CLICK HERE.
For the FREE tutorial, CLICK HERE.


Specials and Offers – CLICK HERE
To learn more about the 2019 Occasions Catalog – CLICK HERE
To learn more about Sale-a-bration – CLICK HERE
Here is a quick FB Live video demonstrating this card:
This video was a FB Live during my 2019 Occasions & Sale-a-bration Online Launch. CLICK HERE to like and follow my Facebook Page.
During this video you may have heard me mention my January 10 for 1000 party. To make sure that you don’t miss special events like this that I sponsor for my customers, be sure to subscribe to my mailing list!
Thank you for stopping by to visit. If you have any questions, or need any help with the blender pen technique or creating this card, please ask! I love helping you create stamping happiness for yourself and loved ones!
If you enjoyed this card – you might like this sweet one featuring a free Sale-a-bration set – CLICK HERE
Wishing You Well Is A Great Stamp Pairing For Country Home
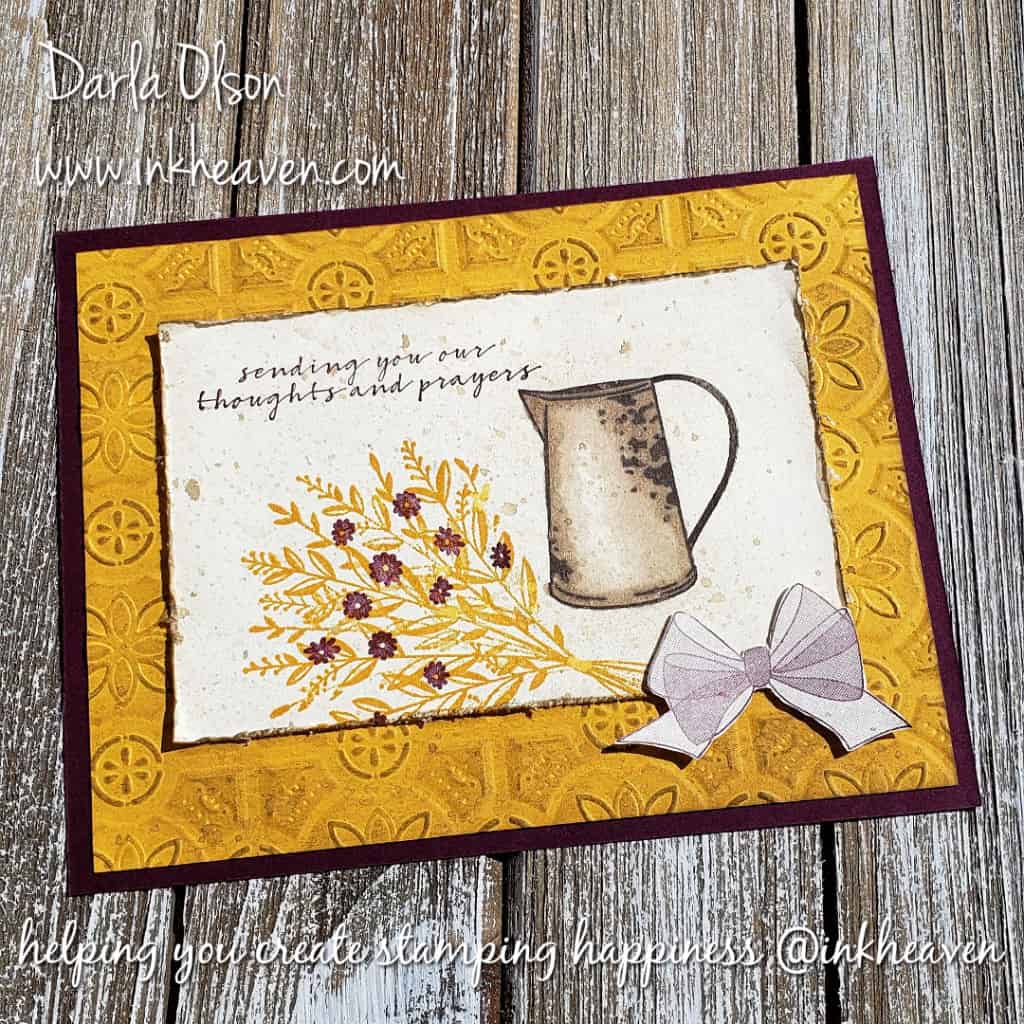
Great Stamp Pairings For Country Home!
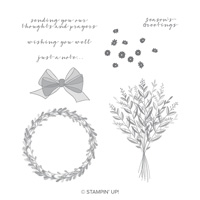
Similar to wine pairings, stamp pairings are a fabulous way to expand your creative options when making handmade cards. If you have ever experienced a wine tasting, you know that pairings can dramatically change the taste. Similarly, stamp pairings can bring together different elements to enhance each other. For example, take a look at the card above: It’s a great stamp pairing of Wishing You Well and Country Home. As a result, it gives the Country Home Set a slightly different look. In addition, it expands your options for using the, Wishing You Well stamp set.
Here are a few stamp pairing basics for you:
- Look for stamps that compliment what you already have. For example: Different sentiments.
- Congruent or compatible. For example: A similar style.
- Stamps that add depth. For example: Background or texture stamps.
These are just a few examples, but you get the idea!
Here Is A Clickable Supply List For This Great Stamp Pairing


Specials and Offers – CLICK HERE
To learn more about the 2018 Holiday Catalog – CLICK HERE
Watch My Facebook Live For How-To
Thank you for stopping by to visit. If you have any questions, or need any help creating this handmade card, please ask! I love helping you create stamping happiness for yourself and loved ones!
If you enjoyed this great stamp pairing with Country Home, you might like this pairing that turns it into Christmas! – CLICK HERE
For another fun, unique idea with Country Home – CLICK HERE
Cute Snowman Card Depicts Snowman Juggling Snowflakes
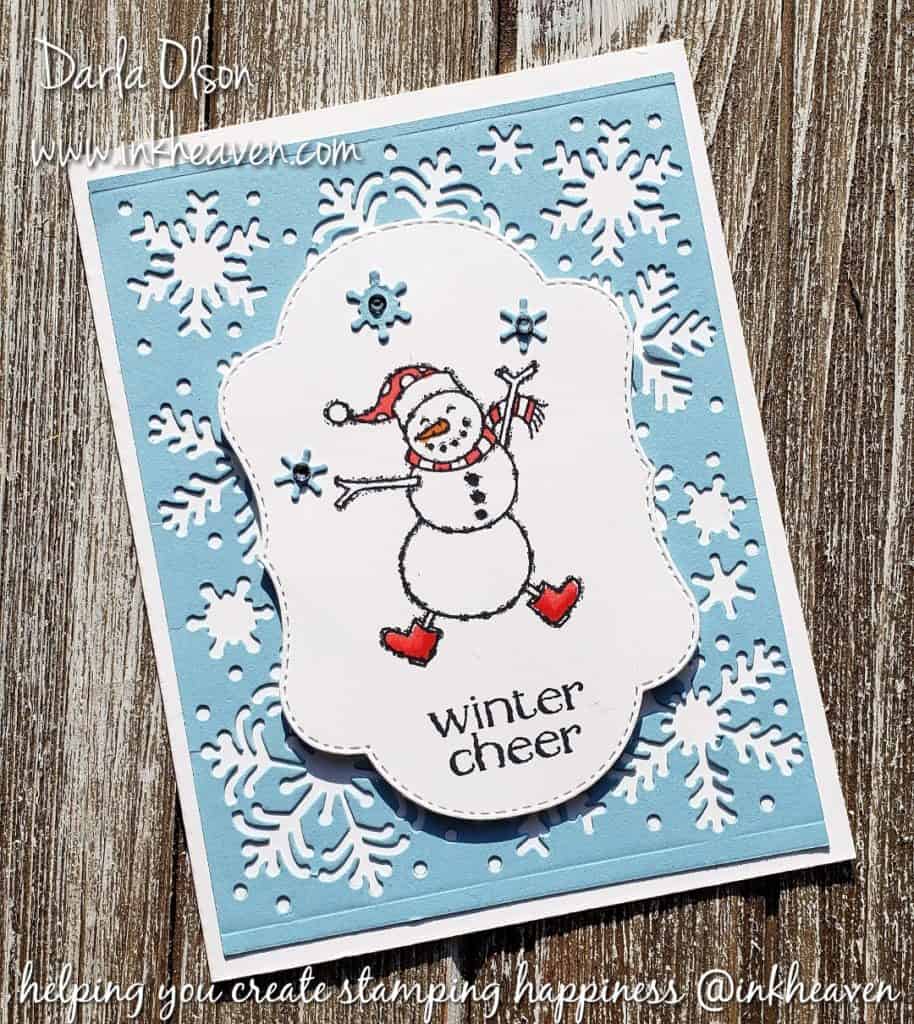
Cute Snowman Card Depicts Snowman Juggling Snowflakes
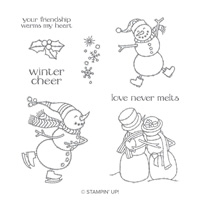
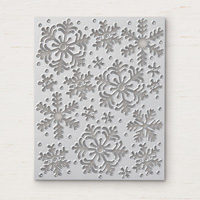
This cute snowman card was a make and take for my 2018 Grand Annual Open House. When I saw this snowman from the new Spirited Snowmen stamp set in the 2018 Holiday Catalog, I just knew he had to be juggling! Because of this, I paired him with the new Blizzard Thinlit and used snowflakes popped out of the die to give him something to juggle! As a result, this happy fella wants you to send some Winter cheer to your friends and family this year!
The 2018 Holiday Catalog goes live on September 5th! To learn more – CLICK HERE!
I wanted to share this adorable snowman card with you to give you a reminder that the Limited-time Stitched Seasons Framelit Dies are only available through 11:50 pm, August 31st . Which means that there is just one more day to get these little gems! Why does it matter? The largest stitched frame in this set of dies(largest die: 4-7/8″ x 3-3/8″) is much larger than our Layering Ovals Dies (Largest image: 2-7/8″ x 3-13/16″) and Stitched Shapes Dies (largest image 3-1/4” x 2-5/16”), which will give you more options! To learn more about the Stitched Seasons Framellits Dies – CLICK HERE.
Use these supplies* (and free tutorial) to recreate this card:
*Please note that the 2018 Holiday Catalog items are not available for purchase until September 5th! However, you will want to purchase the Stitched Seasons Framelits Dies before 11:50 pm, August 31st, 2018! Stamp Set & Framelits are limited edition and will not be seen again. SU! demonstrators may not sell them as “retired” for a year, so get them now! The bundle earns you a $5 coupon for next month. To learn more about the bonus coupons – CLICK HERE.
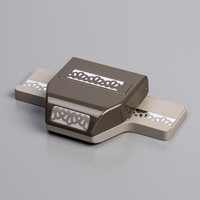
Tip: The Take Your Pick Tool will be available in the 2018 Holiday Catalog and is great for helping to remove the snowflakes from the Blizzard Thinlit Die.
For the tutorial – CLICK HERE.


Please note: If you missed out getting the Stitched Seasons Framelits, you can substitute the largest oval in the Layering Oval Dies.
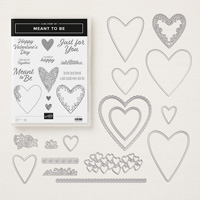
Stitched Seasons Framelits Dies
$33.00
Specials and Offers – CLICK HERE

Thank you for stopping by to visit. If you have any questions, or need any help creating this cute snowman card with the snowman juggling snowflakes, please ask! I love helping you create stamping happiness for yourself and loved ones! If you enjoyed this post, you may also enjoy this post about using Embossing Mats to double your intricate die options (hint: the Blizzard Thinlit Die looks amazing embossed!) – CLICK HERE
Adorable Sending Hedgehugs Card With Free Tutorial
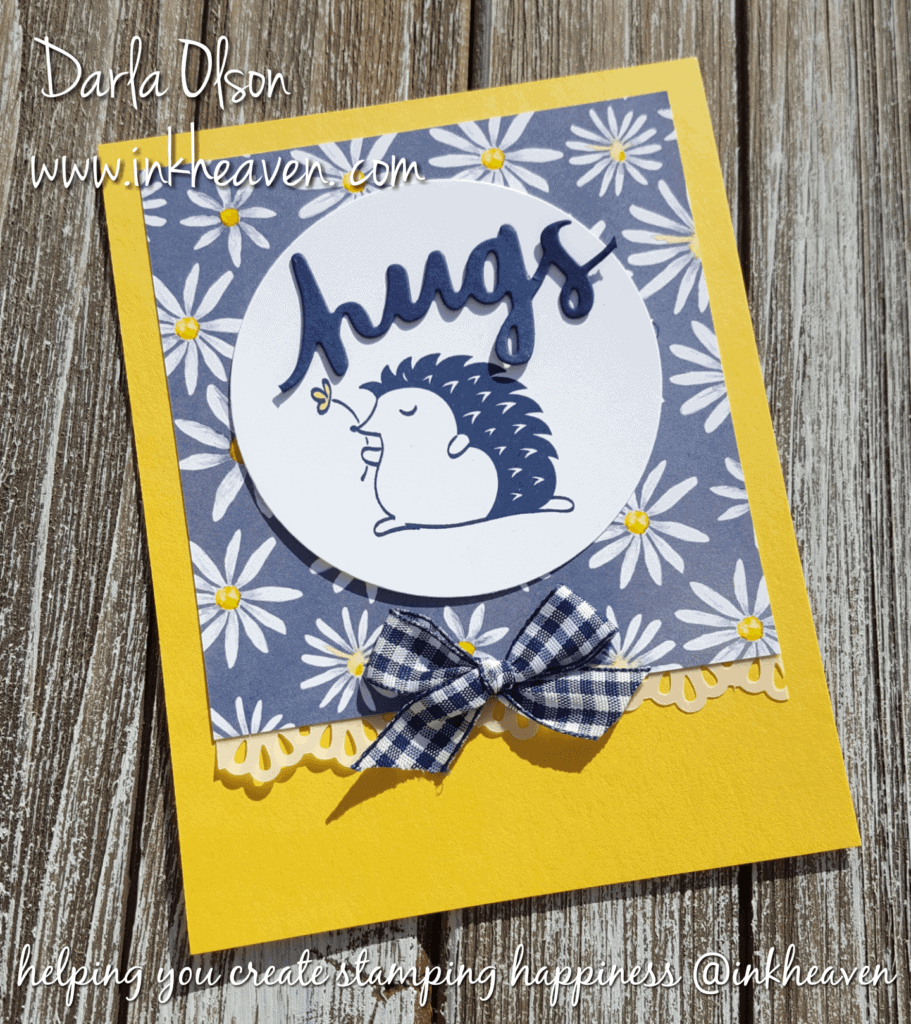
Create and Send this Bright and Airy Hedgehugs Card
Usually, people who need a hug, need their spirits lifted. This bright and airy Hedgehugs card is sure to lift the spirits of anyone who is in need of hug!
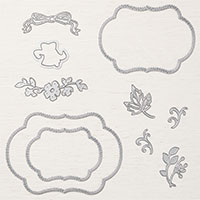
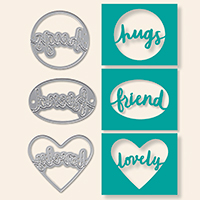
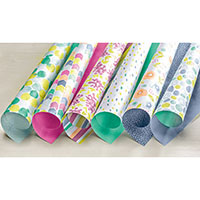
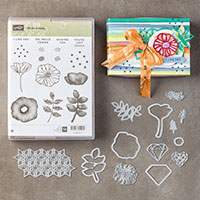
This card is one of three from my class featuring the Hedgehugs stamp set. Since a couple of items on this card are on the retiring list, I thought that I would share it with you. Thankfully, the stamp set is sticking around for awhile, but the Lovely Words Framelits is on the retiring list. Sadly, the Delightful Daisy Designer Series Paper is already sold out. (To see the entire list of what is retiring – CLICK HERE). However, if you would like to create this particular card, I do have a few class packets available that include this cheerful, daisy paper! To learn more about the class – CLICK HERE.
Clickable Supply List and Suggested Alternate
Please note that I have included an alternate designer series paper in this list. The Naturally Eclectic Designer Series Paper is also bright and airy. I personally recommend the Night of Navy with the dots. However, other sheets will also work but may require you to change to a different color card stock and ribbon.


Specials and Offers – CLICK HERE
I am so happy that you stopped by to visit! If you have any questions or need any help creating this Sending Hedgehugs card, please don’t hesitate to ask! To download the tutorial – CLICK HERE. Thank you for allowing me to help you create stamping happiness for you and your loved ones.
Happy Valentine’s Day – You’re Just Lovely!
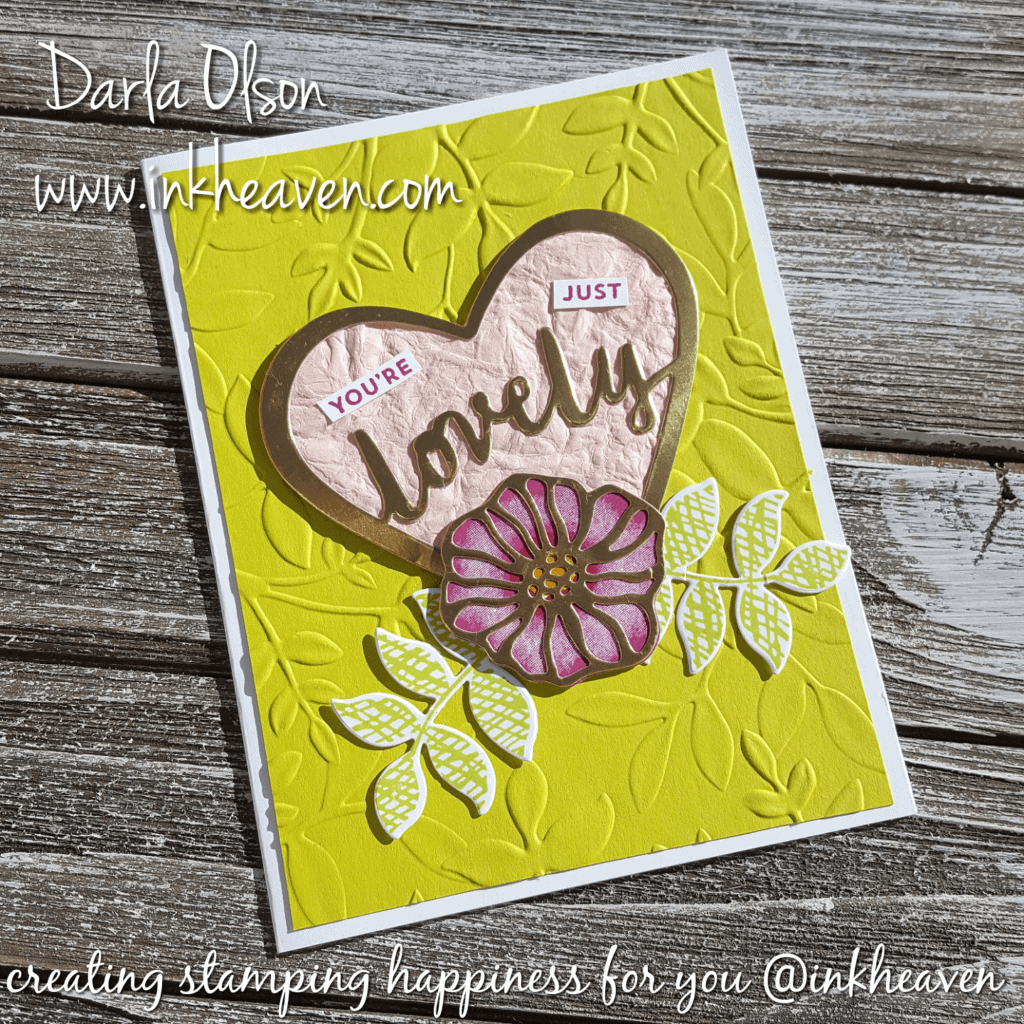
Happy Valentine’s Day!
I wish I could send all of you a Happy Valentine’s Day card. Since that is not humanly possible, I have chosen to share this card, and the tutorial for it, with you. This card was part of my September 2017 Card Making Class and the Inkheaven Party in a Box Program.
This card design is the perfect non-romantic Valentine’s Day card. Plus, since it uses a non-traditional color combination, this card can be used anytime for other occasions such as:
- Thank you
- Friendship
- Just because, or
- Change the sentiment for even more options!
Clickable Supply List For Non-Romantic Valentine’s Day Card
Here is a clickable supply list for your convenience:


For the downloadable tutorial CLICK HERE
Class Packet Card Making Kit Available For Purchase

You are able to purchase Card Making Kits for my Oh So Eclectic Card Making Class that this card was featured in! This kit will be available until the stamp set is retired by Stampin’ Up! To learn more about purchasing this class kit CLICK HERE.
Sequins – The Hot Embellishment Trend For Your Card Making!
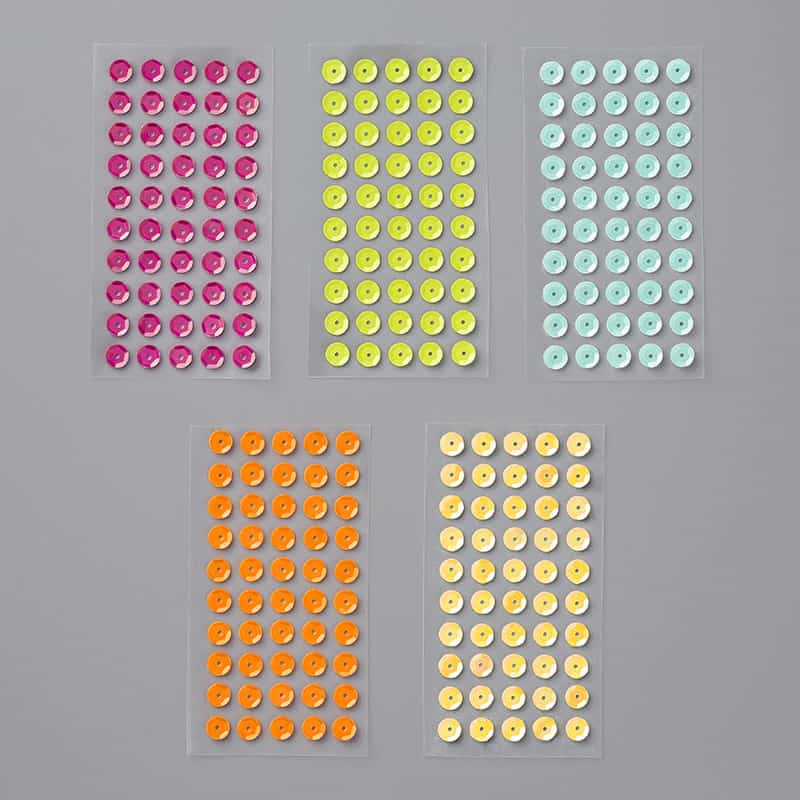
Sequins are the hot embellishment trend!
Sequins create happiness and add shine and texture to a card. Plus, there are several ways to use them:
- Inside a shaker card
- Inside a confetti flinger card
- Scattered around the front of a card, or
- Use them to make designs & patterns
Design & Pattern tips:
- Create a rainbow with sequins
- Cover die cut letters or shapes
- Embellish flowers, etc. with them
Sequin products to help you use this hot embellishment trend in your card making:
- Adhesive-backed Tutti-frutti Sequins.
- Scattered Sequins Dynamic Embossing Folder
- Mini Sequin Trim in Black, Gold, or, Silver
- Sequin Assortments in Iridesent or Metallics
Facebook Live How-To Events About This Hot Trend
I currently have scheduled two Facebook Live events on my Facebook Page. (CLICK HERE to like my page.) The first one is TONIGHT which is Sunday, February 11th. The second one is on Sunday, February 25th. I plan on adding another date for March soon! During these Facebook Live events, I will be stamping and showing you how to use this hot embellishment trend in your card making! Please CLICK HERE TO CHECK MY CALENDAR for dates, times, and to add the events to your Outlook or Google calendars for reminders!
As always, I am here to help you create happiness for yourself and your loved ones.
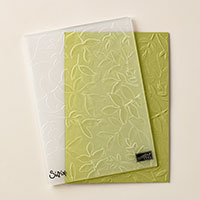
Watercolor Pencil Technique is Gorgeous With Special Reason
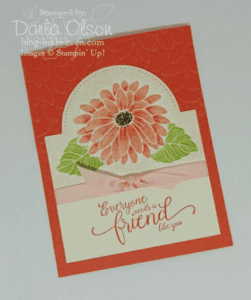
Watercolor Pencil Technique provides depth and texture to stamped images.
The Special Reason stamp set is perfect for this watercolor pencil technique. I am not a big fan of spending a lot of time coloring images. I don’t know why it is, but I lose interest quickly. Even as a child I don’t recall completing entire pages in my coloring books very often. As a result, this technique suites me well as the Watercolor Pencils are used primarily to enhance an already stamped image!
Tips, Tricks, and Techniques
Since I have not used this Watercolor Pencil Technique with other stamp sets yet, I can only share how it worked with the Special Reason stamp set. When I first attempted this technique, I found that inking up the image and stamping it made it too dark. I then tried stamping off, but I didn’t like that result either. Ultimately, I settled on using a stamping sponge to apply the ink to the stamp to get the desired look. Even when using the stamping sponge to ink up the stamp, you have to be careful to not over apply the ink!
Another technique used on this card is masking. As the name implies, images are covered in this technique to achieve a desired look. In this instance, masking is used to place part of the leaves behind the flower. I created the mask for the flower using the Stylish Stems dies with post-it notes. (The Stylish Stem Dies are no longer available. However, a mask can be created by fussy cutting around a stamped image.). To keep the gap between the flowers and the leaves from being too big, be sure to leave an edge of the flower showing. The mask needs to be re-positioned for each leaf. Once again, I found that stamping the image fully inked was too much, so the leaf is stamped off once before stamping on the card.
How the Technique is Done
Choose complimentary Watercolor Pencils to shade your images. Shading is done is layers with the darkest layer added last. Once the desired shading has been done, the shading is blended with a blender pen.
If you are local be sure to sign up for my creative classes of happiness for hands on learning! Creative classes of happiness will also be an online feature once I am done moving and settled!
Supplies used for this card project
Special Reason stamp set, Suite Sentiments stamp set, Very Vanilla cardstock, Stitched Shapes Framelits, Calypso Coral ink and cardstock, Petal Burst folder, Blushing Bride 3/8″ stitched satin ribbon, Stamping Sponges, Watercolor Pencils, Chocolate Chip Marker, Pear Pizzazz ink, Blender Pens.
Thank you so much for visiting my blog today! If you enjoyed this project and would like to duplicate it, please be sure to purchase the products you need from my online store. Please note that after May 22nd, the Special Reason stamp set will only be available while supplies last as it is being retired! Thank you so much for your support!
Please come and visit me again as I will be creating more stamping happiness for you soon!