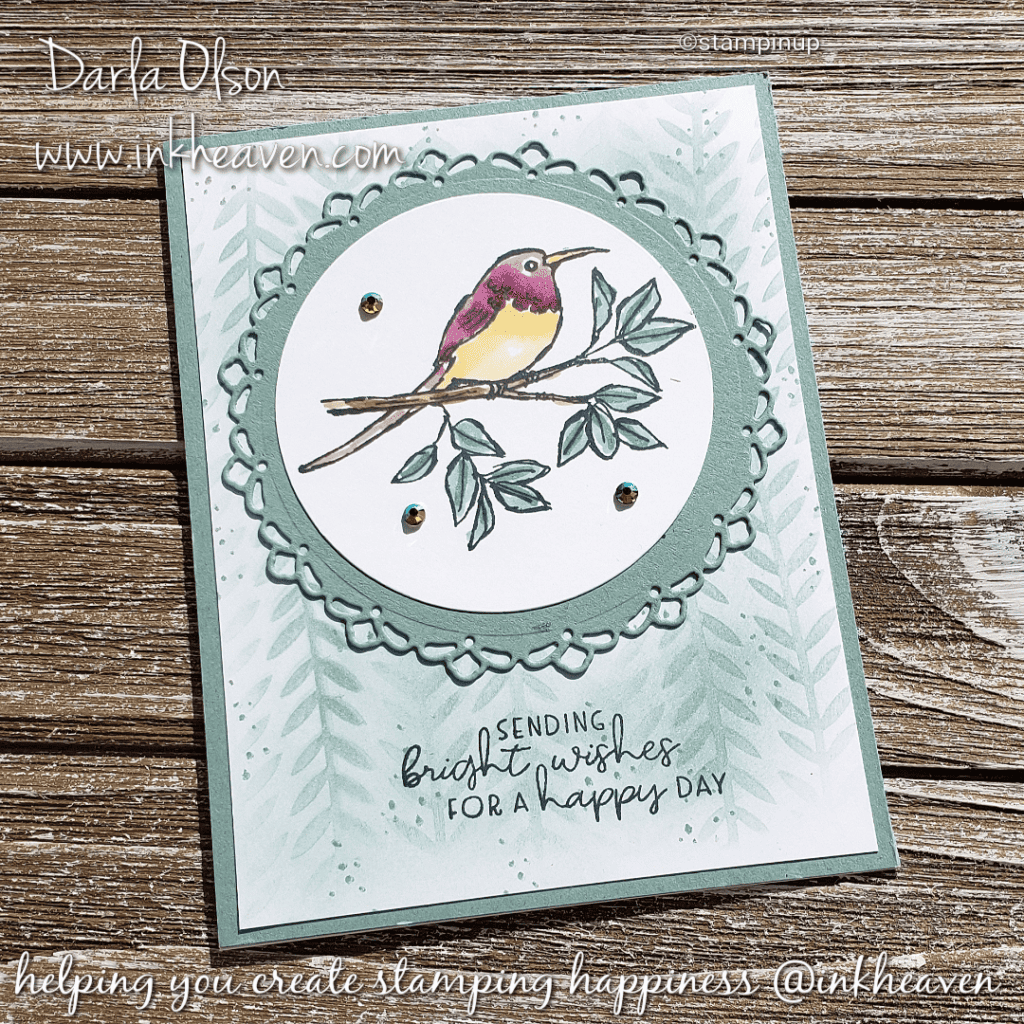
Eclectic Garden Nestled on a Soft Succulent Background

Eclectic Garden Nestled on a Soft Succulent Background
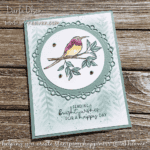
Send Bright Wishes

Creating Cards With Eclectic Garden

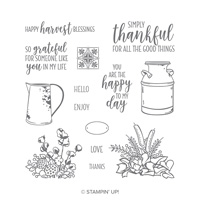
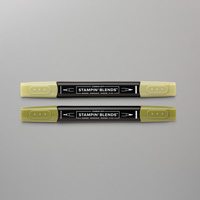
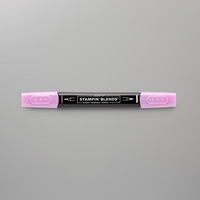
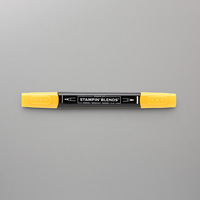
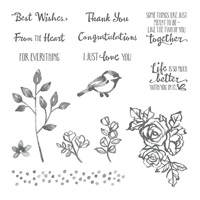
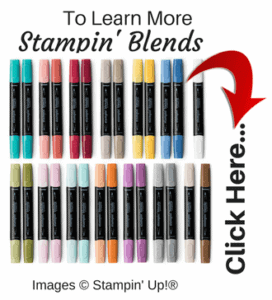
Eclectic Garden is an all-occasion, nature-inspired photopolymer stamp set. This Two-Step Stampin’ set allows you to layer two or more images to create one final image with extra texture and dimension in the colors you want. Or, if you prefer, use a coloring technique of your choice like the Stampin’ Blends that I chose. If you are not familiar with the Stampin’ Blends or how to use them – CLICK HERE

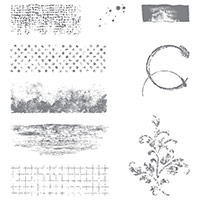
Seeing that the images (bird, berries, turnips, or a flower), in Eclectic Garden, are simple, they are perfect for layering on a detailed background like this Soft Succulent background created with Blending Brushes, Soft Succulent ink, and a Decorative Mask. In addition, Decorative Masks are wonderful tools for adding textured backgrounds to your cards with embossing paste.

Below are the supplies you will need to have on hand to create this Sending Bright Wishes Eclectic Garden card. For your convenience there is a button to add all the necessary supplies to your shopping cart or you may use my shop here now button to browse my store for select items.

Happy Shopping @inkheaven
Thank you for shopping with me @inkheaven

Sending Bright Wishes Card Recipe

To have the recipe printed on one page the printable recipe does not contain the pictured supply list above. If you need more assistance with the instructions, I do have a Facebook Live video that you can watch – CLICK HERE

Sending Bright Wishes With Eclectic Garden

Nestle the beautiful bird from Eclectic Garden on a Soft Succulent background created with Blending Brushes and a Decorative Mask

Materials

Card Stock Dimensions

  • 1 4¼" x 5½" Cardstock (card front) Soft Succulent
  • 1 4" x 5¼" Cardstock (card front layer) Basic White
  • 1 4½" x 4½" Cardstock (Encircled in Beauty Die Cut) Soft Succlent
  • 1 3½" x 3½" Cardstock (Layering Circles Die Cut) Basic White
  • 1 8½" x 5½" Cardstock (card base) Basic White

Instructions

  • Place Decorative Mask over the Basic White card front layer. (Hold in place with masking tape or, if using the Stamparatus, magnets.
    1 4" x 5¼" Cardstock (card front layer)
  • Ink up the Blending Brush with Soft Succulent ink.
  • Lightly brush over the Decorative Mask. Tip: lightly brush in one direction as the decorative mask has lots of details that make it prone to moving if you do not use a light touch.
  • Remove mask after obtaining desired coverage.
  • Lightly stamp speckles (or dots) over the masked background in Soft Succulent ink as shown.
  • Layer the Soft Succulent card front to the Basic White card base.
    1 4¼" x 5½" Cardstock (card front), 1 8½" x 5½" Cardstock (card base)
  • Layer the Basic Whte card front layer (with the Soft Succulent background) to the Soft Succulent card front.
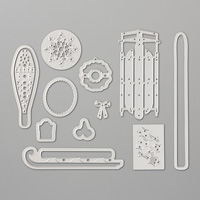
  • Die Cut the decorative circle using the Encircled in Beauty dies from Soft Succulent card stock.
    1 4½" x 4½" Cardstock (Encircled in Beauty Die Cut)
  • Layer your die-cut on the card front as shown.
  • Die-cut a circle with the Layering Circle dies from Basic White card stock as shown.
    1 3½" x 3½" Cardstock (Layering Circles Die Cut)
  • Stamp the bird in the circle using Tuxedo Black ink as shown.
  • Color the bird with Stampin' Blends as shown.
  • Layer the bird on to the card front as shown.
  • Stamp the Sending Bright Wishes sentiment to the card front in Tuxedo Black in as shown.
  • Add Garden Gems to the card front as shown.

Darla Olson at inkheaven wishing you stamping happiness always

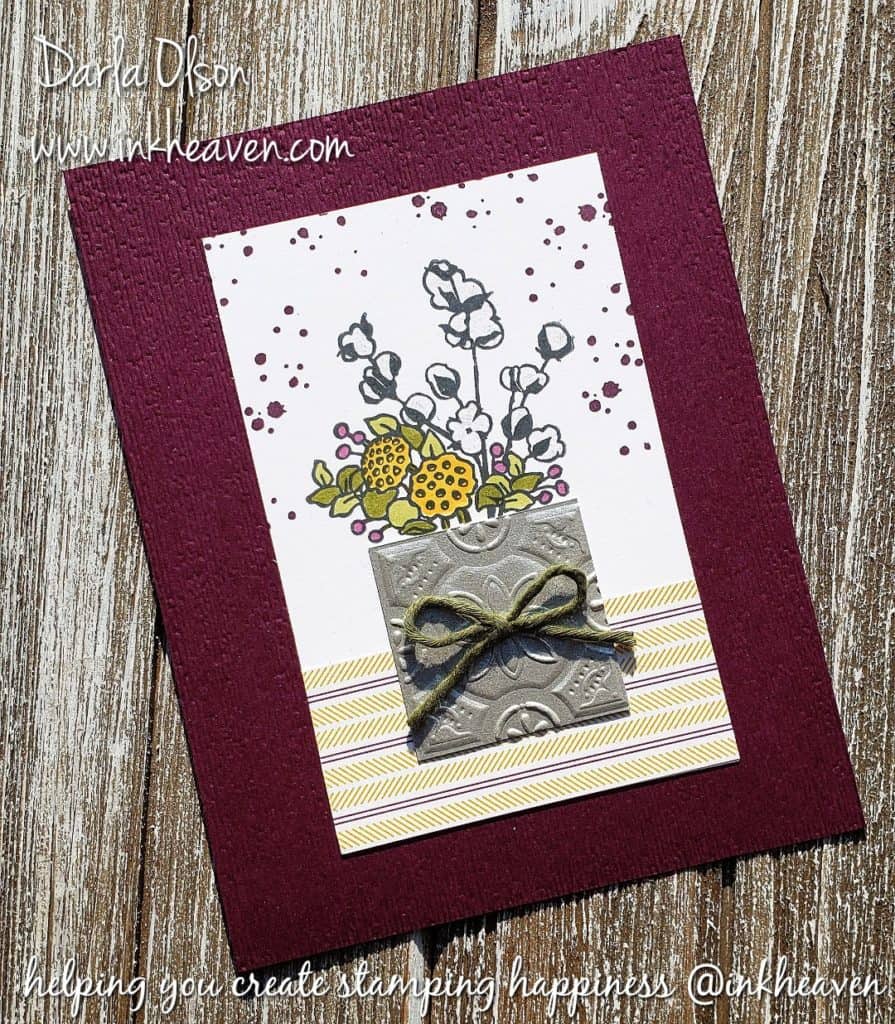
Use The Tin Tile Embossing Folder To Create A Vase

Use the tin tile embossing folder to create a vase by darla at inkheaven

Create Vases With The Tin Tile Embossing Folder!

Vintage ceiling tin tiles and galvanized metals are hot trends in home decor! I just love how Stampin’ Up! brings current trends into our stamping! The Tin Tile Embossing Folder and Country Home Stamp Set in the 2018 Holiday Catalog are perfect examples! To learn more about the 2018 Holiday Catalog – CLICK HERE.

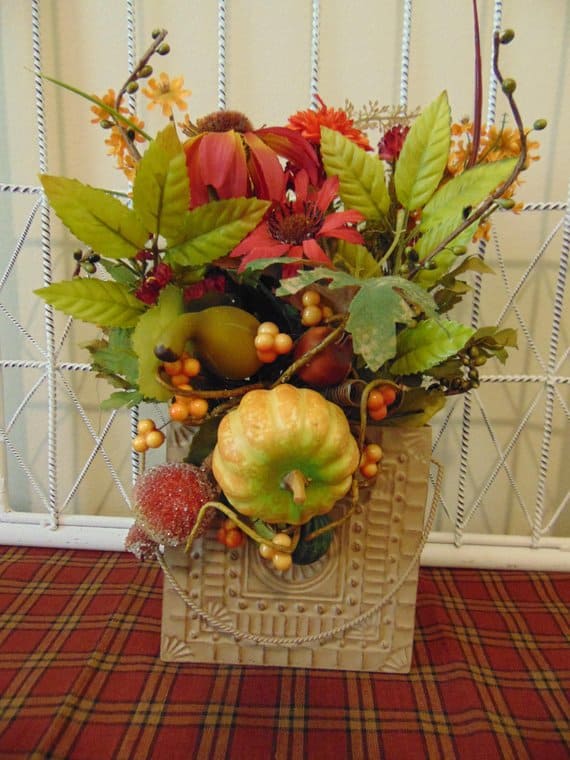
While researching ceiling tin tiles I found this fall floral arrangement. It is the inspiration for the tin tile vase on my card!

Tin Tile Vase Inspiration from Etsy

Creating the vase is easy since the squares are part of the tin tiles in the folder and all you have to do is cut them with your paper trimmer!

Supply List And Tutorial For Tin Tile Vase Card

For the Tin Tile Vase Card tutorial – CLICK HERE

Happy Shopping @inkheaven
Thank you for shopping with me @inkheaven

Specials and Offers – CLICK HERE

This Country Home Tin Tile Vase Card was a make & take at my Grand Annual Open House events in August where I launched the 2018 Stampin’ Up! Holiday Catalog. To learn more about the 2018 Holiday Catalog – CLICK HERE

Thank you for stopping by to visit. If you have any questions, or need any help creating this tin tile vase card, please ask! I love helping you create stamping happiness for yourself and loved ones!

If you enjoyed this card and free tutorial from my open house, you might enjoy my Spirited Snowmen make & take – CLICK HERE

In addition, I have a free tutorial for my Dashing Deer make & take – CLICK HERE

Darla Olson at inkheaven wishing you stamping happiness always

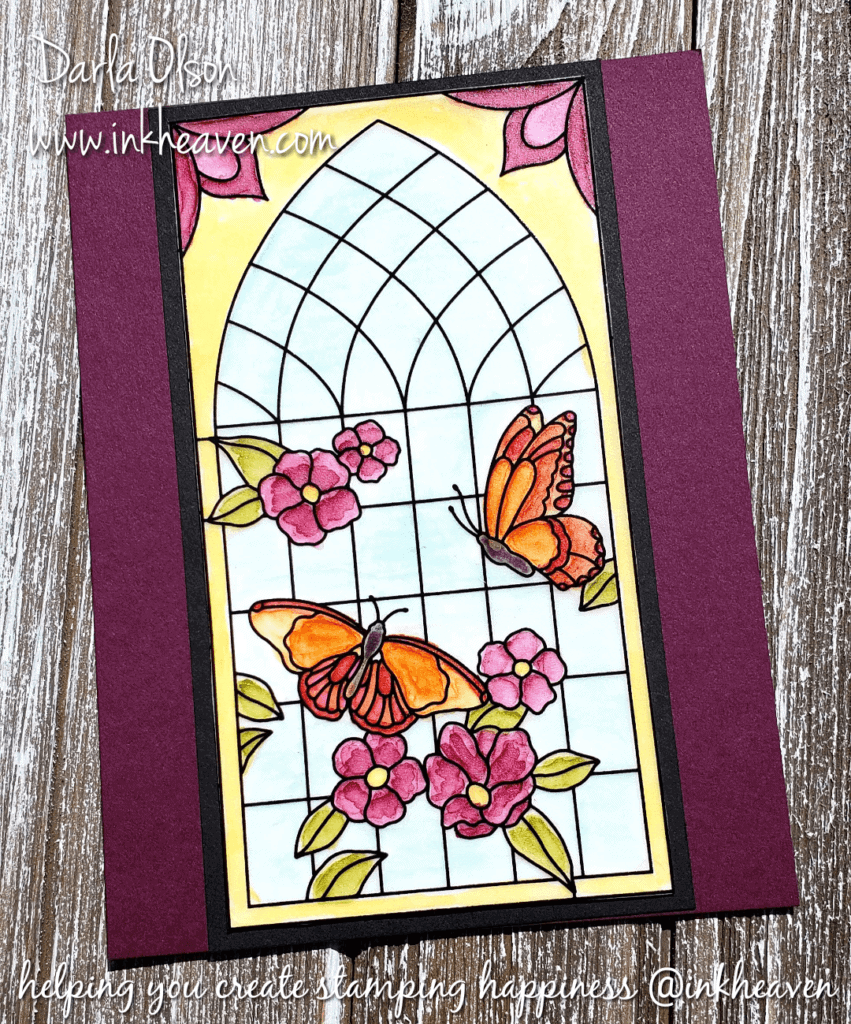
Relax And Color, Then Create Pretty Stained Glass Cards

Relax and color graceful glass vellum for this pretty stained glass card at inkheaven

Relax And Color, Then Create This Stained Glass Card

Coloring is relaxing and therapeutic. Stampin’ Up!’s Graceful Glass Vellum and Stampin’ Blends are the perfect pair to color and relax. Plus, when finished, you will be able to use your images to create lovely stained glass cards.

Stampin’ Blends are alcohol markers. Because the markers contain alcohol, which evaporates quickly, it is very easy to add layers of ink to blend them together without pilling the card stock. However, on this card, the coloring is on vellum card stock. Normally, when coloring on vellum with markers, the coloring is done on the back of the vellum because the ink takes so long to dry. With the Stampin’ Blends, this is not necessary as the ink dries fast enough to color right on top of the vellum. To learn more about the Stampin’ Blends and how to use them – CLICK HERE.

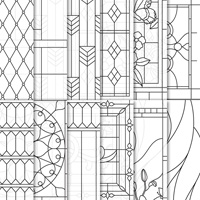
The Graceful Glass Vellum is easy to color because the stained glass lines are a black UV coating that give it an embossed look and feel. In addition, the Graceful Glass Vellum is part of a suite of products. The video below contains more information about the Graceful Glass Vellum, The various mediums to color it with, and the coordinating suite of products.

Clickable Supply List To Create This Card


For the current specials and offers – CLICK HERE

Why not relax and color with this beautiful Graceful Glass Vellum and create some stained glass handmade cards when you are done coloring? If you have any questions or need assistance, please feel free to message me! Thank you for stopping by to visit.

Darla Olson at inkheaven wishing you stamping happiness always

Adorable Sending Hedgehugs Card With Free Tutorial

Adorable sending Hedgehugs card with free tutorial by Darla Olson @ inkheaven

Create and Send this Bright and Airy Hedgehugs Card

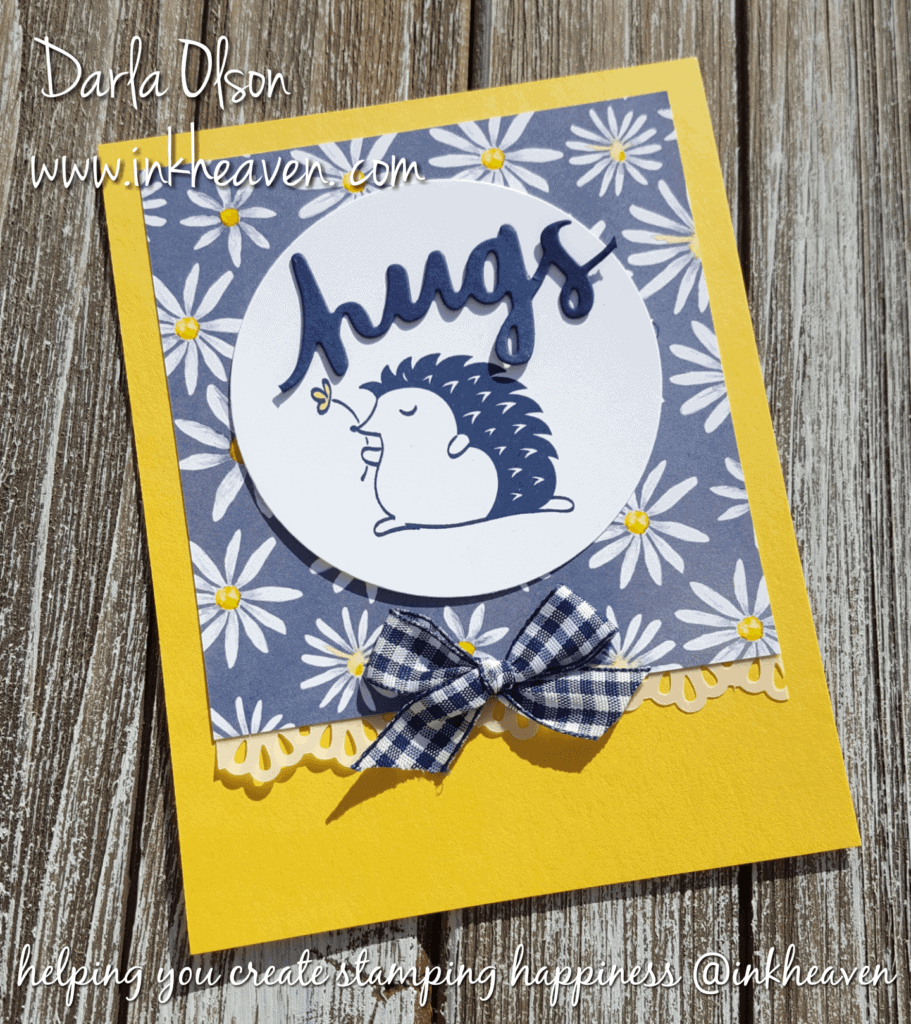
Usually, people who need a hug, need their spirits lifted. This bright and airy Hedgehugs card is sure to lift the spirits of anyone who is in need of hug!

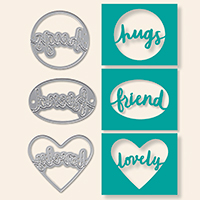
This card is one of three from my class featuring the Hedgehugs stamp set. Since a couple of items on this card are on the retiring list, I thought that I would share it with you. Thankfully, the stamp set is sticking  around for awhile, but the Lovely Words Framelits is on the retiring list. Sadly, the Delightful Daisy Designer Series Paper is already sold out. (To see the entire list of what is retiring – CLICK HERE). However, if you would like to create this particular card, I do have a few class packets available that include this cheerful, daisy paper! To learn more about the class – CLICK HERE.

Clickable Supply List and Suggested Alternate

Please note that I have included an alternate designer series paper in this list. The Naturally Eclectic Designer Series Paper is also bright and airy. I personally recommend the Night of Navy with the dots. However, other sheets will also work but may require you to change to a different color card stock and ribbon.

Specials and Offers – CLICK HERE

I am so happy that you stopped by to visit! If you have any questions or need any help creating this Sending Hedgehugs card, please don’t hesitate to ask! To download the tutorial – CLICK HERE.  Thank you for allowing me to help you create stamping happiness for you and your loved ones.
Darla Olson at inkheaven wishing you stamping happiness always

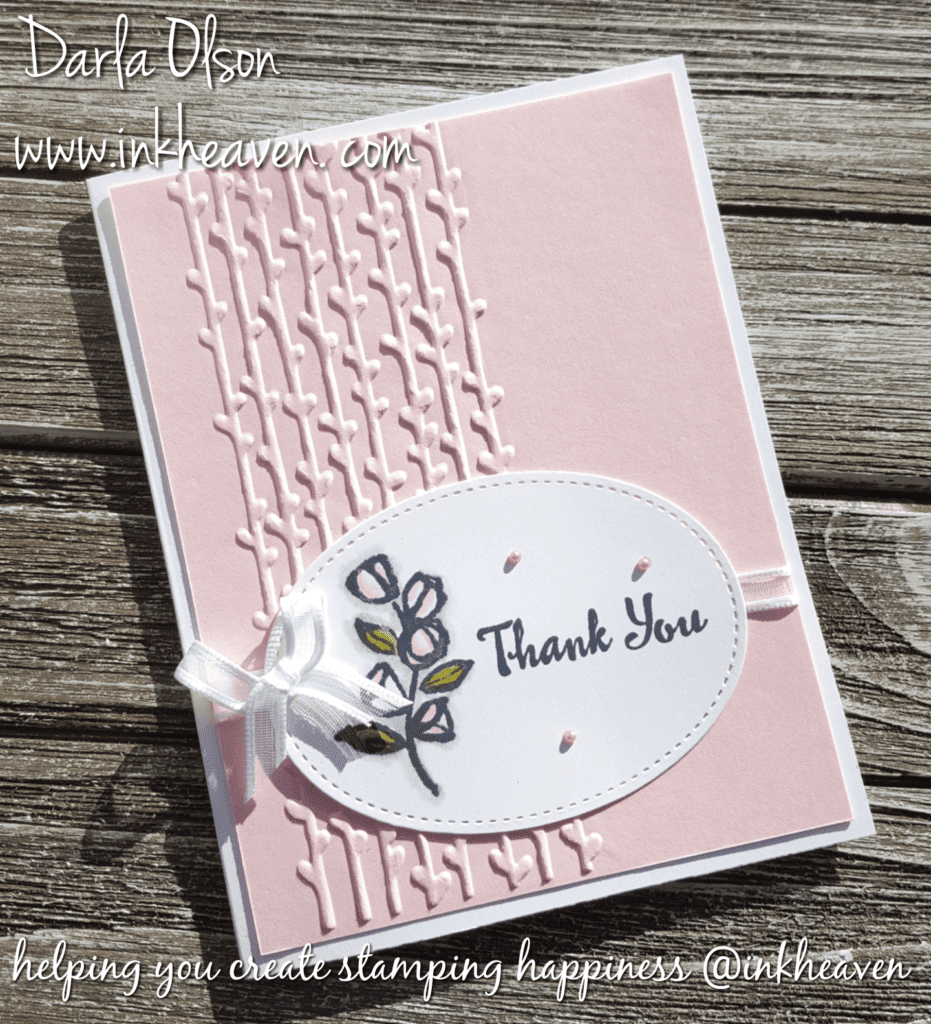
Stop the Decline of the Thank You Card with this Beautiful Card!

Stop the decline of the thank you card with this beautiful card by Darla Olson @inkheaven

Sadly, the etiquette of sending a thank you card is in decline.

It is amazing and sad how often the thank you card goes over-looked.  How many times have you given a gift, volunteered your time, or gone out of your way for someone only to have it go unacknowledged?  Doesn’t it make you feel unappreciated?

Unfortunately, the rise of texting, social media, etc. has contributed to the decline  of the thank you card. Many people have resorted to sending a quick thank you via text, social media, etc. Additionally, there are some today who advocate for good etiquette to be modernized to include the digital thank you.

While a digital thank you is nice, it really does not replace the hand-written thank you note or card. Nothing shows appreciation more than someone taking the time to sit down and hand-write a thoughtful thank you note to acknowledge another’s efforts.

This card was a make and take at my Open House in March and is a quick and easy card to make and send to show your appreciation.

Create this card using this clickable supply list and tutorial.

Please note that Pink Pirouette is being discontinued and is only available while supplies last. For more information and a complete list of retiring items – CLICK HERE.

Specials and Offers – CLICK HERE

Help stop the decline of the thank you card! CLICK HERE to download the tutorial and make a stash of thank you cards today! Thank you for visiting me today and allowing me to help you create stamping happiness for you and your loved ones.

Darla Olson at inkheaven wishing you stamping happiness always

Use This Easy Card Sketch To Create Cards For Any Celebration

Easy card sketch for any celebration by inkheaven

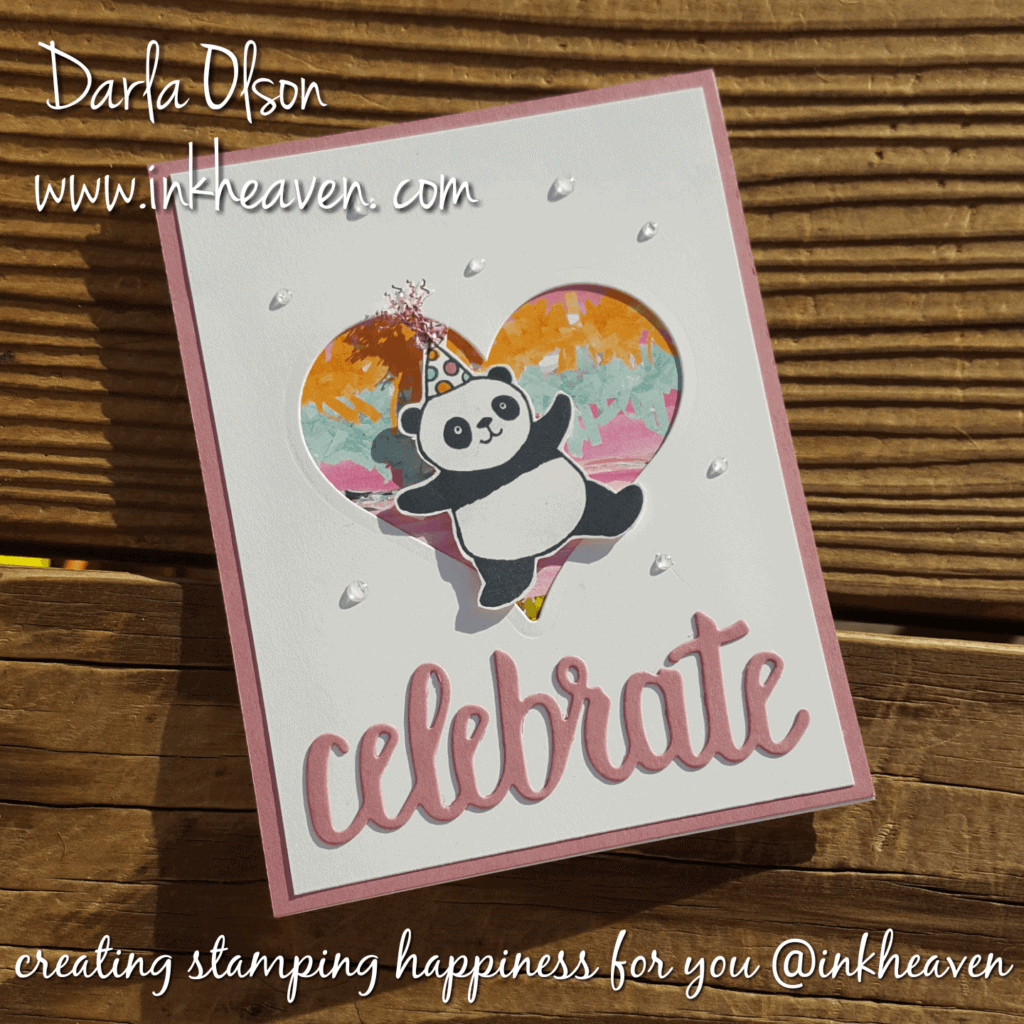
Use an easy card sketch to create cards for any celebration.

Creating wow cards can be just as simple as using an easy card sketch. The wonderful thing about card sketches is that they can be used over and over again! All that is necessary is to switch out the inks, papers, stamps, and accessories, and keep the basic design.

This sketch is one of my go-to favorites. It has a centered focal point and it is anchored at the bottom.  In addition, I love using hearts in my focal points like the one above from the Sweet and Sassy dies. Sadly, these dies are being retired and are only available while supplies last. To learn more about the retired list CLICK HERE. However, any shape can be used with this design; stars, circles, ovals, squares, and more! CLICK  HERE to see another card that uses the same basic design but looks very different. It also uses the Sweet and Sassy dies but it is anchored with images at the bottom of the heart .

Create this card using this clickable supply list and tutorial.

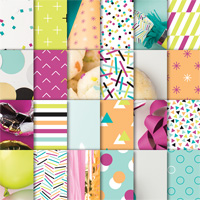
Several of the supplies used to create this card are retiring. Consequently, you will want to place your order as soon as possible since these supplies will only be available while supplies last. These are the items that are retiring: Picture Perfect Party Designer Series Paper, Sweet & Sassy Framelits Dies, Sweet Sugarplum Cardstock, Glitter & Clear Epoxy Shapes, and the Love Mini Tinsel Trim. Additionally, the Party Pandas stamp set was from Sale-a-bration and is no longer available. However, I do have a couple of extra sets for sale – CLICK HERE.  Also, the Celebrate You Thinlits Dies were a Sale-a-bration item and won’t be available again until the new catalog makes its debut on June 1st! To learn more about our catalogs and how to get your own copy, CLICK HERE.

Specials and Offers – CLICK HERE

Have fun using this easy sketch to create this card and many other WOW cards. CLICK HERE for your free tutorial. Thank you for visiting me today and allowing me to help you create stamping happiness for you and your loved ones.

Darla Olson at inkheaven wishing you stamping happiness always

How to Create a Rainbow with the Tutti-frutti Adhesive Backed Sequins

Learn how to create a rainbow with sequins @ inkheaven

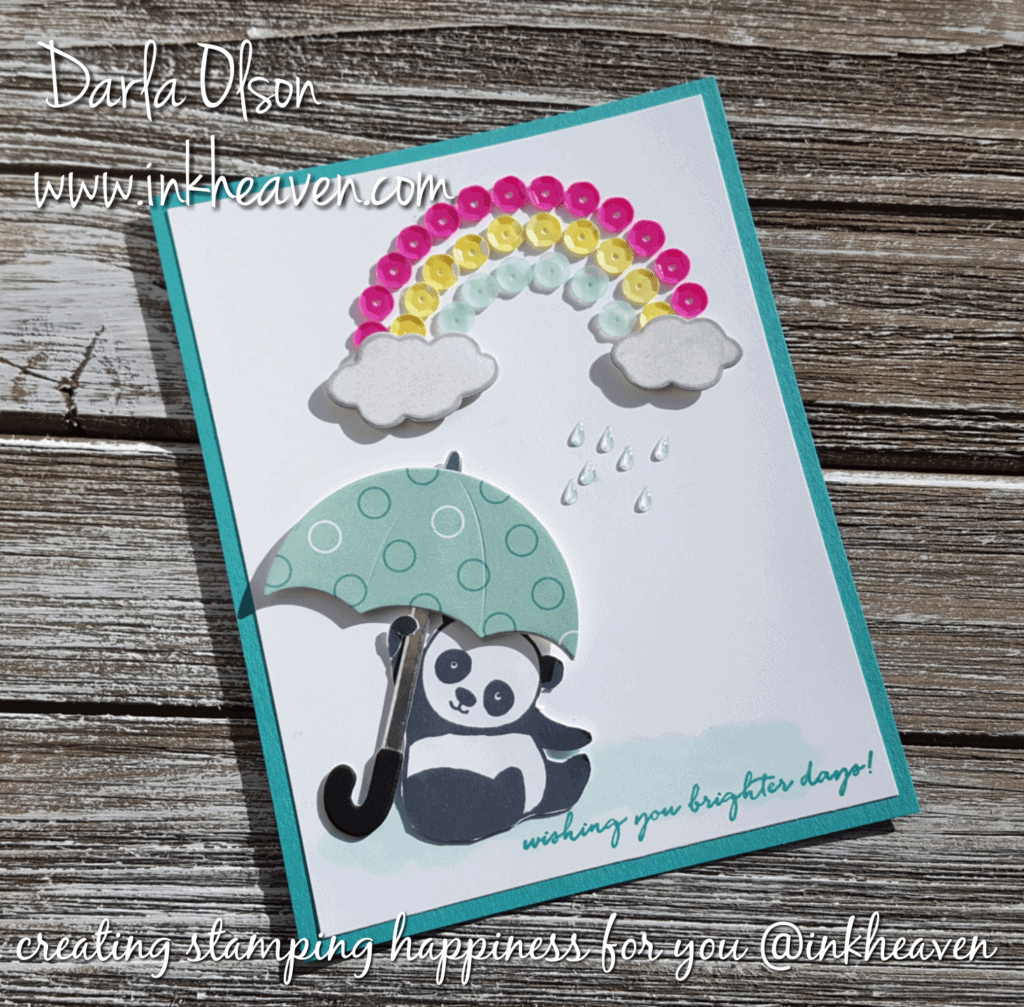
Create a Colorful Rainbow with Tutti-frutti Sequins

Sequins are a hot embellishment trend for 2018.  I wrote about that (click here) when I was preparing this card and tutorial for my Facebook Live earlier in the year.  I am finally getting around to posting the card, tutorial, and my Facebook Live (in the raw) video for you!

The Tutti-frutti Sequins are adhesive-backed which makes creating the rainbow  a snap. You can download the tutorial (click here). Watch my Facebook Live (in the raw) video below the clickable supply list.

Clickable Supply List for the Brighter Days Panda Card

If you missed out on Sale-a-bration and earning the Party Pandas set for free – I have two stamp sets available for sale in my shop (click here)

Here is a clickable supply list for your convenience:

Facebook Live Video (In the Raw!)

Thank you for visiting me today and allowing me to help you create stamping happiness for you and your loved ones.

Darla Olson at inkheaven wishing you stamping happiness always

Color Me Happy With Stampin’ Blends!

Color me happy stamp set is perfectly designed for use with the Stampin' BlendsColor me happy kit is easy and cute


Bundle and Save 10% With The Color Me Happy Bundle

Bundle and save! Buy these two coordinating products in the Color Me Happy Bundle and save 10%:

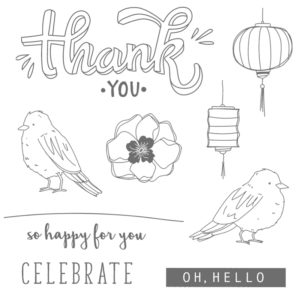
Color Me Happy Stamp Set 

You’ll be colored happy every time you create with this stamp set. Don’t delay purchasing the Color Me Happy Project Kit as it will only be available while supplies last! In conjunction with the kit, the stamp set will be available as long as kit supplies last. The line-art images are perfect for learning coloring techniques using the Stampin’ Blends!

Click here to learn more

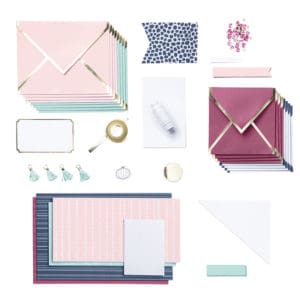
Color Me Happy Project Kit

Color everyone happy when they get one of these cards! Kit includes enough supplies for 16 cards, 4 each of 4 designs. Ink and adhesive sold separately.

Kit includes:
• 16 card bases, 4 each of 4 designs
• 16 envelopes with printed design inside, 4 each of 4 designs
• Gold foil accents
• Die-cut cardstock background and accents
• Printed and gold foil die-cut accents
• White Baker’s Twine
• Mini Pool Party tassels
• Circle and star sequins
• Gold foil tape

Coordinating colors in the kit are:

Basic Black, gold foil, Night of Navy, Pink Pirouette, Pool Party, Pumpkin Pie, and Rich Razzleberry

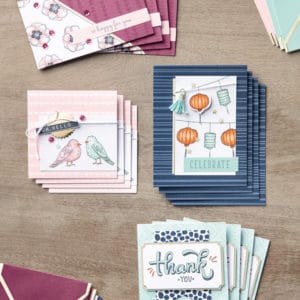
Completed Projects From the Kit

Completed Color Me Happy Bundle Projects
Click here to purchase the bundle.


Color Me Happy Card Kit Using Stampin’ Blends Video

Watch this video for tips on using the Stampin’ Blends and assembling the cards in your kit.

Darla Olson at inkheaven wishing you stamping happiness always