Creating Cards With Eclectic Garden
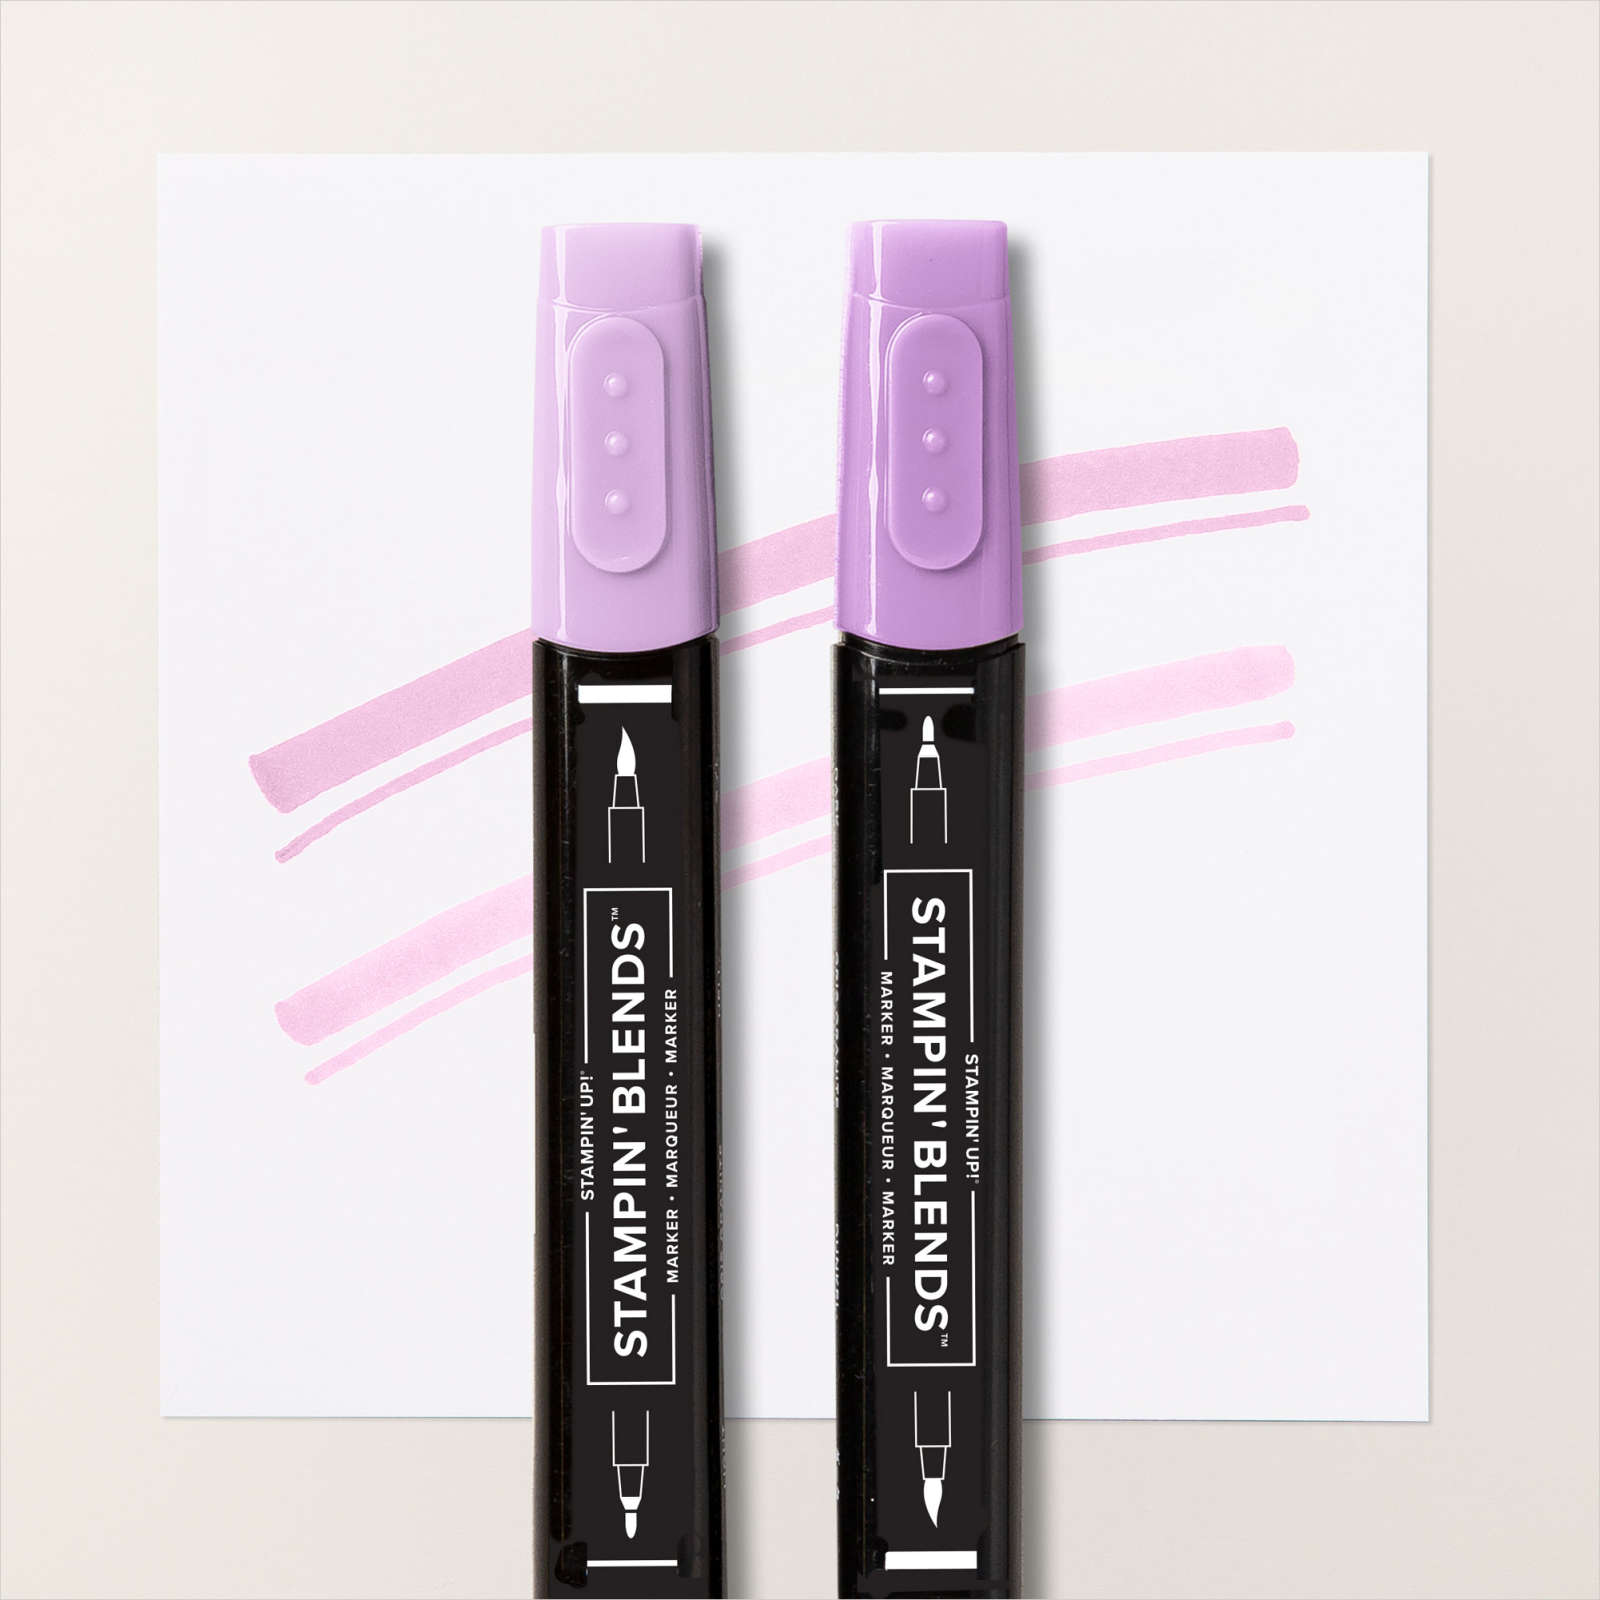
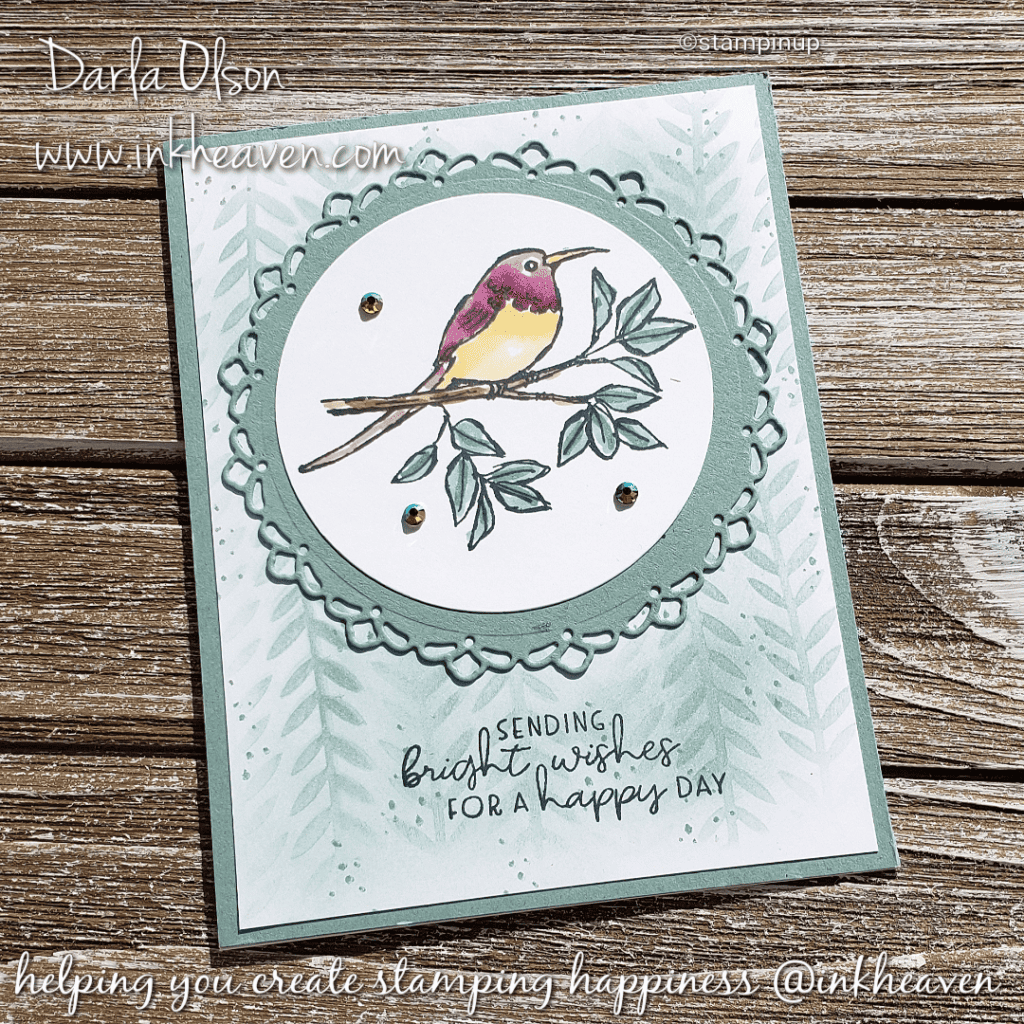
Eclectic Garden is an all-occasion, nature-inspired photopolymer stamp set. This Two-Step Stampin’ set allows you to layer two or more images to create one final image with extra texture and dimension in the colors you want. Or, if you prefer, use a coloring technique of your choice like the Stampin’ Blends that I chose. If you are not familiar with the Stampin’ Blends or how to use them – CLICK HERE
Seeing that the images (bird, berries, turnips, or a flower), in Eclectic Garden, are simple, they are perfect for layering on a detailed background like this Soft Succulent background created with Blending Brushes, Soft Succulent ink, and a Decorative Mask. In addition, Decorative Masks are wonderful tools for adding textured backgrounds to your cards with embossing paste.
Below are the supplies you will need to have on hand to create this Sending Bright Wishes Eclectic Garden card. For your convenience there is a button to add all the necessary supplies to your shopping cart or you may use my shop here now button to browse my store for select items.
Sending Bright Wishes Card Recipe
To have the recipe printed on one page the printable recipe does not contain the pictured supply list above. If you need more assistance with the instructions, I do have a Facebook Live video that you can watch – CLICK HERE
Sending Bright Wishes With Eclectic Garden
Materials
Card Stock Dimensions
- 1 4¼" x 5½" Cardstock (card front) Soft Succulent
- 1 4" x 5¼" Cardstock (card front layer) Basic White
- 1 4½" x 4½" Cardstock (Encircled in Beauty Die Cut) Soft Succlent
- 1 3½" x 3½" Cardstock (Layering Circles Die Cut) Basic White
- 1 8½" x 5½" Cardstock (card base) Basic White
Instructions
- Place Decorative Mask over the Basic White card front layer. (Hold in place with masking tape or, if using the Stamparatus, magnets.1 4" x 5¼" Cardstock (card front layer)
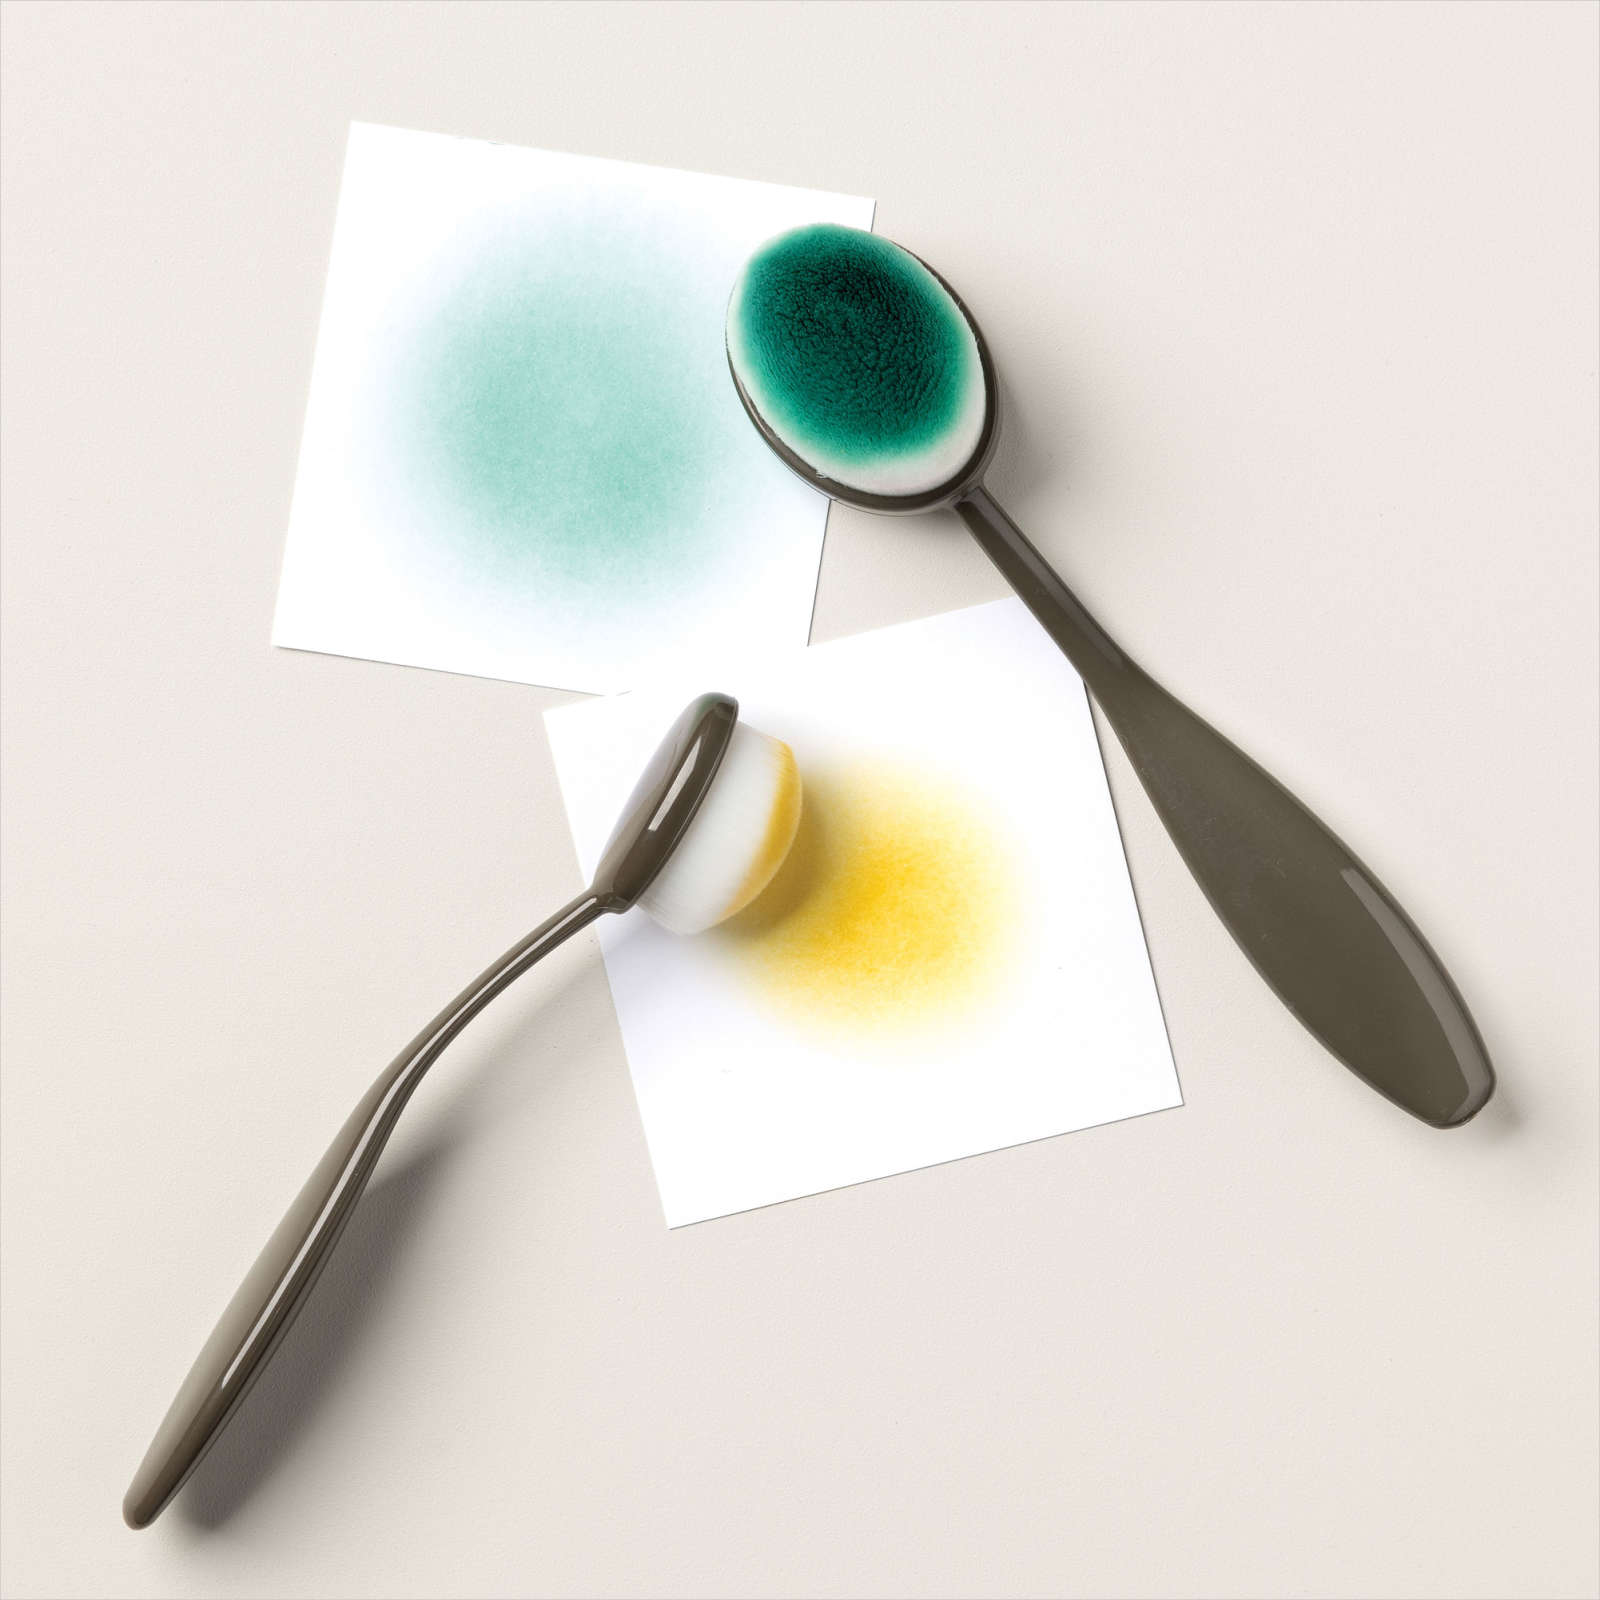
- Ink up the Blending Brush with Soft Succulent ink.
- Lightly brush over the Decorative Mask. Tip: lightly brush in one direction as the decorative mask has lots of details that make it prone to moving if you do not use a light touch.
- Remove mask after obtaining desired coverage.
- Lightly stamp speckles (or dots) over the masked background in Soft Succulent ink as shown.
- Layer the Soft Succulent card front to the Basic White card base.1 4¼" x 5½" Cardstock (card front), 1 8½" x 5½" Cardstock (card base)
- Layer the Basic Whte card front layer (with the Soft Succulent background) to the Soft Succulent card front.
- Die Cut the decorative circle using the Encircled in Beauty dies from Soft Succulent card stock.1 4½" x 4½" Cardstock (Encircled in Beauty Die Cut)
- Layer your die-cut on the card front as shown.
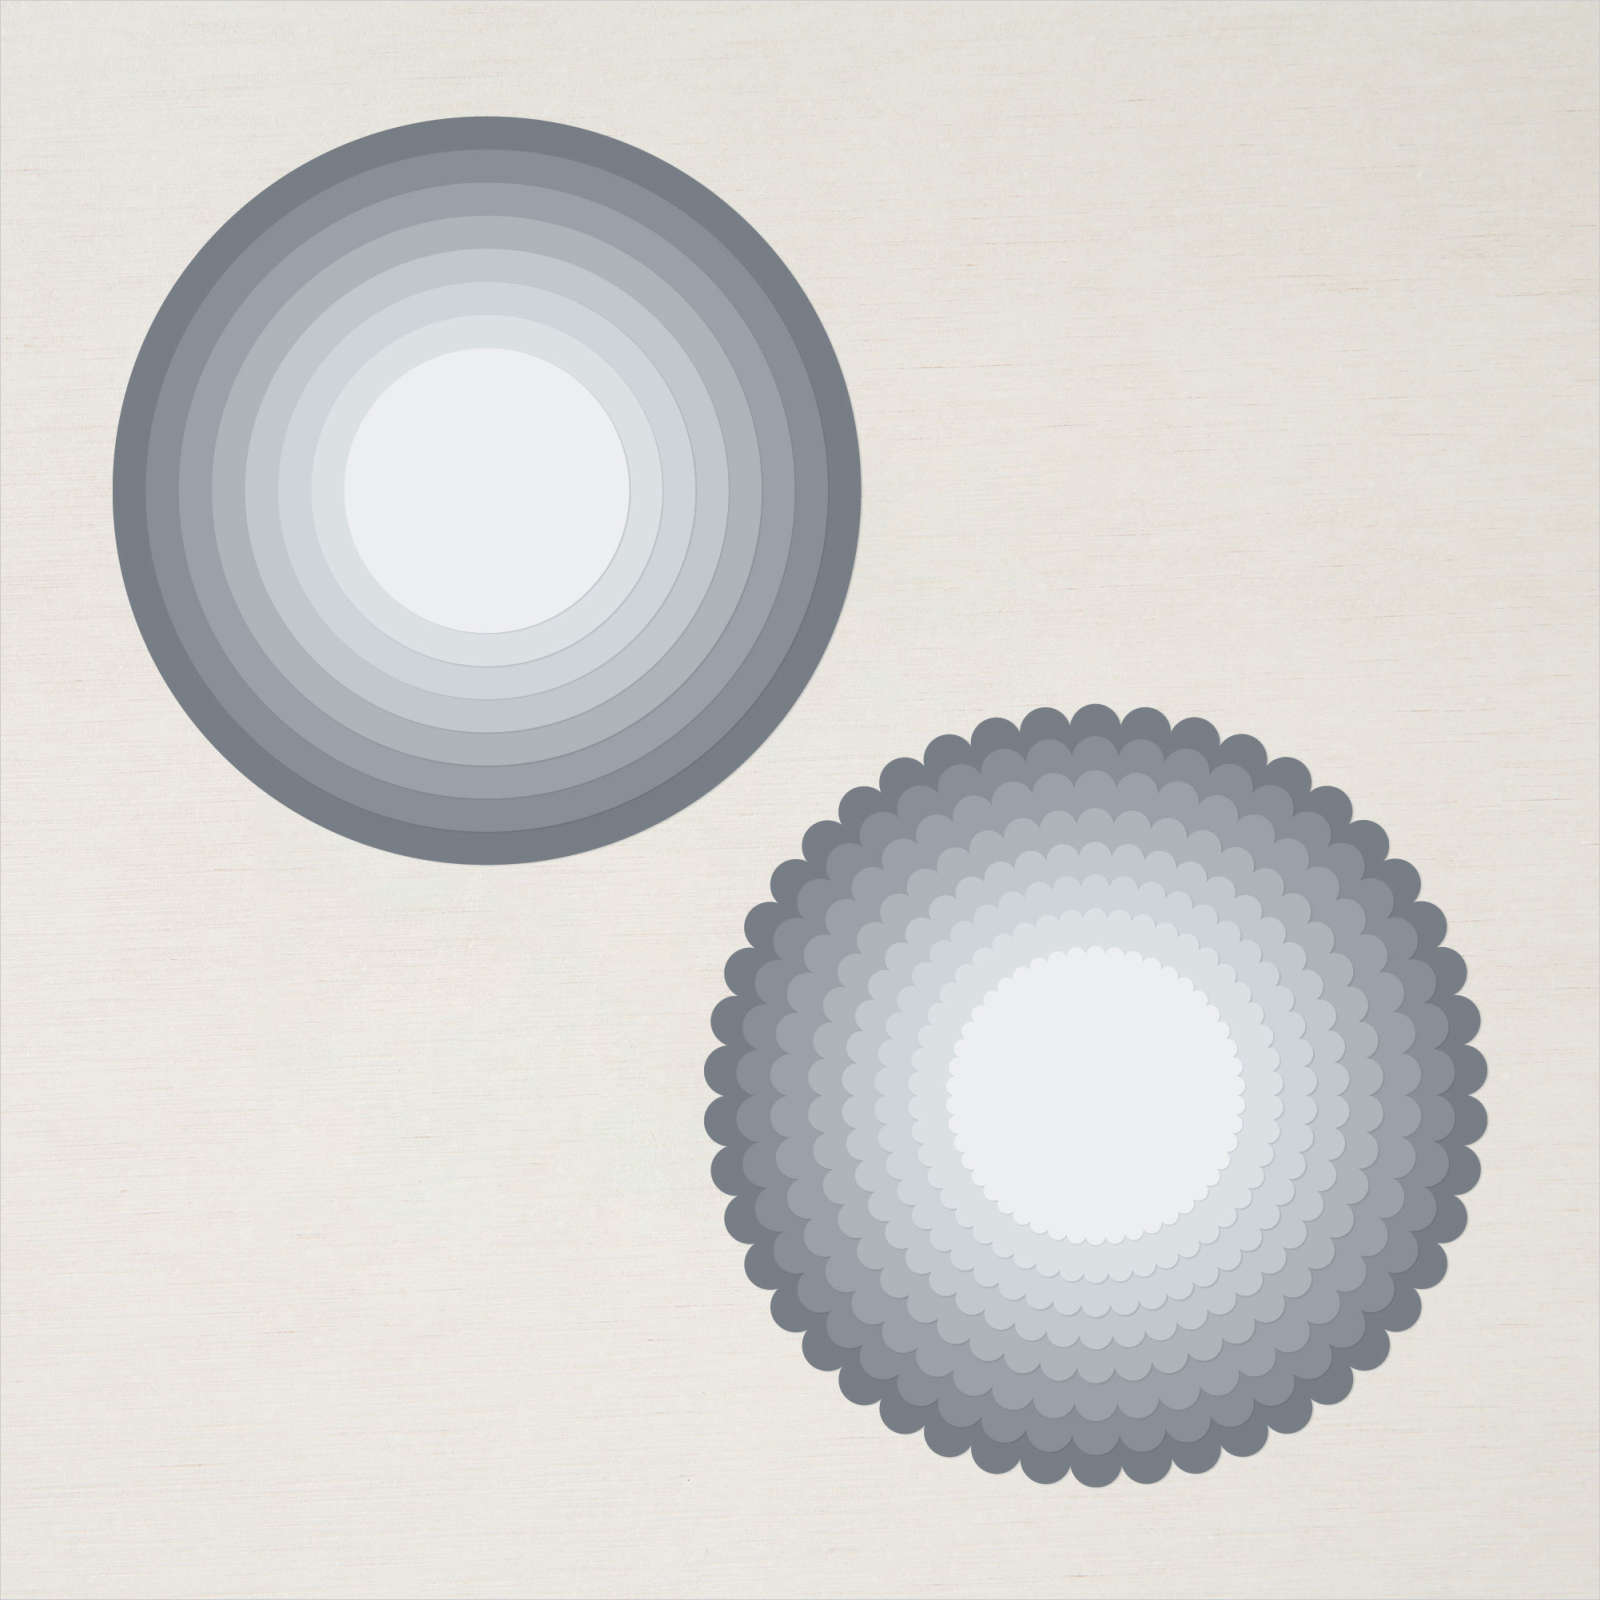
- Die-cut a circle with the Layering Circle dies from Basic White card stock as shown.1 3½" x 3½" Cardstock (Layering Circles Die Cut)
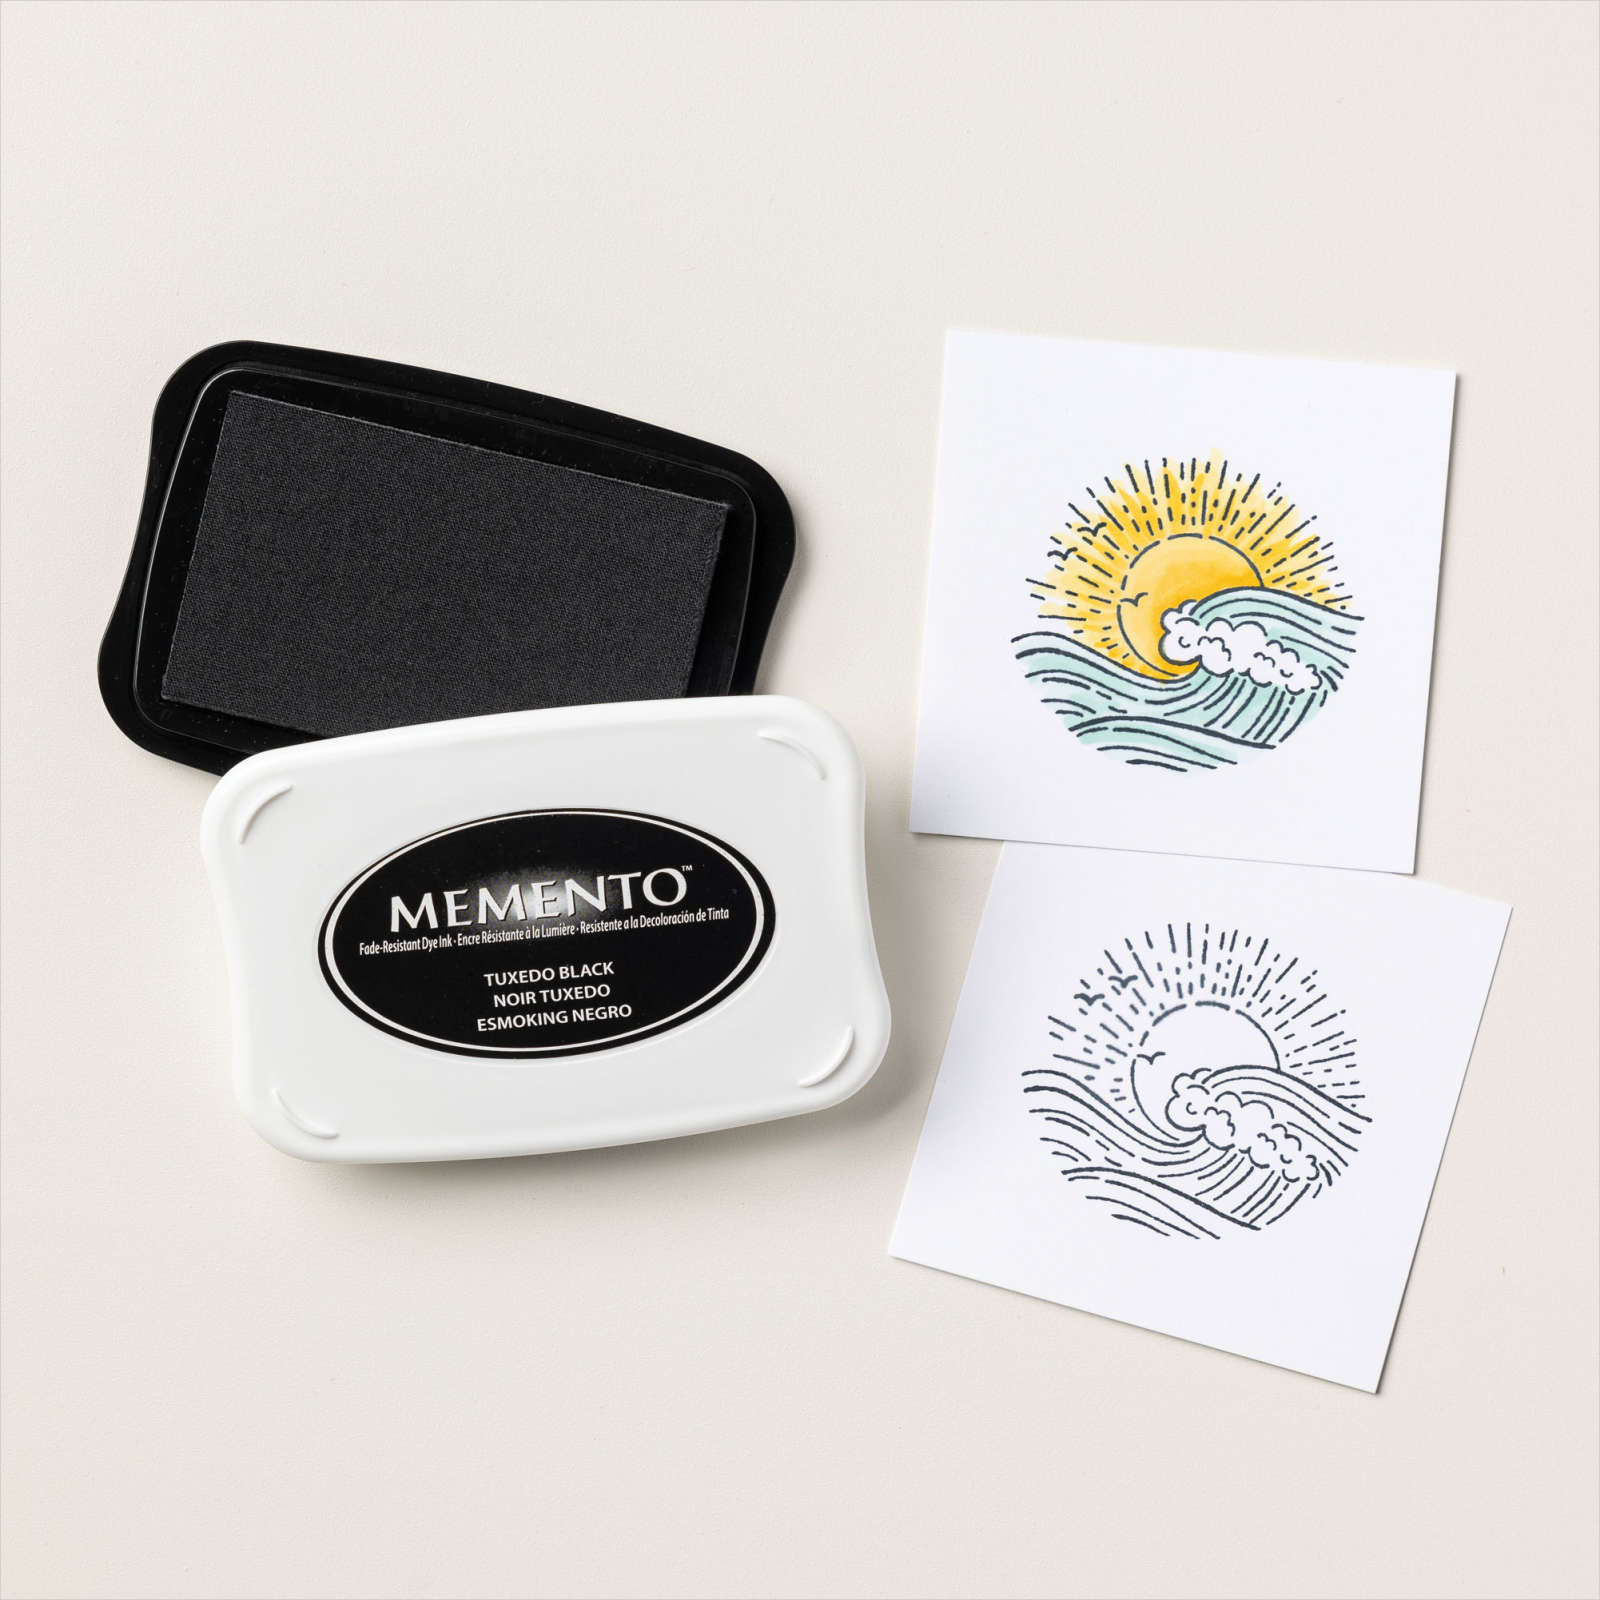
- Stamp the bird in the circle using Tuxedo Black ink as shown.
- Color the bird with Stampin' Blends as shown.
- Layer the bird on to the card front as shown.
- Stamp the Sending Bright Wishes sentiment to the card front in Tuxedo Black in as shown.
- Add Garden Gems to the card front as shown.

