Adding Layers And Texture
I’m not a huge fan of coloring. (Gasp! I know, many of you enjoy a good coloring session). Consequently, I look for other ways to add interest to my cards. Two things that I like to use are layers and textures.
Layers and texture can be added in several different ways (please note this is not necessarily a complete list) :
- Masking
- Background stamps or images
- Cardstock
- Accessories
Each of these can be used separately or combined together depending on the look you are trying to create. In this instance, I really did not want to color the rooster. I was tired of coloring him! Plus, there is a card sample on page 36 in our Occasions Catalog that uses the white flax ribbon like a card layer. (To learn more about the Occasions Catalog – CLICK HERE
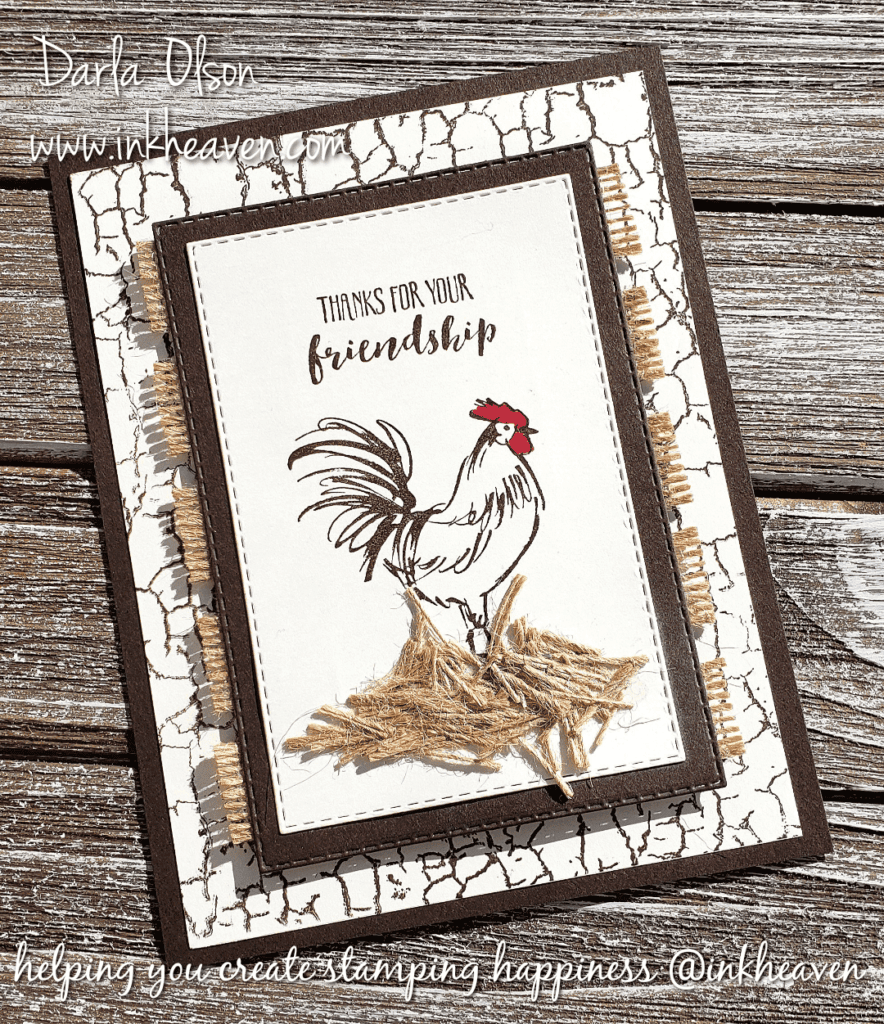
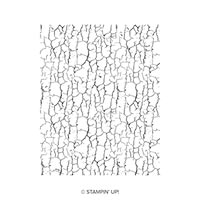
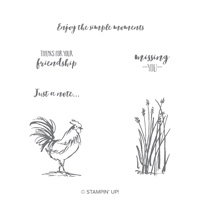
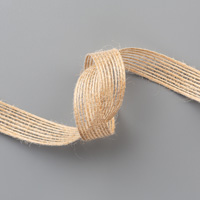
Of course, when I saw that and said, “Shut the front door! I have to play with that idea!” However, since I was going for a rustic look with the Home to Roost stamp set, I chose to use the burlap ribbon for my layer. I also wanted to play with the new Crackle Paint background stamp, so I decided to combine several things to make up for my lack of coloring!
Adding Interest Layer by Layer
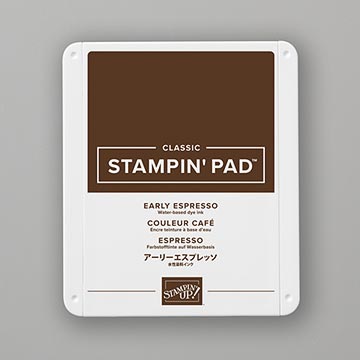
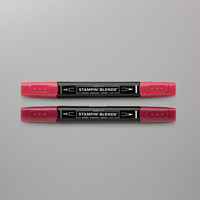
To keep things simple I chose a simple color combo of Early Espresso, Very Vanilla, and a very small pop of Cherry Cobbler. After establishing my color combo I took these steps to create my layers:
- Stamped the Crackle Paint background in Early Espresso ink on a Very Vanilla to layer on an Early Espresso card base.
- Created a focal point with the rooster and sentiment in Early Espresso ink on a rectangle shape of Very Vanilla card stock. (I used the Rectangle Stitched Framelits to create the rectangle, but that is optional.)
- I then layered the focal point on another rectangle created with Early Espresso card stock. (Again, using the optional Rectangle Stitched Framelits.)
- After this, I added the strips of burlap ribbon to the back of the focal point. Each strip was about 5 inches long so I trimmed them after adding them.
- The focal point was then added to the card base with Stampin’ Dimensionals to give it a little lift off the card.
The card looked pretty good at this point. However, as I was looking at it trying to decided if I wanted to do a little watercolor wash at the bottom, I happened to look at my burlap ribbon trimmings. It was at this moment that inspiration to use the burlap trimmings as straw struck me. I snipped them up a little more and threw them on with a little glue. The added texture made an immediate difference to the card! Not to mention, I barely had to color at all to create this amazing card! I kind of feel like I won the lottery! Okay, that might be a slight exaggeration on my part. But you can help me out there by purchasing the supplies you need from me!
Get These Supplies To Create This Card:
But wait! Before you shop – you need to know about Sale-a-bration! (Home to Roost is a limited-time FREE Sale-a-bration item!) Sale-a-bration is Stampin’ Up!’s premier annual sale! Given that, with every $50 you spend you will earn a FREE Sale-a-bration item of your choice! To learn more about Sale-a-bration – CLICK HERE.


Specials and Offers – CLICK HERE
To learn more about the 2019 Occasions Catalog – CLICK HERE
To learn more about Sale-a-bration – CLICK HERE
I did demonstrate this card during a Facebook Live and many times I download and share them here. However, I demonstrated several cards with Home to Roost during this Facebook Live and I keep getting a network error when I try to down load it. To not miss any of my Facebook Live classes, please follow me on Facebook! CLICK HERE
To get a schedule of my Facebook Live events (and more) delivered directly to your inbox, be sure to get on my email list!
If you enjoyed this project and technique you might also enjoy using this masking technique to create interest and layers on your handmade cards – CLICK HERE
Thank you for stopping by to visit. If you have any questions, or need any help creating this card, please ask! I love helping you create stamping happiness for yourself and loved ones!