Masked In Burlap – Who Was That Masked Man?
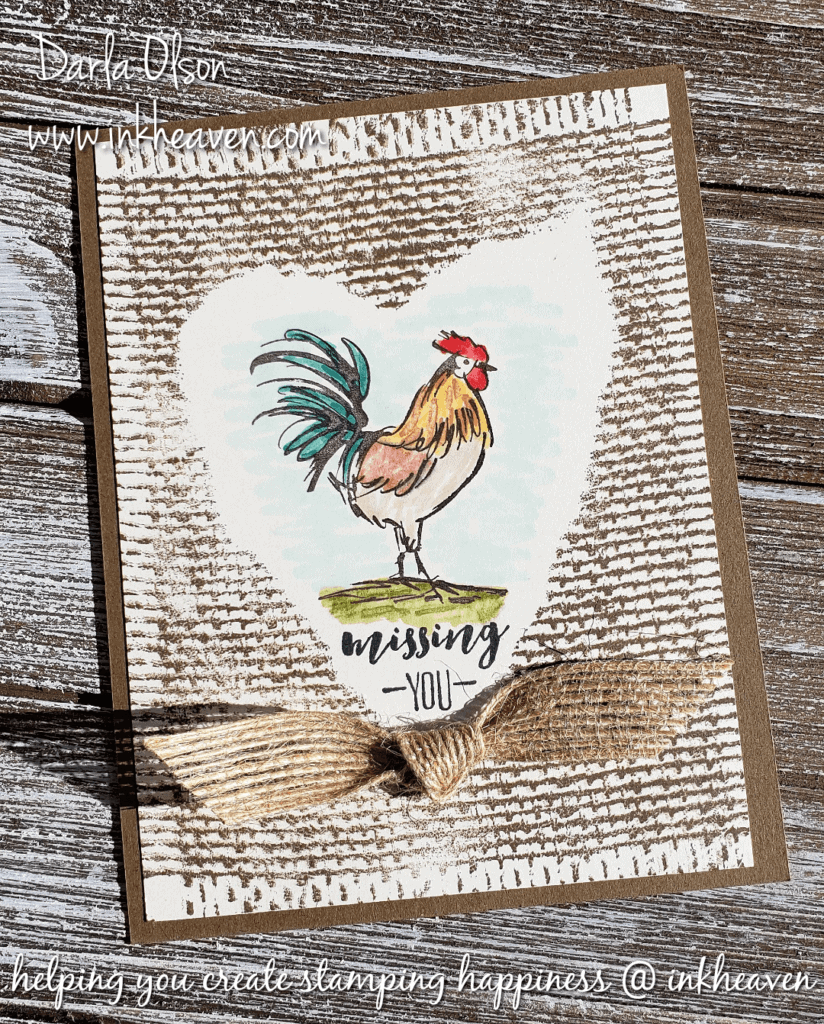
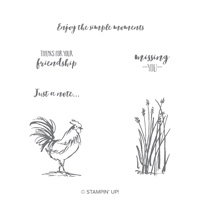
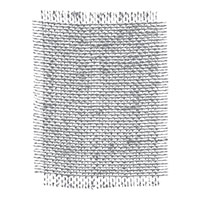
Okay, so it’s not a masked man – but it is rooster masked in burlap! I just love the Home to Roost stamp set! This rooster is no Lone Ranger and is a perfect fit with so many other stamps from our catalog. This time I have masked the rooster with the Burlap background stamp. I used the “stencil” I created and used for creating a mask on this card – CLICK HERE
In addition, even though I am not a huge fan of coloring, the rooster is a pretty small area, so I thought I’d get out my Stampin’ Blends and through some color on him for you!
Here are some quick steps for masking your rooster in burlap:
- Create a heart mask with a window sheet (you can use paper or card stock, I prefer a window sheet since it is reusable).
- Use a little piece of washi tape or semi-permanent adhesive to adhere the heart mask to the card where you want it to be.
- Ink up the Burlap stamp and stamp over the mask and card.
- Carefully remove your heart mask and stamp your rooster and sentiment inside.
To demonstrate this card, I did a Facebook Live video! I also demonstrated two other cards with the Home to Roost stamp set during this video. Please like and follow my Facebook page to be notified when I go live (and to watch the video) – CLICK HERE
Get These Supplies To Create This Card:
But wait! Before you shop – you need to know about Sale-a-bration! (Home to Roost is a limited-time FREE Sale-a-bration item!) Sale-a-bration is Stampin’ Up!’s premier annual sale! Given that, with every $50 you spend you will earn a FREE Sale-a-bration item of your choice! To learn more about Sale-a-bration – CLICK HERE.


Specials and Offers – CLICK HERE
To learn more about the 2019 Occasions Catalog – CLICK HERE
To learn more about Sale-a-bration – CLICK HERE
If you enjoyed this masked in burlap project with Home to Roost you might also enjoy these two other posts showcasing Home to Roost – CLICK HERE and CLICK HERE
Thank you for stopping by to visit. If you have any questions, or need any help creating this masked in burlap card, please ask! I love helping you create stamping happiness for yourself and loved ones!

This Rooster Rules The Roost On The Farm And In Monochrome!
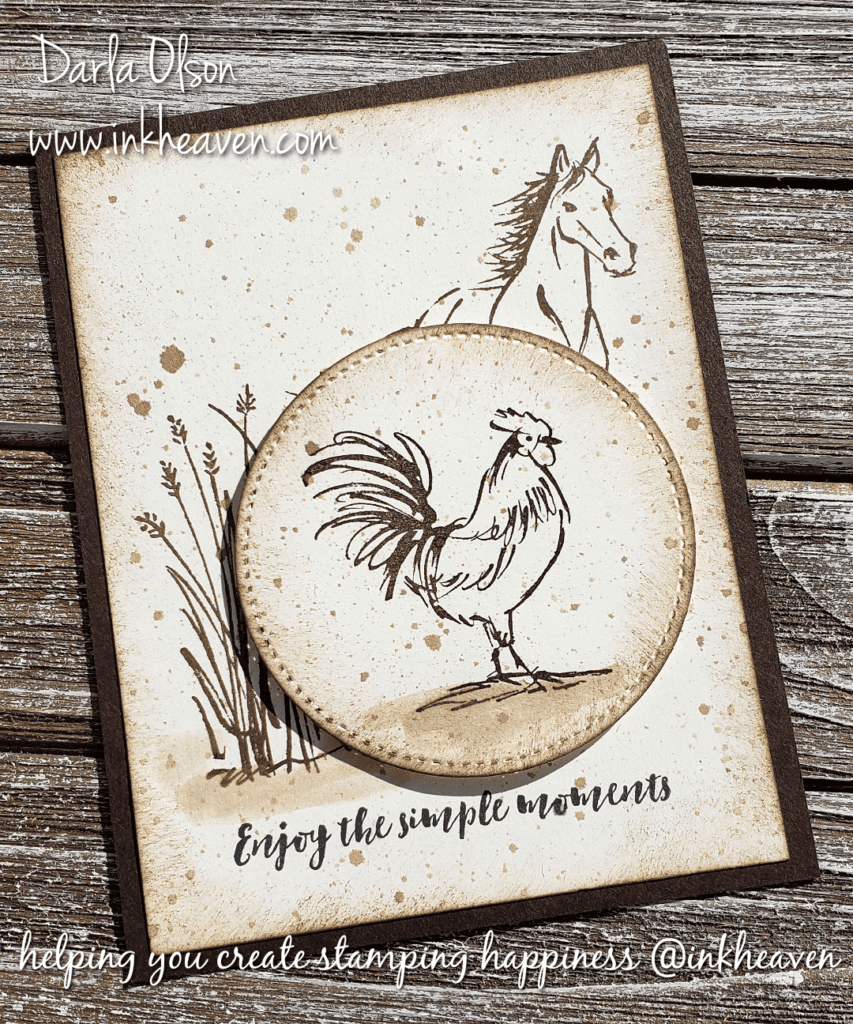
Ruling The Roost On The Farm And In Monochrome
This proud fella rules the roost on the farm and in monochrome! Since I’m not a big fan of spending lots of time on coloring (I really have to be in the mood, which is rare), monochrome is one of my go to favorites! Plus, just in case you are new to the term monochrome, here is a definition by Webopedia that I like:
Monochrome means one color. Typically one color is presented in different values and intensities — or different shades of the single color.
It’s amazing to me how one color presented in different shades can create images that speak volumes! In this instance, I used several different techniques on this card to obtain those various shades of the same color. Plus, I took the liberty of stretching the rule of monochrome a bit and used black for the sentiment to help it pop. Here they are in no particular order:
- Sponging
- Spattering
- Watercolor
To demonstrate this card, I did a Facebook Live video! I also demonstrated two other cards with the Home to Roost stamp set during this video. Please like and follow my Facebook page to be notified when I go live (and to watch the video) – CLICK HERE
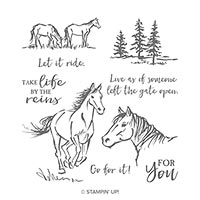
Since the rooster and the horse are both farm animals, pairing the rooster (Home to Roost) with the horse (Let it Ride) just made sense. It’s a great pairing! To see another great stamp set pairing idea – CLICK HERE
Get These Supplies To Create This Monochrome Card:
But wait! Before you shop – you need to know about Sale-a-bration! (Home to Roost is a limited-time FREE Sale-a-bration item!) Sale-a-bration is Stampin’ Up!’s premier annual sale! Given that, with every $50 you spend you will earn a FREE Sale-a-bration item of your choice! To learn more about Sale-a-bration – CLICK HERE.


Specials and Offers – CLICK HERE
To learn more about the 2019 Occasions Catalog – CLICK HERE
To learn more about Sale-a-bration – CLICK HERE
If you enjoyed this monochrome project and the techniques you might also enjoy this post about using layers and texture to create interest on your handmade cards – CLICK HERE
Thank you for stopping by to visit. If you have any questions, or need any help creating this card, please ask! I love helping you create stamping happiness for yourself and loved ones!
How To Use Layers And Texture To Add Interest To Your Handmade Cards
Adding Layers And Texture
I’m not a huge fan of coloring. (Gasp! I know, many of you enjoy a good coloring session). Consequently, I look for other ways to add interest to my cards. Two things that I like to use are layers and textures.
Layers and texture can be added in several different ways (please note this is not necessarily a complete list) :
- Masking
- Background stamps or images
- Cardstock
- Accessories
Each of these can be used separately or combined together depending on the look you are trying to create. In this instance, I really did not want to color the rooster. I was tired of coloring him! Plus, there is a card sample on page 36 in our Occasions Catalog that uses the white flax ribbon like a card layer. (To learn more about the Occasions Catalog – CLICK HERE
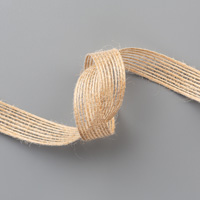
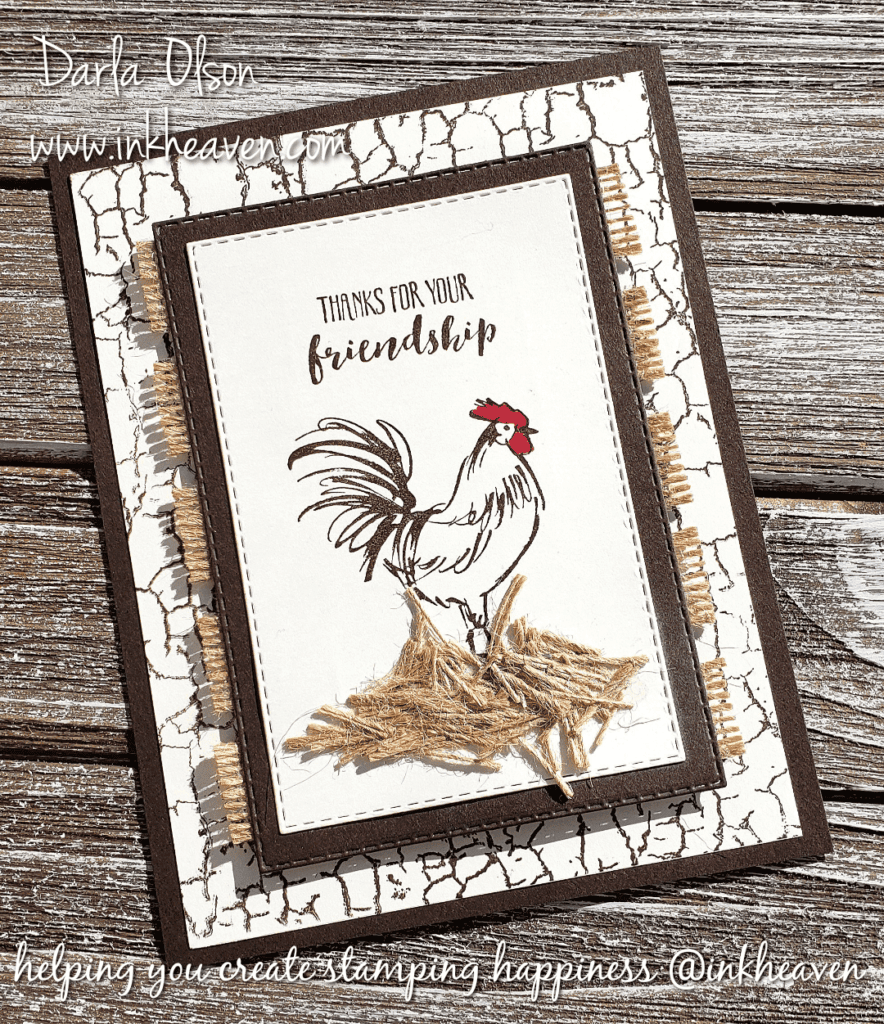
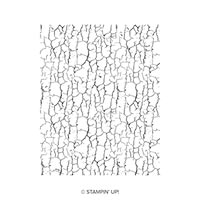
Of course, when I saw that and said, “Shut the front door! I have to play with that idea!” However, since I was going for a rustic look with the Home to Roost stamp set, I chose to use the burlap ribbon for my layer. I also wanted to play with the new Crackle Paint background stamp, so I decided to combine several things to make up for my lack of coloring!
Adding Interest Layer by Layer
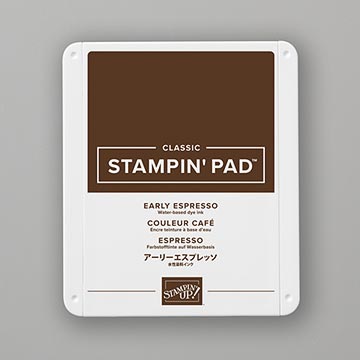
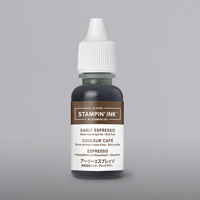
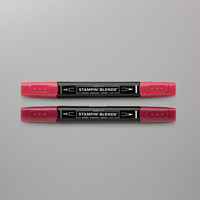
To keep things simple I chose a simple color combo of Early Espresso, Very Vanilla, and a very small pop of Cherry Cobbler. After establishing my color combo I took these steps to create my layers:
- Stamped the Crackle Paint background in Early Espresso ink on a Very Vanilla to layer on an Early Espresso card base.
- Created a focal point with the rooster and sentiment in Early Espresso ink on a rectangle shape of Very Vanilla card stock. (I used the Rectangle Stitched Framelits to create the rectangle, but that is optional.)
- I then layered the focal point on another rectangle created with Early Espresso card stock. (Again, using the optional Rectangle Stitched Framelits.)
- After this, I added the strips of burlap ribbon to the back of the focal point. Each strip was about 5 inches long so I trimmed them after adding them.
- The focal point was then added to the card base with Stampin’ Dimensionals to give it a little lift off the card.
The card looked pretty good at this point. However, as I was looking at it trying to decided if I wanted to do a little watercolor wash at the bottom, I happened to look at my burlap ribbon trimmings. It was at this moment that inspiration to use the burlap trimmings as straw struck me. I snipped them up a little more and threw them on with a little glue. The added texture made an immediate difference to the card! Not to mention, I barely had to color at all to create this amazing card! I kind of feel like I won the lottery! Okay, that might be a slight exaggeration on my part. But you can help me out there by purchasing the supplies you need from me!
Get These Supplies To Create This Card:
But wait! Before you shop – you need to know about Sale-a-bration! (Home to Roost is a limited-time FREE Sale-a-bration item!) Sale-a-bration is Stampin’ Up!’s premier annual sale! Given that, with every $50 you spend you will earn a FREE Sale-a-bration item of your choice! To learn more about Sale-a-bration – CLICK HERE.


Specials and Offers – CLICK HERE
To learn more about the 2019 Occasions Catalog – CLICK HERE
To learn more about Sale-a-bration – CLICK HERE
I did demonstrate this card during a Facebook Live and many times I download and share them here. However, I demonstrated several cards with Home to Roost during this Facebook Live and I keep getting a network error when I try to down load it. To not miss any of my Facebook Live classes, please follow me on Facebook! CLICK HERE
To get a schedule of my Facebook Live events (and more) delivered directly to your inbox, be sure to get on my email list!
If you enjoyed this project and technique you might also enjoy using this masking technique to create interest and layers on your handmade cards – CLICK HERE
Thank you for stopping by to visit. If you have any questions, or need any help creating this card, please ask! I love helping you create stamping happiness for yourself and loved ones!
Sweet Card Rains Loving Thoughts Using The Old And New
Rain Loving Thoughts On A Friend With This Sweet Card
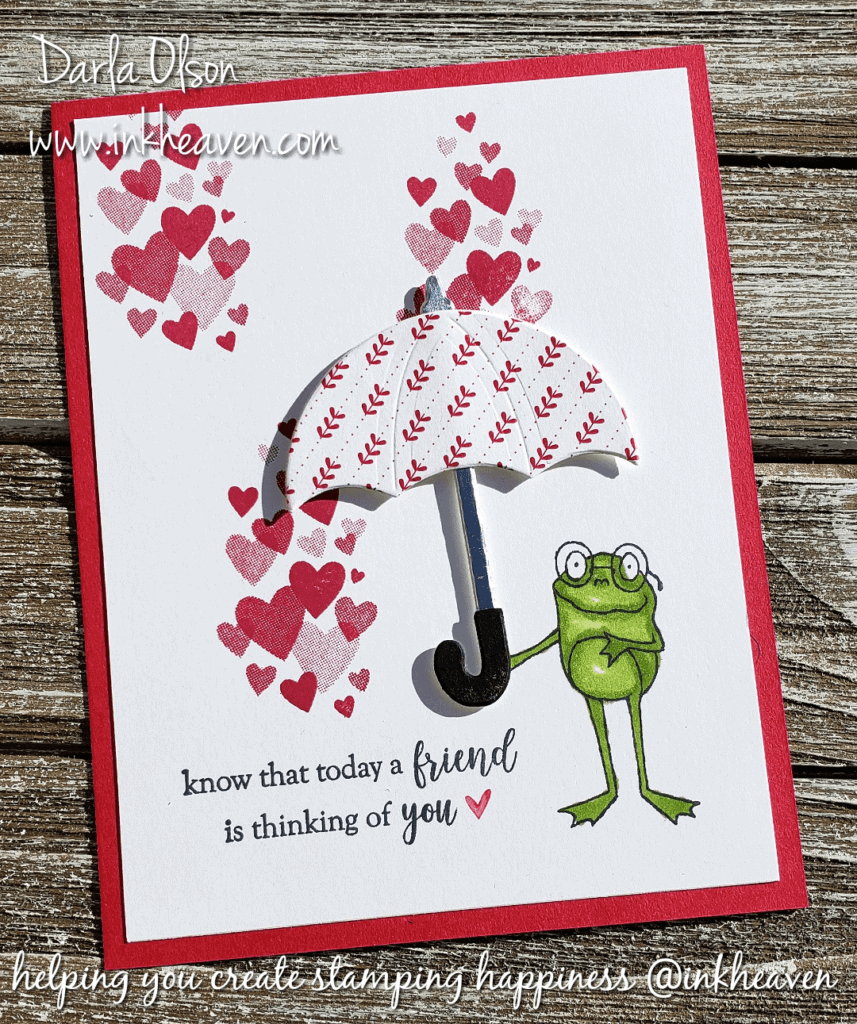
Do you have a friend who is in need of loving thoughts? Send them loving thoughts with this sweet card! Plus, the adorable frog is sure to bring a smile to their face!
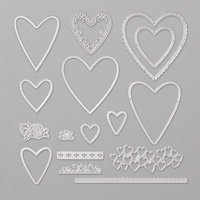
Inspiration for this card came from the featured thinking of you sentiment. Specifically, from that sweet little heart! Consequently, I had to use those gorgeous floating hearts! Those, coupled with the adorable frog made a sweet card. However, adding the umbrella was the cherry on top!
The Inside Story On The “Old” Supplies Used
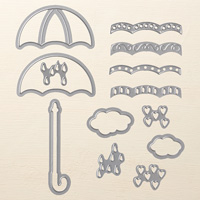
First off, I will start with giving you some clickable images of the old supplies used on this sweet card! The amazing, retired Umbrella Weather Framelits dies are a steal of a deal at $15! But hurry! They are on the clearance rack and won’t last long at this price!


Get The Scoop On The New Supplies…
Secondly, let me share the new supplies used on this sweet card debuting in the new Occasions Catalog and the Sale-a-bration Brochure on January 3rd! Please note that you will not be able to purchase these items until January 3rd after 3:00 a.m. Mountain time. To learn more about the 2019 Occasions Catalog – CLICK HERE.
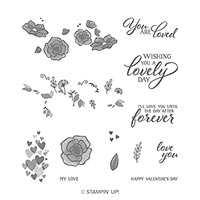
- Forever Lovely is a new DistINKtive stamp set (the first of its kind in photopolymer) and is the source of those gorgeous floating hearts! To learn more about DistINKtive stamps – CLICK HERE
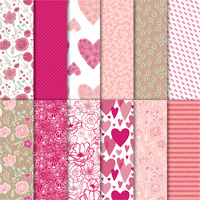
- All My Love Designer Series Paper coordinates with the Forever Lovely stamp set and is the paper featured on the umbrella!
- So Hoppy Together (not shown) is where the adorable frog is from! In addition, it is a Sale-a-bration set which means that you can get it for FREE!
- Part of My Story (not shown) is a sweet new sentiment set which is where the thinking of you sentiment is from, of course! Part of My Story is also a Sale-a-bration stamp set! To learn more about Sale-a-bration – CLICK HERE.
Specials and Offers – CLICK HERE
To learn more about the 2019 Occasions Catalog – CLICK HERE
Thank you for stopping by to visit. If you have any questions, or need any help creating this sweet card with the old and new, please ask! I love helping you create stamping happiness for yourself and loved ones!
If you enjoyed this card – you might like this one – CLICK HERE
New Sale-a-bration Gifts Are Available For You Today!
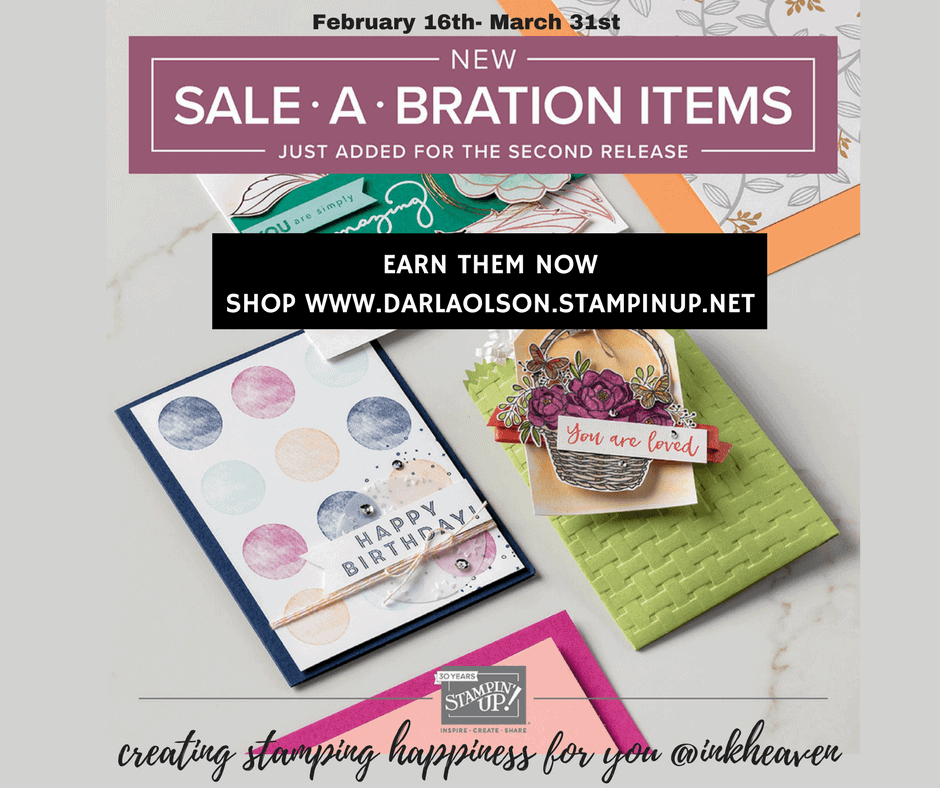
Earn Your New Release Sale-a-bration Gifts Today
Sale-a-bration has been going full swing with 13 wonderful products for you to earn for free. However, starting today, we now have 3 more sale-a-bration gifts for you to earn for free! To learn about all the different ways you can earn these newly released sale-a-bration gifts, CLICK HERE.
A Quick Look At The New Releases
For your convenience, here are some quick links to the newly released items:


CLICK HERE to download the full color second release Sale-a-bration brochure.
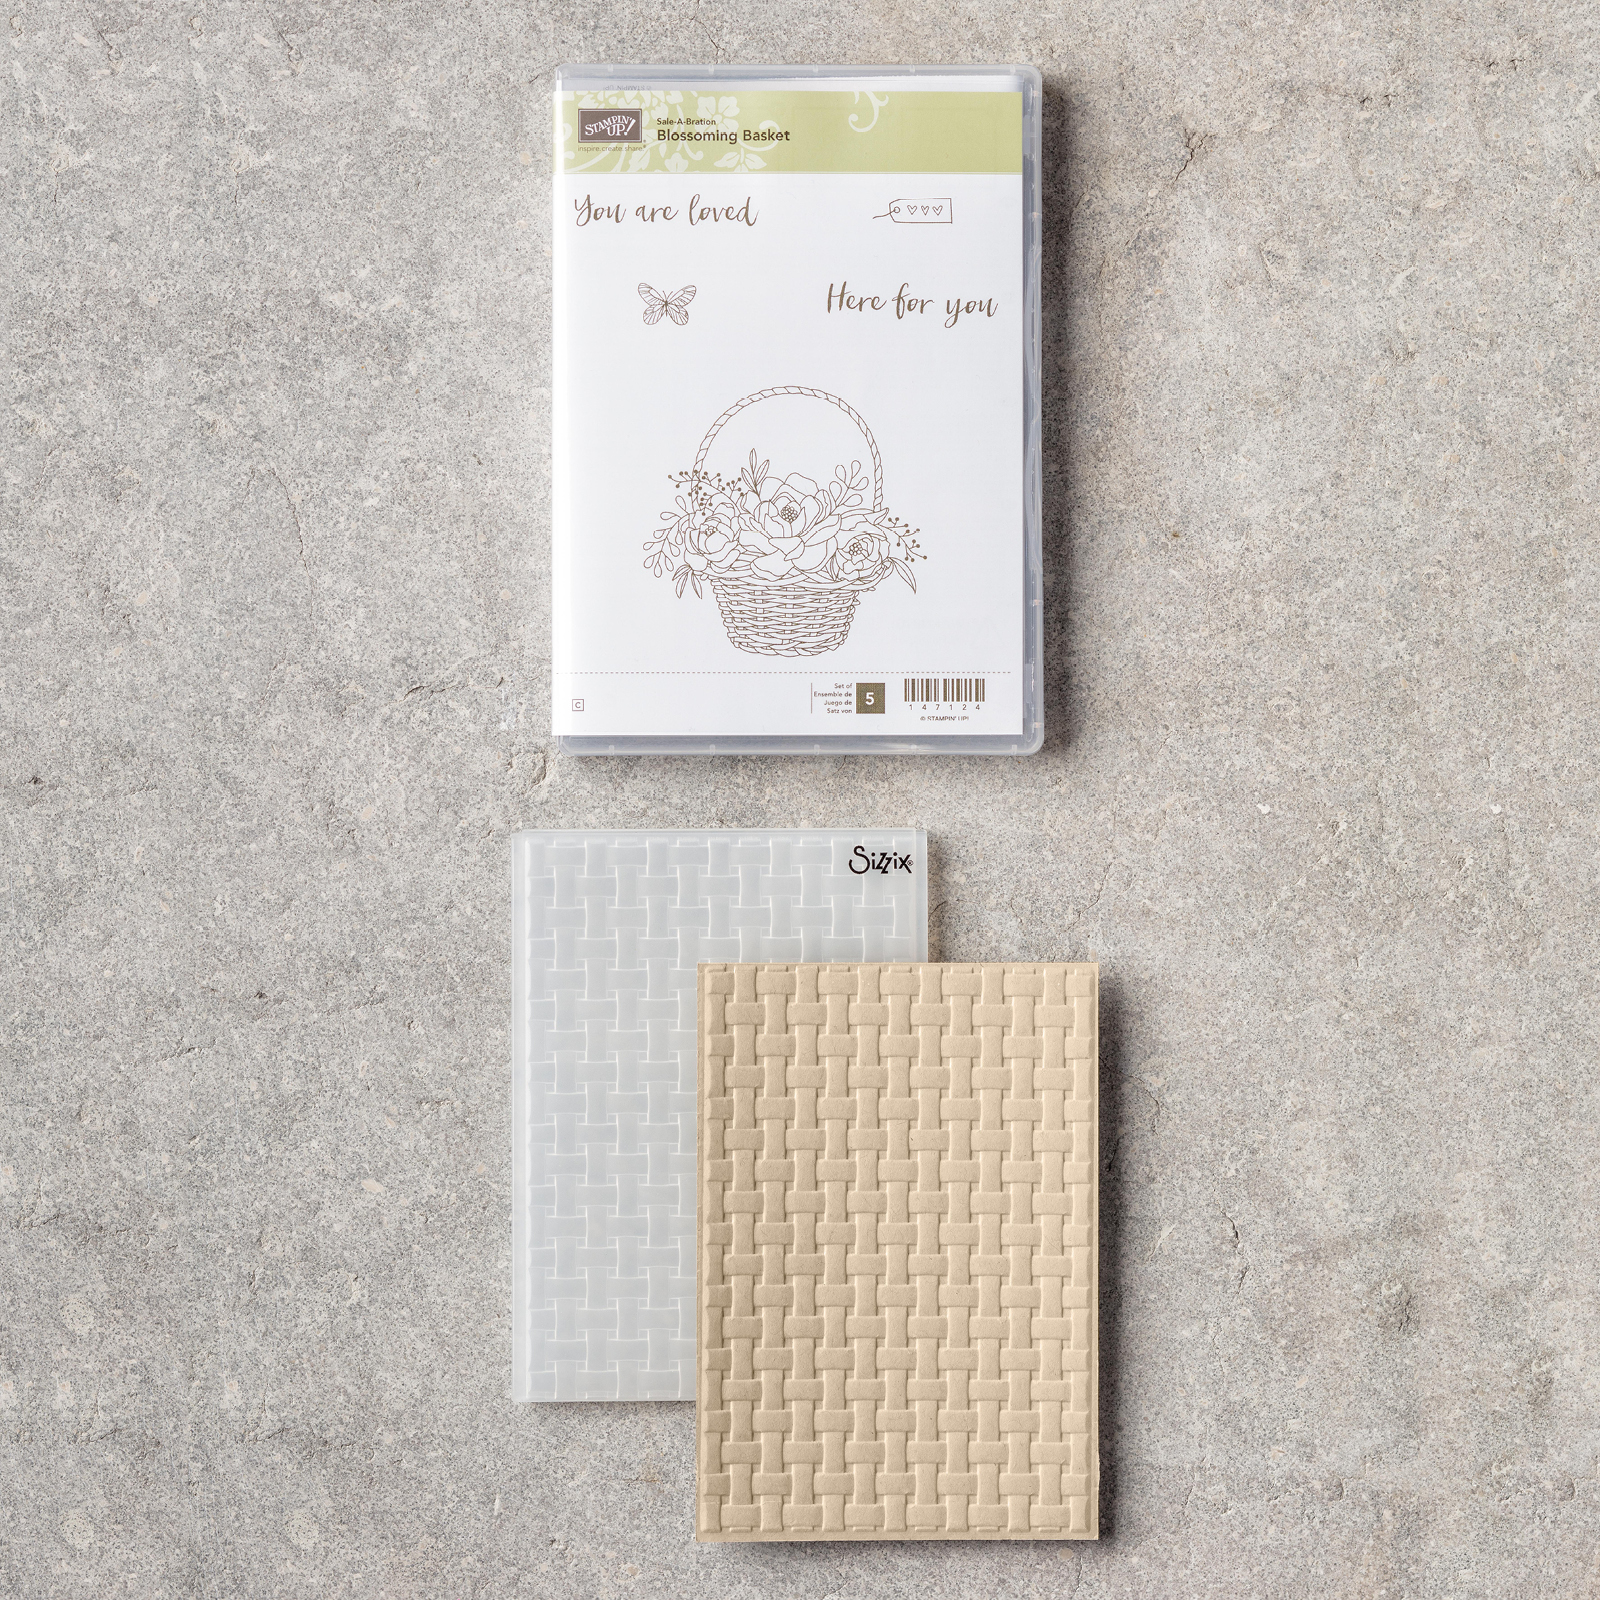
Blossoming Basket Bundle Video
Here is a video of the new release Blossoming Basket Bundle with some great ideas and tips for you:
This fabulous bundle is a free Sale-a-bration gift with a $100 order. Show now to get your free Blossoming Basket Bundle!

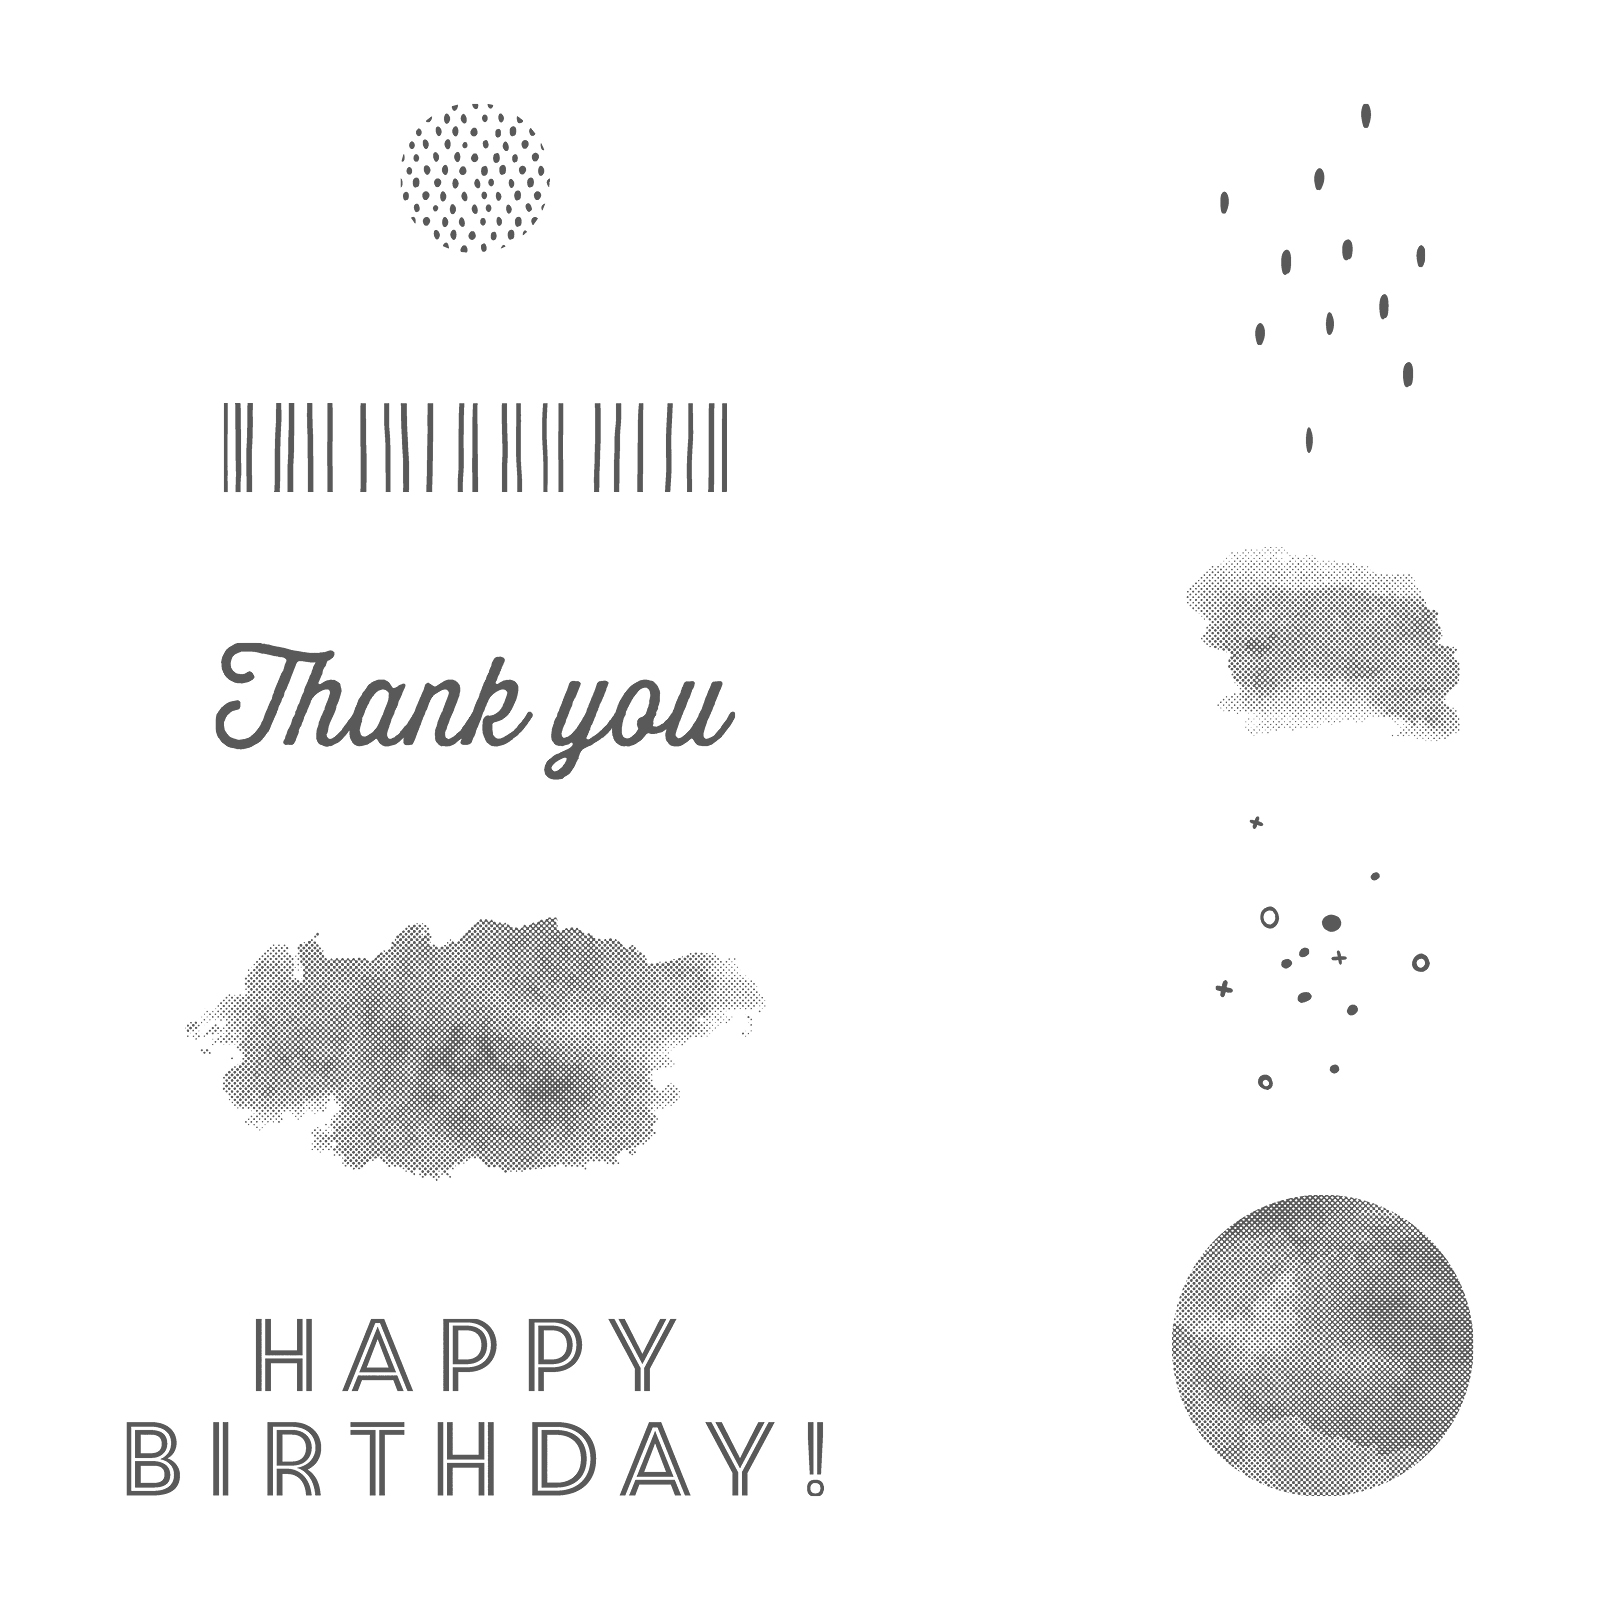
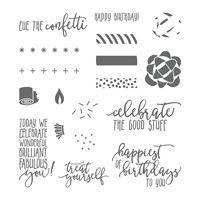
Cue the Confetti and Celebrate Birthday Cards!

Cue the Confetti With a Years Worth of Birthday Cards!
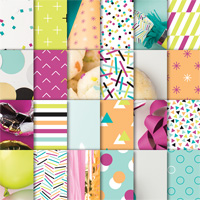
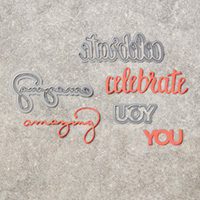
Cue the Confetti and create some birthday happiness this year with this easy to make birthday card! Since it is easy, it’s the perfect card for you to create in bulk. Plus, with a $100 order, you will receive the Celebrate You Thinlits Dies used on this card for free! That’s just one more reason to cue the confetti and celebrate! CLICK HERE to learn more about Sale-a-bration and see the other items you can choose for free with your purchase.
To create this card in bulk, simply cut all the elements you need for the desired number of cards. Once you have all the elements cut out, you will stamp the sentiment. Now you are ready for assembly! To download the tutorial for assembly instructions, CLICK HERE.
Supply List With Clickable Links
Here is a supply list with clickable links for your convenience:


The Completed Card
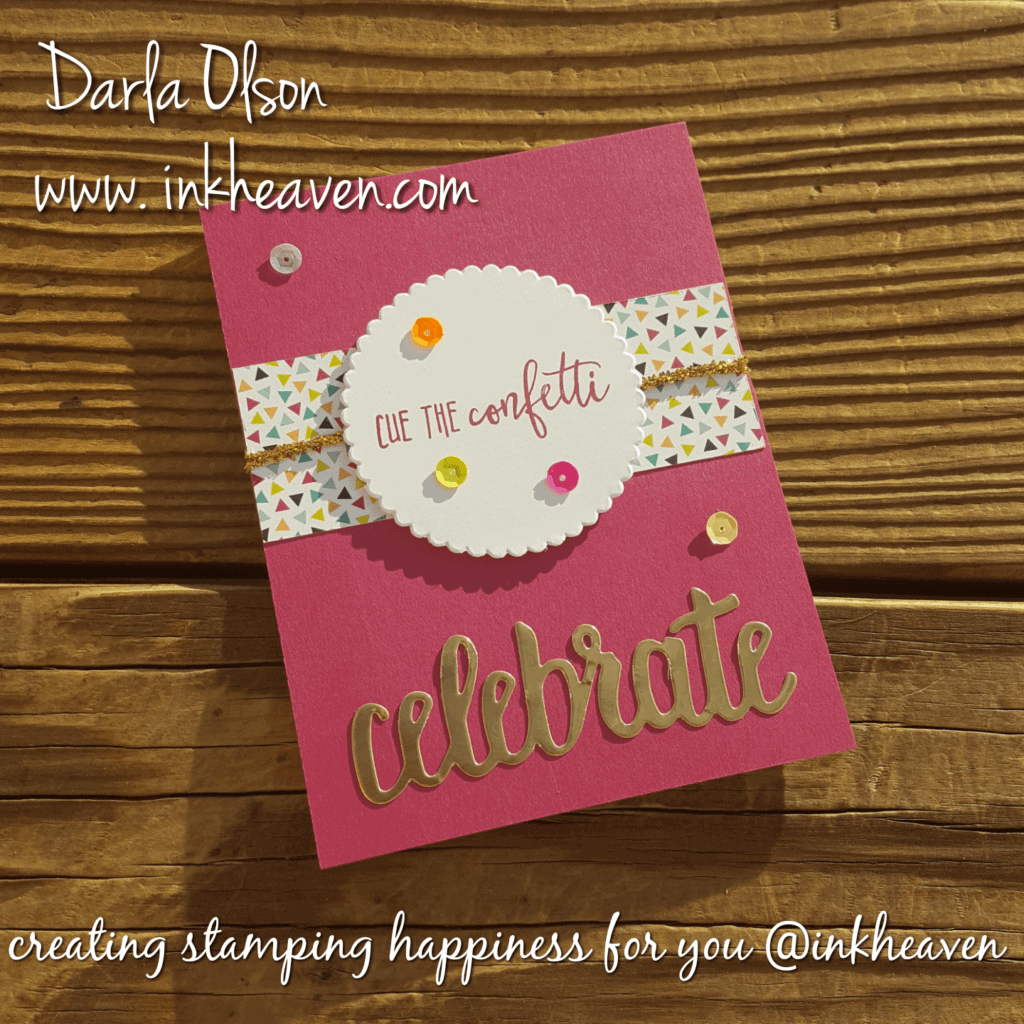
Thank you for stopping by and allowing me to help you create some happiness today with this cue the confetti card!