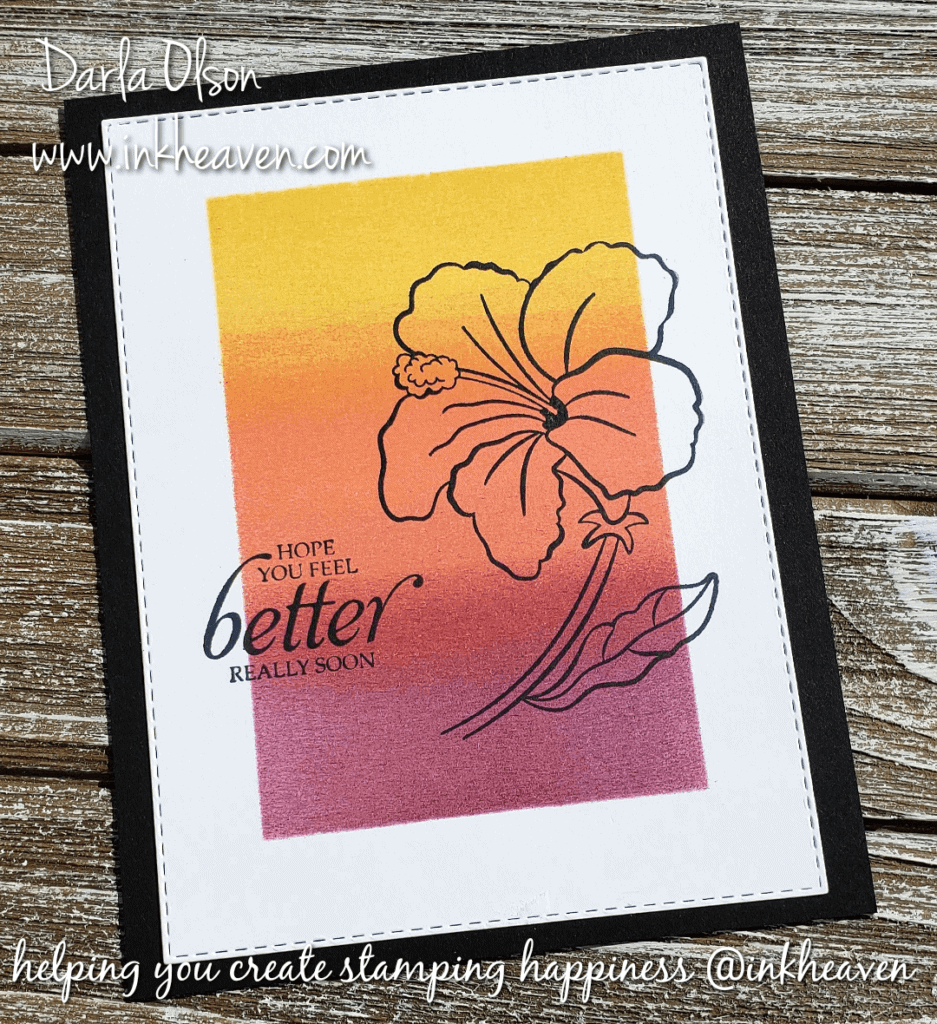
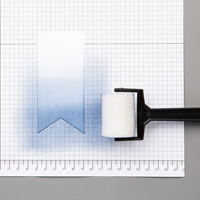
Easy Sponge Brayer Background Technique
I’m not a huge fan of doing lots of coloring on my handmade cards. As a result, I love techniques that provide quick color for my stamped images. This sponge brayer background technique does just that and it’s very easy to do!
Things you will need to create a background like the one above:
- Sponge brayer
- A template or mask to define background
- Silicone mat or other surface to adhere mask and cardstock to
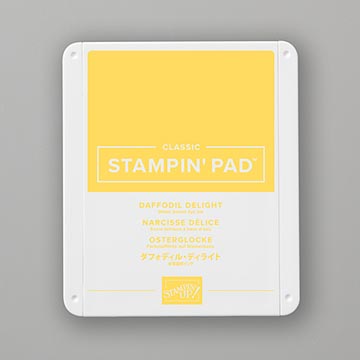
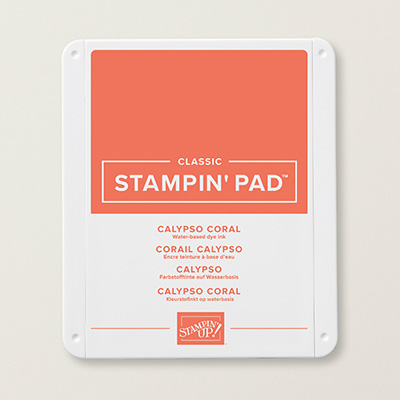
- 3 ink pads in colors that coordinate
Watch the Facebook Live video replay below for a demonstration of the technique:
Get The Supplies I Used:


Specials and Offers – CLICK HERE
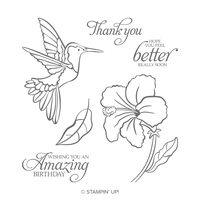
The Humming Along Stamp set that I used to highlight the sponge brayer background technique (plus several other stamp sets that I referenced in my Facebook Live) is retiring and will no longer be available after June 3rd, 2019! To learn more about these Last Chance Products – CLICK HERE
If you don’t have a copy of the Color Combo charts that I shared in my Facebook Like you can get those and a sneak peek of the new, upcoming In Colors – CLICK HERE
As promised, I am sharing another project with you, along with a free tutorial. This project was a make & take from my Sale-a-bration Open House in March. Sadly, this stamp set used on this easy project will not be carrying over into the new catalog. In addition, it is also on the retiring list!
Sale-a-bration Open House Make & Take With Tutorial
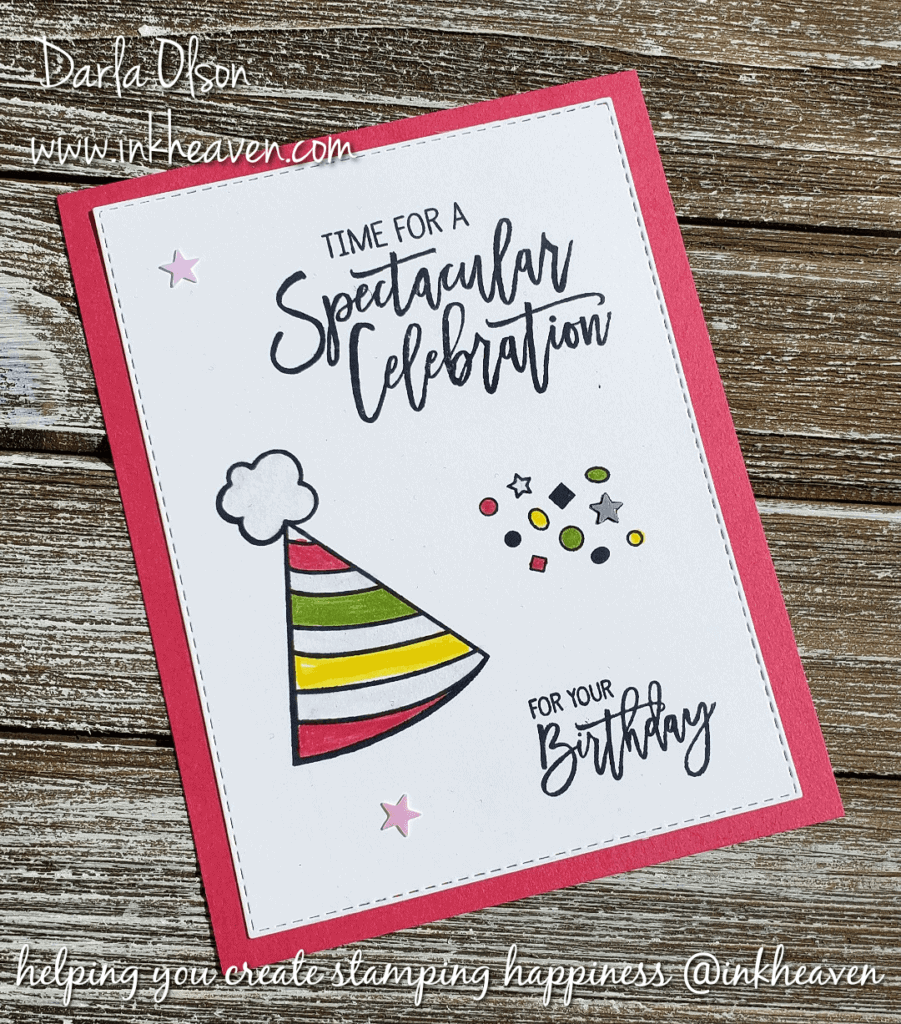
The simple images in Birthday Cheer are perfect for simple stamping! To get the free tutorial – CLICK HERE
Thank you for stopping by to visit. If you have any questions, or need any help creating these cards, please ask! I love helping you create stamping happiness for yourself and loved ones!
If you enjoyed this sponge brayer background technique, you might also enjoy this simple sponging technique – CLICK HERE

Celebrate Fall Birthdays With Nature Inspired Cards!
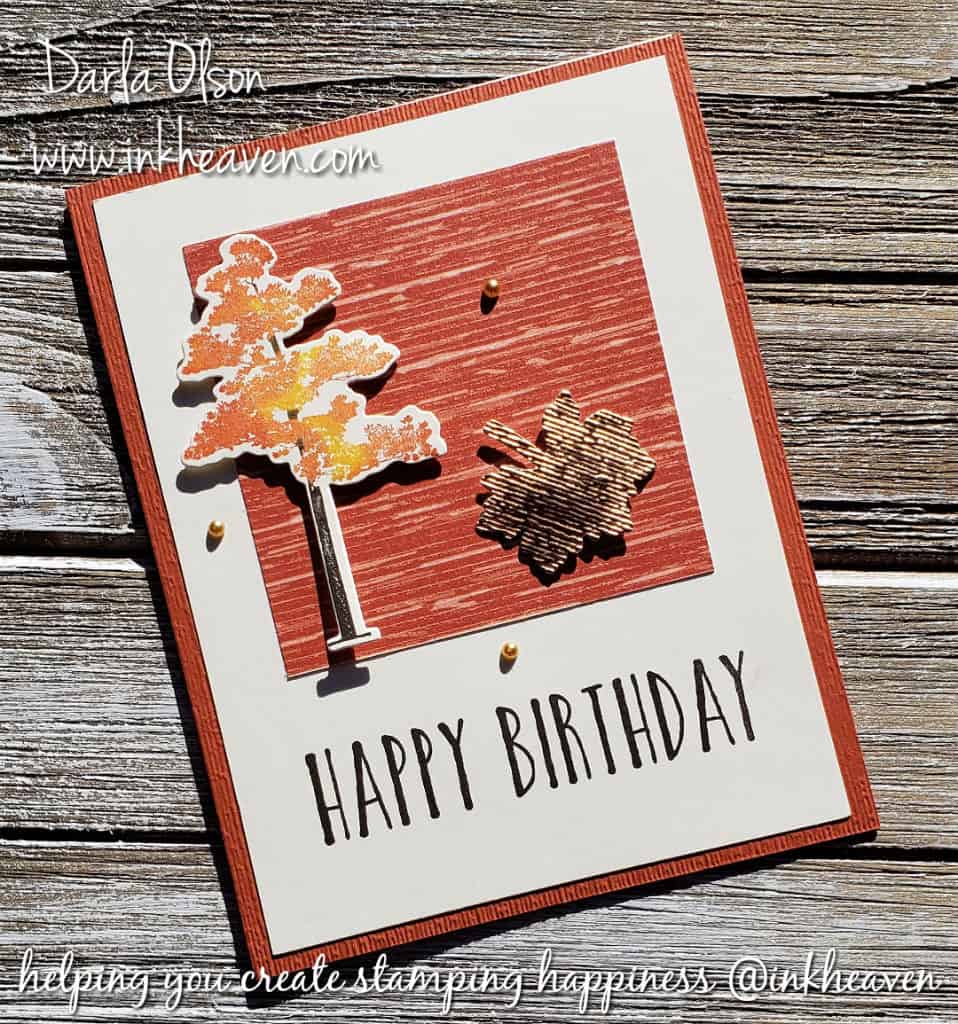
Nature Inspired Cards For Fall Birthdays
September is a month full of birthdays for my family and friends. It’s also the beginning of Fall, so I decided to create some Autumn cards to celebrate.
The Autumn birthday card above is a spin-off idea from another card idea. The original card below is a little more feminine and I wanted a more masculine birthday card for my brother. Both cards are nature inspired, feature similar Autumn colors, and use the same layout.
I originally created this nature inspired Fall card for a class featuring the Painted Harvest stamp set. I needed some birthday cards, so I decided to modify them slightly. For my mom’s birthday card, I just switched out the sentiment to the Happy Birthday sentiment that I used for my brother’s card above.
I also shared my class cards in a FB Live and demonstrated one of them. You can watch that video here:
To receive my free tutorials for my Painted Harvest Class, please subscribe to Inkheaven below:
If you would like to recreate this Fall, nature inspired birthday card and the designs in the tutorials, please shop my online store!
Specials and Offers – CLICK HERE
To learn more about the 2018 Holiday Catalog – CLICK HERE
Thank you for stopping by to visit. If you have any questions, or need any help creating your own Fall and nature inspired birthday cards, please ask! I love helping you create stamping happiness for yourself and loved ones!
Friday Feature|Stampin’ Up! Designer Series Paper
All Is Bright 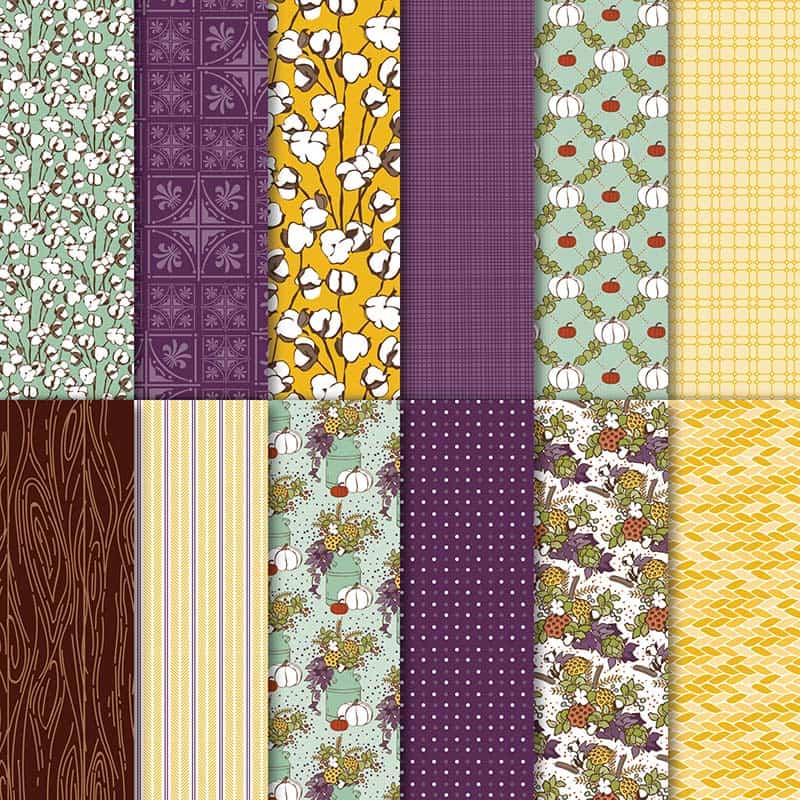
Country Lane 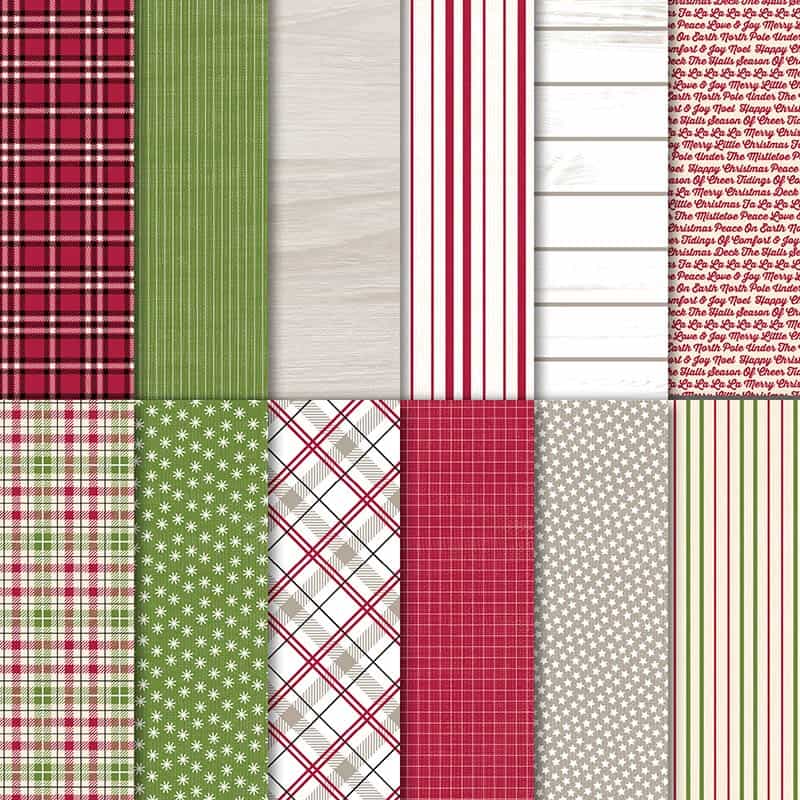
Festive Farmhouse 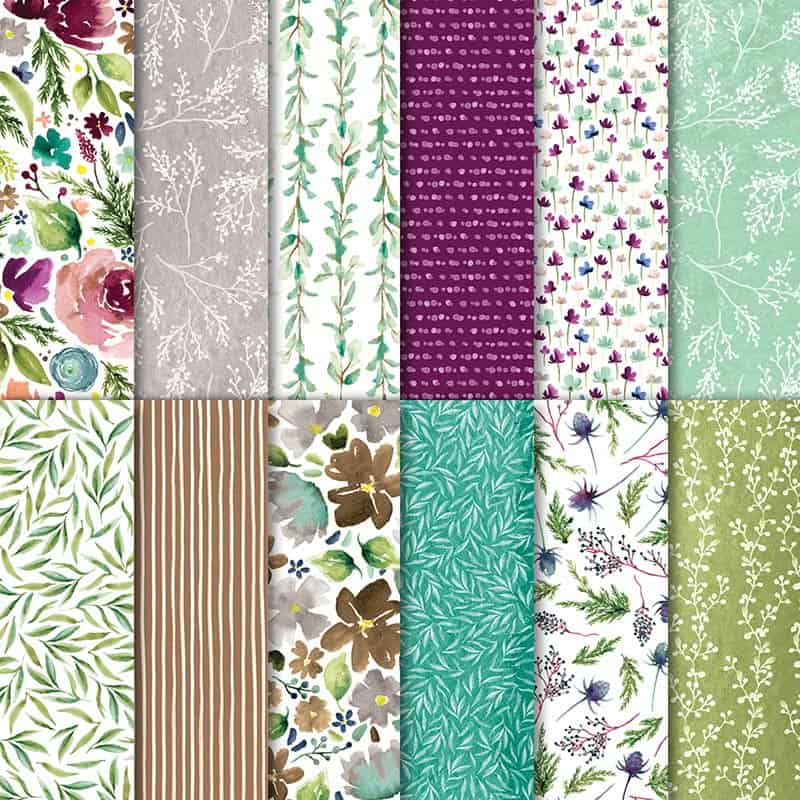
Frosted Floral 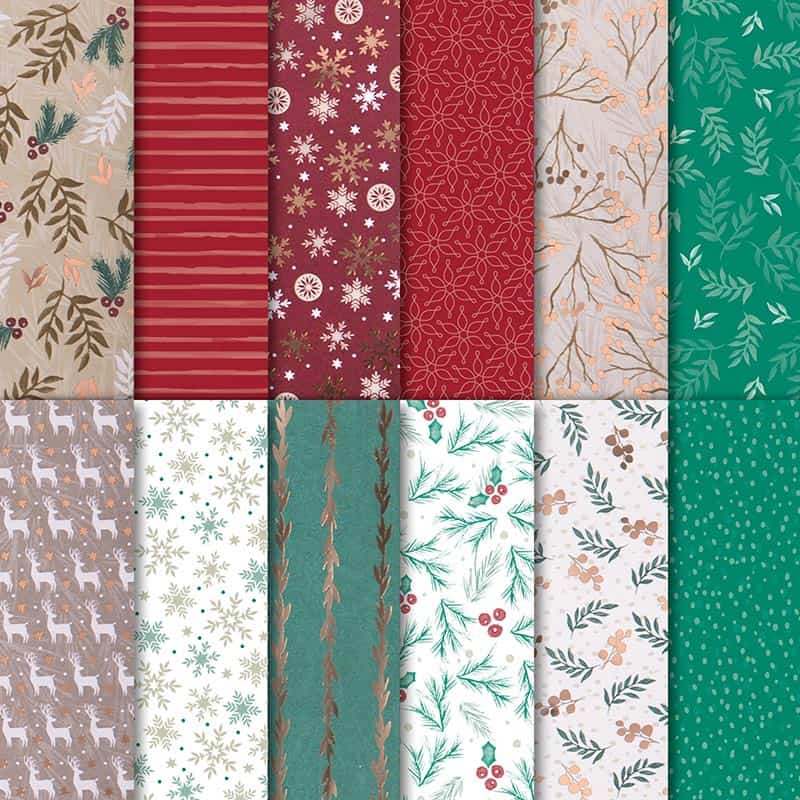
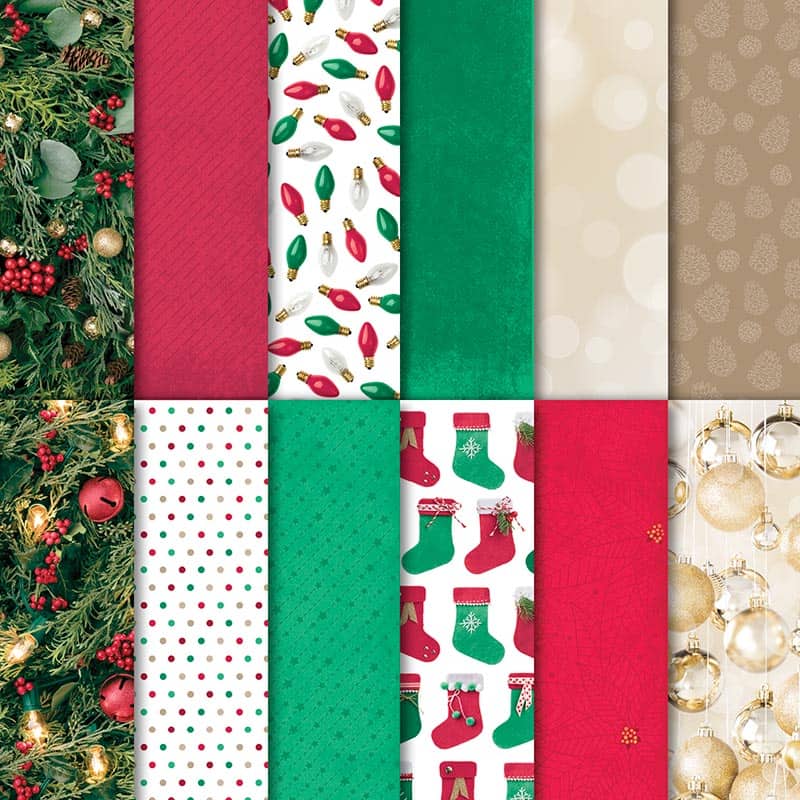
Joyous Noel 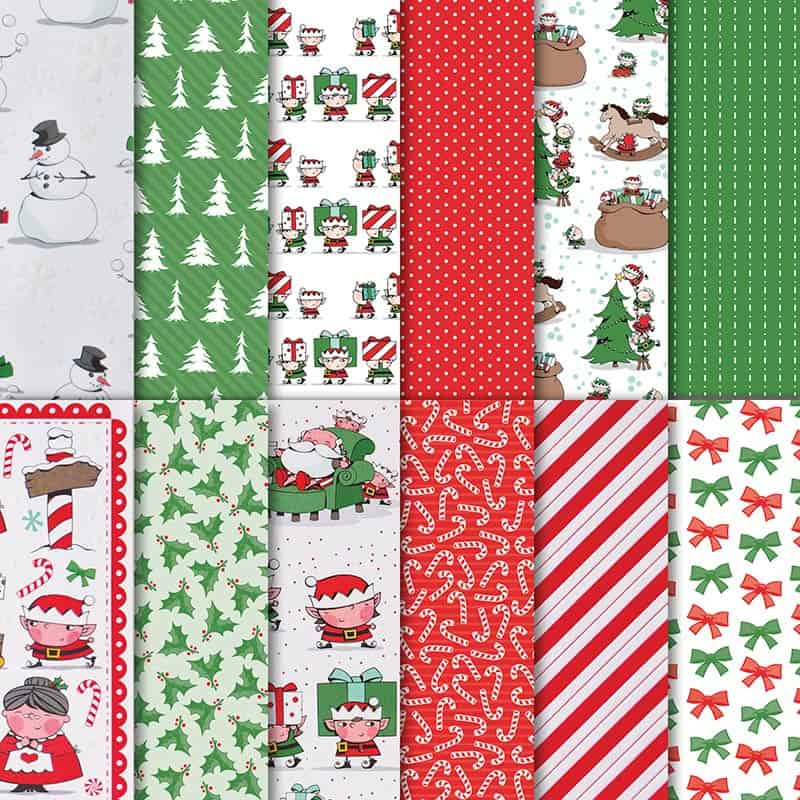
Santa’s Workshop 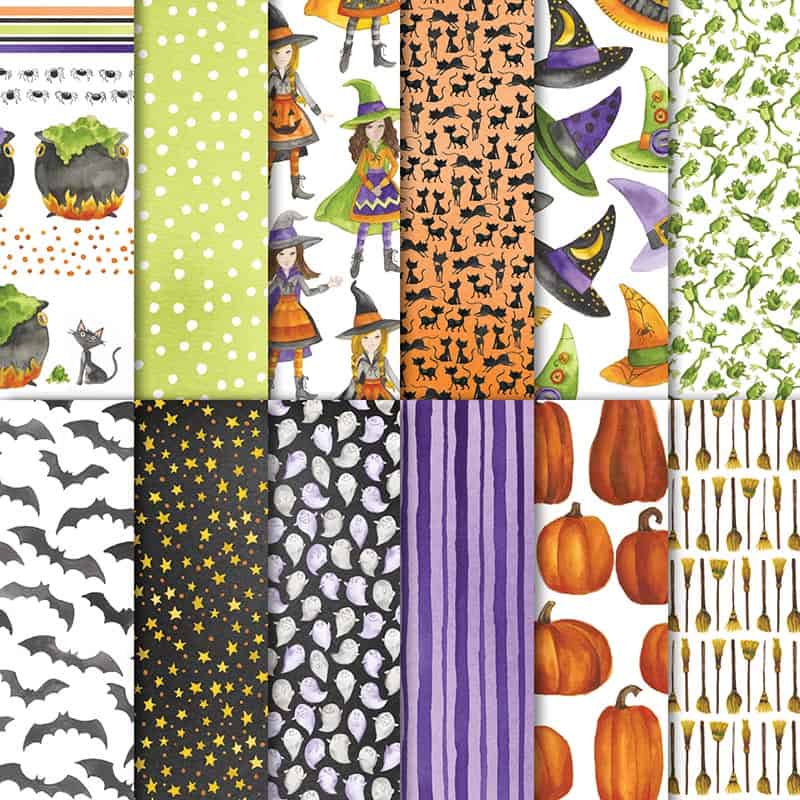
Toil & Trouble 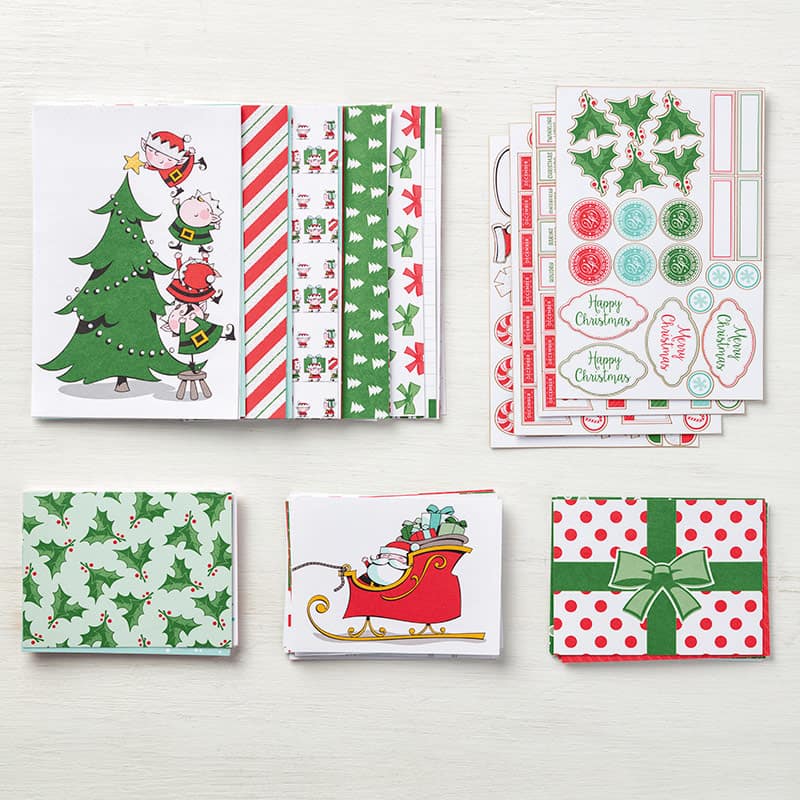
Santa’s Workshop Memories & More
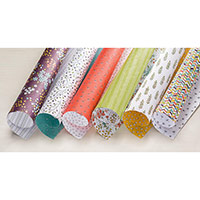
This Friday Feature is Designer Series Paper AKA Scrapbooking Paper
Stampin’ Up!’s designer series paper in the 2018 Holiday Catalog ranges from fun to gorgeous! In addition, many of the papers are filled with fabulous colors. These colors are on trend for Fall 2018. (View the Pantone Color Trend Report – CLICK HERE). Plus, some of them feature good old fashioned, traditional colors. As a result, it’s the perfect scrapbooking paper for your Fall and Winter paper crafting projects!
Designer Series Paper Coordination
Some of the coordination features of the paper are:
- Packaging and catalog descriptions list all of the colors used in the scrapbooking paper, which makes color coordination a breeze.
- Moreover, each paper pack has a coordinating package of card stock.
- Additionally, some of the designer series papers have a coordinating Memories & More card pack. In the case of the holiday catalog, it is the Santa’s Workshop paper. So, if you like Project Life, you will love Memories & More!
Watch This Video To View Each Package Of Designer Series Paper.
Check out this video to get a good look at each sheet of paper. It will also help you to see the special features of each of the specialty papers!
For Specials & Offers – CLICK HERE
To learn more about the 2018 Holiday Catalog – CLICK HERE
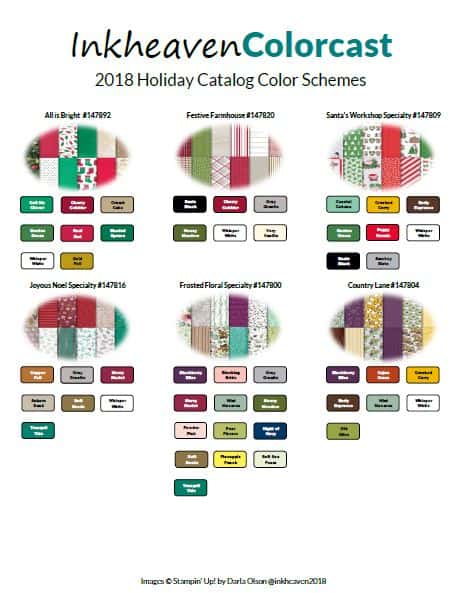
Download printables with the color combinations taken from our Designer Series Paper. Click each photo to download and save your printables.
Thank you for stopping by to visit. I hope you enjoyed learning about Stampin’ Up!s Designer Series Paper. If you have any questions, or need any help, please ask! I love helping you create stamping happiness for yourself and loved ones!
Be sure to subscribe to my newsletter before you go! My 2018 Holiday Catalog Tour has already begun – you won’t want to miss it!
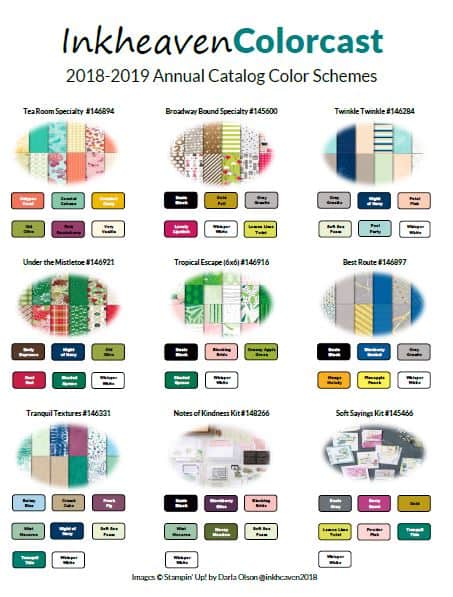
15 Resources For Color Combinations In A Free Download
Color Combinations In The 2018-19 Annual Stampin’ Up! Catalog
I’ve pulled together 15 resources for color combinations from the 2018-2019 Annual Stampin’ Up! Catalog to share with you. But first, let me show you one in action!
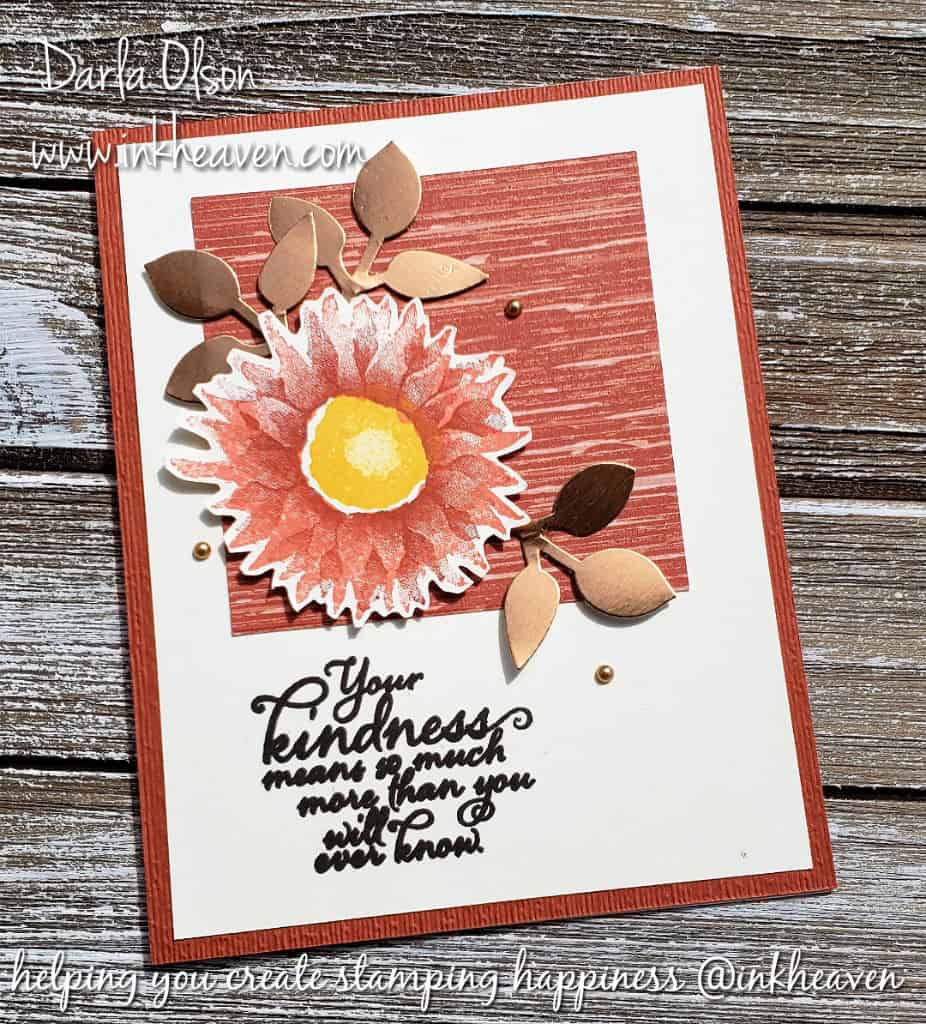
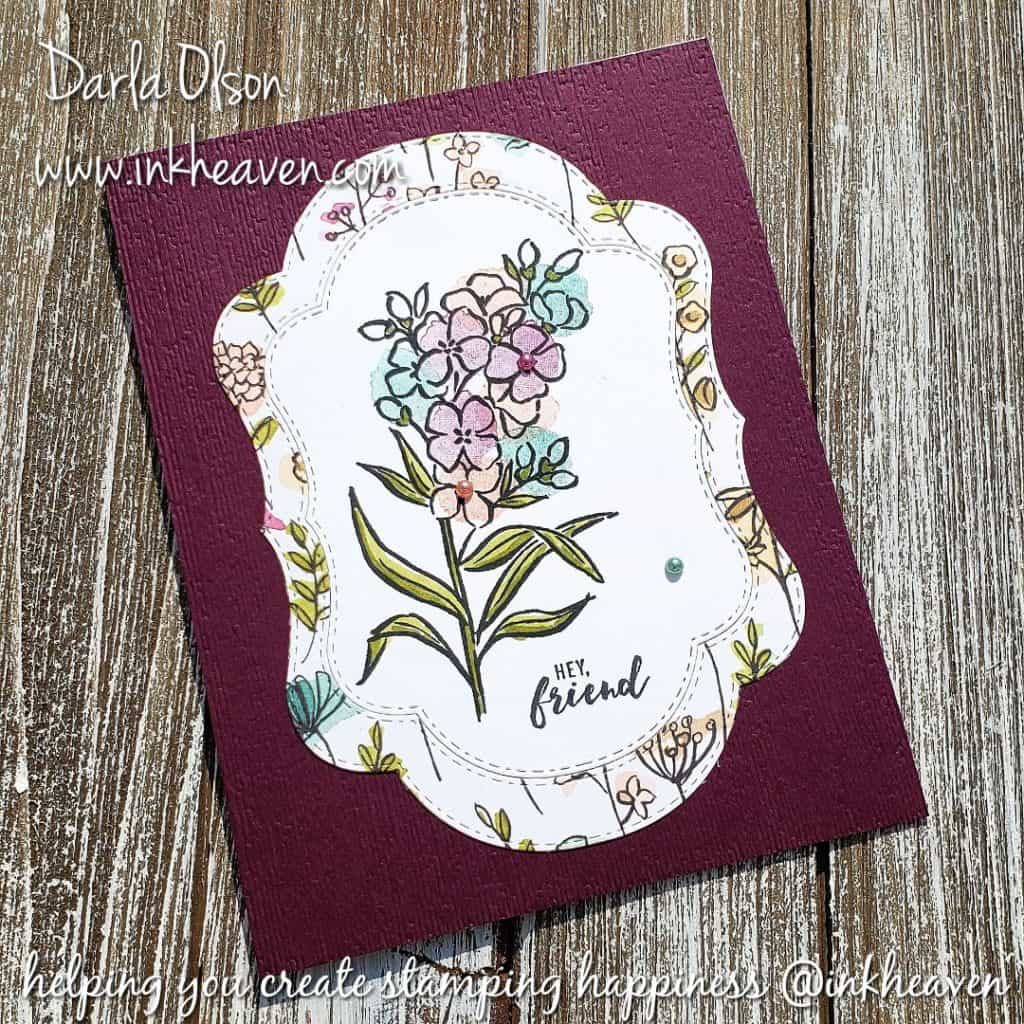
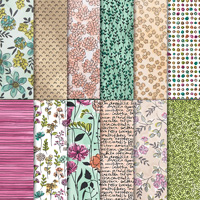
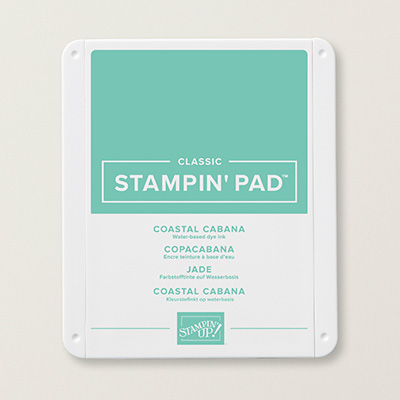
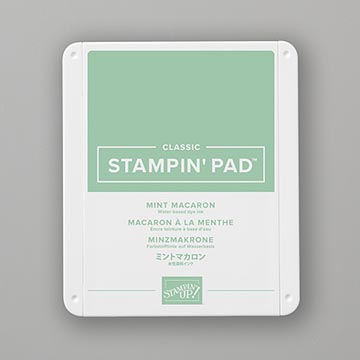
The color scheme in the card above is from the Share What You Love Designer Series Paper. There are 13 different colors in this package of background paper. The 13 coordinating colors in the Share What You Love Designer Series Paper are as follows:
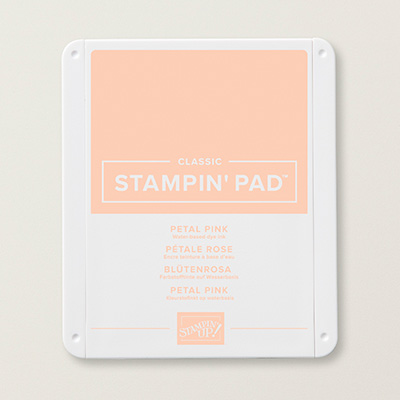
Basic Black, Blackberry Bliss, Crumb Cake, Grapefruit Grove, Mint Macaron, Mossy Meadow, Old Olive, Pear Pizzazz, Petal Pink, Rich Razzleberry, So Saffron, Tranquil Tide, and Whisper White.
Consequently, there are multiple color combinations that can be created from just these colors alone!
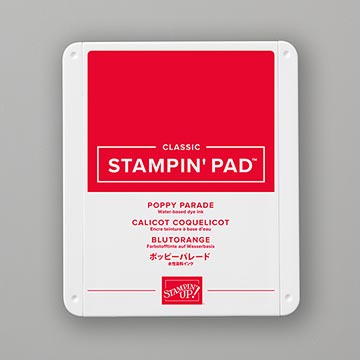
In this instance, I decided to use the designer series paper as part of the design on my card. Next, I picked 4 colors (Blackberry Bliss, Shaded Spruce, Old Olive and Grapefruit Grove) to use as my primary color combination. However, you can pick color schemes from the designer series paper and not use the background paper on your card at all!
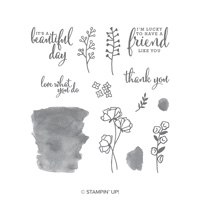
I also used 2 different ways of coloring to add interest to the card. The first way I added color was with a stamp from the Love What You Do Photopolymer Stamp. Tip: For the darker colors I stamped off a couple of times before I stamped color over the flowers. The second way I added color was with the Stampin’ Blends. I used these to color the leaves on the stems. To learn more about the Stampin’ Blends and how to use them – CLICK HERE.
Use These Tools And Supplies To Create Your Version Of This Card
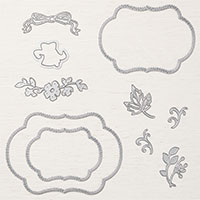
For the frames, I used the Stitched Season Framelits. These are only available for a Limited-Time! Available while supplies last through the end of August. To learn more about these framelits – CLICK HERE.
To download your free color combinations from the 2018-19 Stampin’ Up! Annual Catalog – click the image below:

These supply images are clickable!


Specials and Offers – CLICK HERE.
Catalogs – CLICK HERE.
Looking for more Color Combinations? – CLICK HERE.
Thank you for stopping by to visit. I hope you find the free download, Inkheaven Colorcast, with 15 color combination resources from the 2018-19 Stampin’ Up! Annual Catalog useful. Please let me know if you found it helpful in the comments! Since I will be creating one for the Holiday Catalog as well, so be sure to come back and visit again!
If you have any questions, or need any help, please feel free to ask! I love helping you create stamping happiness for yourself and loved ones!
How To Use Vellum To Create A Frame Overlay With Framelits!
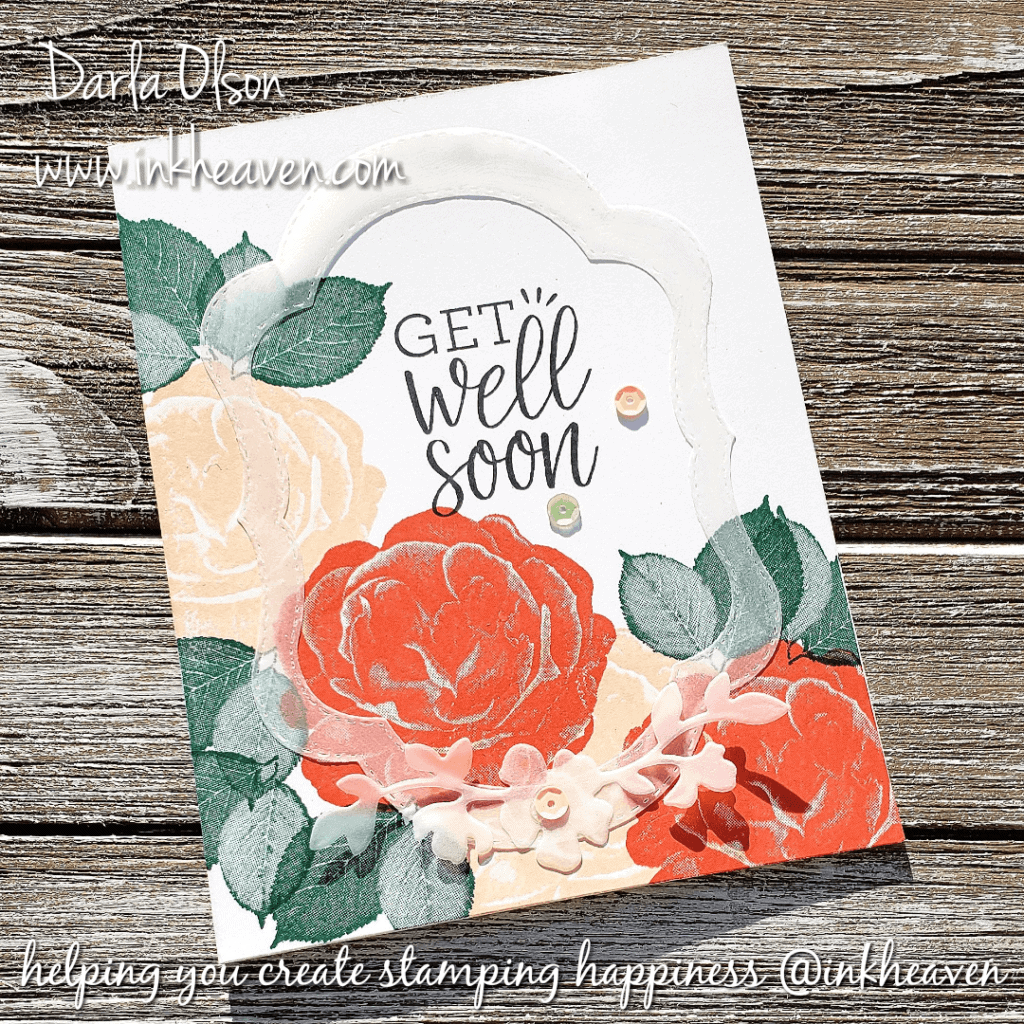
Create a Vellum Frame Overlay with Framelits
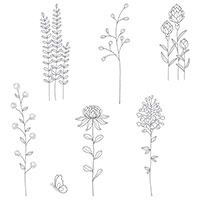
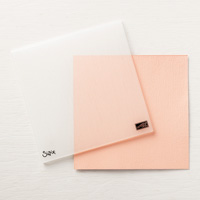
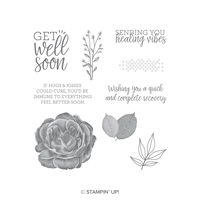
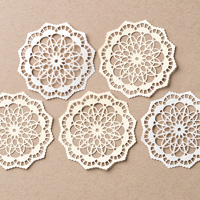
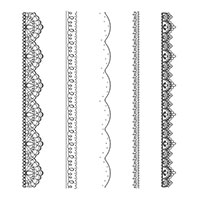
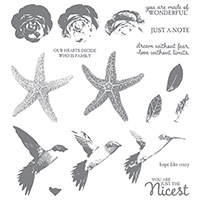
Vellum frames are an easy way to overlay a pretty accent to an otherwise one layer card! The translucent nature of vellum allows images to show through the overlay. Especially when they are paired with bold and vibrant floral images like the ones shown here from the Healing Hugs stamp set. Since it is a translucent paper, it can be tricky to adhere to your card without the adhesive showing. I have found that All Purpose Liquid Glue applied to the entire piece of the vellum overlay is the best solution. (Watch video below)
The Stitched Season Framelits are perfect for creating pretty frame overlays with vellum. Because the dies include stitching on both the positive and negative images, there is decorative stitching around all the edges of the frame! However, the Stitched Season Framelits are only available for a limited time starting today. To learn more about the Stitched Season Framelits promotion – CLICK HERE.
At the present time, we also have a Bonus Days promotion that allows you to earn rewards on your order! For more details – CLICK HERE.
Facebook Live Video
Here is an un-edited Facebook Live video that will show you how to create this card with the overlay. For the Color Coach charts referenced in the video – CLICK HERE. Please follow my Facebook Page for more live video demonstrations! CLICK HERE.
Here is a clickable list of the supplies I used to create this vellum overlay card:


Specials and Offers – CLICK HERE.
Thank you for stopping by to visit. If you have any questions,or need any help, please feel free to ask! I love helping you create stamping happiness for yourself and loved ones!
If you enjoyed this post, please be sure to check out these other posts on using vellum:
Relax and Color, Then Create Pretty Stained Glass Cards
Vellum Accents Add Texture and Dimension
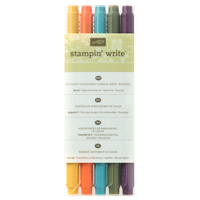
The Stampin’ Up! 2019-2021 In Color Collection
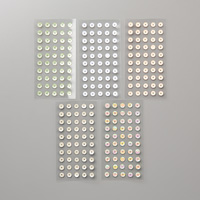
Each year Stampin’ Up! introduces five new colors to our Collection to keep our line up-to-date with current trends. Here is a little sneak peek of the 2019-2021 Collection!
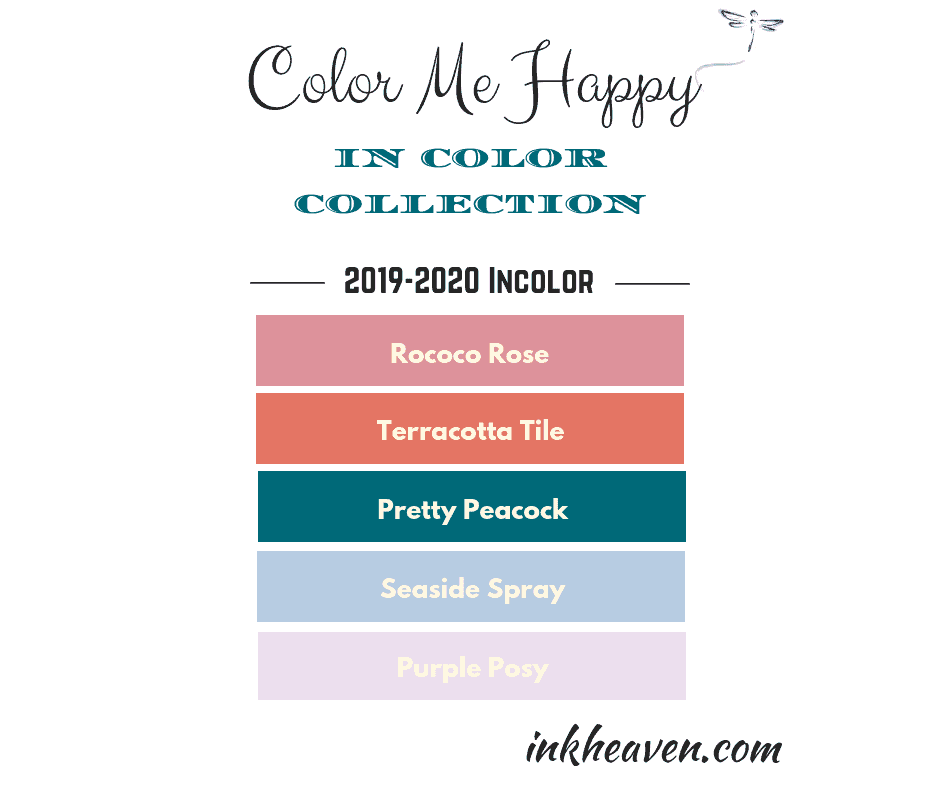
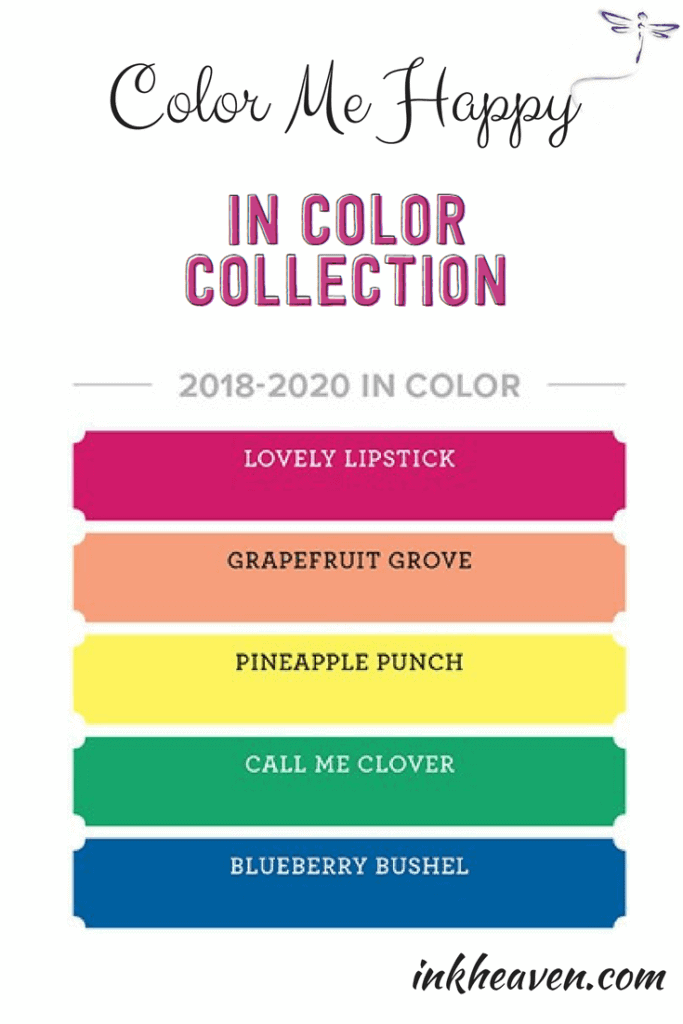
The 2018-2020 Stampin’ Up! In Color Collection
The 2018-2020 collection is a bright and cheerful collection and will be available for two years. In addition, the new collection is available in ink pads, markers, card stock, and designer series paper. Plus, you can purchase the ink pads in a bundle at a 10% discount! To purchase the discounted bundle – CLICK HERE!
To see an easy, monochromatic card in Blueberry Bushel CLICK HERE
Color Combo Downloads For The Revamp and 2018-2020 Collection
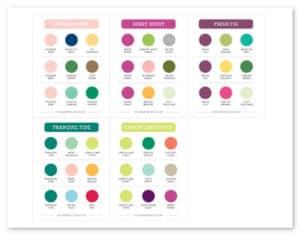
Click here to download this Stampin’ Up! color combo chart for the 2018 – 2020 collection!
Click here to download this Stampin’ Up! color combo for the new colors in the revamp!
Stampin’ Up! Color Revamp
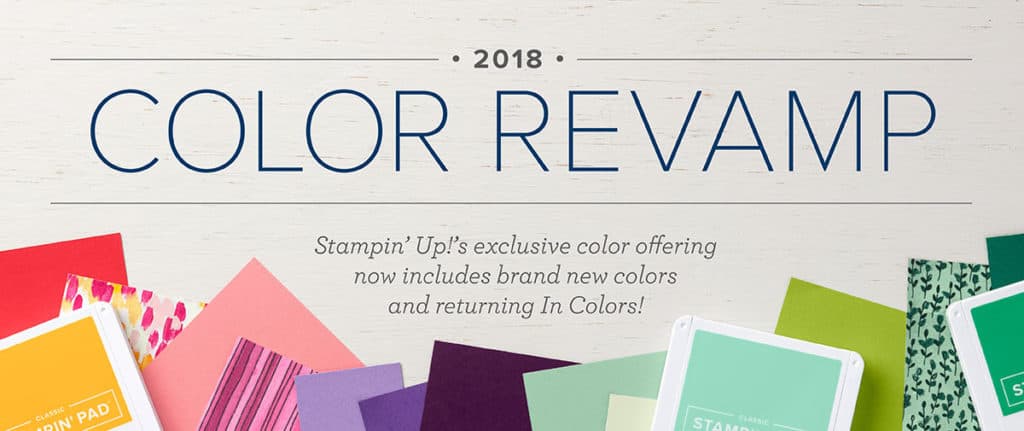
Stampin’ Up! does a color update every three to five years. This year they changed many of the core colors so it is a major revamp! As a result of the revamp we:
- 27 of the existing core collection were kept
- 13 of the core collection were discontinued
- 10 new were added to the core collection
- 6 returning In Colors were also added to the core collection
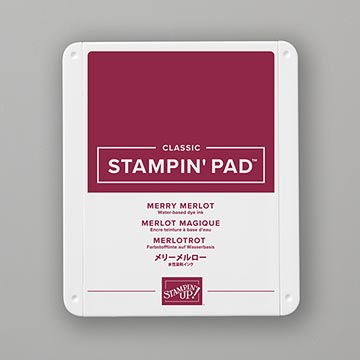
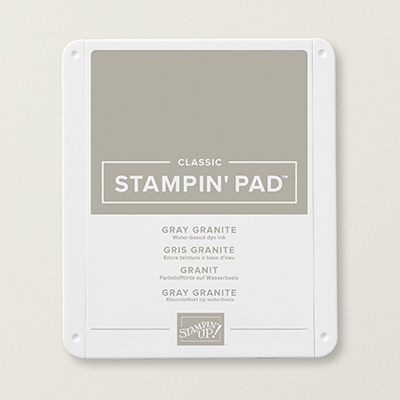
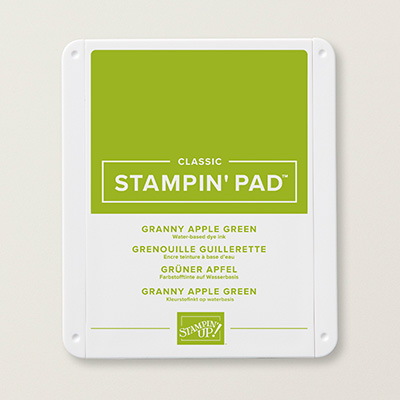
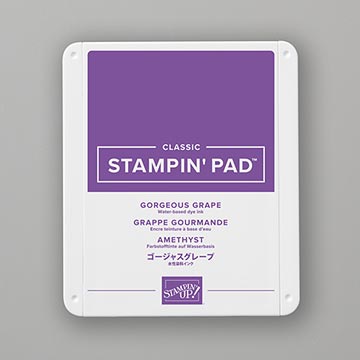
Here are the ten new core with direct links to my online store for your convenience:

Here are the six returning colors with direct links to my online store for your convenience:

Watch This Video To Learn More About The New Design
As part of the color revamp, Stampin’ Up! redesigned the ink pads! Learn more about the new ink pad design by watching the following video:
Thank you for stopping by to visit (And making it to the end of this long, but informative, post)! If you have any questions, please don’t hesitate to ask. Feel free to leave your questions and comments below. Thank you for allowing me to help you create stamping happiness for you and your loved ones.
An Ode to Dr. Suess on his Birthday. Happy Birthday Dr. Suess!
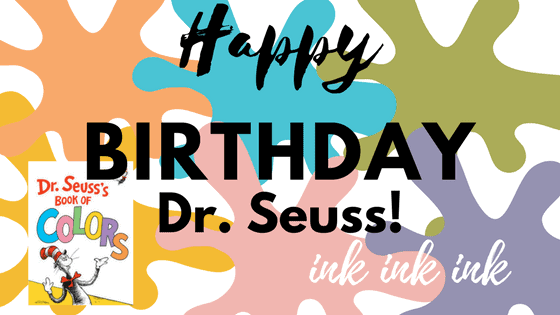
Happy Birthday, Dr. Suess!
Dr. Suess had a fabulous way of communicating with words. As a result, he had a great influence on my love for reading and words. In addition to loving words, I also love color! Sometimes, I wonder if my love of color is directly connected to my love of words. After all, words and color are both forms of communication. When you pair the two together, it’s powerful.
When I was preparing for this post, I discovered that he wrote about colors! I did not know this and will have to get a copy and read it. I want to know how he presented color with his wonderful mastery of words!
Several years ago, I wrote up a little poem about ink to honor Dr. Suess on his birthday. It’s my interpretation of how he would have written about ink. I wonder if will be anything like his book on color?
Ink, Ink, Ink! An Ode to Dr. Suess
if only you try!
You can ink up
in yellow
or ink up in blue
You can ink up
a horse
or ink up a sky
with clouds floating by
Oh the things
you can ink up
any thing that you wish
Ink up in bright colors
ink up at night
ink up on a long trip
Oh, the wonder of
ink, ink, ink!
You can ink up a bouquet
to celebrate a birthday!
Oh the things
you can ink up
if only you try!
by Darla Olson
Ink Up A Color Combo For Dr. Suess


Beautiful Handmade Sympathy Card Using Petal Palette Bundle
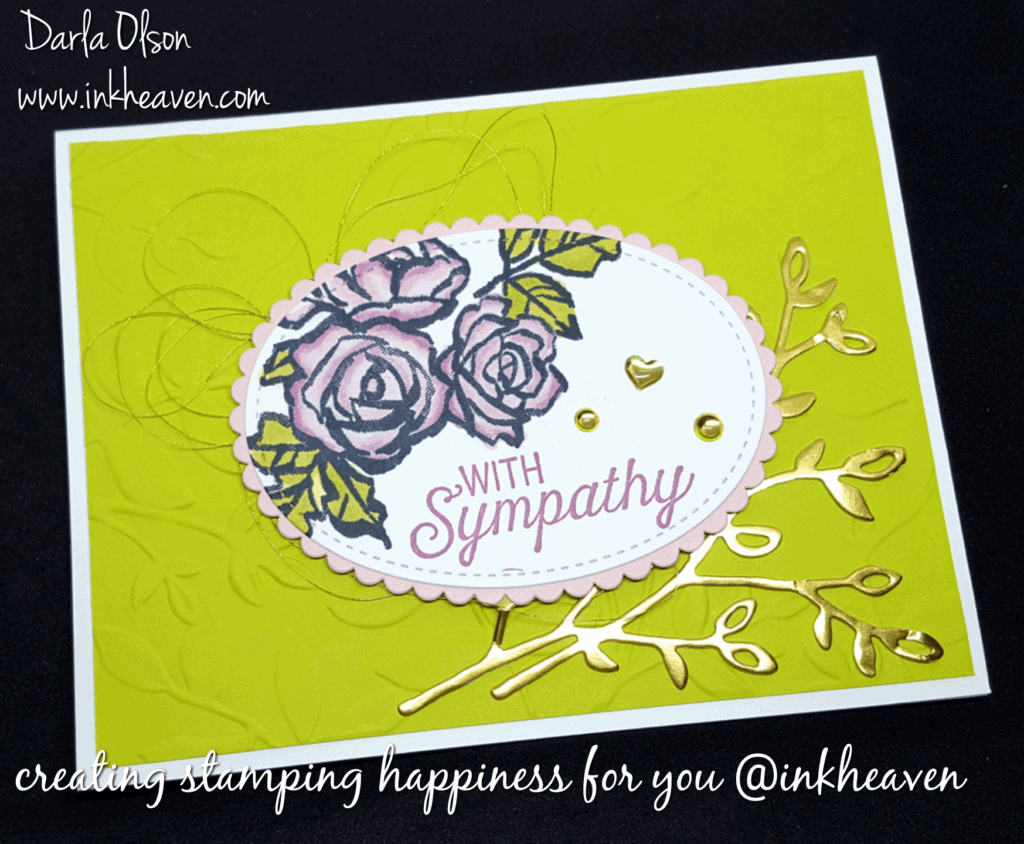
Handmade Sympathy Cards Are Always In Season
Creating sympathy cards during the Christmas season is not my favorite thing. However, since I needed one for the family of a very special stamping friend, I went to work creating one that I knew my friend would have loved.
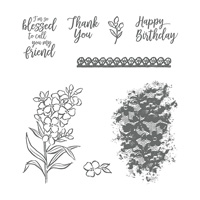
Because the Petal Palette Bundle does not have any sympathy sentiments or verses, I did have to pull out another stamp set for those. In the end, I chose Flourishing Phrases. I also pulled in the Layered Leaves Dynamic Textured Impressions Embossing Folder to add a foliage texture to the background.
Choosing a Color Scheme For My Sympathy Card
I knew that I wanted my card to be bright and cheerful because my friend was full of pluck. Furthermore, she always wore a big smile in the face of adversity! Since I was not feeling too creative when I started, I went with a color scheme that I had used before and had recently came across going through my card stash (well, the one that is not packed up in a moving box somewhere, anyway).
The color scheme is Whisper White, Lemon Lime Twist, Pink Pirouette, Sweet Sugarplum, and Gold. The color scheme ended up being perfect. Consequently, I was able to weave some symbolism into each part of the card which ended up fueling my creative juices! Here are the symbolism’s that I wove into the card:
- The Lemon Lime Twist gives a bright and cheerful background to the card that reminds me of her big smile.
- The softness of the Pink Pirouette speaks to the kindness of my dear sweet friend.
- The gold allowed me to use the Gold Metallic thread to represent how she added richness to the tapestry of my life.
- The Metallic Enamel Shapes represent two things; the heart represents how much I love her, and the other represent my tears.
Blending With The Stampin’ Blends
I used the Stampin’ Blends to color those gorgeous flowers. However, since we don’t carry Stampin’ Blends in Lemon Lime Twist or Sweet Sugarplum, I had to blend other colors together to achieve a coordinated color scheme.
My first challenge was to obtain a color that coordinated with Lemon Lime Twist. In order to do that I used the light Old Olive and the Light Daffodil Delight Stampin’ Blends. The blend is almost a perfect match, don’t you think? For my second blending challenge of coordinating Sweet Sugarplum, I chose Pink Pirouette light and dark along with a touch of Rich Razzleberry light. This resulted in an almost exact match to the Sweet Sugarplum that I used on the sympathy sentiment. On the whole, I am pleased with how the blending turned out. I also discovered that the Stampin’ Blends have a smooth and easy glide when coloring with them. Therefore, I can’t wait to play with them some more! To learn more about the Stampin’ Blends, click here.
If you would like to duplicate this card, you may purchase any of the supplies used to create this card from my online store.
Thank you for stopping by. Please leave a comment if you liked my sympathy card.
Copy That Card In The Catalog, Please!

Have you really looked at your Occasions Catalog and noticed how many great card samples there are to copy?
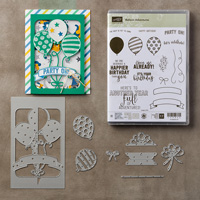
Balloon Adventures has a wonderful display of cards to copy!
I have copied this card. A bunch! I have all my February birthday cards made and except for the hand-written message, they are ready to send out!
My photography skills are not quite up to par with the creatives at Stampin’ Up! But I will share my card rendition all the same! Here it is! Aren’t you impressed? Since I have done all the leg work of figuring out supplies and dimensions, I have put together a tutorial with all of that information for you! Use the supply list on the tutorial to help you place your order.
You can click here to download!

If you need a little more than a tutorial, I did stamp this card on FB Live (I had some difficulties in the beginning with my FB App. It “quit working unexpectedly” and closing on me so forgive the beginning, it has a rough start as I went live on my tablet to let everyone know I was having tech difficulties!)
Don’t forget that you can always use the layout and switch things up a bit! Different color combinations give different looks to the same layout! Check out this great switch shared by Shannon West of Stampin’ Up! It is the same card but the switch gives it an amazing look!

How fabulous is that? I plan on taking some fun adventures in stamping with this amazing bundle! I hope you will take the adventure with me! The Balloon Adventures bundle is perfectly priced for Sale-A-Bration! To get started on this fun stamping adventure, you can click the Balloon Adventures image below to be taken to my 24/7 online store where you can purchase the Balloon Adventures bundle and choose a free Sale-A-Bration item! I will be here to take the adventure with you! Thank you for stopping by to create and learn with me!
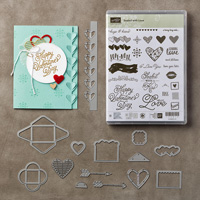
Sealed With Love Valentine Card In Non-Traditional Colors

Valentine card created with Sealed With Love in non-traditional colors.
For your convenience, I have listed most of the supplies I used creating this card below. Clicking any of the images will take you to my 24/7 online store where you can be a happy Sale-A-Bration shopper! Be a happy shopper anytime with me here at inkheaven by clicking here www.darlaolson.stampinup.net.
Thank you so much for stopping by to create and learn with me at inkheaven!


Free Inkheaven Colorcast Download!
 |
Click to Download and Print Chart |
Hello Stampin’ Friends!
I have a free download for you today! This download is a quick and easy reference to all the wonderful color schemes contained in the 2017 Occasions Catalog and Sale-A-Bration Brochure Designer Series Paper!
No more flipping through the catalog to find the color schemes! Just click on the image above to download and print this handy reference chart!
Thank you so much for stopping by to create and learn with me! Enjoy the freebie!
Picture Perfect Framed Floral

This elegant and simple swap card was created by fellow demonstrator, Nancy Endwright. I love the color combo. I have some of the same color scheme on my blog!
Nancy was so kind, she sent it to me as an extra when she found out I was trying to fill up my display boards for my first Sale-a-bration Open House here in Le Mars launching my business here on the new home front. Stampers are just the nicest people you will ever meet; don’t you agree?
I have listed most of the supplies Nancy used creating her card below. Click any of the images below to visit my 24/7 online store and purchase what you need to create this lovely card, today. Thanks so much for stopping by!


A Picture Perfect Thank You

This pretty swap card was created by fellow demonstrator, Debra Brown. I really don’t think this picture does the color combination of Pink Pirouette, Wisteria Wonder, and Elegant Eggplant on the roses justice. It’s way prettier in real life. You will just have to try this color combo yourself so you can see it!
For your convenience I have shared a list of most of the supplies used in the creation of this card. Clicking any of the product images below will take you to my 24/7 online store so you may purchases any of the items you need to recreated this lovely card. Thanks so much for stopping by.


Going Retro With the Love Bug!
 |
| Back to the 60’s! |
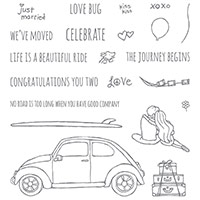
This fun retro throw back swap card was created by fellow demonstrator, Anita Watson.
Yeah, I grew up in the 60’s and 70’s so Anita’s card makes me just a little nostalgic. It was an interesting time; hippies, tie-die, flower power, peace signs, rock and roll, “The Love Bug,” and so much more!
I love how she gave the bug a “tie-die.” To do this she used what is called the Baby Wipe Technique. This technique is very easy, all you do is take a few baby wipes and turn them into an ink pad of sorts! Re-inkers are used to randomly create a pattern of ink on the baby wipes after which you lay your card stock over the top (or vice-versa) and pick up the “tie-die” color from the baby wipe!
Anita picked her colors from the designer series paper (this particular paper was a Sale-a-bration reward so it is no longer available but any colorful, flowered paper will do, as long as it is Stampin’ Up!, of course!) Just follow her lead and use the colors from whatever designer series paper you use!
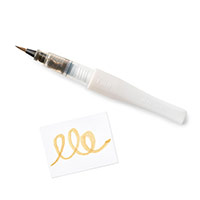
It is hard to see in the photo but the entire bug has a metallic flake in the paint job thanks to our awesome Wink of Stella pen! Plus, the windows have window sheets behind them giving them a real look of glass!
For your convenience, I have listed most of the supplies that Anita used in creating her card below. This fun, retro style stamp set called, Beautiful Ride is on the retired list and will be leaving us soon so don’t wait – click any of the images below to be taken to my 24/7 online store and get yours now before they are gone for good! Thanks so much for stopping by!


6 Easy Cards You Can Make in an Hour!

Actually, you can probably whip out 8 to 12 of these cards in an hour! (Scroll down to see the other 5.) But, to be safe, I went with claiming six. Remember the line from the commercial, “It’s so easy even a caveman can do it?!” That pretty much describes this layout.
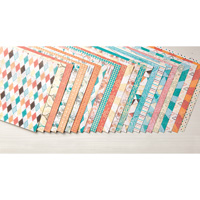
Another plus: It really stretches out a favorite piece of Designer Series Paper (hereinafter called DSP). One 12×12 sheet of DSP should yield 24-26 cards. To get 26 cards you will make your first cut at 5 1/4″, the second cut at 5 1/4″ again. This will leave you with a 1 1/2″ strip at the end. Trim down your 1 1/2″ strip to 1″ and then cut it into two 5 1/4″ pieces (you will have a small piece that you can save or discard). Then cut your two 5 1/4″ pieces of DSP into 24 1″ strips. You now have enough 1″ x 5 1/4″ strips of DSP to make 26 cards using this layout! But, I digress a little…
The 1″ x 5 1/4″ of DSP is layered on the bottom of a piece of 4″ x 5 1/4″ Whisper White card stock. After this step is done, then you can stamp your flowers off to the right. Then stamp your BIG & BOLD greeting/sentiment to the left of your flowers. Once the sentiment is placed, you can stamp the butterfly. The flowers and butterfly color with just a few strokes of the markers so that goes pretty quick (confession: I’m not a big fan of sitting and laboring over coloring). It is hard to see in the photo, but after coloring the butterfly, the small part of the wing has been highlighted with a touch of gold using Wink of Stella.
Once your cards are all colored, you can layer this on a piece of 4 1/4″ x 5 1/2″ coordinating card stock which can then be layered on a whisper white card base of the same size. I haven’t really referenced colors here too much, as this can be done with any DSP and the colors may be different. The beauty of using DSP is you can pull the color combo right out of the DSP and all of our DSP has its color combo listed in the catalog and has a coordinating card stock pack adding to the convenience.
Below are all the other different cards that I made in one quick sitting:


As you can see, I have covered 4 different occasions with 6 cards made from one easy layout! For your convenience, I have listed the products that I used below. (Please note that the items priced at 0.00 are Sale-A-Bration items. A $100 order placed by March 31st will get you both of these items for FREE! The Happy Birthday set is a Stampin’ Rewards set and may be purchased at the bargain price of $9 with a $150 order! A $150 order would also allow you to select one more FREE Sale-A-Bration item!) If you purchase the suggested items shown below, you will have an $150 order!
Clicking on any of the images below will take you to my 24/7 online store where you can purchase what you need to make your own 6 (or more) easy cards in an hour! Thanks so much for stopping by!