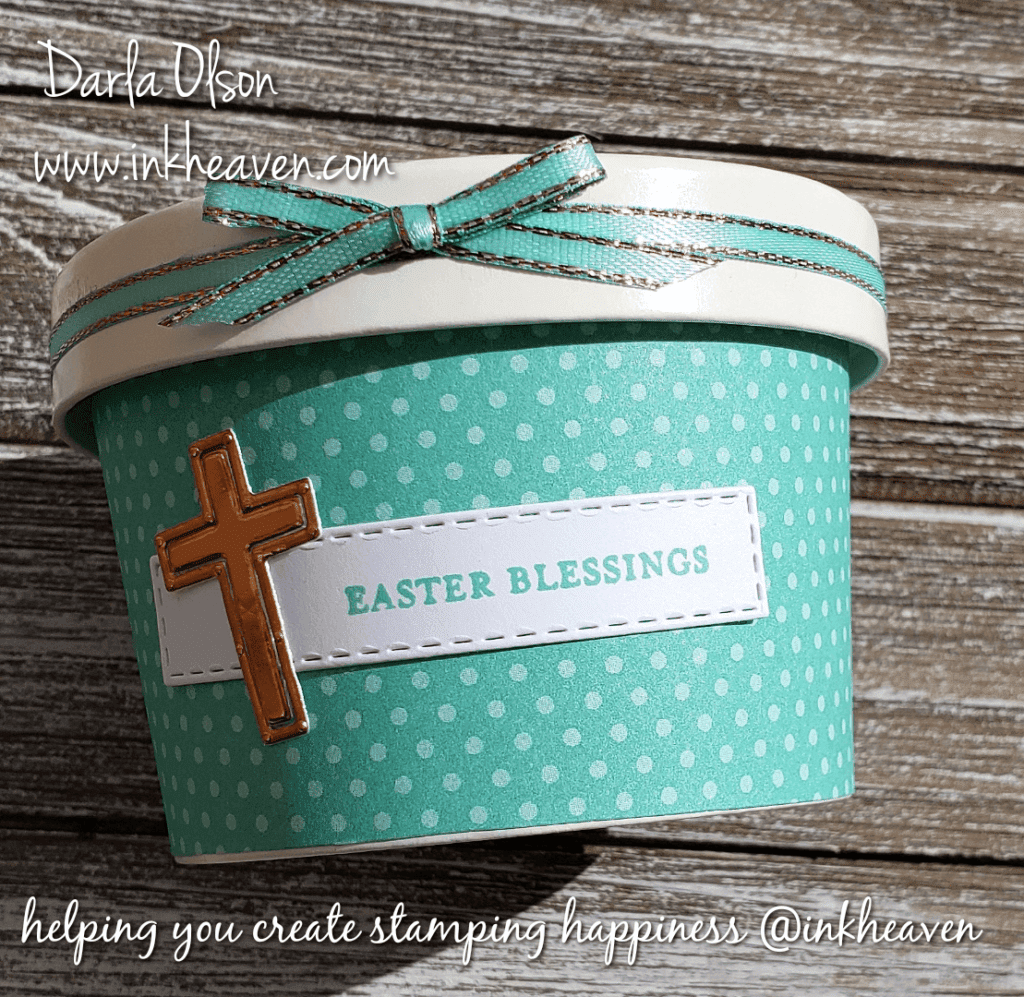
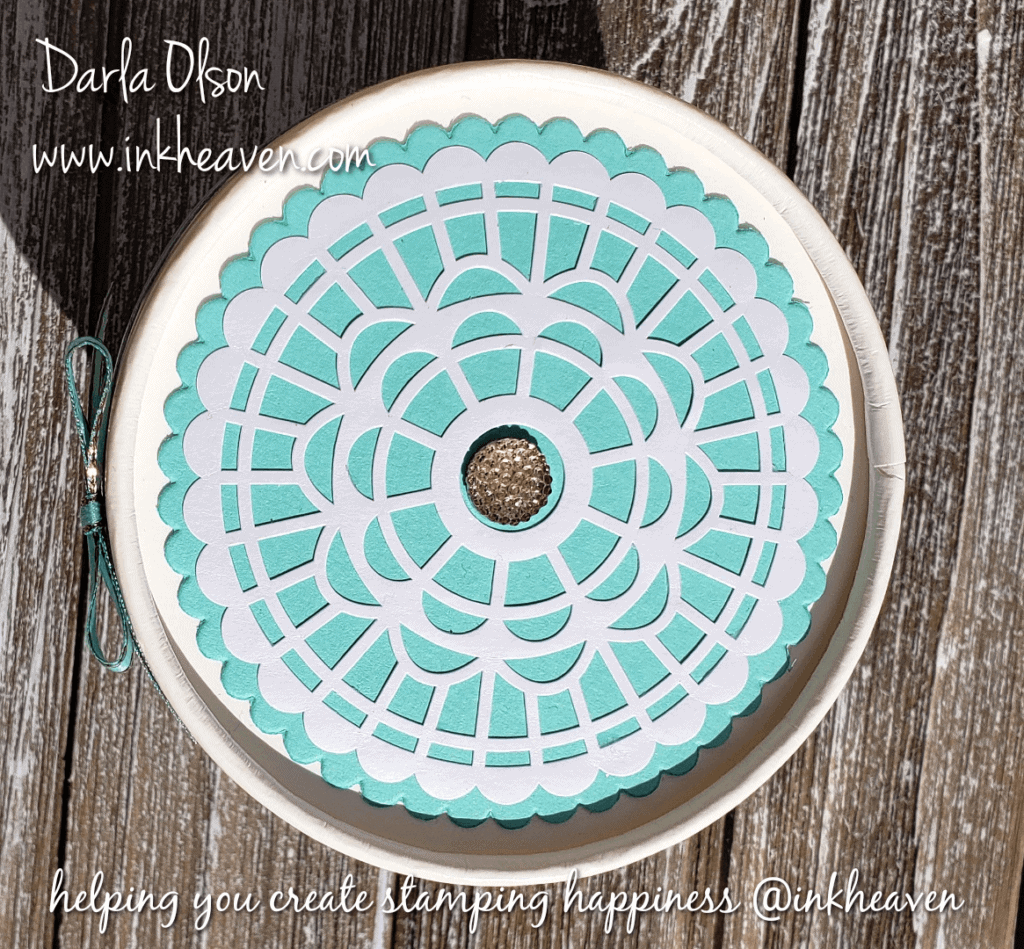
Share Easter Blessings In A Sweet Cup
Easter Blessings are about more than bunnies, candies, and baskets. Despite the many ways these items are used to celebrate, Easter is still about the Resurrection of Christ and new life. However, it is fun to indulge in sweet traditions to share the Easter message of the Resurrection of our Lord! With that in mind, I have this Sweet Cup of Easter Blessings to share with you today!
This project is incredibly easy to do. In addition, I have a Facebook Live video to help walk you through the steps. You will need this template to create the wrap for your cup – CLICK HERE
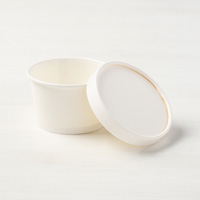
Here is photo shot of the lid to the cup:
Watch the Facebook Live
Get the supplies you need to create these projects:
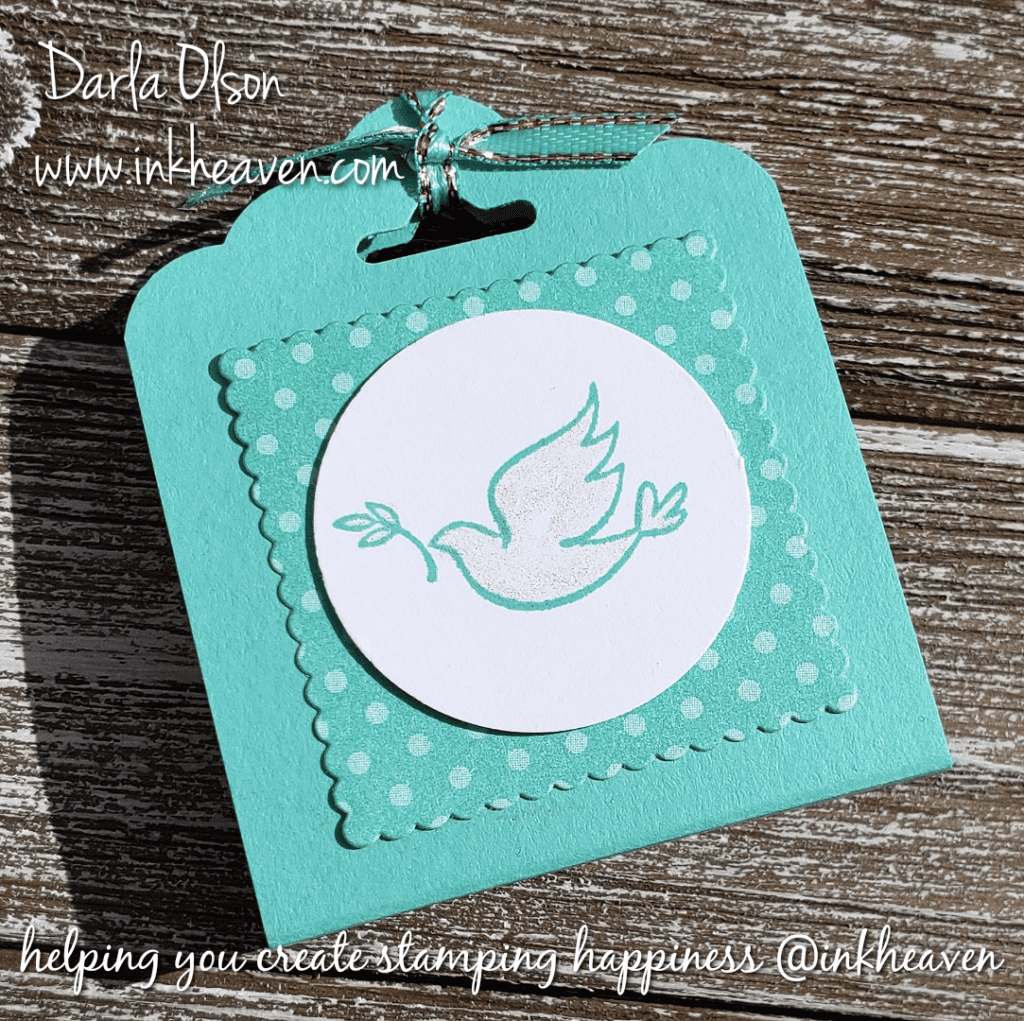
Please note that this list of supplies also includes tools for the Dove Treat as well!


Specials and Offers – CLICK HERE
To learn more about the 2019 Occasions Catalog – CLICK HERE
Thank you for stopping by to visit. If you have any questions, or need any help creating these projects, please ask! I love helping you create stamping happiness for yourself and loved ones!
If you enjoyed these projects you might also enjoy creating a matchbook cover – CLICK HERE

Light My Fire With Chocolate, Valentine! Matchbook Cover
Light My Fire With Chocolate! Create This Fun Matchbook Cover Gift!
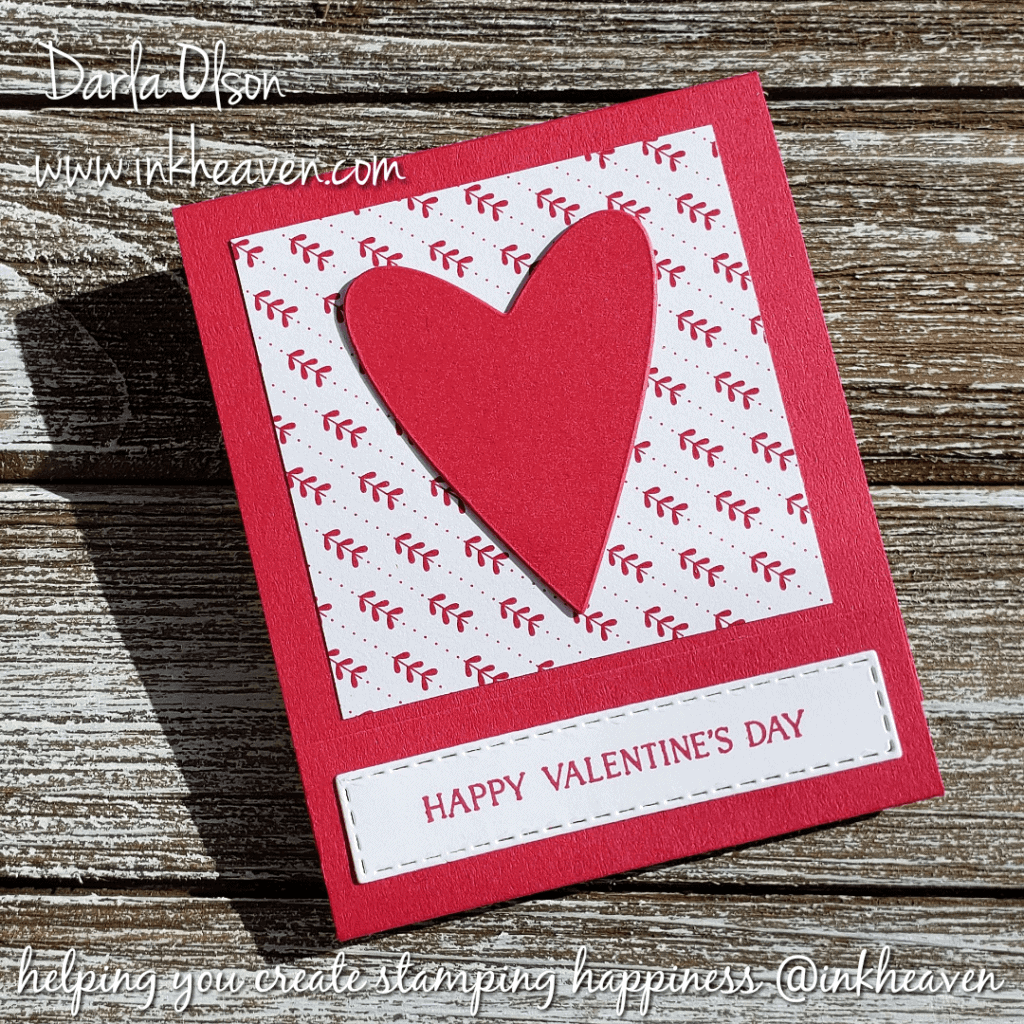
This fun matchbook is nothing new. I have made all kinds of these in various sizes in the past! Since it’s time to prepare for Valentine’s Day, I think it is time to update this little gem with some new stuff! Speaking of new stuff, the Rectangle Stitched Framelit Dies inspired the update to this creation. In particular, the one that perfectly holds the, “Happy Valentine’s Day”, sentiment. Given that it was a great size for the “flint” on a matchbook cover, I just had to give it a go!
In addition to a free tutorial for you that includes a photo, measurements, instructions, and a supply list, I also have a Facebook Live how-to video to share with you below! Since it is a Valentine, and I do love chocolate, I had a little fun naming my project! What better name for a matchbook than, “Light My Fire With Chocolate, Valentine!”?
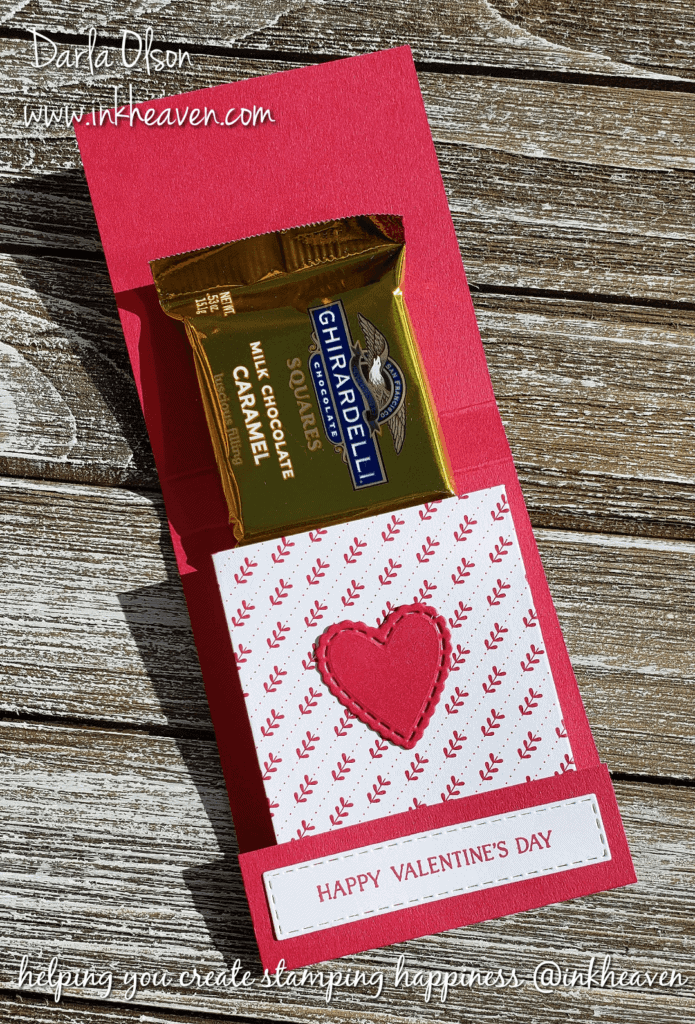
Inside of the Matchbook Cover Valentine
Create your own matchbook cover with this tutorial and shopping list:
But wait! Before you shop – you need to know about Sale-a-bration! Sale-a-bration is Stampin’ Up!’s premier annual sale! Given that, with every $50 you spend you will earn a FREE Sale-a-bration item of your choice! To learn more about Sale-a-bration – CLICK HERE.
For the tutorial with photo, measurements, shopping list, and directions – CLICK HERE
K


Specials and Offers – CLICK HERE
To learn more about the 2019 Occasions Catalog – CLICK HERE
To learn more about Sale-a-bration – CLICK HERE
Watch Video For More Detailed Instructions
Thank you for stopping by to visit. If you have any questions, or need any help creating this Light My Fire With Chocolate, Valentine! Matchbook cover, please ask! I love helping you create stamping happiness for yourself and loved ones!
If you enjoyed this project – you might like this simple Valentine project & card – CLICK HERE
Faux Tea-Stained Heart-Shaped Gift Box For Valentine’s Day
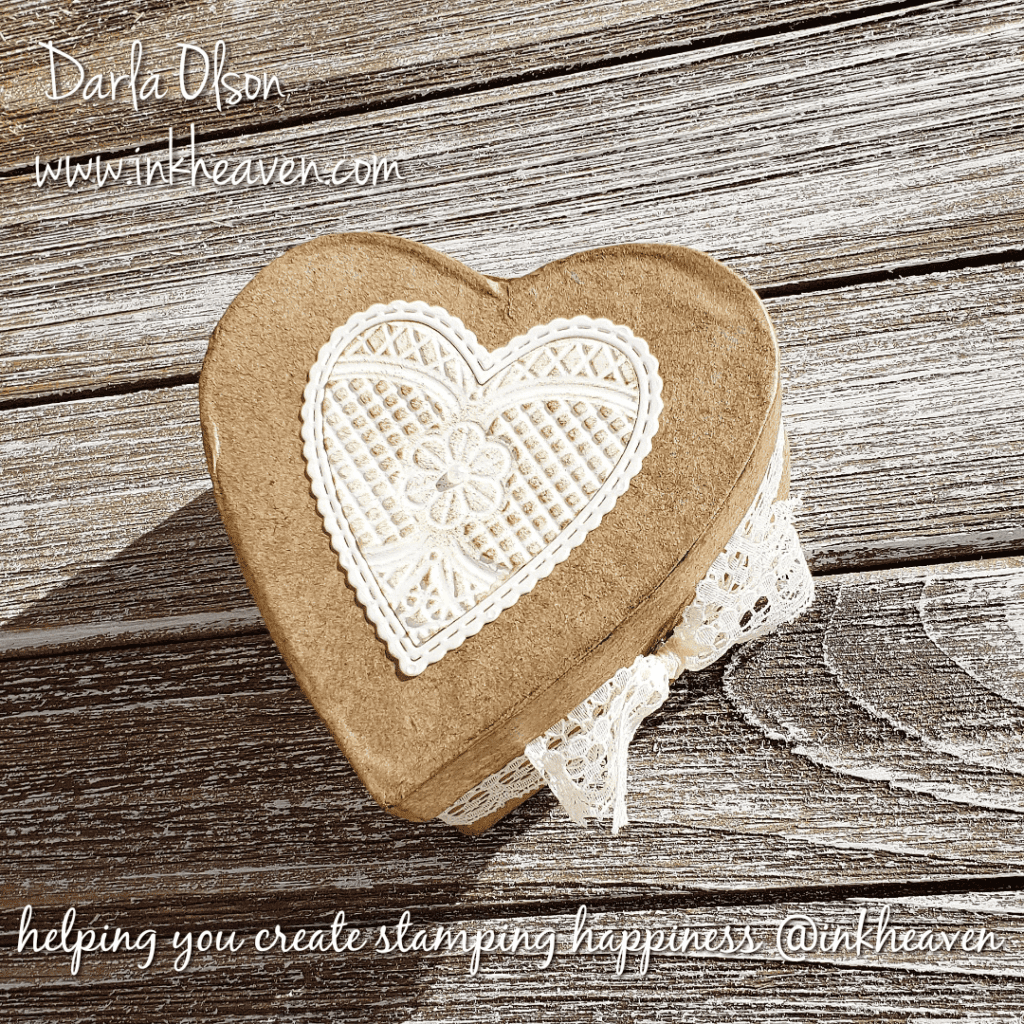
Create Faux Tea-Stained Heart Boxes For Gift Giving
I love creating fun little gifts to share with friends and co-workers on Valentine’s Day. This Faux Tea-Stained Heart-Shaped Box is a quick and easy idea for your Valentine’s Day treat giving! Not only that, but I have a coordinating handmade card idea for you as well! Plus, I have a free tutorial download and a video presentation cut from a Facebook Live for you! Both the box and coordinating card are demonstrated in the video.
In addition to the shopping list below you will need the following items to create your faux tea-stained heart-shaped box:
- 3″ Paper Mache Heart Box
- Stapler
Shopping List To Create Your Own Heart-Shaped Boxes


Coordinating Handmade Valentine’s Day Card
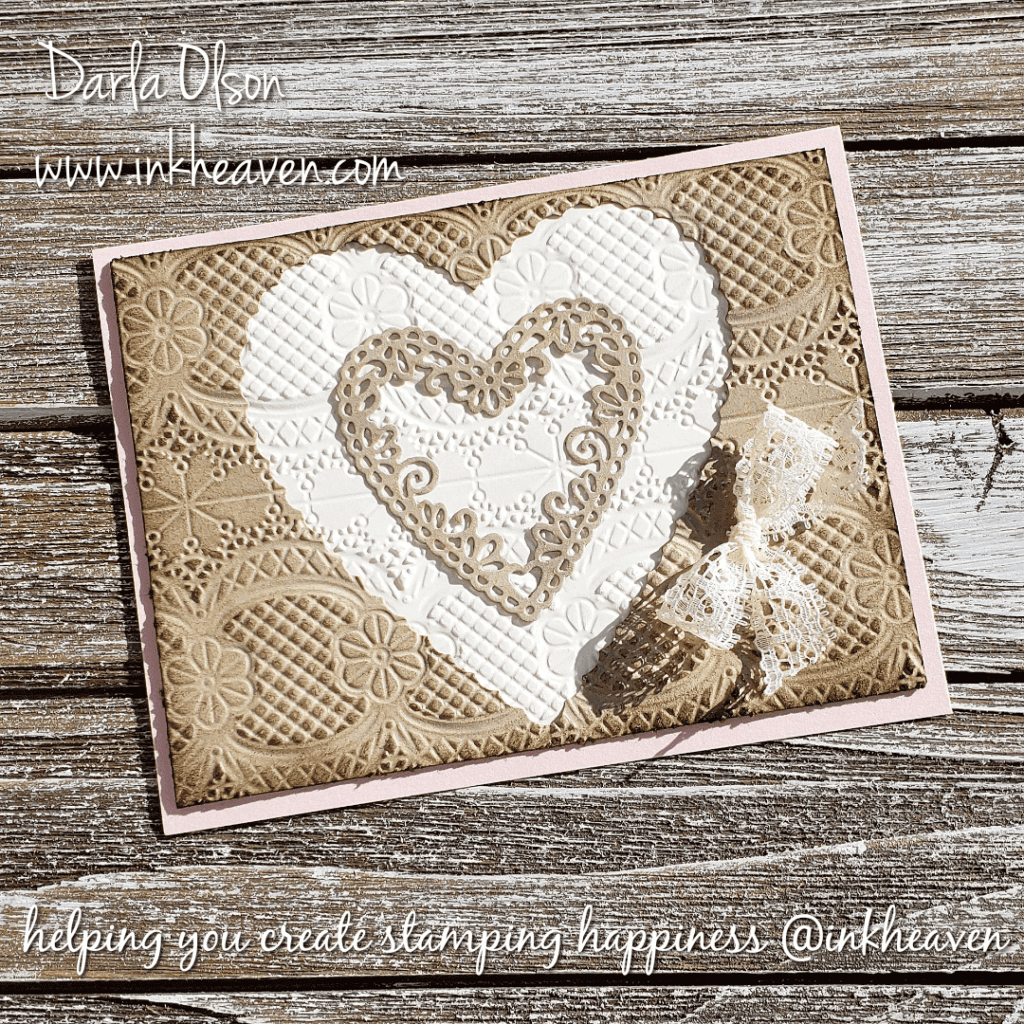
Create this coordinating card to give with your Faux Tea-Stained Heart-Shaped Box filled with treats! Download this free tutorial which includes a shopping list, dimensions, and instructions – CLICK HERE
Watch this video for a complete how-to demonstration of the box and card:
Be sure to shop inkheaven for your supplies. But wait! Before you place your order – be sure to read all about Sale-a-bration and how you can earn FREE product with every $50 you spend! To learn more about Sale-a-bration – CLICK HERE
Specials and Offers – CLICK HERE
To learn more about the 2019 Occasions Catalog – CLICK HERE
Thank you for stopping by to visit. If you have any questions, or need any help creating your Faux Tea-Stained, Heart-Shaped Box and Valentine’s Day card, please ask! I love helping you create stamping happiness for yourself and loved ones!
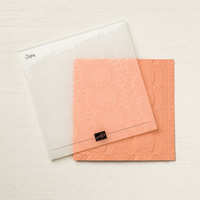
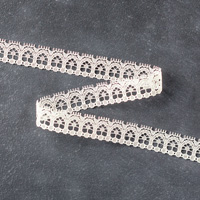
If you enjoyed this card – you might like this card with the Lace Dynamic Embossing Folder as well – CLICK HERE
Decorate Galvanized Metal Decor With Washi Tape

Decorate Galvanized Metal Decor With Washi Tape!
Galvanized metal decor is very popular these days! From serving trays to vases and everything in between, you can find something to fit your need!
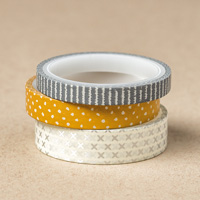
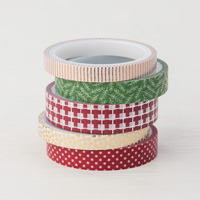
I recently held my open house and needed treats that would hold up for several days and thousands of miles. While packing up for the trip I grabbed my Washi Tape, Baker’s Twine, Cello Bags and Galvanized Tub so I could throw together some quick treat bags when I reached my destination! Unfortunately, I didn’t have time to create any cute tags to add to the bags. Since I was launching the new 2018 Stampin’ Up! Holiday Catalog, I wanted to add a holiday touch. (To learn more about the 2018 Holiday Catalog – CLICK HERE).
I used the new Suite Season Specialty Washi Tape to “dress up” the galvanized tub holiday style. It was quick and easy to do. Plus, the tape is easily remove-able!
Use Washi Tape to decorate your galvanized metal decor for the seasons, parties, and even weddings! In addition, coordinate party decor by adding the same tape to invitations, name tags, and more!
Specials and Offers – CLICK HERE
Thank you for stopping by to visit. If you have any questions, or need any help, please ask! I love helping you create stamping happiness for yourself and loved ones!
If you enjoyed this tip for decorating galvanized metal decor with washi tape, you might enjoy this simple Christmas card using washi tape – CLICK HERE
Be sure to subscribe to my newsletter before you go! My 2018 Holiday Catalog Tour begins tomorrow – you won’t want to miss it!
An Ode to Dr. Suess on his Birthday. Happy Birthday Dr. Suess!
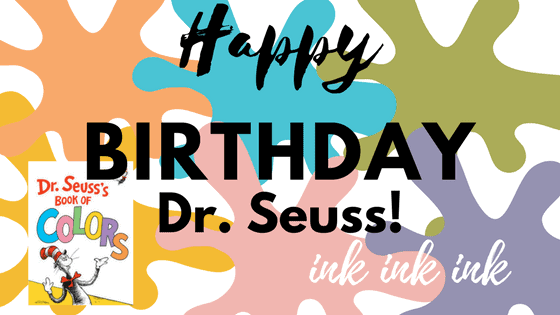
Happy Birthday, Dr. Suess!
Dr. Suess had a fabulous way of communicating with words. As a result, he had a great influence on my love for reading and words. In addition to loving words, I also love color! Sometimes, I wonder if my love of color is directly connected to my love of words. After all, words and color are both forms of communication. When you pair the two together, it’s powerful.
When I was preparing for this post, I discovered that he wrote about colors! I did not know this and will have to get a copy and read it. I want to know how he presented color with his wonderful mastery of words!
Several years ago, I wrote up a little poem about ink to honor Dr. Suess on his birthday. It’s my interpretation of how he would have written about ink. I wonder if will be anything like his book on color?
Ink, Ink, Ink! An Ode to Dr. Suess
if only you try!
You can ink up
in yellow
or ink up in blue
You can ink up
a horse
or ink up a sky
with clouds floating by
Oh the things
you can ink up
any thing that you wish
Ink up in bright colors
ink up at night
ink up on a long trip
Oh, the wonder of
ink, ink, ink!
You can ink up a bouquet
to celebrate a birthday!
Oh the things
you can ink up
if only you try!
by Darla Olson
Ink Up A Color Combo For Dr. Suess


I’m Celebrating 1,000 Blog Posts With A Gift Tag!

Gift Tags, parties, and celebrations all go together!
My inkheaven blog was a course correction. Prior to my blog, I had a website which was featured in Stampin’ Up!’s demonstrator magazine, Stampin’ Success. However, time has a way of bringing about change and websites were not as fashionable in the creative world. Blogging was where it was at! So, in April of 2009, I started blogging here at inkheaven. That means that on April 30th, inkheaven will be 8 years old! Can you believe it? I’m pretty close to having 100,000 visits to my blog as well!
To create my celebratory gift tag I used products from the Party Animal Suite (one of my favorite suites!) The nifty little die from the Balloon Pop-Up Thinlits that I highlighted below creates the top of this tag:

Your gift tag can be any length, but it will have to be two inches wide. My favorite thing about this gift tag die is that it creates a topper for a tag that opens! It does this by creating the score for the fold. Plus, it creates the holes for the ribbon or baker’s twine, whichever you choose to use. I didn’t take a photo of the inside, but there is a piece of Whisper White card stock adhered to the inside where you can put a to/from and a little note or or greeting!
I did use the coordinating Balloon Bouquet punch for my balloons. The smaller balloon was used which is a great fit for the two inch tag. If you want to create your own gift tags with the Party Animal Suite, just click the Balloon Pop-Up Thinlits photo to be taken to my 24/7 online store. If you have questions or need assistance, contact me anytime here at inkheaven!
I have shared several fun cards created with products from the Party Animal Suite. You can click the links below to see them:
Tips on how to use the Balloon Pop-Up Die as a Card Front
Copy That Card in the Catalog, Please!
Hooray in Dapper Denim Reverse Words
How to Celebrate a Year of Birthdays
If you would like to learn more about the Party Animal Suite, sign up for my newsletter using the form in the side bar! After you sign up, you will receive an invitation to subscribe to a week long Occasions Catalog Tour; 7 daily emails, each day featuring a suite! (There are 7 suites in the 2017 Occasions Catalog).
I would love it if you would leave a comment and let me know how long you have been a part of my inkheaven journey! Years? Months? Days? First visit?
Thank you so much for stopping by to learn, create, and have fun with me! Be sure to come back and repeat the process as I will be sharing a few more cards with product from the Party Animal Suite over the next few days!
What I Can’t Live Without – RemARKable Sale-A-Bration Blog Hop

I’ve been hexed by the Hexagons Dynamic Embossing Folder!
Welcome to our RemARKable Sale-A-Bration Blog Hop featuring our “Can’t Live Withouts!”
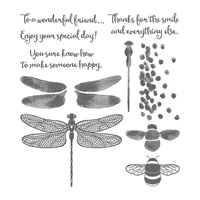
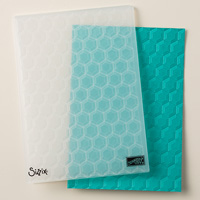
Who knew a geometric shape could be so bewitching? When I saw the Hexagons Dynamic Embossing Folder I knew I had to have it just because I had been so enthralled with the Cable Knit Dynamic Embossing Folder in the Holiday Catalog. However, as much fun as the Cable Knit Dynamic Embossing Folder was, it just didn’t have the versatility of the Hexagons Dynamic Embossing Folder! Here is a list of just a few things you can create with this folder:
- Chicken Wire
- Honeycomb
- Shiny Metal (Silver Foil Paper – think tool box)
- Tile (floors or walls)
- Cement Blocks (think walkways, patios, driveways)
I’m sure that there are many more applications that I have not thought of yet! For my sample today, I am showing you how it looks like honeycomb! This cute bag will hold the make and takes for the happy stampers at my Open House events in March!

One of my favorite cards that I created with the Hexagons Dynamic Folder uses my favorite Sale-A-Bration set, Hey, Chick, and you can see that card HERE.
For your convenience, I have listed most of the supplies that I used creating this bag below. Clicking any of the images will take you to my 24/7 online store where you can have fun shopping for your own creative supplies! Have fun shopping anytime with me here at inkheaven by clicking here www.darlaolson.stampinup.net.
Thank you so much for stopping by to create and learn with me at inkheaven. See you next time as we create, have fun, share, and repeat!
Previous Hopper
Susan Barasha Timchack
Next Hopper