How To Use Vellum To Create A Frame Overlay With Framelits!

Learn how to create a vellum frame overlay using the beautiful Stitched Season Framelits by inkheaven

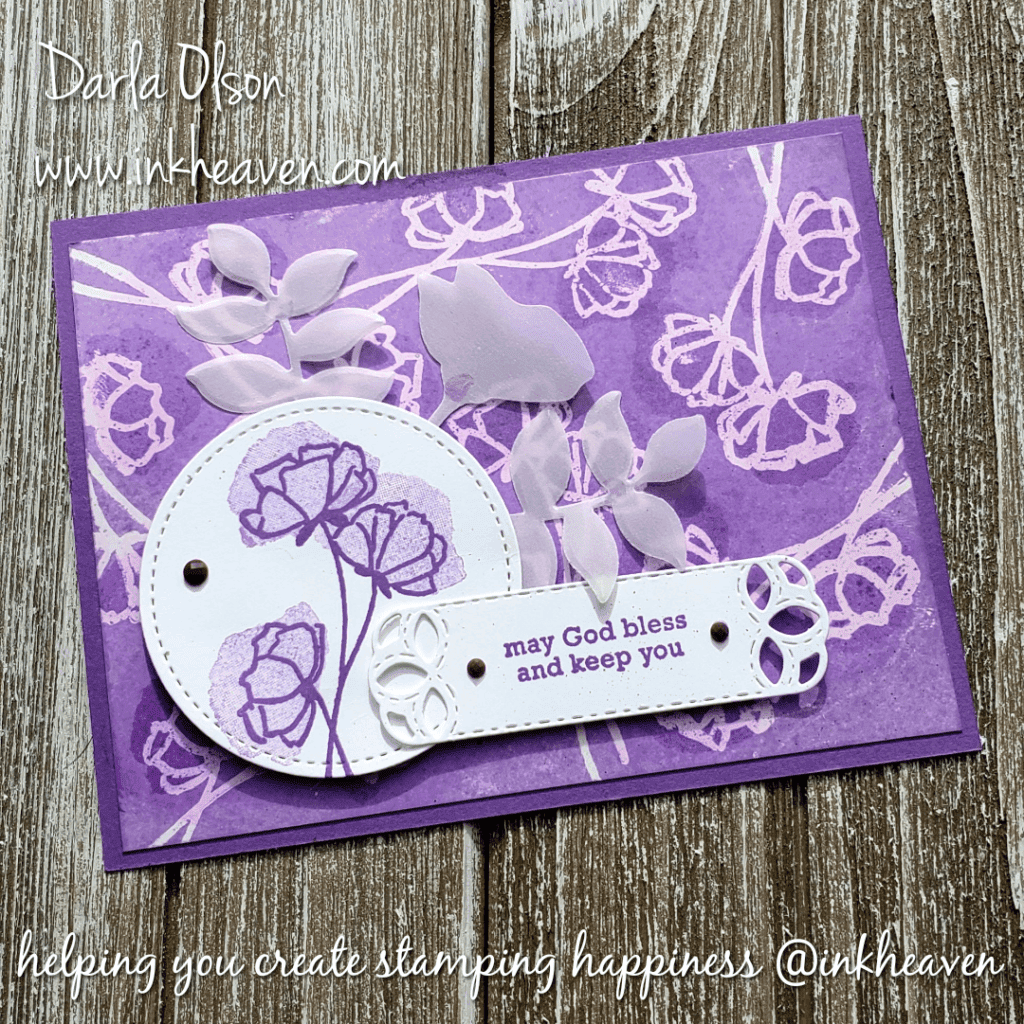
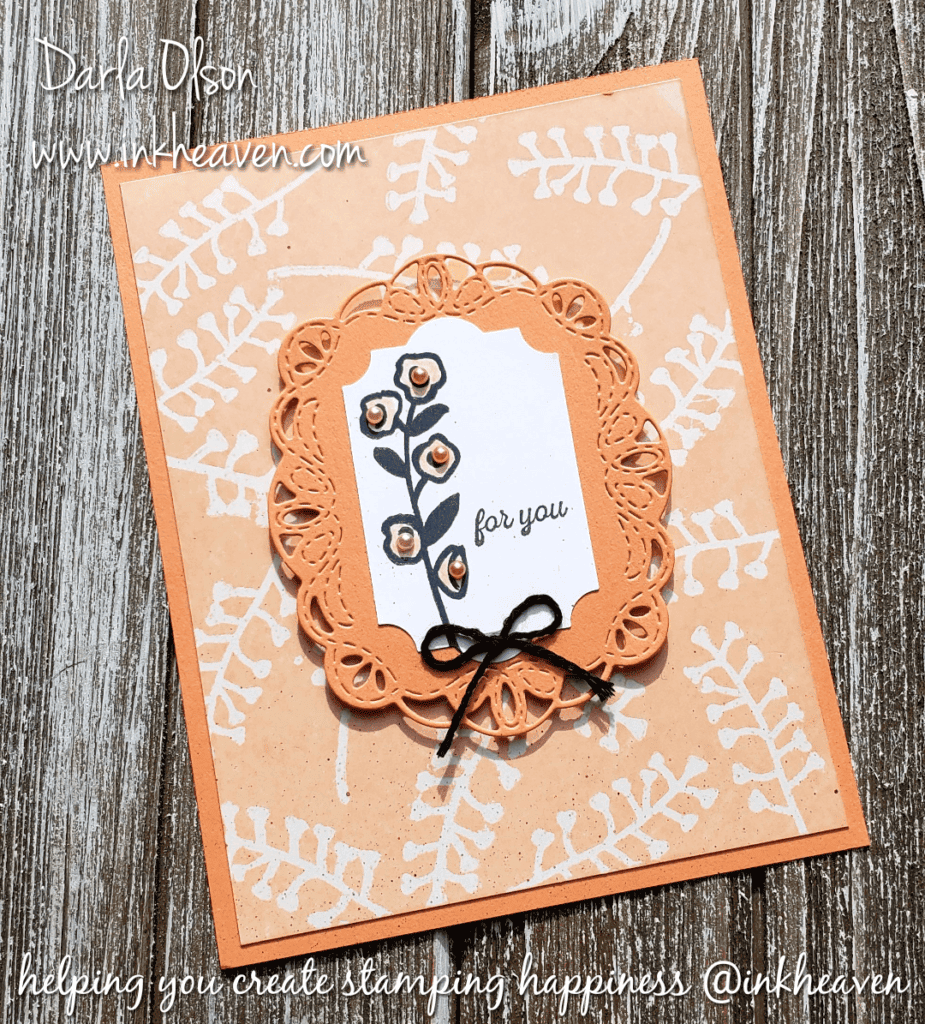
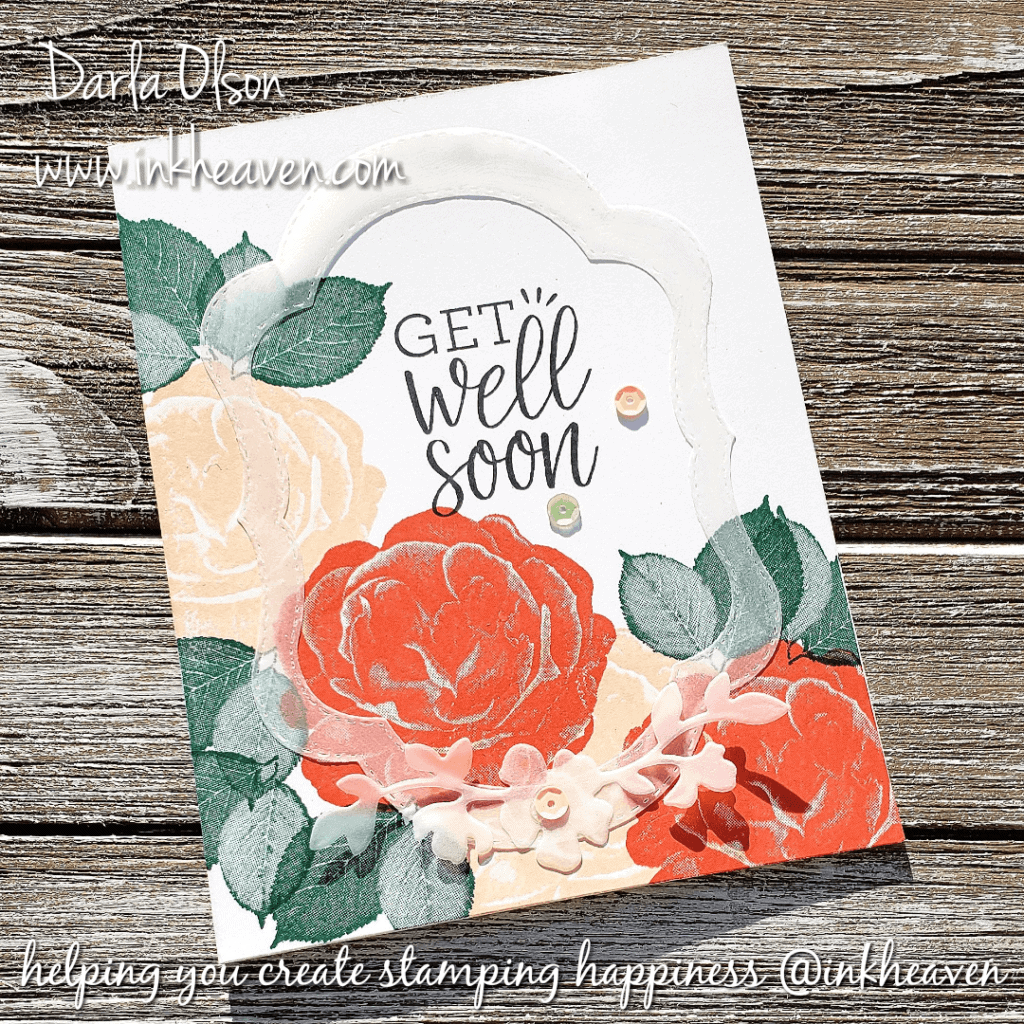
Create a Vellum Frame Overlay with Framelits

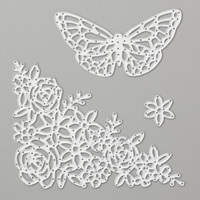
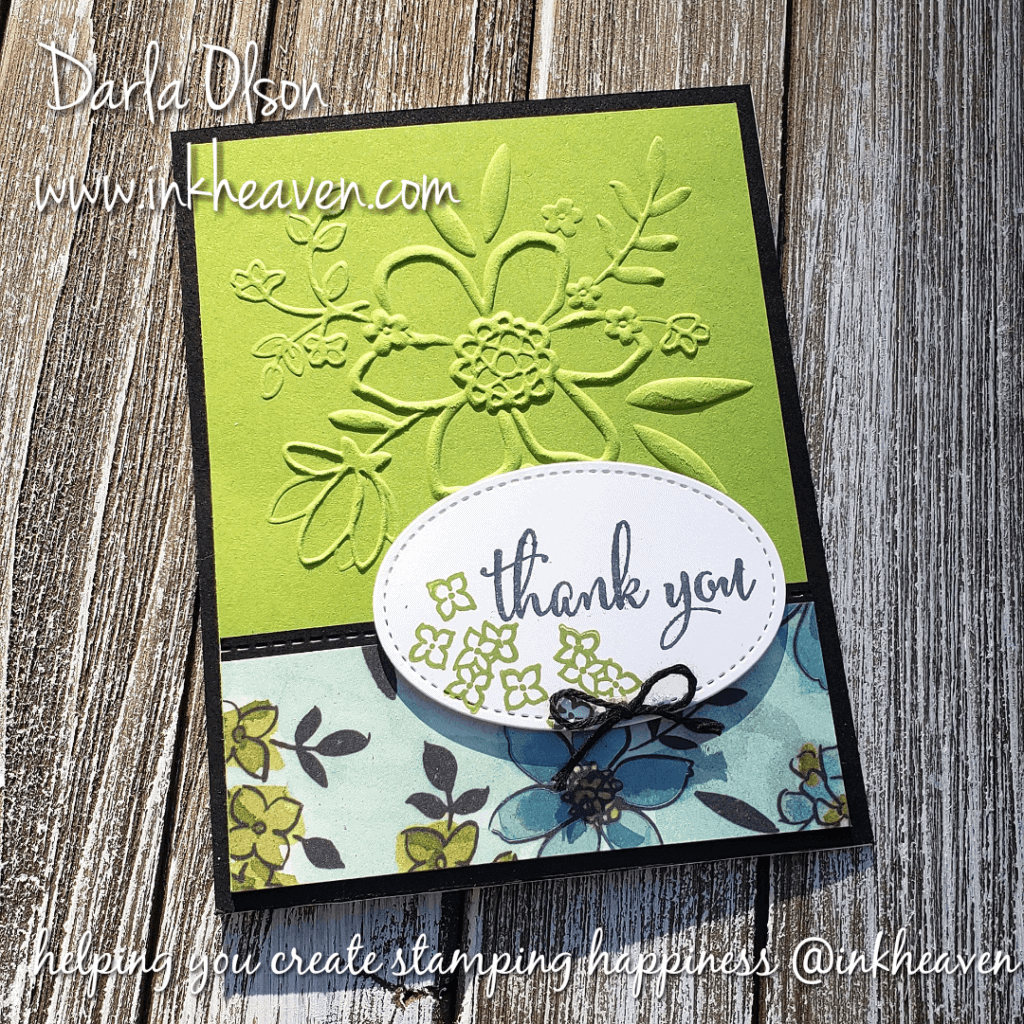
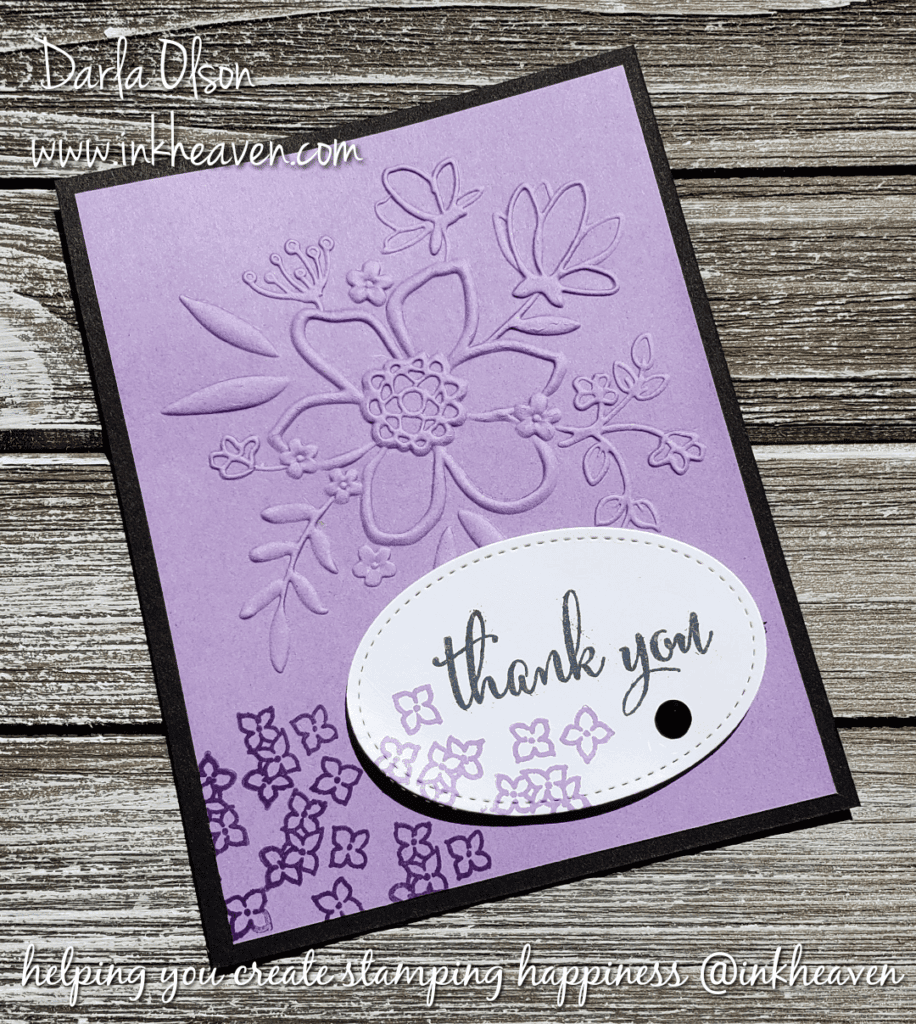
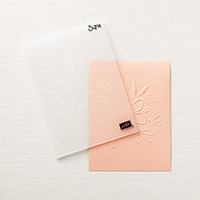
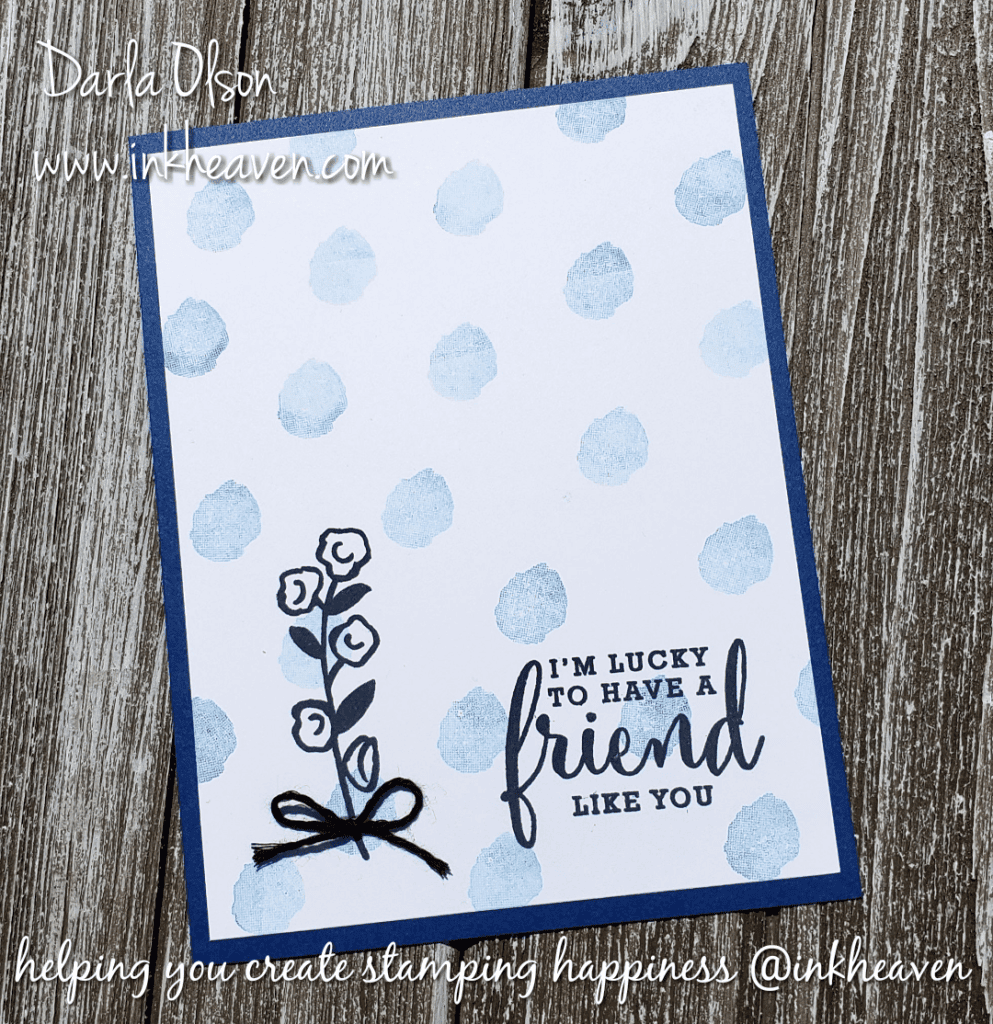
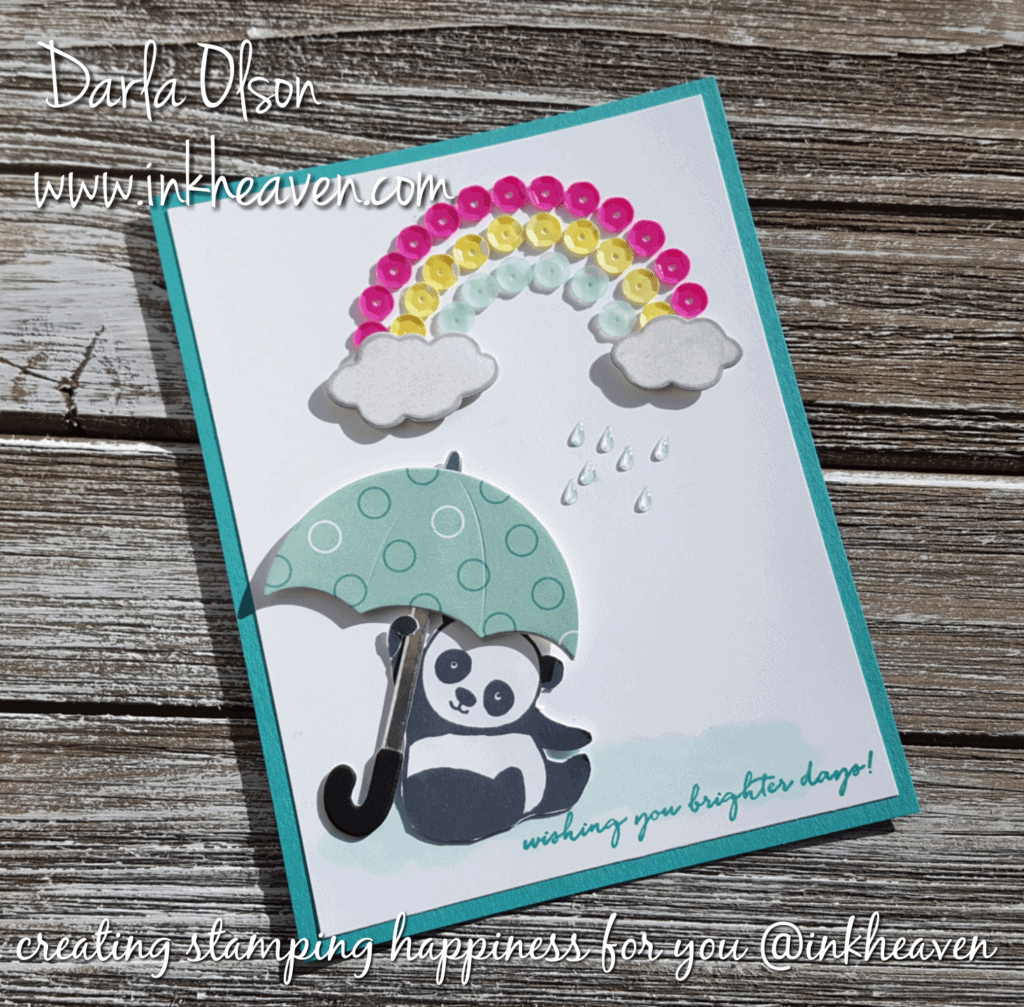
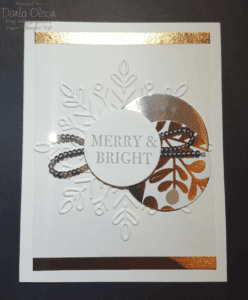
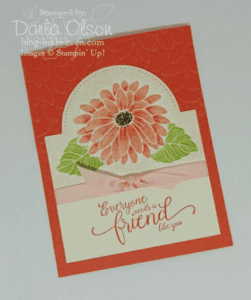
Vellum frames are an easy way to overlay a pretty accent to an otherwise one layer card! The translucent nature of vellum allows  images to show through the overlay. Especially when they are paired with bold and vibrant floral images like the ones shown here from the Healing Hugs stamp set. Since it is a translucent paper, it can be tricky to adhere to your card without the adhesive showing.  I have found that All Purpose Liquid Glue applied to the entire piece of the vellum overlay is the best solution. (Watch video below)

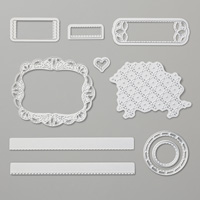
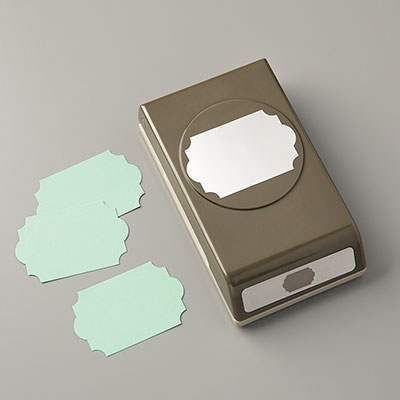
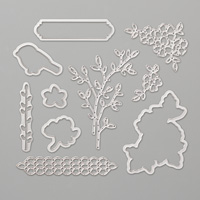
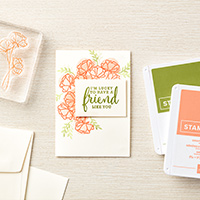
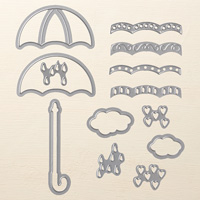
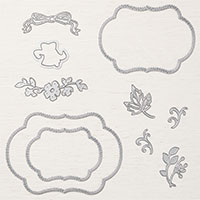
The Stitched Season Framelits are perfect for creating pretty frame overlays with vellum. Because the dies include stitching on both the positive and negative images, there is decorative stitching around all the edges of the frame! However, the Stitched Season Framelits are only available for a limited time starting today. To learn more about the Stitched Season Framelits promotion – CLICK HERE.

At the present time, we also have a Bonus Days promotion that allows you to earn rewards on your order! For more details – CLICK HERE.

Facebook Live Video

Here is an un-edited Facebook Live video that will show you how to create this card with the overlay. For the Color Coach charts referenced in the video – CLICK HERE.  Please follow my Facebook Page for more live video demonstrations! CLICK HERE.

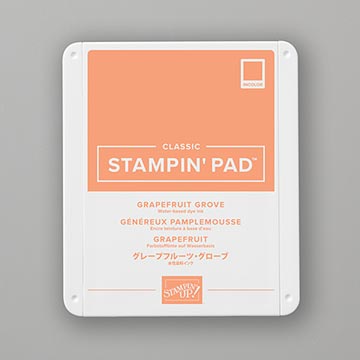
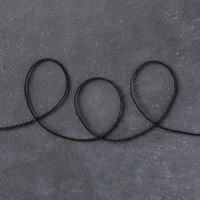
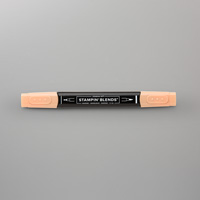
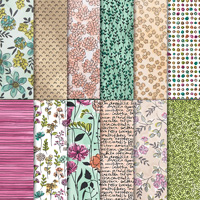
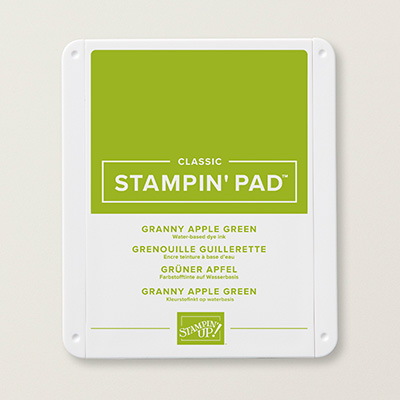
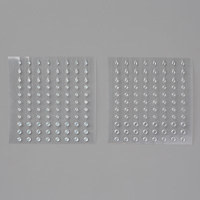
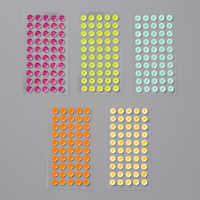
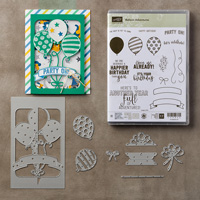
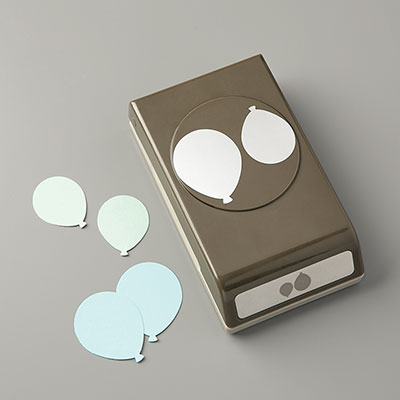
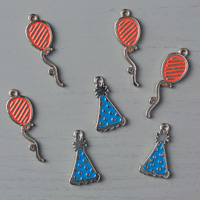
Here is a clickable list of the supplies I used to create this vellum overlay card:

Specials and Offers – CLICK HERE.

Thank you for stopping by to visit. If you have any questions,or need any help, please feel free to ask! I love helping you create stamping happiness for yourself and loved ones!

If you enjoyed this post, please be sure to check out these other posts on using vellum:

Relax and Color, Then Create Pretty Stained Glass Cards

Vellum Accents Add Texture and Dimension

Darla Olson at inkheaven wishing you stamping happiness always

Vellum Accents Add Texture To Resist Technique Background

Vellum accents coordinate with the focal image and the background images highlighted with resist technique at inkheaven.

Vellum Accents Add Texture And Dimension

Vellum accents are a great way to add coordinating texture and dimension to your cards. On this card, the Love What You Do floral stamp images create the focal point image and background images. Because the floral shape in the Eclectic Layers Thinlits coordinates well with the floral image in Love What You Do, I chose it to create my accents. In addition, it has nice leaf/greenery stems to tuck in with the flower image! Since the resist technique background is somewhat busy, the vellum creates a soft, subdued accent.

Resist Technique Used To Create Background

The background of this card is created with a resist technique on glossy card stock. To learn more about this technique – CLICK HERE.  In addition, this background features a monochromatic Highland Heather and Gorgeous Grape color combo. Using this color combo allowed me to add shadows to the floral images in the resist background. To do this, I stamped the solid floral image in Gorgeous Grape over the original resist in Highland Heather. After which, I wiped off the excess ink with a tissue once again. The resist background is anchored to a Gorgeous Grape card stock base.

The vellum accents were added to the resist background with glue dots. However, liquid glue would work as well. Lastly, the Stitched Circle and Stitched Label were added with Stampin’ Dimensionals. Tip: The Stitched Label has a glue dot attaching it to the Stitched Circle while a Stampin’ Dimensional is used on the opposite end.

Convenient Clickable Supply List For This Card

Specials and Offers – CLICK HERE.

Thank you for stopping by to visit. If you have any questions,or need any help, please feel free to ask! I love helping you create stamping happiness for yourself and loved ones!

Darla Olson at inkheaven wishing you stamping happiness always

Easy Resist Technique Using Glossy Card Stock And Petal Palette

Easy Resist Technique using glossy card stock with Petal Palette @ inkheaven

Easy Resist Technique With Glossy Card Stock

One way to get a background that coordinates well with your card is to create it! This background is an easy resist technique using glossy card stock and Versamark ink.

Glossy card stock is a high-quality, coated card stock with a glossy finish. As a result, the surface is slick, so you do need to take care when stamping.

Supplies Needed (Images are clickable)

To create your background with this easy resist technique, you will need the following supplies:

Instructions For Technique

  1. Start with a 4″ x 5 1/4″ piece of glossy card stock.
  2. Ink up your image with Versamark ink and randomly stamp image on card stock re-inking your stamp each time. Tip: To keep stamp from slipping try to lift the stamp straight up right after stamping (the stamp will stick a bit).
  3. Heat set the Versamark inked images using the heat tool. Tip: The ink is set when the image loses it’s shine and is harder to see.
  4. Using a stamping sponge, pick up Grapefruit Grove ink and sponge over the entire surface of the card stock. Tip: Use a tissue to wipe off excess ink. Your stamped images will magically appear through the Grapefruit Grove ink!

Now that you have your background completed, you can assemble your card! To complete the card as shown, you will need the following additional supplies (images are clickable):

Happy Shopping @inkheaven
Thank you for shopping with me @inkheaven


For current Specials and Offers – CLICK HERE

Thank you for stopping by to visit. If you have any questions, or need any help, please feel free to ask! I will be demonstrating this card during a Facebook Live this month. Please like my Facebook Page (CLICK HERE) to get notified when I go live! I love helping you create stamping happiness for yourself and loved ones!

Darla Olson at inkheaven wishing you stamping happiness always

These Inexpensive Big Shot Embossing Mats Double Your Die Options!

The big shot embossing mats double your die options - see this great example with stampin' up! springtime impressions at inkheaven.

Use Your Dies With Big Shot Embossing Mats

The Springtime Impressions Thinlits create a gorgeous embossed background when they are embossing using the Big Shot Embossing Mats. In addition, this Springtime Impressions Thinlit pairs really well with the roses from Petal Palette. Since roses are beautiful in any color, I chose to use Stampin’ Up!’s new In Color, Pineapple Punch. To learn more about the new In Colors, CLICK HERE.

Coloring the Roses

I wanted my roses to have a soft look, so I stamped them using Smokey Slate Classic Ink. After stamping them, I colored them with the Daffodil Delight and Old Olive Stampin’ Blends. To learn more about the Stampin’ Blends and how to use them – CLICK HERE.

Watch This Video To Learn How To Use The Big Shot Embossing Mats

Additional Tip: You can soften your card stock fibers before embossing by spritzing with water before embossing. Spritz lightly using a Stampin’ Spritzer:

Create a Lovely Floral Thank You Card With Dynamic Embossing Folder

Create a Lovely Floral Thank You Card With Stampin' Up! Dynamic Embossing Folder by Darla Olson @ inkheaven

Create this Lovely Floral Thank You Card

Creating this Lovely Floral Thank You Card is a snap with the Lovely Floral Dynamic Embossing Folder by Stampin’ Up! A clickable supply list and free tutorial are available at the end of this post.

Dynamic  Embossing Folders take embossing to the next level, with deeper, more detailed impressions than standard embossing folders.  Watch the video below to learn more about the Dynamic Embossing Folders by Stampin’ Up!

Watch this Video For Tips and Tricks For Using Dynamic Embossing Folder

Special Features of this Lovely Floral Thank You Card

The card shown above was a free Make & Take for my new catalog launch (to learn more about the 2018-2019 Stampin’ Up! annual catalog and learn how to receive your free copy – CLICK HERE. I wanted each guest to have a sample of the lovely Share What You Love Designer Series Paper so they could see and touch the lovely pearl sheen, so I used it to anchor the bottom of the card. In addition, I showcased a few other new products; Granny Apple Green card stock and ink and the Stitched Labels Framelits.  The straight running stitch die from the Stitched Labels Framelits is a great addition to pair with the Stitched Shapes Framelits oval!  However, you can create much simpler cards with the Lovely Floral Dynamic Embossing Folder as well (see example below).

Simpler, Alternate Thank You Card

Create a simpler version of the Lovely Floral Thank You Card with the Stampin' Up! Lovely Floral Dynamic Embossing Folder by Darla Olson @ inkheaven

Create The Lovely Floral Thank You Card Clickable Supply List and Tutorial

To download the free tutorial – CLICK HERE

Specials and Offers – CLICK HERE

I am so happy that you stopped by to visit! If you have any questions or need any help creating this card, please don’t hesitate to ask!  Feel free to leave a comment, I would love to hear from you. Thank you for allowing me to help you create stamping happiness for you and your loved ones.

Darla Olson at inkheaven wishing you stamping happiness always

Lilypad Lake Stampin’ Up! Card Idea Using Masking Technique

Lilypad Lake, Stampin' Up! thinking of you handmade card using masking techniue created by Darla Olson @ inkheaven

Create a Beautiful Scene With Lilypad Lake Using Masking Technique

Lilypad Lake stamp set by Stampin’ Up! is perfect for creating peaceful lake scenes.  Using the masking technique, you can make the lilypads in this stamp set appear to be floating in the water. Masking is an easy technique for placing images in the foreground to create depth to a one-layer card.

How to Create a Mask for the Masking Technique

Stamp the image you want to remain in the foreground on a piece of scrap paper (if you use this you will need to use Tombow Liquid Glue), a Post-it note (if you use this be sure part of your image is on the sticky area), or on Post-Tape (my personal favorite) CLICK HERE to purchase the Post-it Tape. After the you have stamped the image, cut the image out. Tip: You may need to cut inside the lines to get good coverage.  However, for this card, that will not be necessary, just cut as close the line as possible. Next, you will stamp the image on your card front and place your mask over the image. After this, stamp the image that you wish to appear behind your masked image over the top of your mask. Finally, remove your mask. That’s it! You have just used the masking technique!

Clickable Supply List for my Stampin’ Up! Store and Tutorial

This Lilypad Lake card idea was a Make & Take at my 2018 New Catalog Launch. For more information about the 2018-2019 Stampin’ Up! Annual Catalog and how to receive you own copy, CLICK HERE. To download the  Lilypad Lake card idea Tutorial, CLICK HERE.

Please note: The Stampin’ Blends will not be available for purchase until sometime mid-June. Item numbers are listed on the tutorial.

Specials and Offers – CLICK HERE

Step it up With LayeringHere is a similar card idea that is stepped up with layering using the Lakeside dies from the bundle and save!

Stepped up version with Lakeside Dies Stampin' Up! @inkheaven

I am so happy that you stopped by to visit! If you have any questions or need any help creating this card, please don’t hesitate to ask! Comments are welcome. Thank you for allowing me to help you create stamping happiness for you and your loved ones.

Darla Olson at inkheaven wishing you stamping happiness always

Clean And Simple Card Idea With Love What You Do

A clean and simple card idea that is perfect for the beginning stamper created with the Love What You Do, Stampin' Up! by Darla Olson @inkheaven

Easy, Clean and Simple Card Idea With Love What You Do

It’s complicated.

How many times have you answered a question with those two words? Sometimes, I just want things to be simple.  I think this was my mood when I designed this card. I’ve been preparing for my new catalog launch (you can learn more about that by CLICKING HERE). After a few weeks of creating cards for Make & Takes and display boards, I think I just wanted something easy. Which ultimately lead to this clean and simple card idea using the Love What You Do stamp set from Stampin’ Up!

Great Card for the Beginning Stamper

This is a great card for the beginning stamper as it uses minimal supplies and it isn’t complicated! (It’s also great for the experienced stamper!) This card is in Blueberry Bushel Classic Stampin’ Up! Ink and Tuxedo Black Memento Ink. However, you can create this card in any color combined with Tuxedo Black Memento Ink.

A few How-to Notes for the Beginning Stamper

The background for this card is done with repeated, random stamping of the dot image. In addition, this image is stamped off before stamping it on the card. Stamping off is a simple technique where you  ink up the stamp and stamp it on scratch paper first to reduce the intensity of the ink.  Next, add the sentiment and flower image in Tuxedo Black.

Create this Clean and Simple Card using this Clickable Supply List

Please note: The Love What You Do stamp set is an early release from the upcoming new annual catalog. It is currently available in three exclusive bundles that include free product.  In addition, these exclusive bundles with free product are only available until May 31st.  Learn more about the bundles by CLICKING HERE.  After May 31st, the new catalog will go live and you will be able to purchase products individually. To learn more about the annual catalogs, CLICK HERE.

Specials and Offers – CLICK HERE

I am so happy that you stopped by to visit! If you have any questions or need any help creating this card, please don’t hesitate to ask!  Please feel free to leave your questions and comments below. Thank you for allowing me to help you create stamping happiness for you and your loved ones.

Darla Olson at inkheaven wishing you stamping happiness always

How to Create a Rainbow with the Tutti-frutti Adhesive Backed Sequins

Learn how to create a rainbow with sequins @ inkheaven

Create a Colorful Rainbow with Tutti-frutti Sequins

Sequins are a hot embellishment trend for 2018.  I wrote about that (click here) when I was preparing this card and tutorial for my Facebook Live earlier in the year.  I am finally getting around to posting the card, tutorial, and my Facebook Live (in the raw) video for you!

The Tutti-frutti Sequins are adhesive-backed which makes creating the rainbow  a snap. You can download the tutorial (click here). Watch my Facebook Live (in the raw) video below the clickable supply list.

Clickable Supply List for the Brighter Days Panda Card

If you missed out on Sale-a-bration and earning the Party Pandas set for free – I have two stamp sets available for sale in my shop (click here)

Here is a clickable supply list for your convenience:

Facebook Live Video (In the Raw!)

Thank you for visiting me today and allowing me to help you create stamping happiness for you and your loved ones.

Darla Olson at inkheaven wishing you stamping happiness always

Merry and Bright Christmas Card With Winter Wonder

Merry and Bright Christmas Card created with Winter Wonder Stampin' Up!

Merry and Bright Christmas Card Cased From Stampin’ Up!’s Holiday Catalog

Isn’t this Christmas Card just gorgeous? I love simple WOW cards and this Merry and Bright Christmas Card falls into that category! This card started out as a CASE (Copy and Share Everything) of the “cheers to a new year!” card on the bottom of page 36 of the 2017 Stampin’ Up! Holiday Catalog. (If you don’t have a catalog you can find out how to get one by clicking here.) As I got to work on the card it quickly became apparent that I needed to make some changes! Here’s why:

  • Cheers to the Year stamp set was not in my stamp collection! (I know. I know! What was I thinking?)
  • Heat embossing was out of the question because I needed it to be quick for a Make and Take!
  • Simple is good but sometimes just adding a simple layer adds to the wow factor.

So, what do you do when you see a card you want to copy and you don’t have the sentiment? Pull out what you do have and find an alternative.  Or order what you need, wink, wink – but I didn’t have time for that – I was working with a deadline!

The Process of Casing a Christmas Card With What You Have

Since I did not have time to order the Cheers to the Year stamp set, I needed to figure out if I could CASE the Christmas Card with what I had on hand.  Since I knew I wanted to add a layer to the card, I started with that. Once I measured, cut, and embossed my layer, then I was able to determine the best size for my circle layers. TIP: The easiest way to do this is to have the Layering Circle Dies cut out in copy paper (just store these with your dies) so you can lay them over your card front and visually see what will look good. No need to waste that precious (and gorgeous) Designer Series Paper! I also have the Lowdown on the sizes of the Layering Circle Framelit Dies that you can download here.

After you have determined the size of your circles, the next step is to take the one that you will be stamping the sentiment on and using it to find a sentiment in your collection of stamps that will fit. I already had an idea of what I wanted to use so I pulled out my Hearts Come Home Bundle, much to my delight (and relief) the “merry & bright” sentiment was a perfect fit!

FREE Inkheaven Tutorial for the Merry and Bright Christmas Card

Since this card was created as a Make and Take for my Holiday Catalog Launch, I put together a tutorial complete with supply list for my attendees. To celebrate my new blog and return to blogging, I will be sharing more Make and Takes, Class Cards, and Tutorials for you to download over the next few weeks so be sure to check back!

Click here to download FREE Inkheaven Tutorial

Thank you so much for visiting my blog today! If you enjoyed this project and would like to duplicate it, please be sure to purchase the products you need from my online store.

Happy Shopping @inkheaven
Thank you for shopping with me @inkheaven


Please come and visit me again as I will be creating more stamping happiness for you soon!

Darla Olson at inkheaven wishing you stamping happiness always


Watercolor Pencil Technique is Gorgeous With Special Reason

Watercolor Pencil technique with Special Reason Inkheaven

Watercolor Pencil Technique provides depth and texture to stamped images.

The Special Reason stamp set is perfect for this watercolor pencil technique.  I am not a big fan of spending a lot of time coloring images. I don’t know why it is, but I lose interest quickly. Even as a child I don’t recall completing entire pages in my coloring books very often. As a result, this technique suites me well as the Watercolor Pencils are used primarily to enhance an already stamped image!

Tips, Tricks, and Techniques

Since I have not used this Watercolor Pencil Technique with other stamp sets yet, I can only share how it worked with the Special Reason stamp set. When I first attempted this technique, I found that inking up the image and stamping it made it too dark. I then tried stamping off, but I didn’t like that result either.  Ultimately, I settled on using a stamping sponge to apply the ink to the stamp to get the desired look. Even when using the stamping sponge to ink up the stamp, you have to be careful to not over apply the ink!

Another technique used on this card is masking. As the name implies, images are covered in this technique to achieve a desired look. In this instance, masking is used to place part of the leaves behind the flower.  I created the mask for the flower using the Stylish Stems dies with post-it notes. (The Stylish Stem Dies are no longer available. However, a mask can be created by fussy cutting around a stamped image.). To keep the gap between the flowers and the leaves from being too big, be sure to leave an edge of the flower showing. The mask needs to be re-positioned for each leaf. Once again, I found that stamping the image fully inked was too much, so the leaf is stamped off once before stamping on the card.

How the Technique is Done

Choose complimentary Watercolor Pencils to shade your images. Shading is done is layers with the darkest layer added last. Once the desired shading has been done, the shading is blended with a blender pen.

If you are local be sure to sign up for my creative classes of happiness for hands on learning! Creative classes of happiness will also be an online feature once I am done moving and settled!

Supplies used for this card project

Special Reason stamp set, Suite Sentiments stamp set, Very Vanilla cardstock, Stitched Shapes Framelits,  Calypso Coral ink and cardstock,  Petal Burst folder,  Blushing Bride 3/8″ stitched satin ribbon, Stamping Sponges, Watercolor Pencils, Chocolate Chip Marker, Pear Pizzazz ink, Blender Pens.

Thank you so much for visiting my blog today! If you enjoyed this project and would like to duplicate it, please be sure to purchase the products you need from my online store.  Please note that after May 22nd, the Special Reason stamp set will only be available while supplies last as it is being retired! Thank you so much for your support!

Happy Shopping @inkheaven
Thank you for shopping with me @inkheaven


Please come and visit me again as I will be creating more stamping happiness for you soon!

Darla Olson at inkheaven wishing you stamping happiness always

Use Punches And Dies To Add Dimension To Your Cards

punched or die cut images and shapes layered on your cards add interest and dimension shared by Darla Olson at inkheaven

Punched or die cut images and shapes layered on your cards add interest and dimension.

I wish I could tell you who created this card. It is a nameless swap card. If this happens to be your card and you would like credit, just let me know!
This card is a great example of how punches and dies add dimension to your cards.
 
The creator of this card used a punch to create a color tag from background paper which grounds the focal point of the card. The sentiments are either punched or die cut with a circle, which is then surrounded by balloons that have been stamped and punched out and layered at various heights around the sentiment.
The Balloon Adventures stamp set and Balloon Bouquet Punch were used to create this card. Balloon Adventures also has a coordinating die set, Balloon Pop-Up thinlits, which can be purchased with the stamp set using the bundle and save feature. I love how Stampin’ Up! provides so many different coordinating punches and dies to add dimension to our card making.
For your convenience, I have listed the stamp set, bundle and save option for the dies, and the punch used in creating this card below. Clicking any of the images will take you to my 24/7 online store where you can have fun shopping for your own creative supplies! Thank you so much for stopping by to create and learn with me at inkheaven. See you next time as we create, have fun, share, and repeat!


Tips On How To Use the Balloon Pop-Up Thinlit Dies As A Card Front

Tips on how to use your balloon pop up thinlit as a card front

Quick video with tips using the Balloon Pop-Up Thinlit Dies as a card front!

I have been creating and having fun using my Balloon Adventures Bundle so I thought it was time to share!
Last year I made a decision to be better about sending out birthday cards and I have been using this bundle to help me do just that! 
While I was preparing for my card making class featuring the Balloon Adventures Bundle I decided to attempt using just the balloon bouquet and banner from the pop-up die to create a card front without the “frame” created by the die. This meant some snipping and fussy cutting had to take place. Uh, oh! Right? Sometimes, it can be challenging to fussy cut things out and still have them look nice!

This die does create some score marks that outline the banner making the banner portion easy to cut out so the biggest challenge was cutting out the balloons. I shared my tips for cutting out around the ballooons on FB Live but have edited it and am giving you the short and sweet version (less than 10 minutes!) that you can watch here:

For your convenience, I have listed most of the supplies that I used creating this card below. Clicking any of the images will take you to my 24/7 online store where you can have fun shopping for your own creative supplies! Thank you so much for stopping by to create and learn with me at inkheaven. See you next time as we create, have fun, share, and repeat!

Dimensions Chart for the Layering and Stitched Shape Stampin’ Up! Framelits

A free download on dimensions for the Stampin' Up! Layering & Stitched Shapes Framelits by Darla Olson at inkheaven


A free download with dimensions for the Stampin’ Up! Layering & Stitched Shapes Framelits.

Hello Stampin’ Friends!

Do you ever find yourself wishing that you knew the dimensions for the Stampin’ Up! Layering and Stitched Shapes Framelits? Wish no more! I have the lowdown on those dimensions in this handy chart that you can download and save (just CLICK HERE to download).

You can keep this handy little reference next to your stamping area and with a quick glance, know exactly what size circles, squares, or ovals that your dies will cut!

I will also be referencing these handy sizes in my Inkheaven Tutorials when I use these framelits on a card or project!

Don’t miss a thing! Sign up for my newsletter to get weekly emails and exclusive monthly freebies!

Enjoy the free download!  Thank you so much for stopping by to create and learn with me.

Darla Olson at inkheaven wishing you stamping happiness always