Learn How To Create Elegant 3-D Flocked Christmas Trees
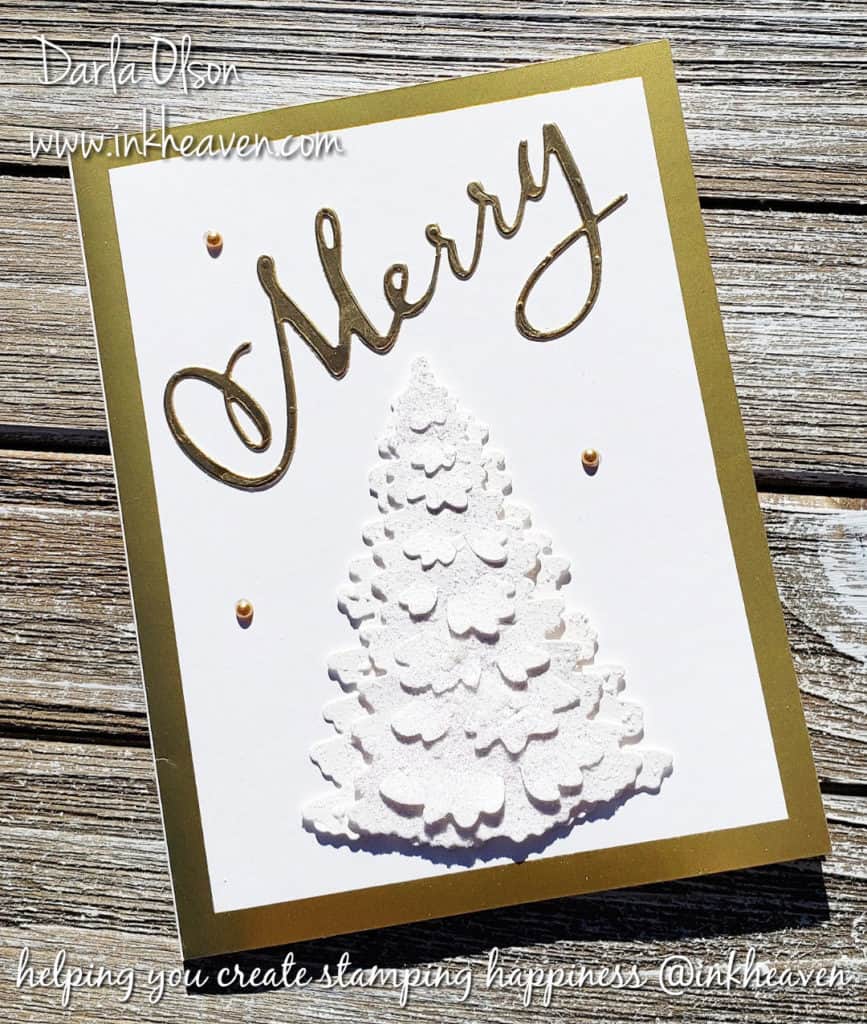
Embossing paste and die layering are the secret to creating these elegant 3-d flocked Christmas trees. I used mine to create these elegant looking Christmas cards. However, I think they would also look fabulous on gift tags or place setting cards!
I do have a video to share with you that shows the process for getting the die cuts flocked (along with some other great ideas!) However, before I share that with you, I want to share a few key points about this card:
- Foil-edged card bases and envelopes add to the elegance and reduce cutting time.
- Adhesive backing is placed on the gold foil paper prior to die cutting the “Merry” to eliminate time (and mess) spent gluing.
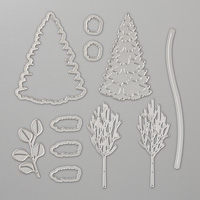
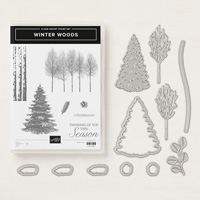
- Tip: The tree is two separate dies layered together so you can die cut them together to save time!
Creating 3-D Flocked Christmas Trees Is Addictive Fun!
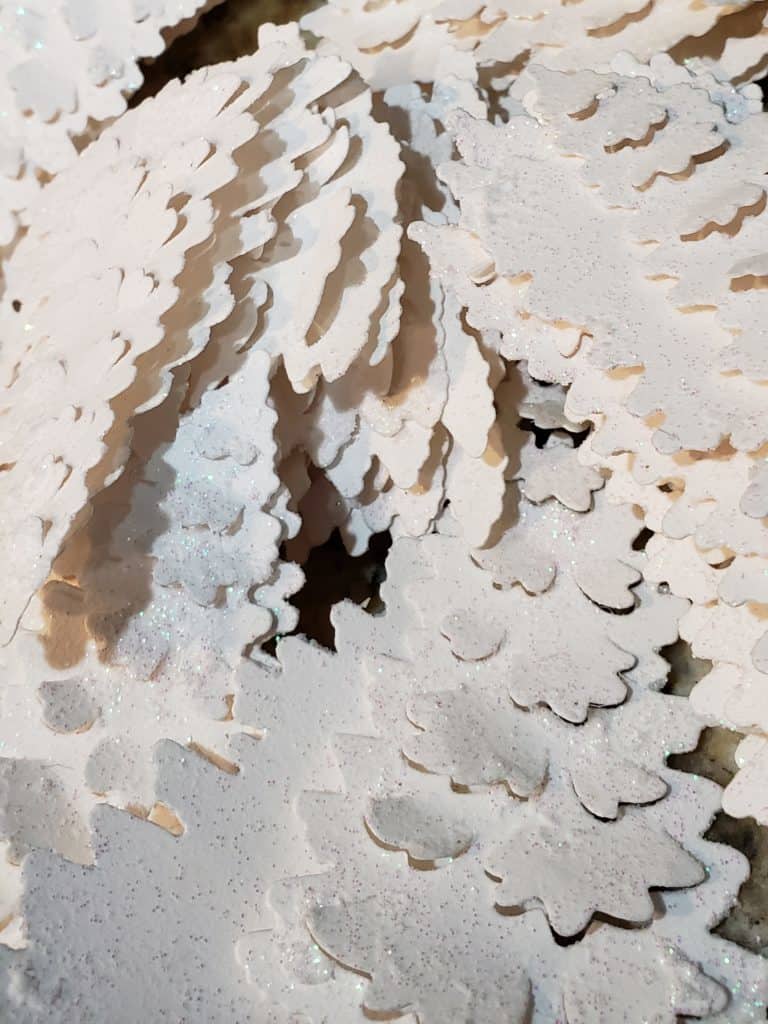
True confession: I had so much fun creating my first batch of flocked trees that I die cut another batch while I waited for the first batch of 12 to dry! (I am guilty of doing this several times more than I planned!) They turned out so pretty! Plus, they were easy to do! What’s a girl to do?! Here is my Facebook Live video:
Shop This List To Create 3-D Flocked Trees


Specials and Offers – CLICK HERE
To learn more about the 2018 Holiday Catalog – CLICK HERE
Thank you for stopping by to visit. If you have any questions, or need any help creating 3-D flocked Christmas trees, please ask! I love helping you create stamping happiness for yourself and loved ones!
If you enjoyed this project and the other projects shared in my Facebook Live video – CLICK HERE
For another card with a little different flocked tree – CLICK HERE

Create A Flocked Christmas Tree With Embossing Paste
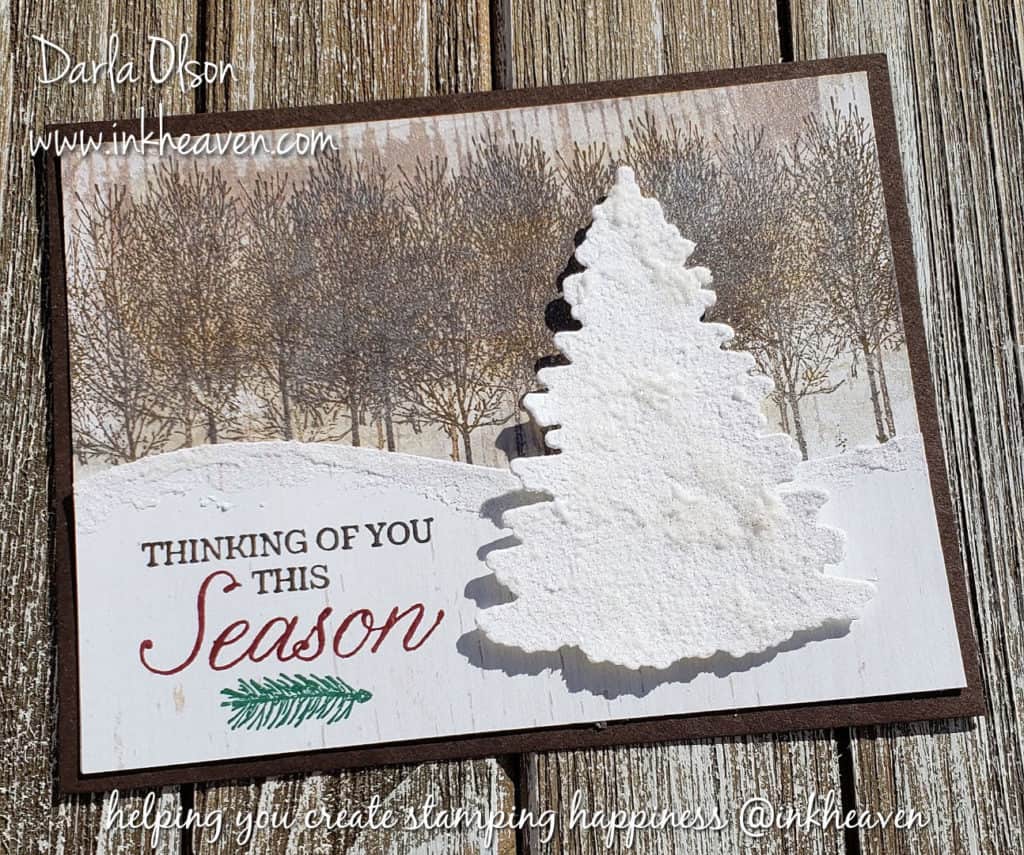
Create a Flocked Christmas Tree
Creating a flocked Christmas tree for your handmade card is very easy to do. All you will need is:
- A tree shape cut out of card stock
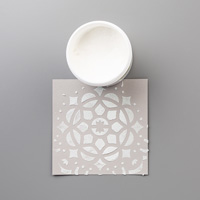
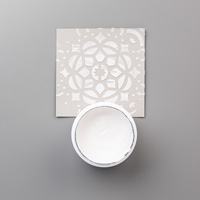
- Embossing Paste
- Sponge
Now that you have these three items, you are ready to flock your tree!
- First, dip your sponge into the embossing paste
- Secondly, tap the sponge randomly over your tree shape to apply the paste
- Repeat steps 1 and 2 until your tree is flocked to your liking.
- Set the tree aside to let the flocking dry
- Adhere the dry, flocked tree to your handmade card.
Tip: Place your tree on a silicone craft sheet when you flock it for easy clean up.
Use these flocked trees on any card with a snow scene! They add interest, texture, and sparkle to your handmade cards.
Shop this list for supplies to create flocked trees:


Specials and Offers – CLICK HERE
To learn more about the 2018 Holiday Catalog – CLICK HERE
Thank you for stopping by to visit. If you have any questions, or need any help creating flocked Christmas trees, please ask! I love helping you create stamping happiness for yourself and loved ones!
If you enjoyed this easy and fun technique, you might like this one with shimmer paint – CLICK HERE