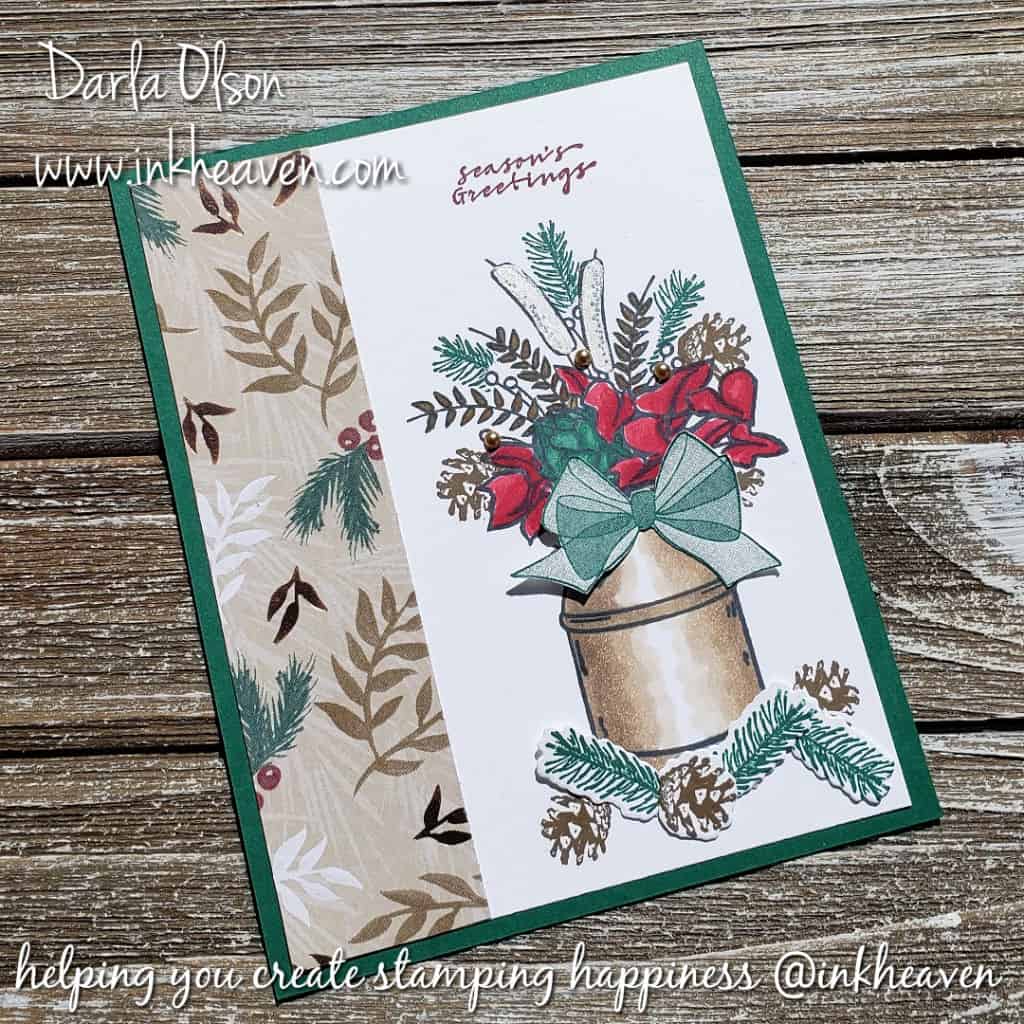
Craft up a Vintage Country Home Christmas Card
If you are a vintage junkie you will love crafting up this Country Home Christmas card! My inspiration for this card came from a couple of different sources:
- My Facebook Live viewers requests
- Window shopping at Hobby Lobby
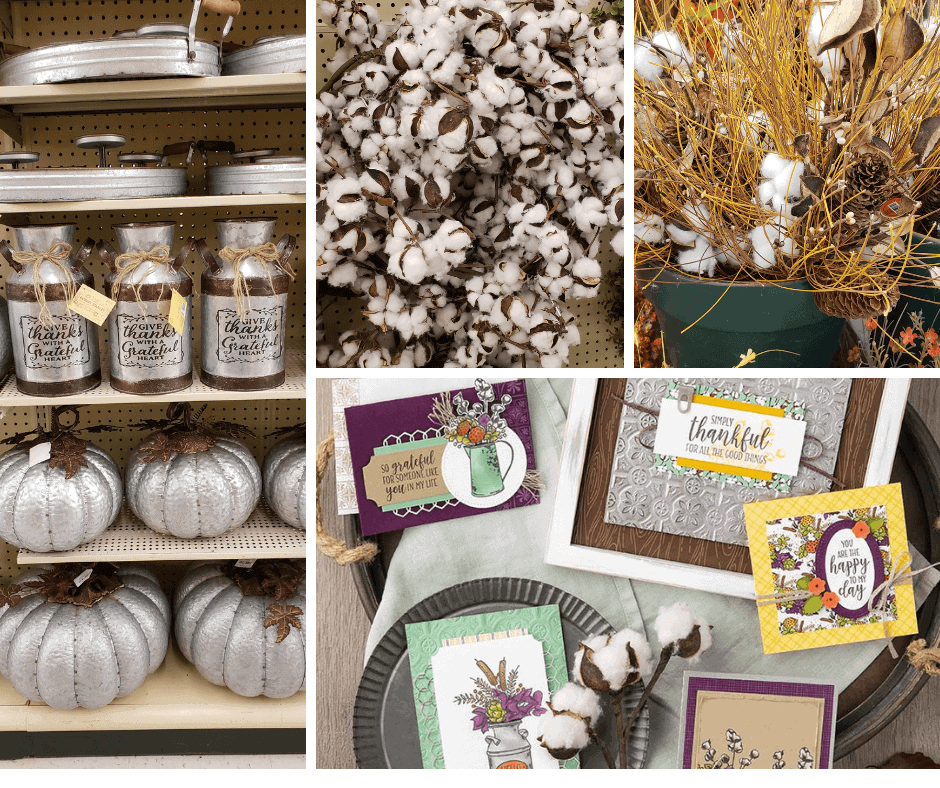
These were just a few of the photos that I snapped walking through Hobby Lobby looking for vintage Country Home inspiration. The pine cones in the upper right inspired the Christmas card!
To make this card happen I did have to pull in multiple sets, but it was so fun watching it come to life! Here are the supplies in a clickable supply list that you will need to recreate your own vintage Country Home Christmas card!


Specials and Offers – CLICK HERE
To learn more about the 2018 Holiday Catalog – CLICK HERE
Watch this Facebook Live Video Replay
Watch this Facebook Live Video Replay to learn how to create the vintage Country Home Christmas card. (Plus, see some swaps!) Be sure to like and follow my Facebook Page – CLICK HERE so you can get notices when I go live!
To get my Facebook Live schedule delivered to your inbox, along with other event information, catalog tours, and more subscribe to my Inkheaven Intel Newsletter!
Thank you for stopping by to visit. If you have any questions, or need any help creating your own vintage Country Home Christmas card, please ask! I love helping you create stamping happiness for yourself and loved ones!
If you enjoyed this Christmas card created with the Country Home stamp set, you might enjoy this card featuring a vintage tin tile vase complete with a free tutorial! CLICK HERE.

Celebrate Fall Birthdays With Nature Inspired Cards!
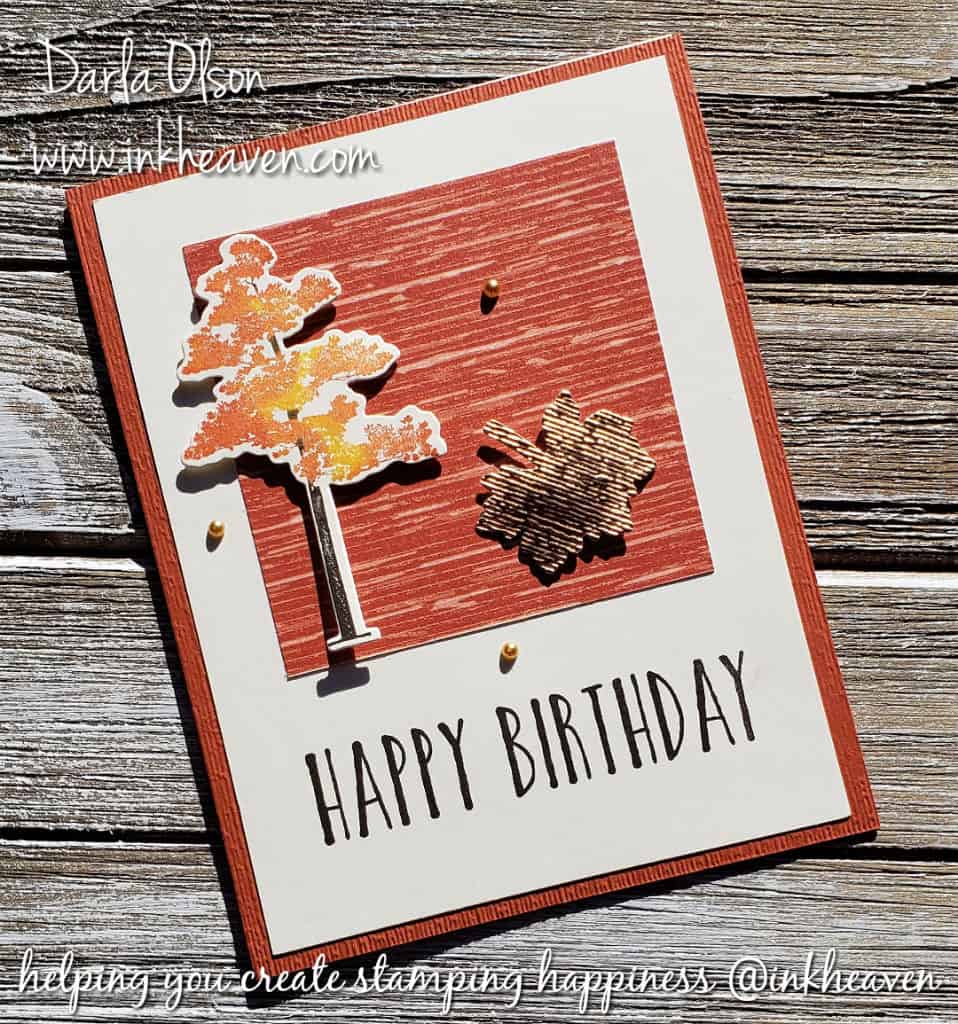
Nature Inspired Cards For Fall Birthdays
September is a month full of birthdays for my family and friends. It’s also the beginning of Fall, so I decided to create some Autumn cards to celebrate.
The Autumn birthday card above is a spin-off idea from another card idea. The original card below is a little more feminine and I wanted a more masculine birthday card for my brother. Both cards are nature inspired, feature similar Autumn colors, and use the same layout.
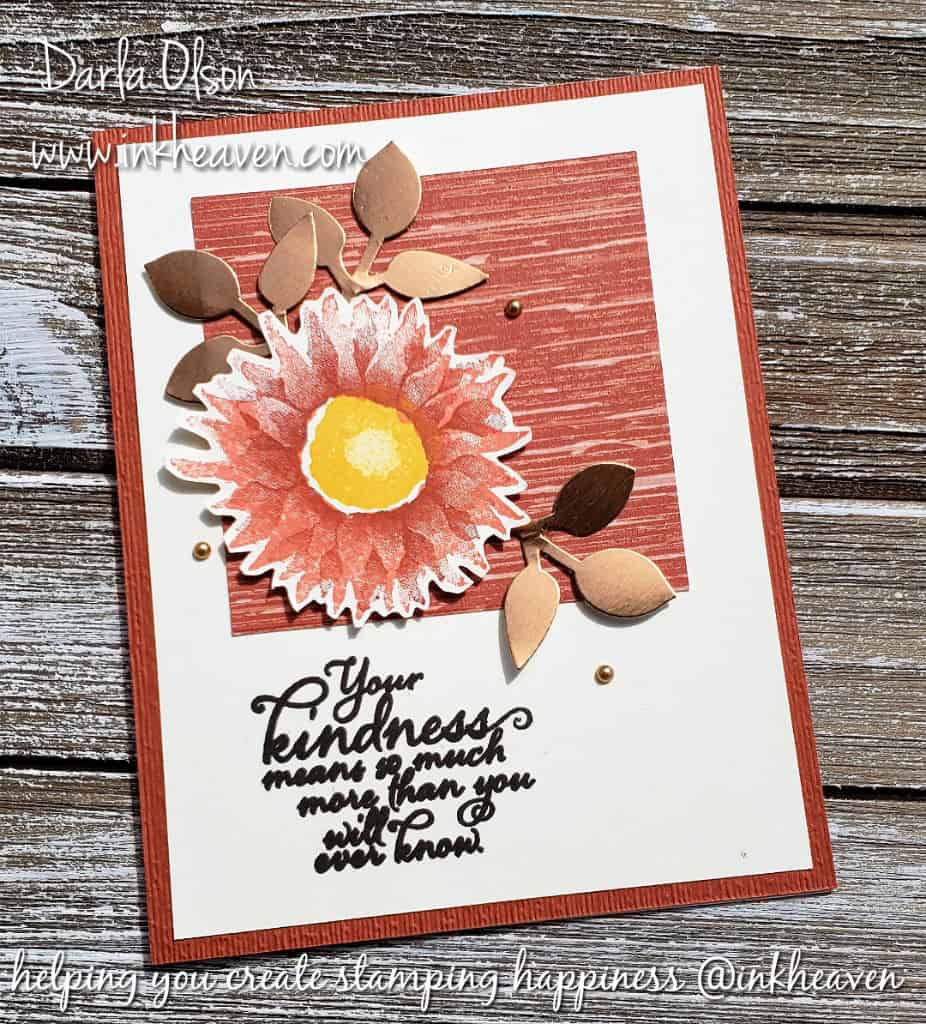
I originally created this nature inspired Fall card for a class featuring the Painted Harvest stamp set. I needed some birthday cards, so I decided to modify them slightly. For my mom’s birthday card, I just switched out the sentiment to the Happy Birthday sentiment that I used for my brother’s card above.
I also shared my class cards in a FB Live and demonstrated one of them. You can watch that video here:
To receive my free tutorials for my Painted Harvest Class, please subscribe to Inkheaven below:
If you would like to recreate this Fall, nature inspired birthday card and the designs in the tutorials, please shop my online store!
Specials and Offers – CLICK HERE
To learn more about the 2018 Holiday Catalog – CLICK HERE
Thank you for stopping by to visit. If you have any questions, or need any help creating your own Fall and nature inspired birthday cards, please ask! I love helping you create stamping happiness for yourself and loved ones!
Friday Feature|Stampin’ Up! Designer Series Paper
All Is Bright 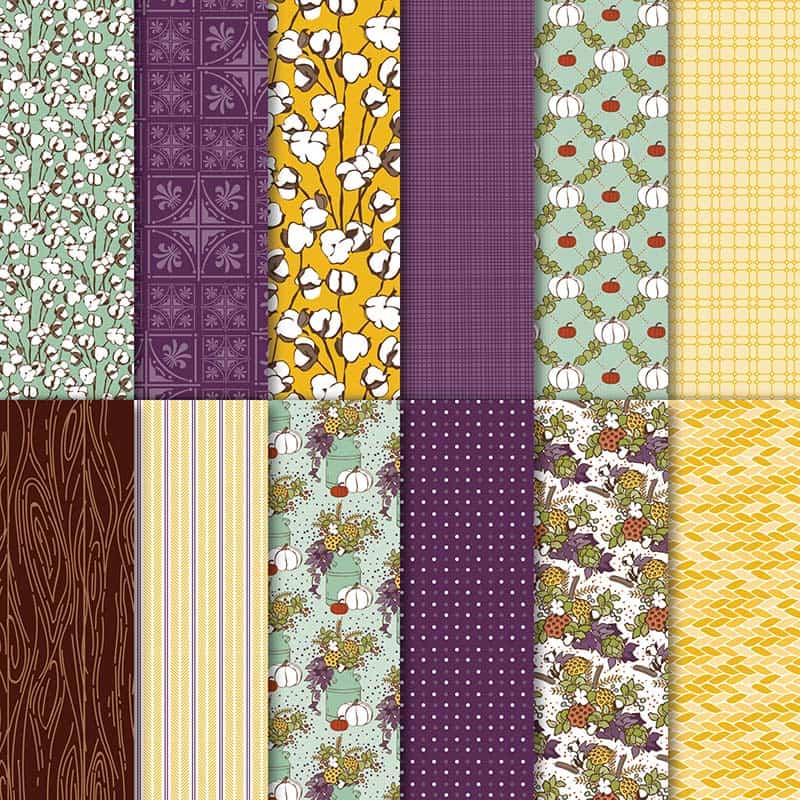
Country Lane 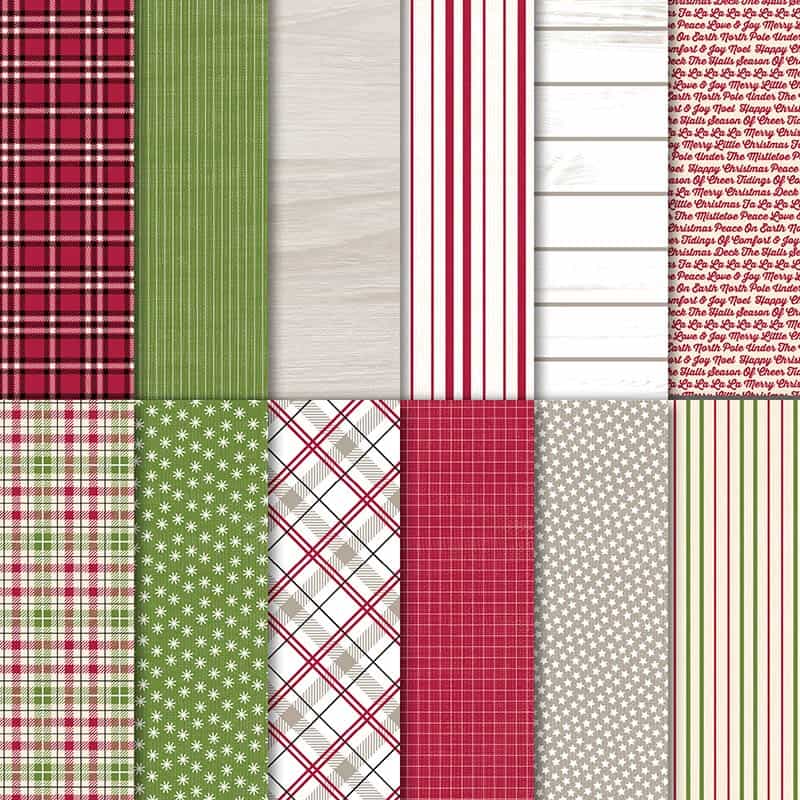
Festive Farmhouse 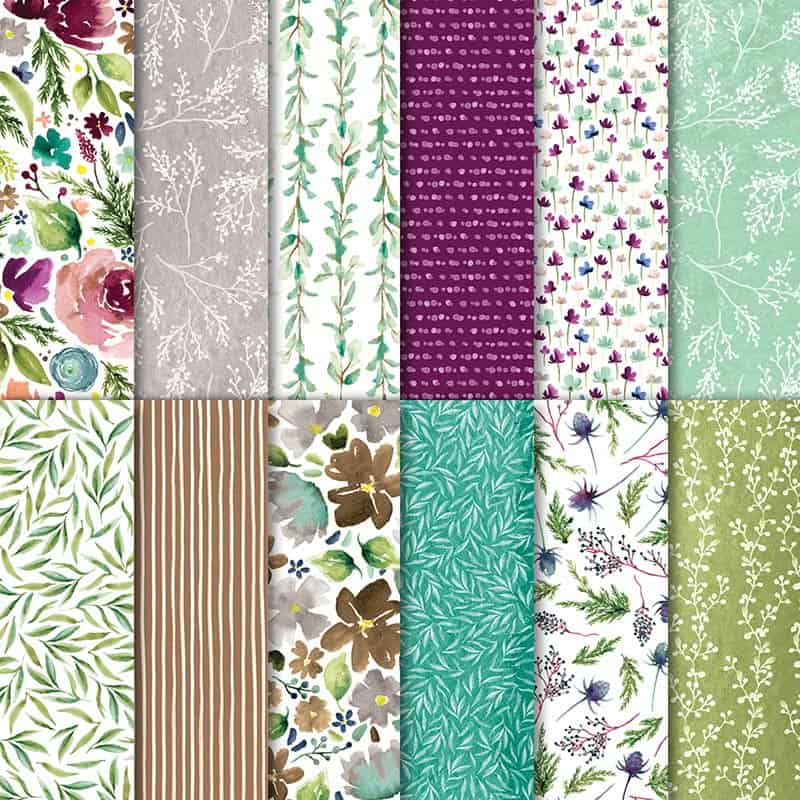
Frosted Floral 
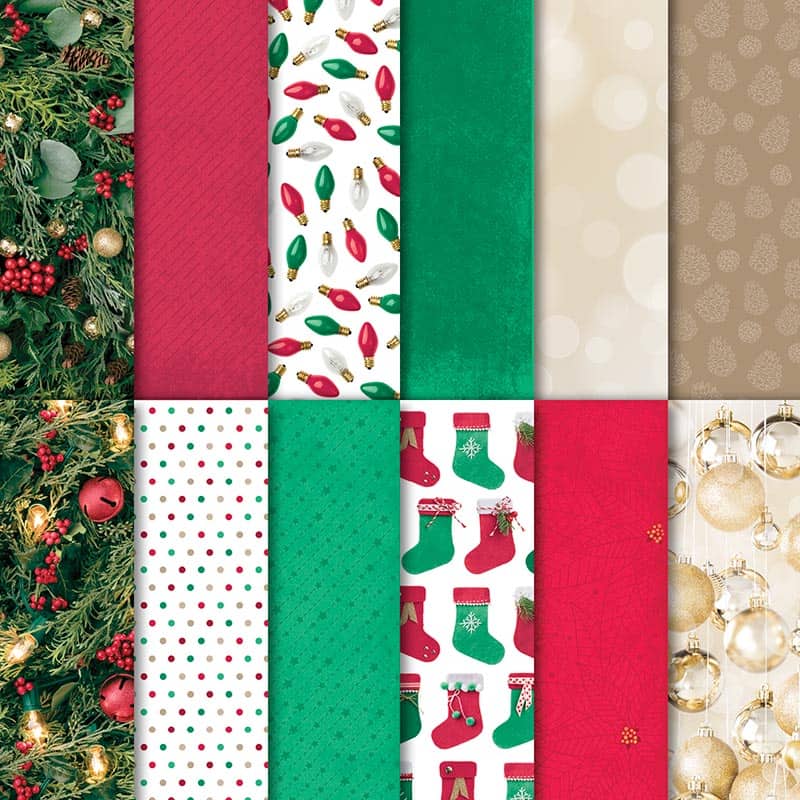
Joyous Noel 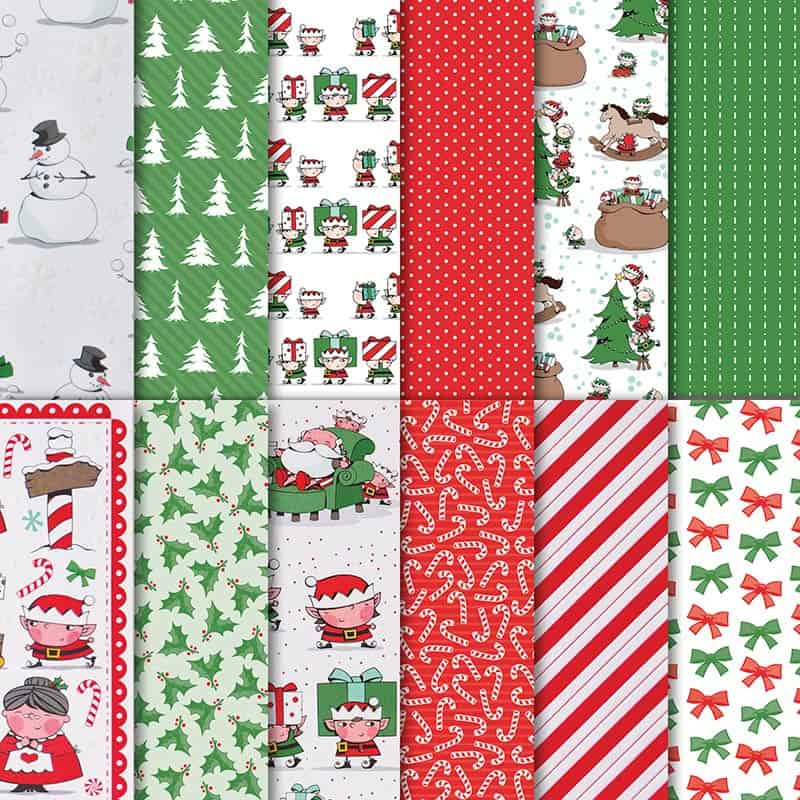
Santa’s Workshop 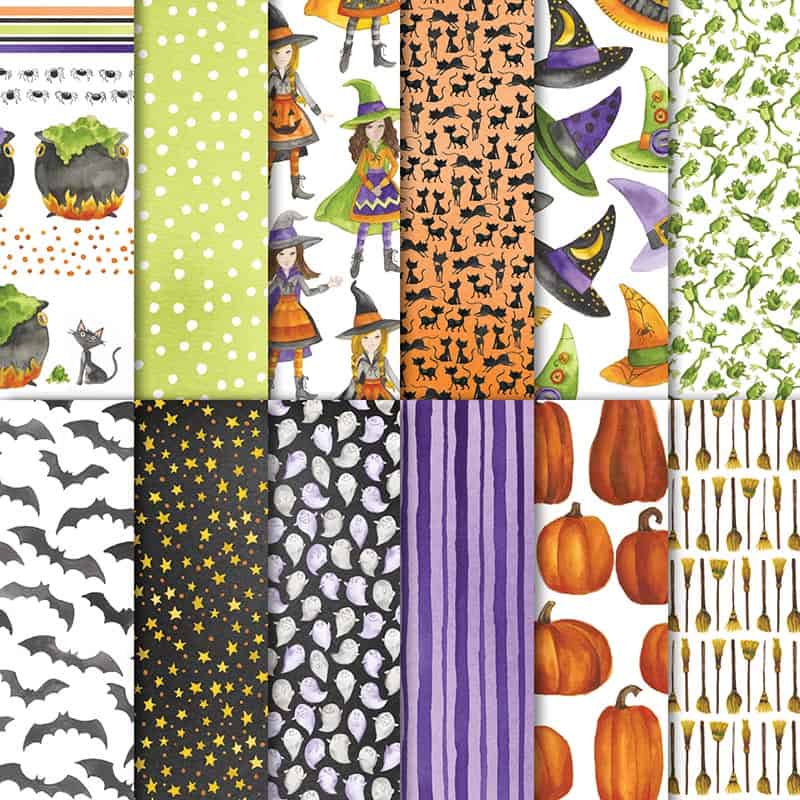
Toil & Trouble 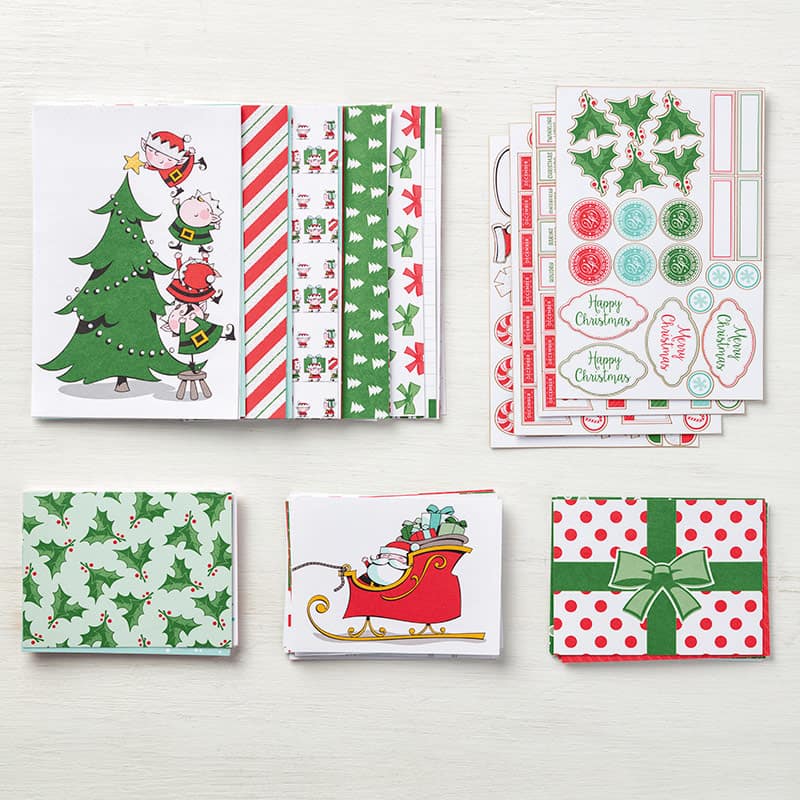
Santa’s Workshop Memories & More
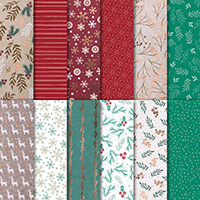
This Friday Feature is Designer Series Paper AKA Scrapbooking Paper
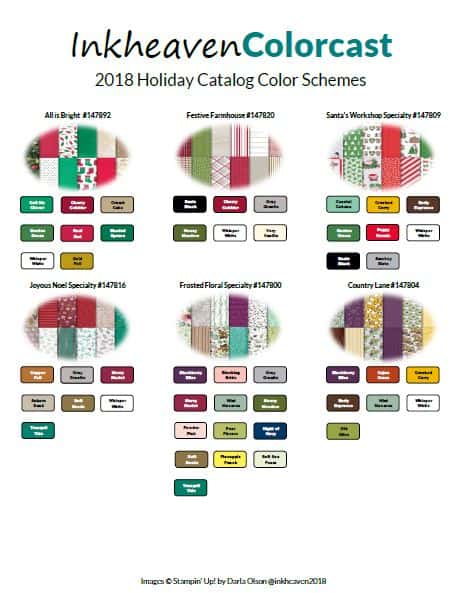
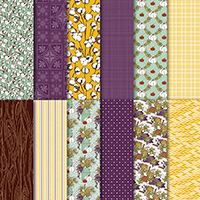
Stampin’ Up!’s designer series paper in the 2018 Holiday Catalog ranges from fun to gorgeous! In addition, many of the papers are filled with fabulous colors. These colors are on trend for Fall 2018. (View the Pantone Color Trend Report – CLICK HERE). Plus, some of them feature good old fashioned, traditional colors. As a result, it’s the perfect scrapbooking paper for your Fall and Winter paper crafting projects!
Designer Series Paper Coordination
Some of the coordination features of the paper are:
- Packaging and catalog descriptions list all of the colors used in the scrapbooking paper, which makes color coordination a breeze.
- Moreover, each paper pack has a coordinating package of card stock.
- Additionally, some of the designer series papers have a coordinating Memories & More card pack. In the case of the holiday catalog, it is the Santa’s Workshop paper. So, if you like Project Life, you will love Memories & More!
Watch This Video To View Each Package Of Designer Series Paper.
Check out this video to get a good look at each sheet of paper. It will also help you to see the special features of each of the specialty papers!
For Specials & Offers – CLICK HERE
To learn more about the 2018 Holiday Catalog – CLICK HERE
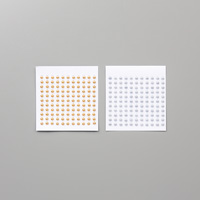
Download printables with the color combinations taken from our Designer Series Paper. Click each photo to download and save your printables.
Thank you for stopping by to visit. I hope you enjoyed learning about Stampin’ Up!s Designer Series Paper. If you have any questions, or need any help, please ask! I love helping you create stamping happiness for yourself and loved ones!
Be sure to subscribe to my newsletter before you go! My 2018 Holiday Catalog Tour has already begun – you won’t want to miss it!
Decorate Galvanized Metal Decor With Washi Tape

Decorate Galvanized Metal Decor With Washi Tape!
Galvanized metal decor is very popular these days! From serving trays to vases and everything in between, you can find something to fit your need!
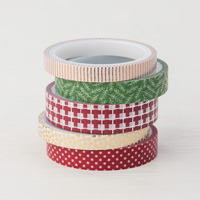
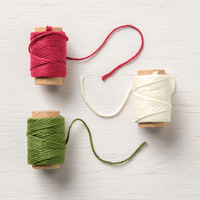
I recently held my open house and needed treats that would hold up for several days and thousands of miles. While packing up for the trip I grabbed my Washi Tape, Baker’s Twine, Cello Bags and Galvanized Tub so I could throw together some quick treat bags when I reached my destination! Unfortunately, I didn’t have time to create any cute tags to add to the bags. Since I was launching the new 2018 Stampin’ Up! Holiday Catalog, I wanted to add a holiday touch. (To learn more about the 2018 Holiday Catalog – CLICK HERE).
I used the new Suite Season Specialty Washi Tape to “dress up” the galvanized tub holiday style. It was quick and easy to do. Plus, the tape is easily remove-able!
Use Washi Tape to decorate your galvanized metal decor for the seasons, parties, and even weddings! In addition, coordinate party decor by adding the same tape to invitations, name tags, and more!
Specials and Offers – CLICK HERE
Thank you for stopping by to visit. If you have any questions, or need any help, please ask! I love helping you create stamping happiness for yourself and loved ones!
If you enjoyed this tip for decorating galvanized metal decor with washi tape, you might enjoy this simple Christmas card using washi tape – CLICK HERE
Be sure to subscribe to my newsletter before you go! My 2018 Holiday Catalog Tour begins tomorrow – you won’t want to miss it!
Use The Tin Tile Embossing Folder To Create A Vase
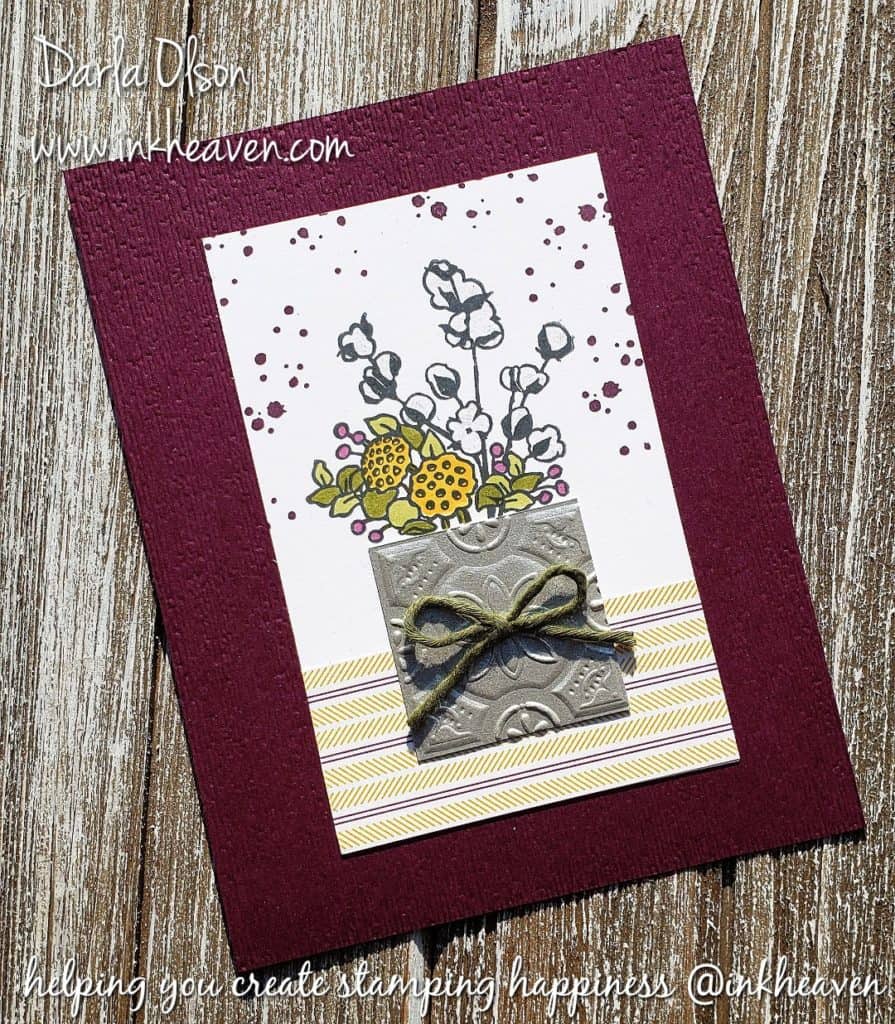
Create Vases With The Tin Tile Embossing Folder!
Vintage ceiling tin tiles and galvanized metals are hot trends in home decor! I just love how Stampin’ Up! brings current trends into our stamping! The Tin Tile Embossing Folder and Country Home Stamp Set in the 2018 Holiday Catalog are perfect examples! To learn more about the 2018 Holiday Catalog – CLICK HERE.
While researching ceiling tin tiles I found this fall floral arrangement. It is the inspiration for the tin tile vase on my card!
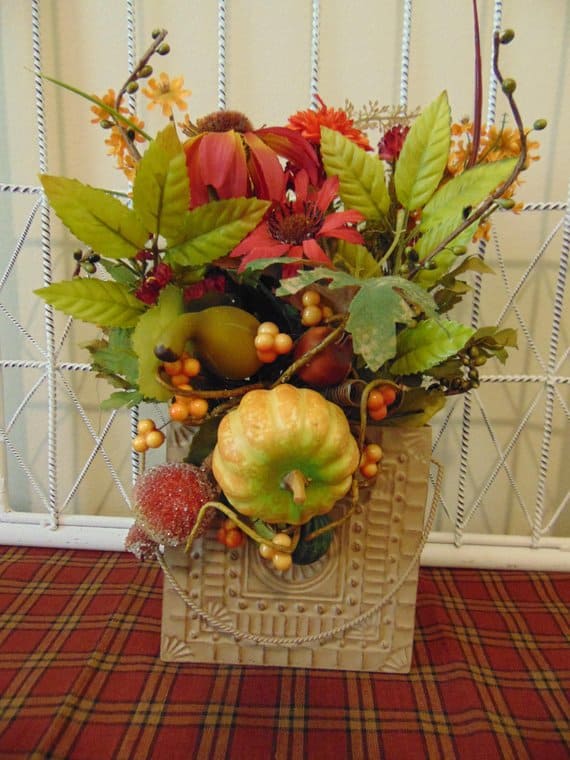
Creating the vase is easy since the squares are part of the tin tiles in the folder and all you have to do is cut them with your paper trimmer!
Supply List And Tutorial For Tin Tile Vase Card
For the Tin Tile Vase Card tutorial – CLICK HERE


Specials and Offers – CLICK HERE
This Country Home Tin Tile Vase Card was a make & take at my Grand Annual Open House events in August where I launched the 2018 Stampin’ Up! Holiday Catalog. To learn more about the 2018 Holiday Catalog – CLICK HERE
Thank you for stopping by to visit. If you have any questions, or need any help creating this tin tile vase card, please ask! I love helping you create stamping happiness for yourself and loved ones!
If you enjoyed this card and free tutorial from my open house, you might enjoy my Spirited Snowmen make & take – CLICK HERE
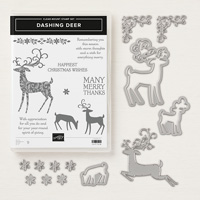
In addition, I have a free tutorial for my Dashing Deer make & take – CLICK HERE
Simple Handmade Christmas Card With Free Tutorial
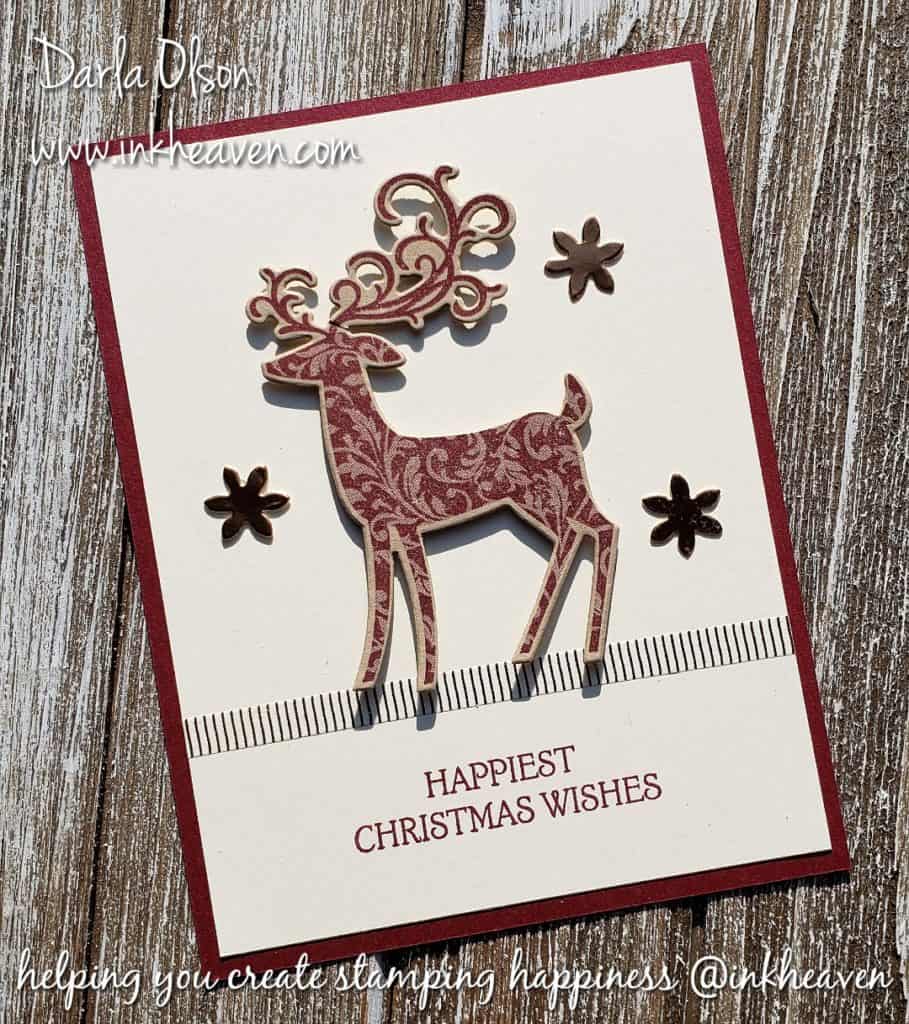
Create This Simple Handmade Christmas Card
Simple, handmade Christmas cards are key to a stress free holiday season! This simple, handmade Christmas card can be easily mass-produced. In addition, it can be easily set up in the Stamparatus to make mass-production even easier! To learn more about the Stamparatus – CLICK HERE
Simple Handmade Christmas Card Supply List And Tutorial
For the free tutorial – CLICK HERE


This simple handmade Christmas card was a make & take at my Grand Annual Open House events in August where I launched the 2018 Stampin’ Up! Holiday Catalog. To learn more about the 2018 Holiday Catalog – CLICK HERE
Thank you for stopping by to visit. If you have any questions, or need any help creating this simple handmade Christmas card, please ask! I love helping you create stamping happiness for yourself and loved ones!
If you enjoyed this Dashing Deer Christmas card and free tutorial from my open house, you might enjoy my Spirited Snowmen make & take – CLICK HERE
How To Create Woodsy Handmade Cards For The Holiday Season
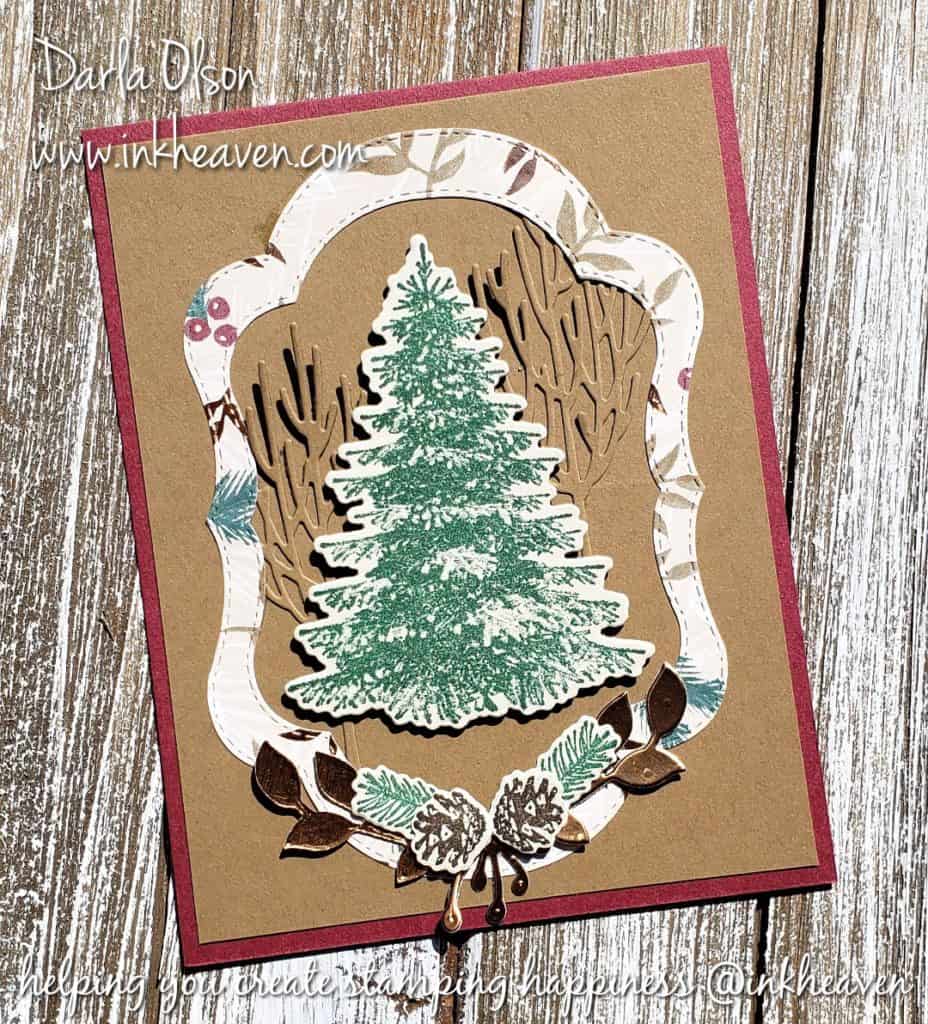
Woodsy Handmade Cards For The Holiday Season
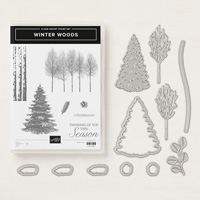
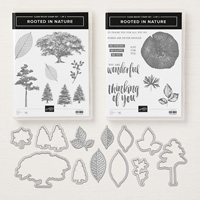
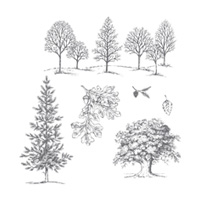
Do you love nature-inspired holiday decor with the woodsy elements of evergreens? I do. I think it’s because the rustic scenery transports us back to a simpler time. For this reason, the Winter Woods Bundle has great appeal for the holidays and beyond. Not only that, but Stampin’ Up! designed this set to coordinate with their long-time, most popular ever, stamp set: Lovely as a Tree! In addition, there is also another set designed for this purpose in the 2018-19 Annual Catalog: Rooted in Nature. Winter Woods is a new release in the 2018 Holiday Catalog that will be available beginning September 5th. To learn more about the Holiday Catalog – CLICK HERE. You can see all three sets pictured together below:
How to create this woodsy card for the holiday season
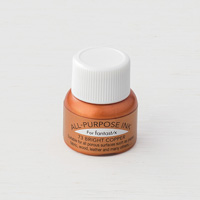
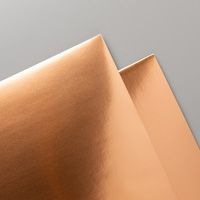
I’ve designed this card to have a woodsy look with a touch of copper elegance for the holiday season. First, I started with the Joyous Noel Specialty Designer Series Paper. This paper has plenty of evergreens and a great color combo to achieve the desired look.
Next, I knew that I wanted only a touch of the Joyous Noel DSP on my card front to establish the color combo, so I used the Stitched Season Framelit Dies to create a frame for my focal point (the 2 largest frames were used). The touch of Joyous Noel DSP also adds a bit of Christmas to the woodsy look.
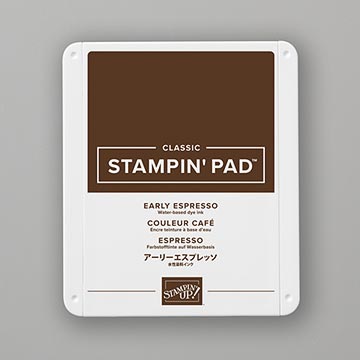
Third, I created a woodsy scene for the inside of my frame with trees. I placed the large evergreen in the forefront, with the barren trees in the background. I chose to die cut the barren trees in Soft Suede card stock. This adds texture to the Soft Suede background. I stamped the evergreen on Sahara Sand card stock rather than Whisper White. I then placed the evergreen over the top of the barren trees with Stampin’ Dimensionals to hold them in place.
Fourth, I adhered the Joyous Noel DSP frame around the trees. This also helps to hold part of the barren trees down on the card.
As a final touch, I created an evergreen swag to place at the bottom of the frame to bring in the look of holiday season. This also adds to the woodsy feel of the card. I layered on the elements of the swag with glue dots. However, liquid glue could also be used.
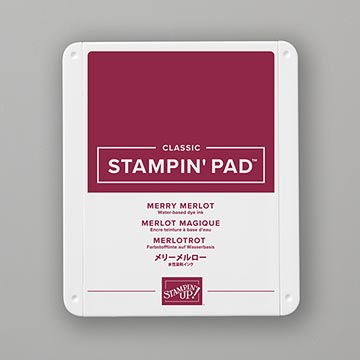
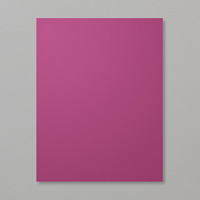
Lastly, the card front was layered on a Merry Merlot card base.
Use this clickable supply list to create this woodsy holiday season card*
*Please note that the Winter Woods and Joyous Noel items are from the Holiday Catalog and will not be available for purchase until September 5th. However, if you purchase the other items needed TODAY by 11:50 p.m. (or spend $50) you will earn a $5 bonus coupon that you can apply to your purchase in September! In addition, the Stitched Season framelits dies are a limited-time product promotion that also ends TODAY by 11:50 p.m. To learn more about these specials and offers – CLICK HERE.


Thank you for stopping by to visit. If you have any questions, or need any help creating this woodsy holiday season card, please ask! I love helping you create stamping happiness for yourself and loved ones!
Cute Snowman Card Depicts Snowman Juggling Snowflakes
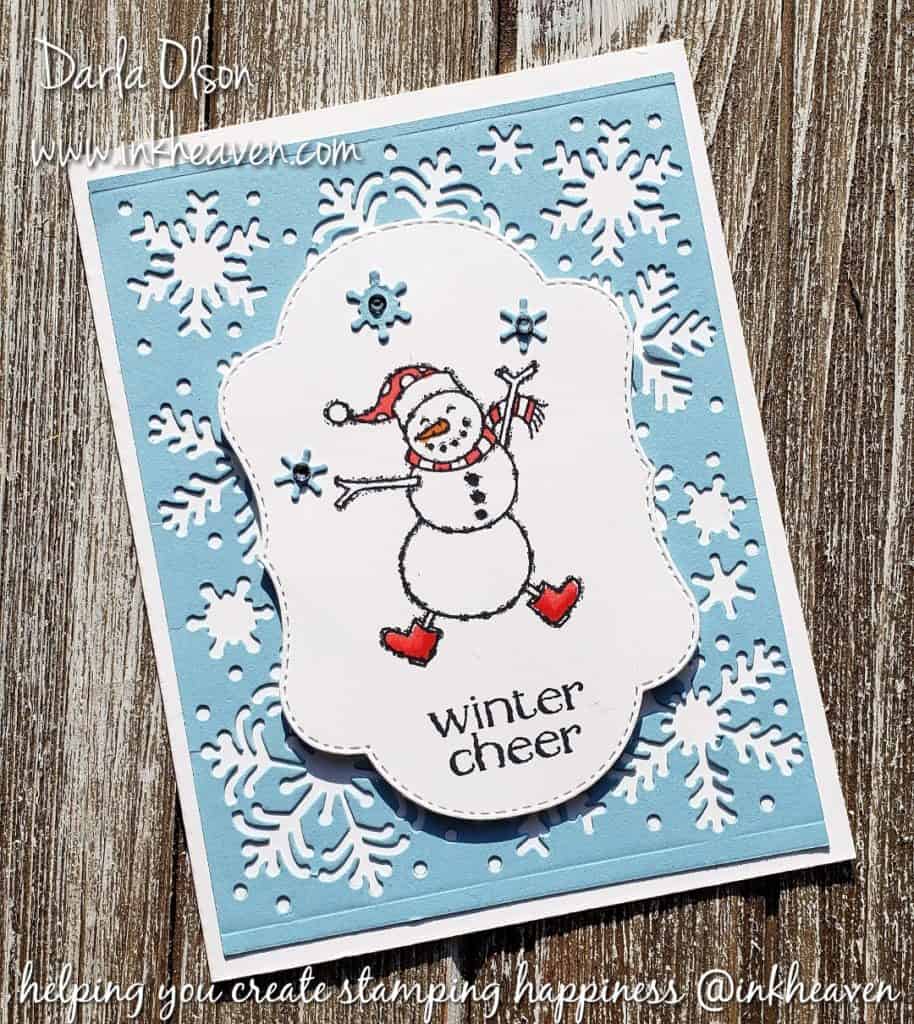
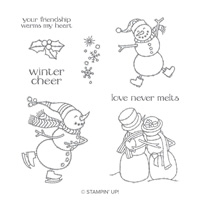
Cute Snowman Card Depicts Snowman Juggling Snowflakes
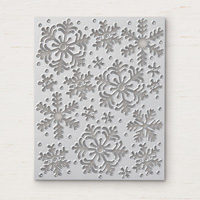
This cute snowman card was a make and take for my 2018 Grand Annual Open House. When I saw this snowman from the new Spirited Snowmen stamp set in the 2018 Holiday Catalog, I just knew he had to be juggling! Because of this, I paired him with the new Blizzard Thinlit and used snowflakes popped out of the die to give him something to juggle! As a result, this happy fella wants you to send some Winter cheer to your friends and family this year!
The 2018 Holiday Catalog goes live on September 5th! To learn more – CLICK HERE!
I wanted to share this adorable snowman card with you to give you a reminder that the Limited-time Stitched Seasons Framelit Dies are only available through 11:50 pm, August 31st . Which means that there is just one more day to get these little gems! Why does it matter? The largest stitched frame in this set of dies(largest die: 4-7/8″ x 3-3/8″) is much larger than our Layering Ovals Dies (Largest image: 2-7/8″ x 3-13/16″) and Stitched Shapes Dies (largest image 3-1/4” x 2-5/16”), which will give you more options! To learn more about the Stitched Seasons Framellits Dies – CLICK HERE.
Use these supplies* (and free tutorial) to recreate this card:
*Please note that the 2018 Holiday Catalog items are not available for purchase until September 5th! However, you will want to purchase the Stitched Seasons Framelits Dies before 11:50 pm, August 31st, 2018! Stamp Set & Framelits are limited edition and will not be seen again. SU! demonstrators may not sell them as “retired” for a year, so get them now! The bundle earns you a $5 coupon for next month. To learn more about the bonus coupons – CLICK HERE.
Tip: The Take Your Pick Tool will be available in the 2018 Holiday Catalog and is great for helping to remove the snowflakes from the Blizzard Thinlit Die.
For the tutorial – CLICK HERE.


Please note: If you missed out getting the Stitched Seasons Framelits, you can substitute the largest oval in the Layering Oval Dies.
Stitched Seasons Framelits Dies
$33.00
Specials and Offers – CLICK HERE
Thank you for stopping by to visit. If you have any questions, or need any help creating this cute snowman card with the snowman juggling snowflakes, please ask! I love helping you create stamping happiness for yourself and loved ones! If you enjoyed this post, you may also enjoy this post about using Embossing Mats to double your intricate die options (hint: the Blizzard Thinlit Die looks amazing embossed!) – CLICK HERE
How To Inlay Your Intricate Dies For A Mosaic Art Look
Inlay Your Intricate Dies For A Mosaic Art Look
Inlaying your intricate dies can give your handmade cards a mosaic art look. However, inlaying small pieces on an intricate die cut can become quite tedious! In my Facebook Live video below, I show you how to use Press & Seal to make it an easy process.
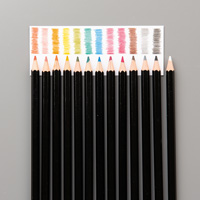
In addition, on this card above I added shading to the inlays with watercolor pencils to give more depth and texture to the mosaic. I also show this in the video!
Plus, I show several other samples of cards with intricate die cut inlays and a card using just the inlay. This Facebook Live Video is raw and unedited!
Use these supplies to re-create this inlaid intricate die cut mosaic card:
(Please note – images are clickable!)


Thank you for stopping by to visit. If you have any questions,or need any help creating mosaic cards with intricate die inlays, please feel free to ask! I love helping you create stamping happiness for yourself and loved ones!
Another important thing to note – the Stitched Season Framelits Dies and Watercolor Pencils Assortment 2 are only available for a limited time while supplies last until August 31st! To learn more – CLICK HERE!
Hurry! If you purchase your supplies by August 31st – you will earn bonus coupons to spend in September when the Holiday Catalog goes live! To learn more about Bonus Days Rewards – CLICK HERE!
If you enjoyed this post, you may also enjoy this post about using Embossing Mats to double your intricate die options – CLICK HERE
15 Resources For Color Combinations In A Free Download
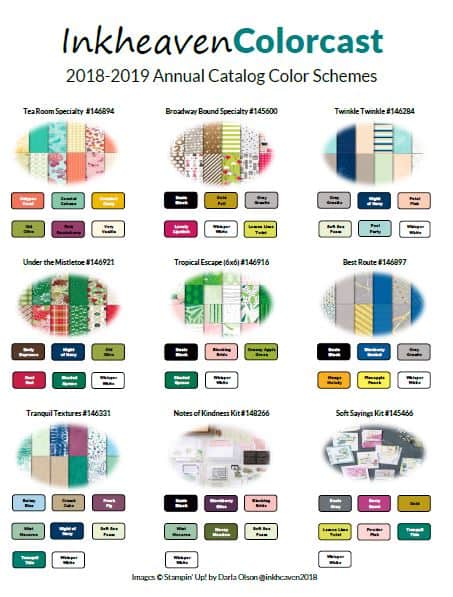
Color Combinations In The 2018-19 Annual Stampin’ Up! Catalog
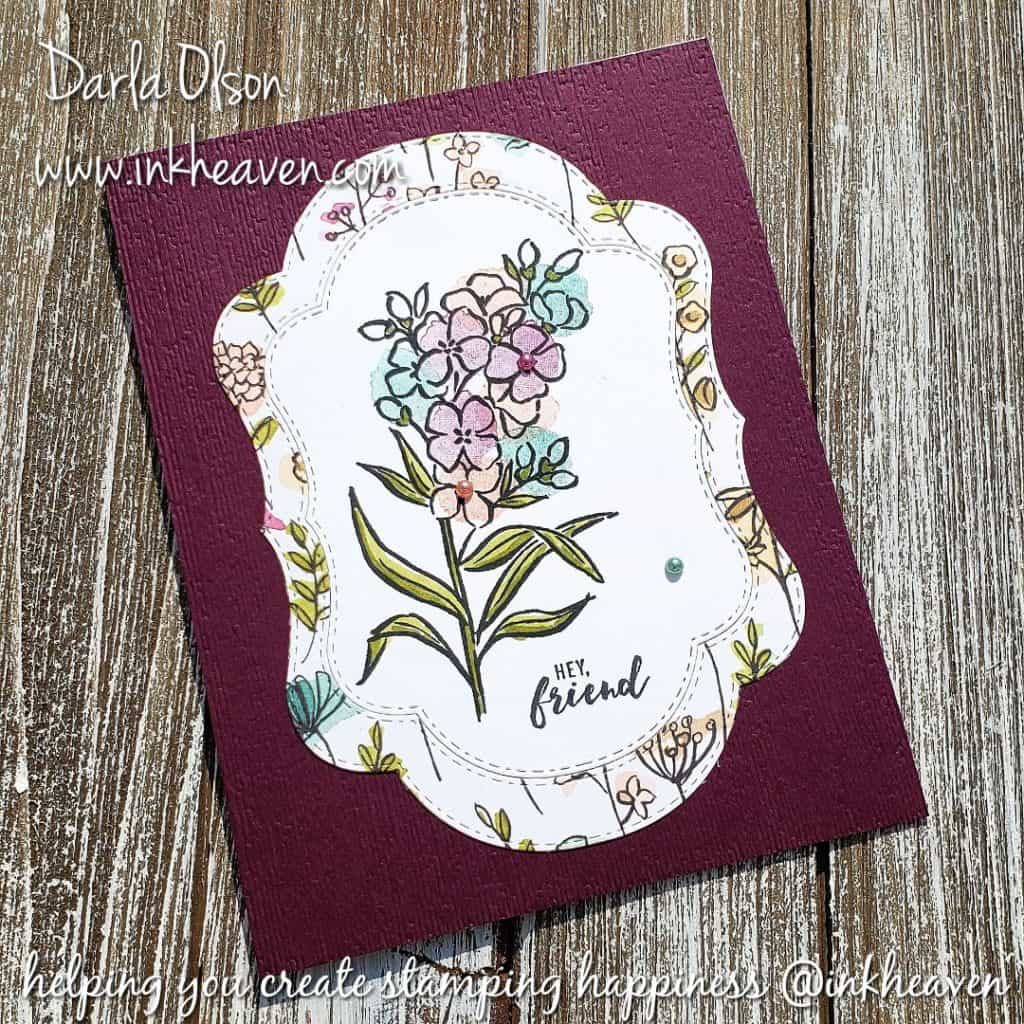
I’ve pulled together 15 resources for color combinations from the 2018-2019 Annual Stampin’ Up! Catalog to share with you. But first, let me show you one in action!
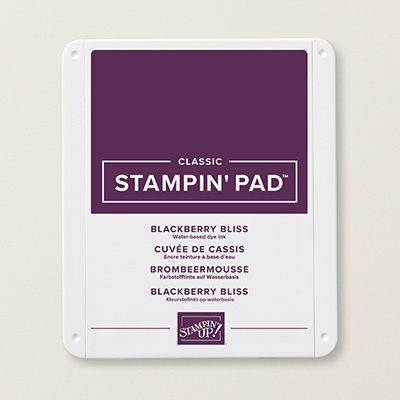
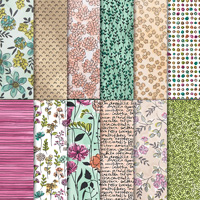
The color scheme in the card above is from the Share What You Love Designer Series Paper. There are 13 different colors in this package of background paper. The 13 coordinating colors in the Share What You Love Designer Series Paper are as follows:
Basic Black, Blackberry Bliss, Crumb Cake, Grapefruit Grove, Mint Macaron, Mossy Meadow, Old Olive, Pear Pizzazz, Petal Pink, Rich Razzleberry, So Saffron, Tranquil Tide, and Whisper White.
Consequently, there are multiple color combinations that can be created from just these colors alone!
In this instance, I decided to use the designer series paper as part of the design on my card. Next, I picked 4 colors (Blackberry Bliss, Shaded Spruce, Old Olive and Grapefruit Grove) to use as my primary color combination. However, you can pick color schemes from the designer series paper and not use the background paper on your card at all!
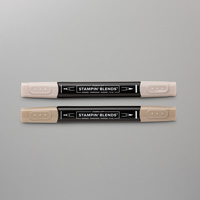
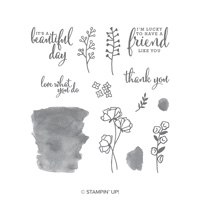
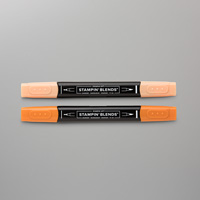
I also used 2 different ways of coloring to add interest to the card. The first way I added color was with a stamp from the Love What You Do Photopolymer Stamp. Tip: For the darker colors I stamped off a couple of times before I stamped color over the flowers. The second way I added color was with the Stampin’ Blends. I used these to color the leaves on the stems. To learn more about the Stampin’ Blends and how to use them – CLICK HERE.
Use These Tools And Supplies To Create Your Version Of This Card
For the frames, I used the Stitched Season Framelits. These are only available for a Limited-Time! Available while supplies last through the end of August. To learn more about these framelits – CLICK HERE.
To download your free color combinations from the 2018-19 Stampin’ Up! Annual Catalog – click the image below:

These supply images are clickable!

Specials and Offers – CLICK HERE.
Catalogs – CLICK HERE.
Looking for more Color Combinations? – CLICK HERE.
Thank you for stopping by to visit. I hope you find the free download, Inkheaven Colorcast, with 15 color combination resources from the 2018-19 Stampin’ Up! Annual Catalog useful. Please let me know if you found it helpful in the comments! Since I will be creating one for the Holiday Catalog as well, so be sure to come back and visit again!
If you have any questions, or need any help, please feel free to ask! I love helping you create stamping happiness for yourself and loved ones!
Spooky Crafts For Halloween Are Coming In A Special-Edition Box!
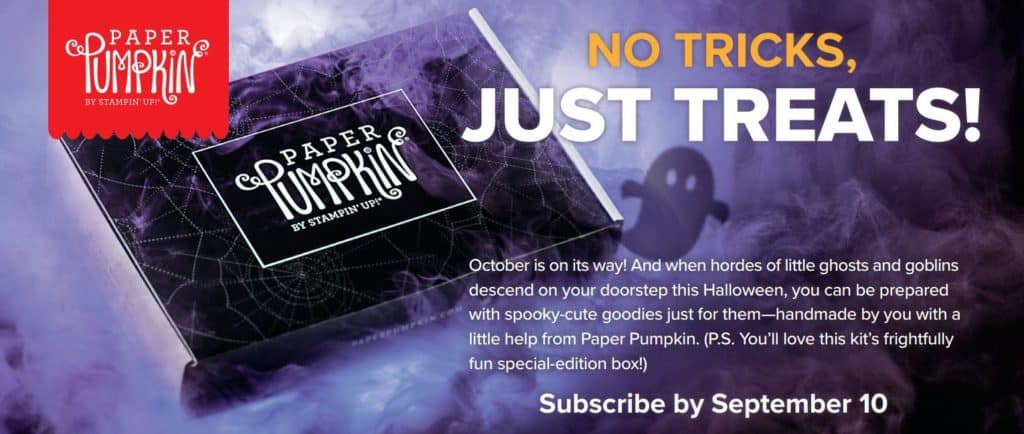
Spooky Crafts In A Special Paper Pumpkin Box For Halloween!
October is on its way! If you love Halloween and spooky crafts your creative mind will be searching in every spooky nook and cranny for a bit of paper-crafting fun. Paper Pumpkin has just what you need! This hauntingly fun kit gives you… a frightfully delightful kit in a scary-cute, special edition box. Get the handmade Hallowe’en look without the fuss.
Here Are The Promotion Details:
- New subscribers must subscribe by September 10 to receive the Halloween kit.
- Canceled subscribers must enter active status by September 10 to receive the spooky crafting kit.
- Current subscribers must remain active through September 10 to receive the kit.
- Product availability may be limited toward the end of the subscription period.
Plus, you can order more than one Paper Pumpkin kit with your subscription! This means that you can use them as spooky crafts for children at a Halloween party! To learn more about these fabulous paper-crafting kits and how to subscribe or purchase a kit – CLICK HERE.
Additional Products in Coordinating Colors
These products are in colors that coordinate with this special kit so you can expand your spooky crafting with this to include cards or more!


Specials and Offers – CLICK HERE.
Thank you for stopping by to visit. If you have any questions, or need any help with your spooky crafts for Halloween, please feel free to ask! I love helping you create stamping happiness for yourself and loved ones!
How To Use Vellum To Create A Frame Overlay With Framelits!
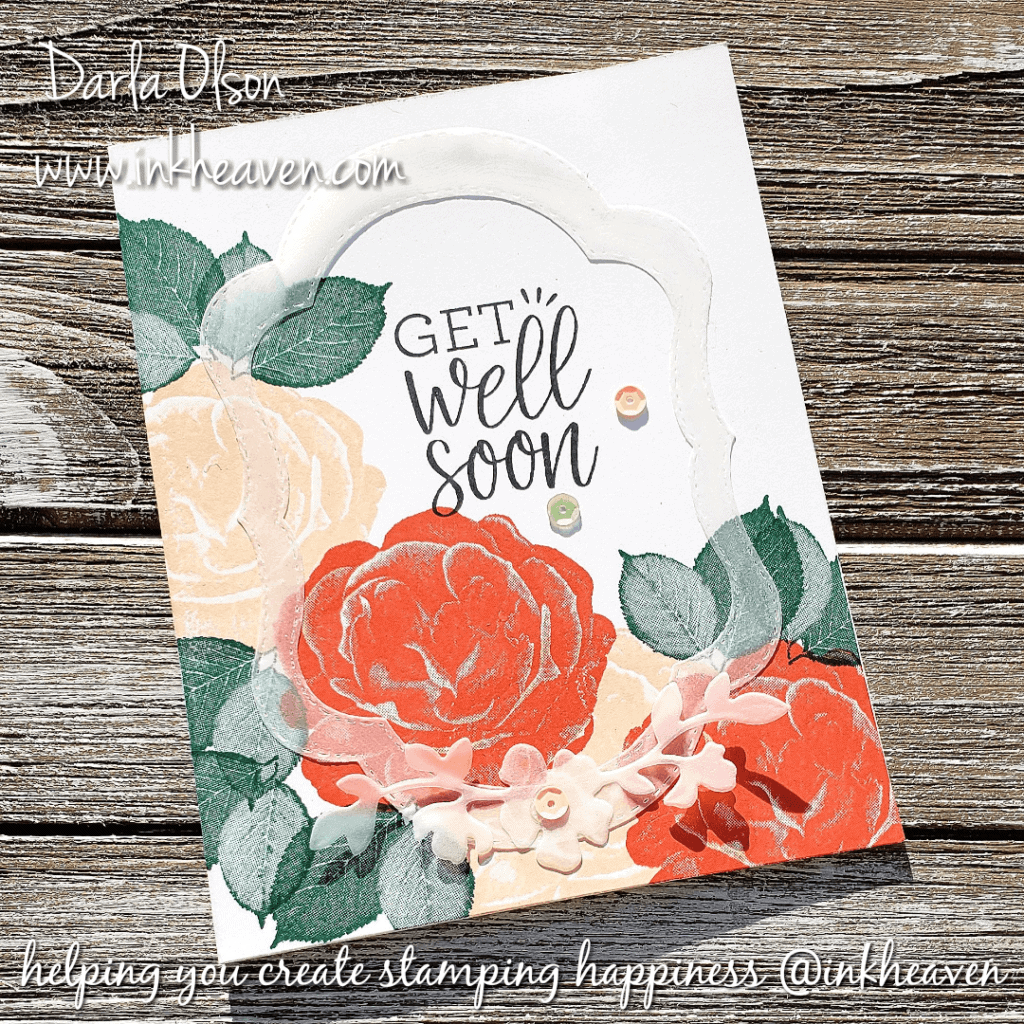
Create a Vellum Frame Overlay with Framelits
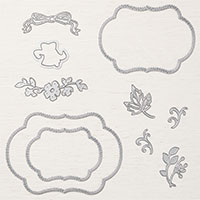
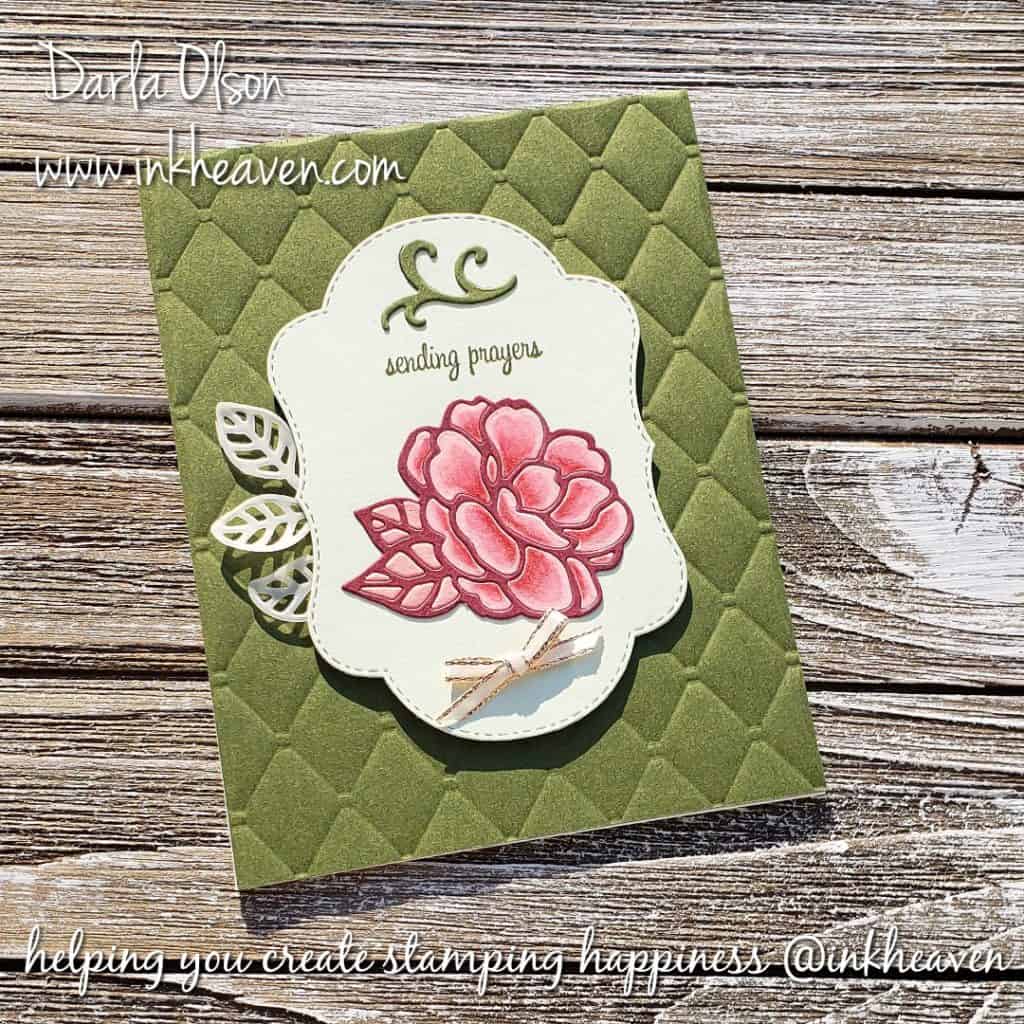
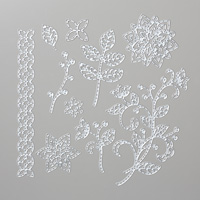
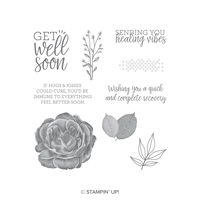
Vellum frames are an easy way to overlay a pretty accent to an otherwise one layer card! The translucent nature of vellum allows images to show through the overlay. Especially when they are paired with bold and vibrant floral images like the ones shown here from the Healing Hugs stamp set. Since it is a translucent paper, it can be tricky to adhere to your card without the adhesive showing. I have found that All Purpose Liquid Glue applied to the entire piece of the vellum overlay is the best solution. (Watch video below)
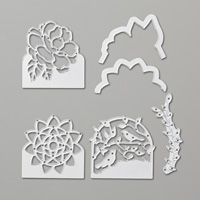
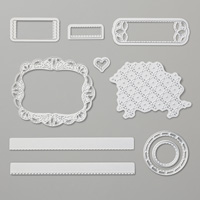
The Stitched Season Framelits are perfect for creating pretty frame overlays with vellum. Because the dies include stitching on both the positive and negative images, there is decorative stitching around all the edges of the frame! However, the Stitched Season Framelits are only available for a limited time starting today. To learn more about the Stitched Season Framelits promotion – CLICK HERE.
At the present time, we also have a Bonus Days promotion that allows you to earn rewards on your order! For more details – CLICK HERE.
Facebook Live Video
Here is an un-edited Facebook Live video that will show you how to create this card with the overlay. For the Color Coach charts referenced in the video – CLICK HERE. Please follow my Facebook Page for more live video demonstrations! CLICK HERE.
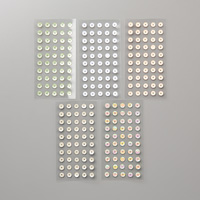
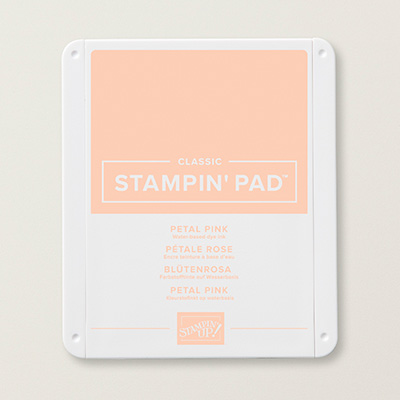
Here is a clickable list of the supplies I used to create this vellum overlay card:

Specials and Offers – CLICK HERE.
Thank you for stopping by to visit. If you have any questions,or need any help, please feel free to ask! I love helping you create stamping happiness for yourself and loved ones!
If you enjoyed this post, please be sure to check out these other posts on using vellum:
Relax and Color, Then Create Pretty Stained Glass Cards
Vellum Accents Add Texture and Dimension
Stained Glass Handmade Card Created With Graceful Glass Vellum
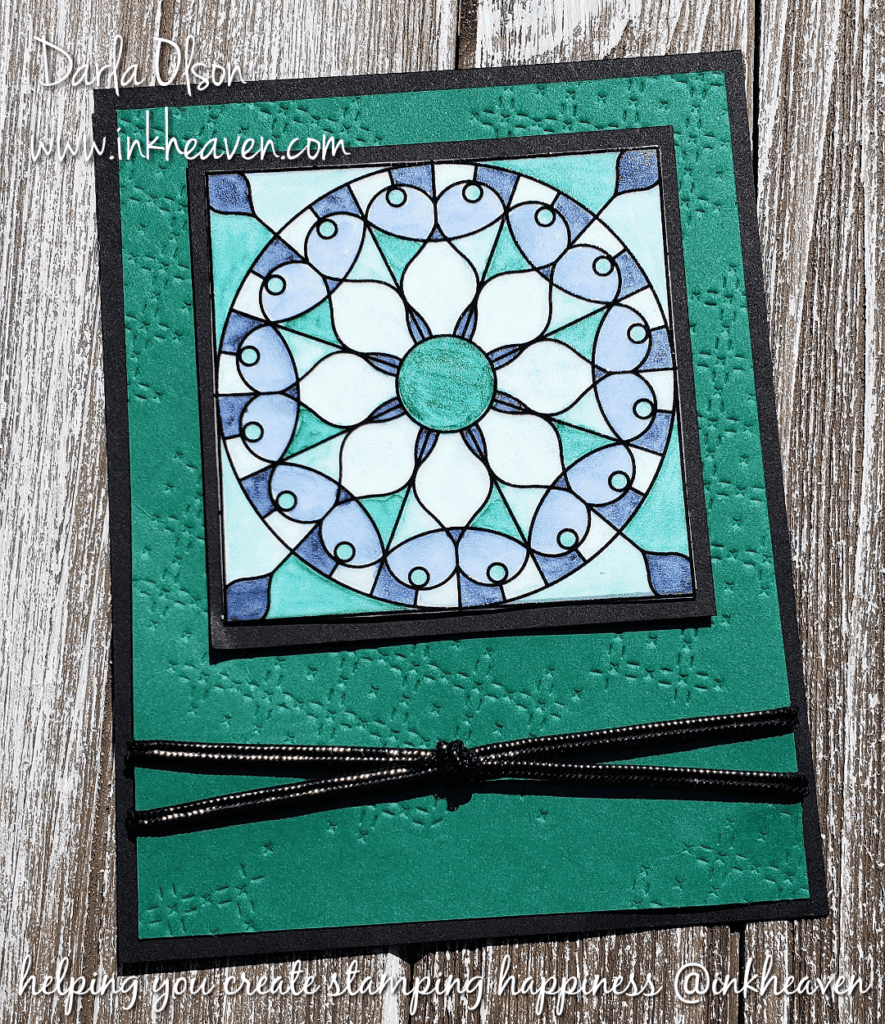
Creating A Handmade Card With Stained Glass Look
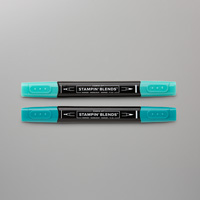
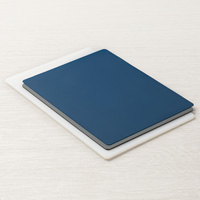
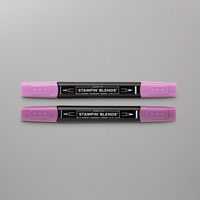
Stampin’ Up!’s Graceful Glass Designer Vellum makes it really easy to create a handmade card with a stained glass look. Because of this, depending on how much you like to color, your glass can be as ornate as you want! For this card, I chose to go simple with two colors on my glass; Night of Navy and Bermuda Bay. I used both the light and dark Stampin’ Blends of these two colors to get the shading. To learn more about the Stampin’ Blends – CLICK HERE.
I chose a Basic Black card base as it is perfect for helping the stained glass details in the vellum to pop out. Interestingly enough, my other cardstock choice is our new color of Shaded Spruce. The Shaded Spruce coordinated with the shades of Bermuda Bay Stampin’ Blends ink than the Bermuda Bay cardstock did!
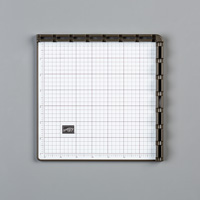
Did you notice the stitched embossing on the Shaded Spruce background? This is embossed with the Stitched Labels Dies and our fabulous new Embossing Mats for the Big Shot. To learn more about the Embossing Mats and all the things that can be done with them – CLICK HERE.
I have another handmade card stained glass created with the Graceful Glass Designer Vellum that I posted last week that you can – SEE HERE. In addition, you can view a video that will give you more information about the Graceful Glass Designer Vellum.
Clickable Supply List To Create This Handmade Card

For the current specials and offers – CLICK HERE
Why not relax and color with this beautiful Graceful Glass Vellum and create some stained glass handmade cards when you are done coloring? If you have any questions or need assistance, please feel free to message me! Thank you for stopping by to visit.
Relax And Color, Then Create Pretty Stained Glass Cards

Relax And Color, Then Create This Stained Glass Card
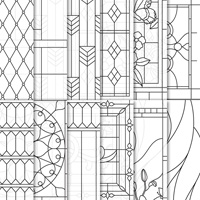
Coloring is relaxing and therapeutic. Stampin’ Up!’s Graceful Glass Vellum and Stampin’ Blends are the perfect pair to color and relax. Plus, when finished, you will be able to use your images to create lovely stained glass cards.
Stampin’ Blends are alcohol markers. Because the markers contain alcohol, which evaporates quickly, it is very easy to add layers of ink to blend them together without pilling the card stock. However, on this card, the coloring is on vellum card stock. Normally, when coloring on vellum with markers, the coloring is done on the back of the vellum because the ink takes so long to dry. With the Stampin’ Blends, this is not necessary as the ink dries fast enough to color right on top of the vellum. To learn more about the Stampin’ Blends and how to use them – CLICK HERE.
The Graceful Glass Vellum is easy to color because the stained glass lines are a black UV coating that give it an embossed look and feel. In addition, the Graceful Glass Vellum is part of a suite of products. The video below contains more information about the Graceful Glass Vellum, The various mediums to color it with, and the coordinating suite of products.
Clickable Supply List To Create This Card
For the current specials and offers – CLICK HERE
Why not relax and color with this beautiful Graceful Glass Vellum and create some stained glass handmade cards when you are done coloring? If you have any questions or need assistance, please feel free to message me! Thank you for stopping by to visit.
Vellum Accents Add Texture To Resist Technique Background
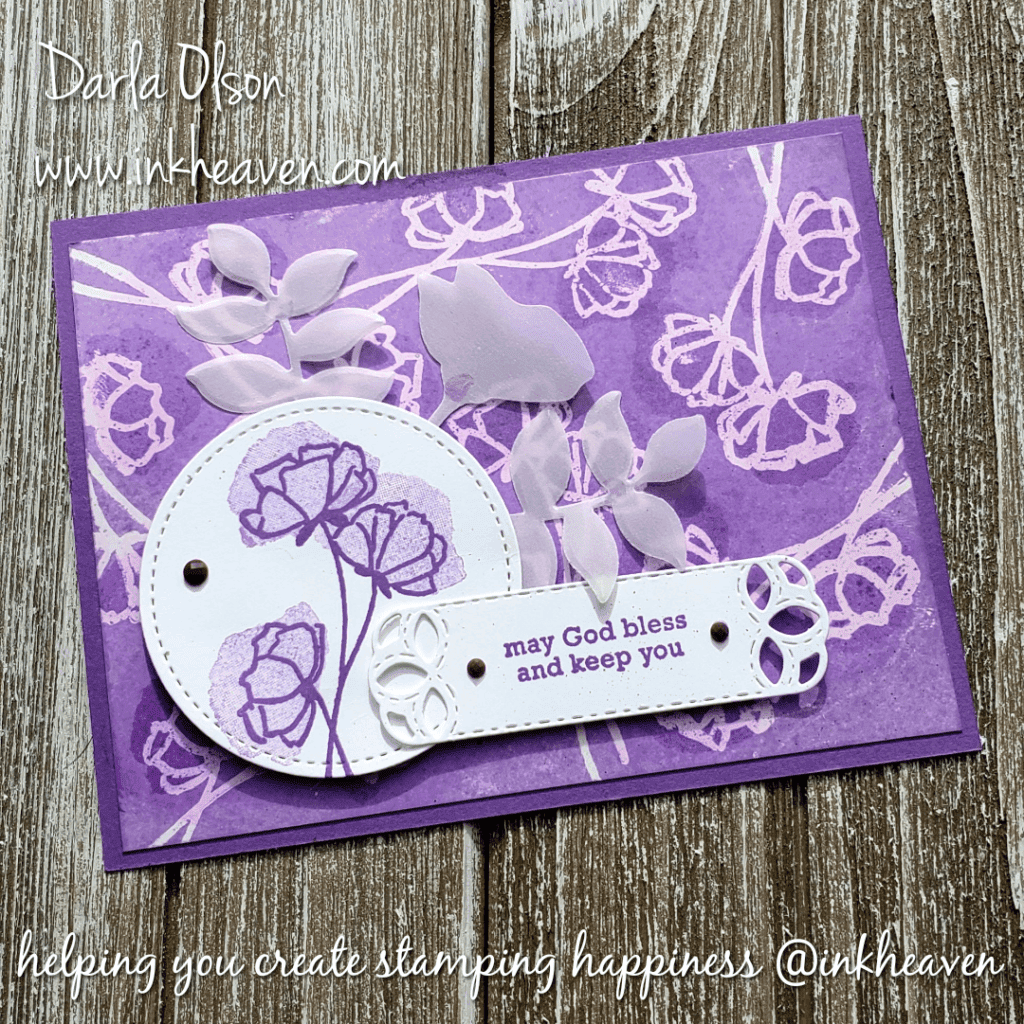
Vellum Accents Add Texture And Dimension
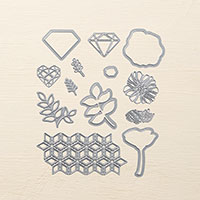
Vellum accents are a great way to add coordinating texture and dimension to your cards. On this card, the Love What You Do floral stamp images create the focal point image and background images. Because the floral shape in the Eclectic Layers Thinlits coordinates well with the floral image in Love What You Do, I chose it to create my accents. In addition, it has nice leaf/greenery stems to tuck in with the flower image! Since the resist technique background is somewhat busy, the vellum creates a soft, subdued accent.
Resist Technique Used To Create Background
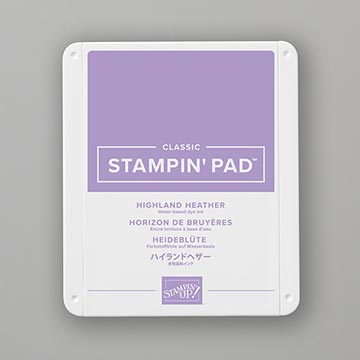
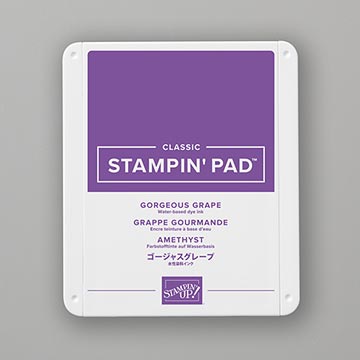
The background of this card is created with a resist technique on glossy card stock. To learn more about this technique – CLICK HERE. In addition, this background features a monochromatic Highland Heather and Gorgeous Grape color combo. Using this color combo allowed me to add shadows to the floral images in the resist background. To do this, I stamped the solid floral image in Gorgeous Grape over the original resist in Highland Heather. After which, I wiped off the excess ink with a tissue once again. The resist background is anchored to a Gorgeous Grape card stock base.
The vellum accents were added to the resist background with glue dots. However, liquid glue would work as well. Lastly, the Stitched Circle and Stitched Label were added with Stampin’ Dimensionals. Tip: The Stitched Label has a glue dot attaching it to the Stitched Circle while a Stampin’ Dimensional is used on the opposite end.
Convenient Clickable Supply List For This Card


Specials and Offers – CLICK HERE.
Thank you for stopping by to visit. If you have any questions,or need any help, please feel free to ask! I love helping you create stamping happiness for yourself and loved ones!