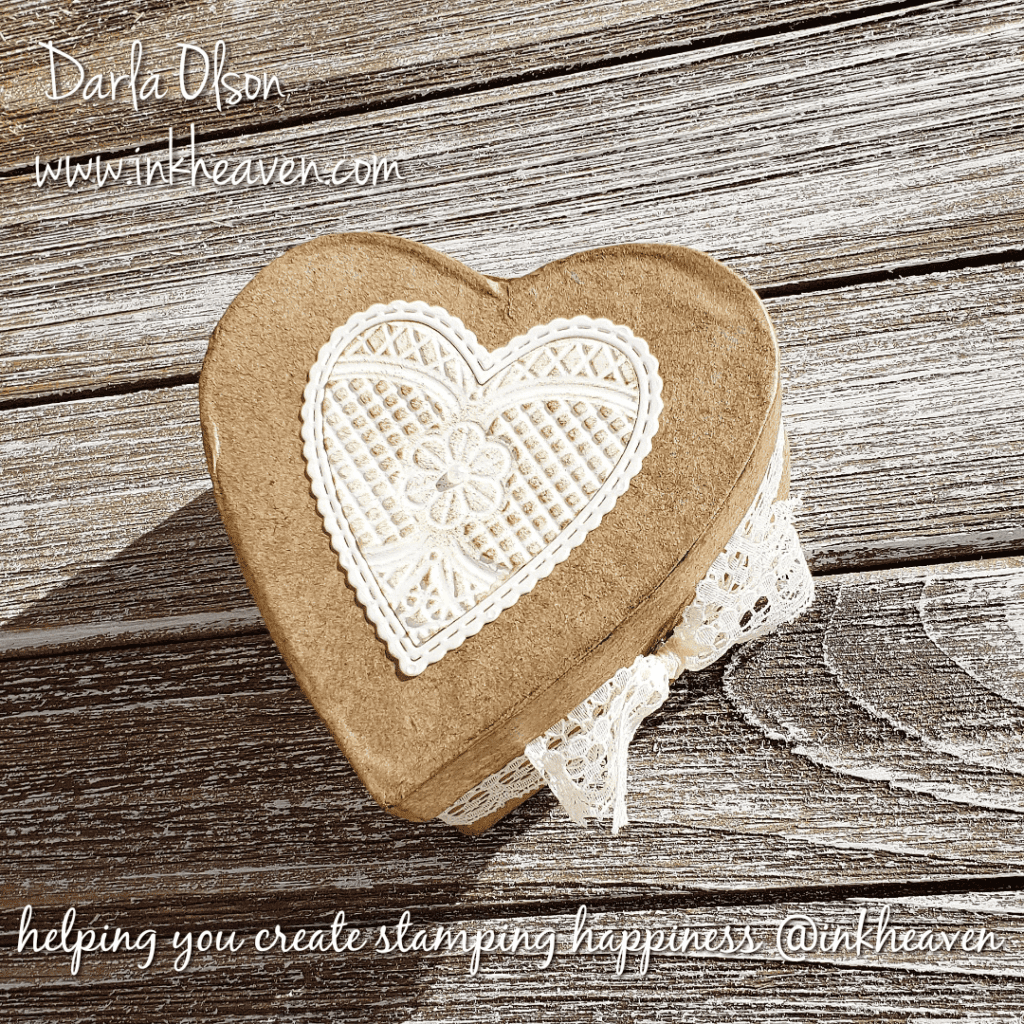
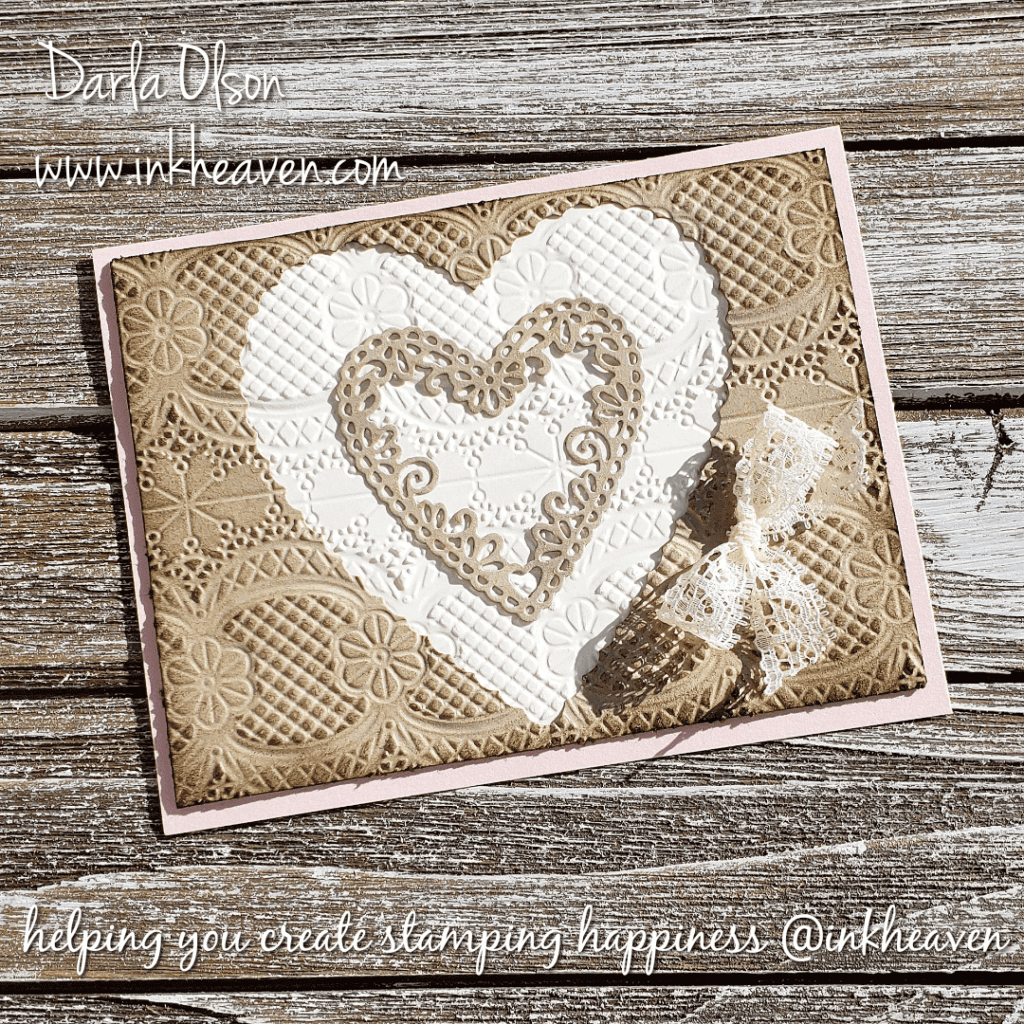
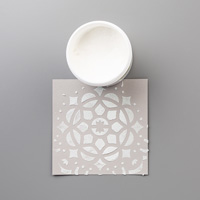
Create Faux Tea-Stained Heart Boxes For Gift Giving
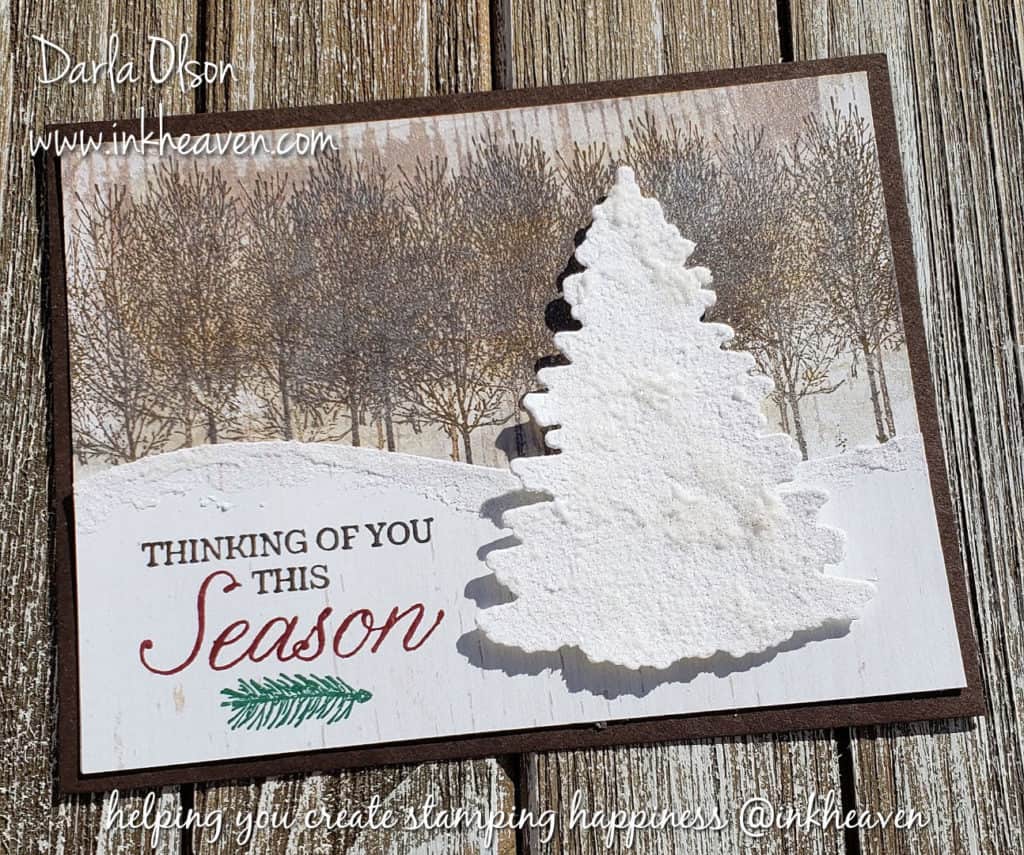
I love creating fun little gifts to share with friends and co-workers on Valentine’s Day. This Faux Tea-Stained Heart-Shaped Box is a quick and easy idea for your Valentine’s Day treat giving! Not only that, but I have a coordinating handmade card idea for you as well! Plus, I have a free tutorial download and a video presentation cut from a Facebook Live for you! Both the box and coordinating card are demonstrated in the video.
In addition to the shopping list below you will need the following items to create your faux tea-stained heart-shaped box:
- 3″ Paper Mache Heart Box
- Stapler
Shopping List To Create Your Own Heart-Shaped Boxes


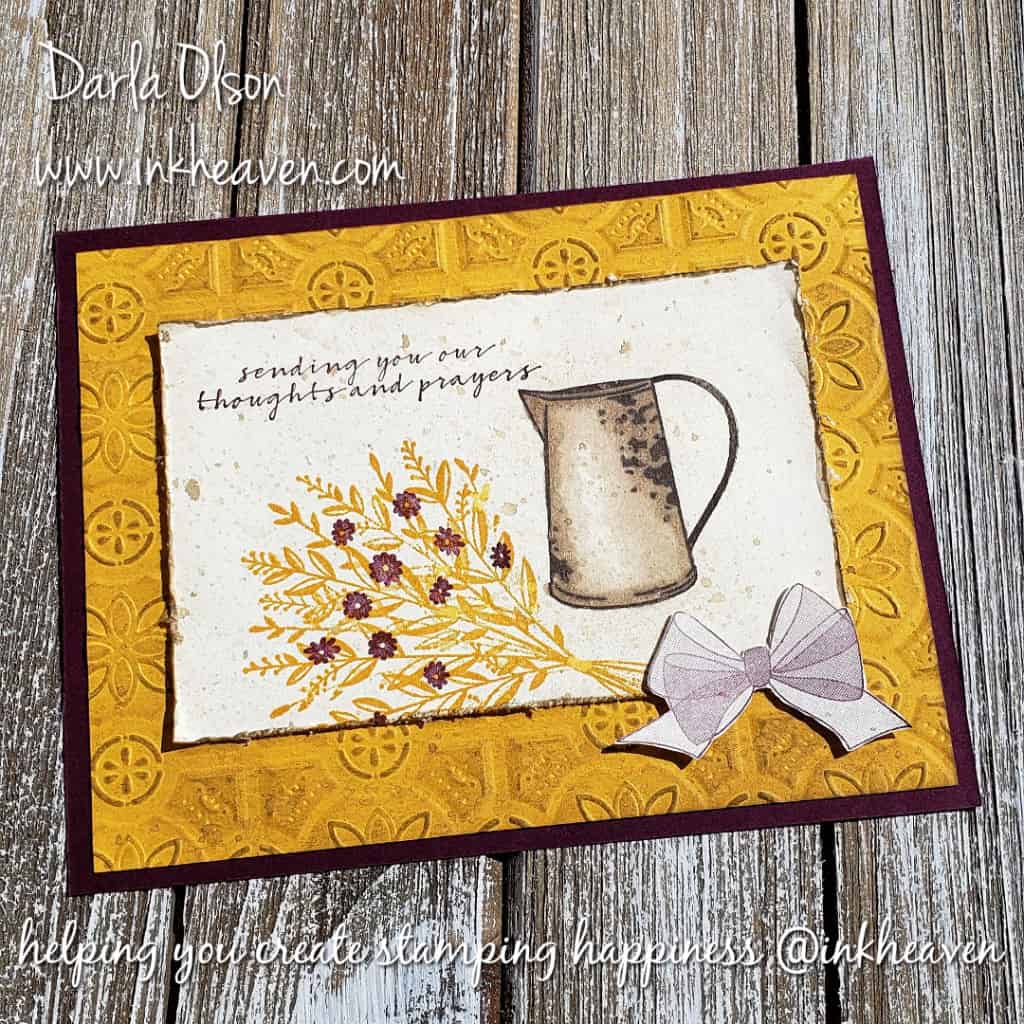
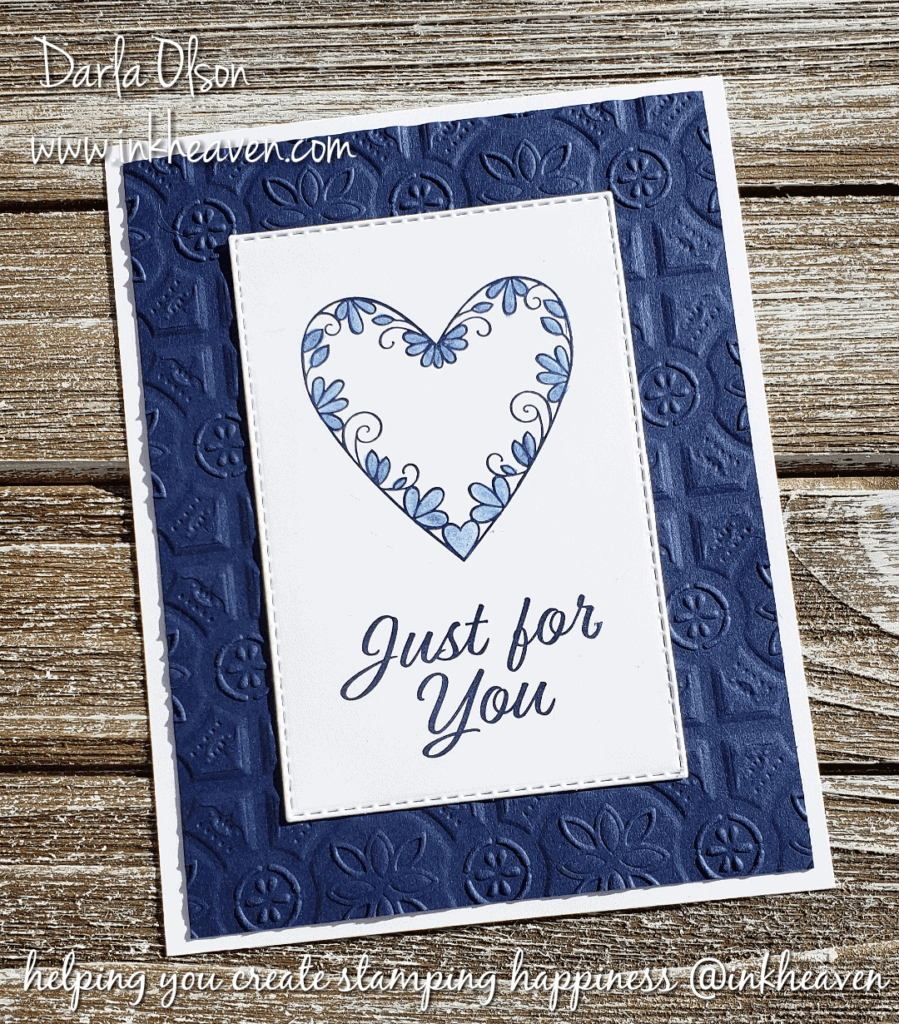
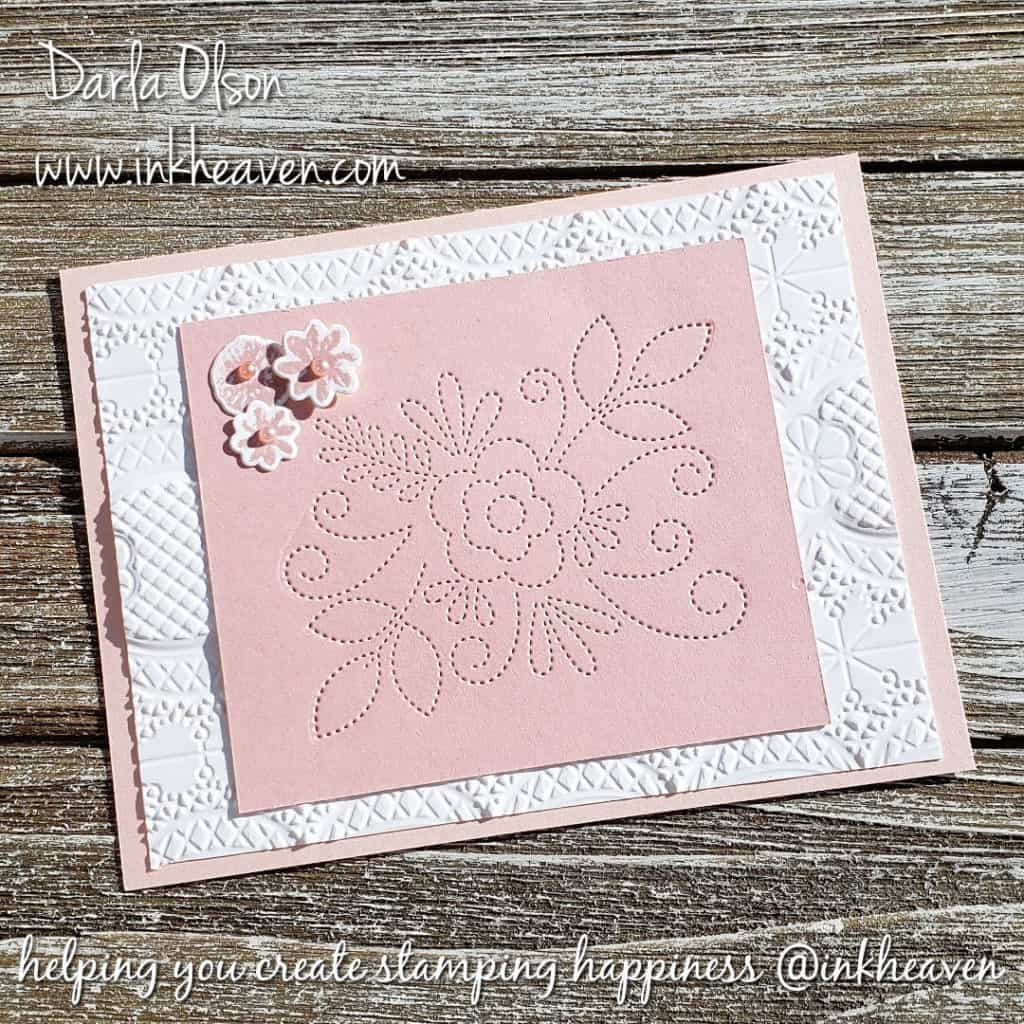
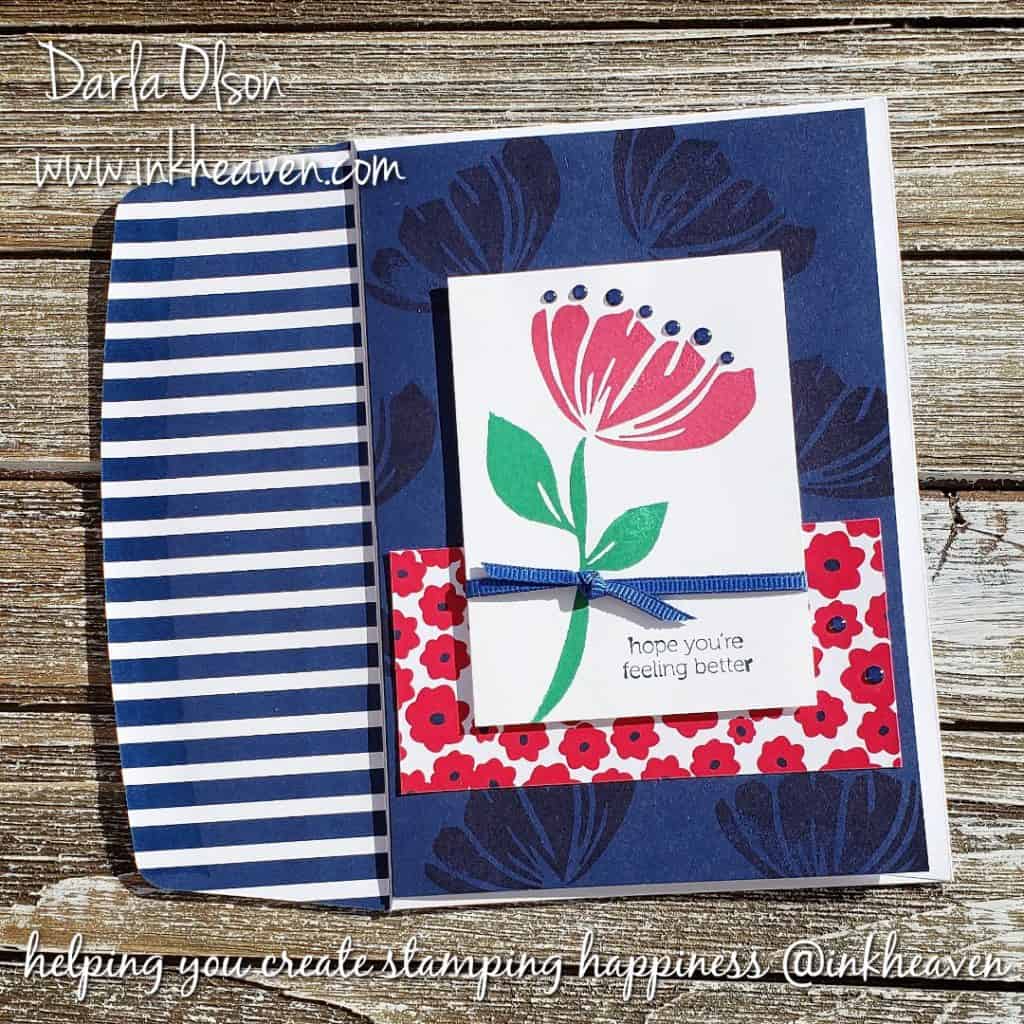
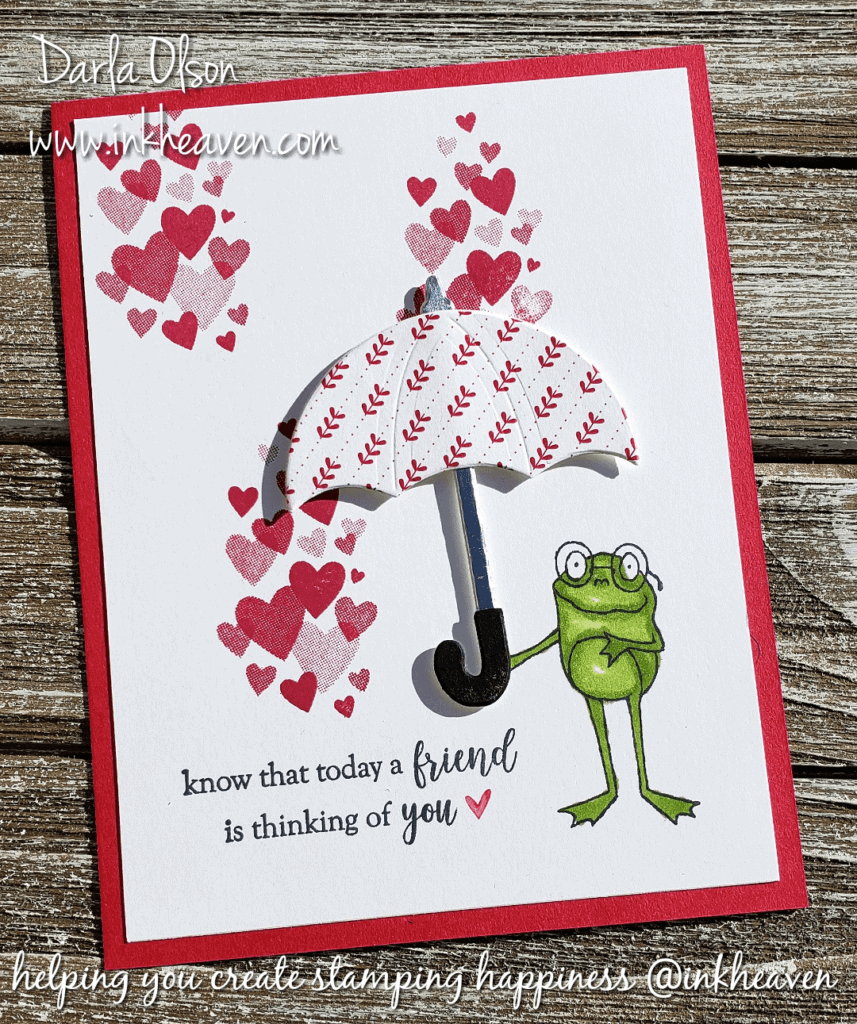
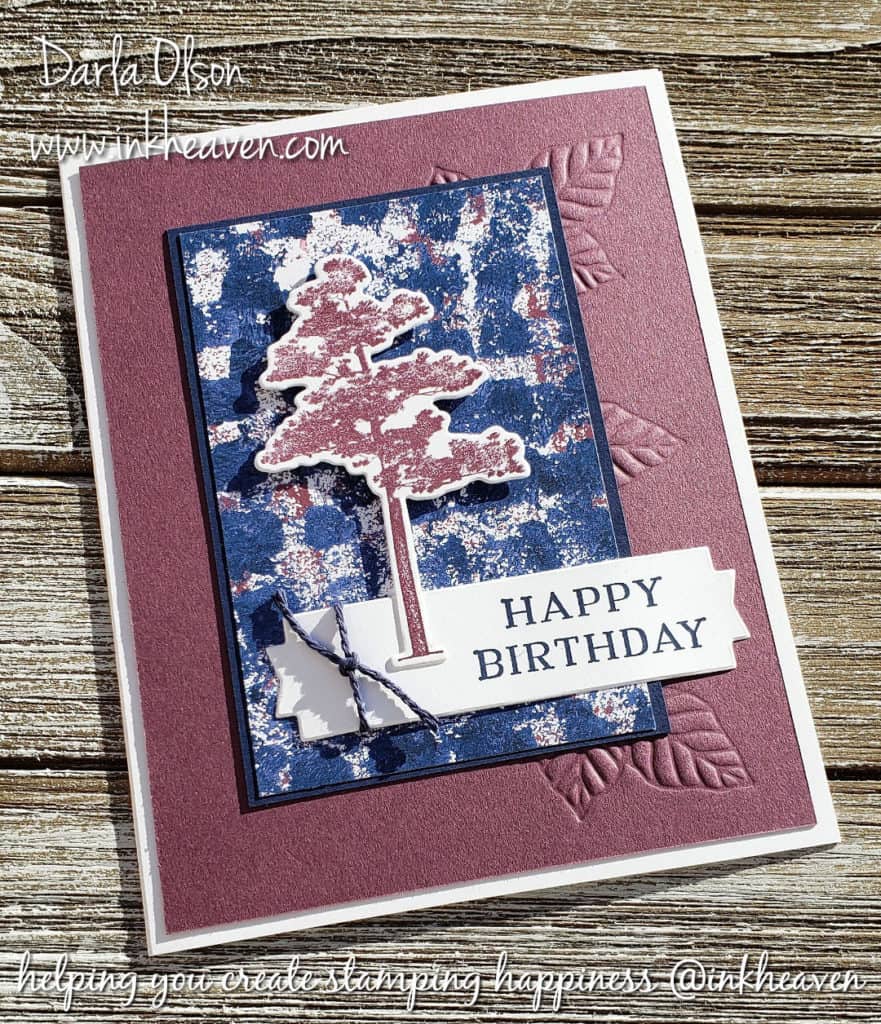
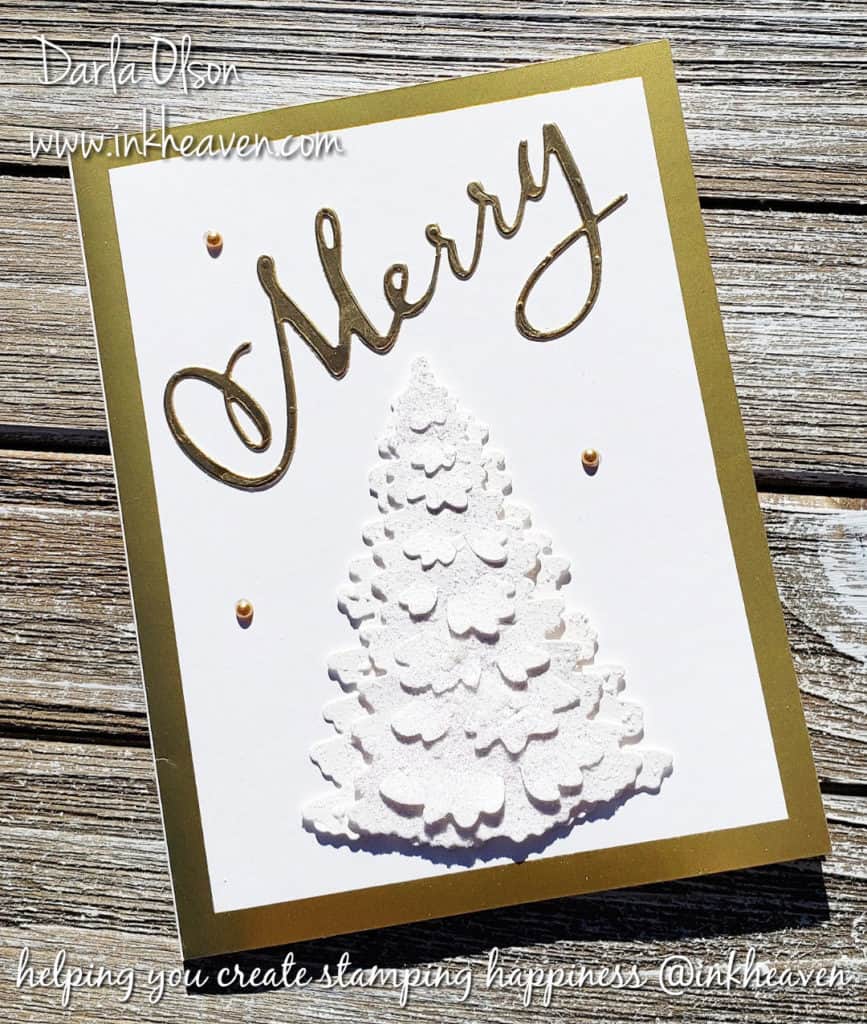
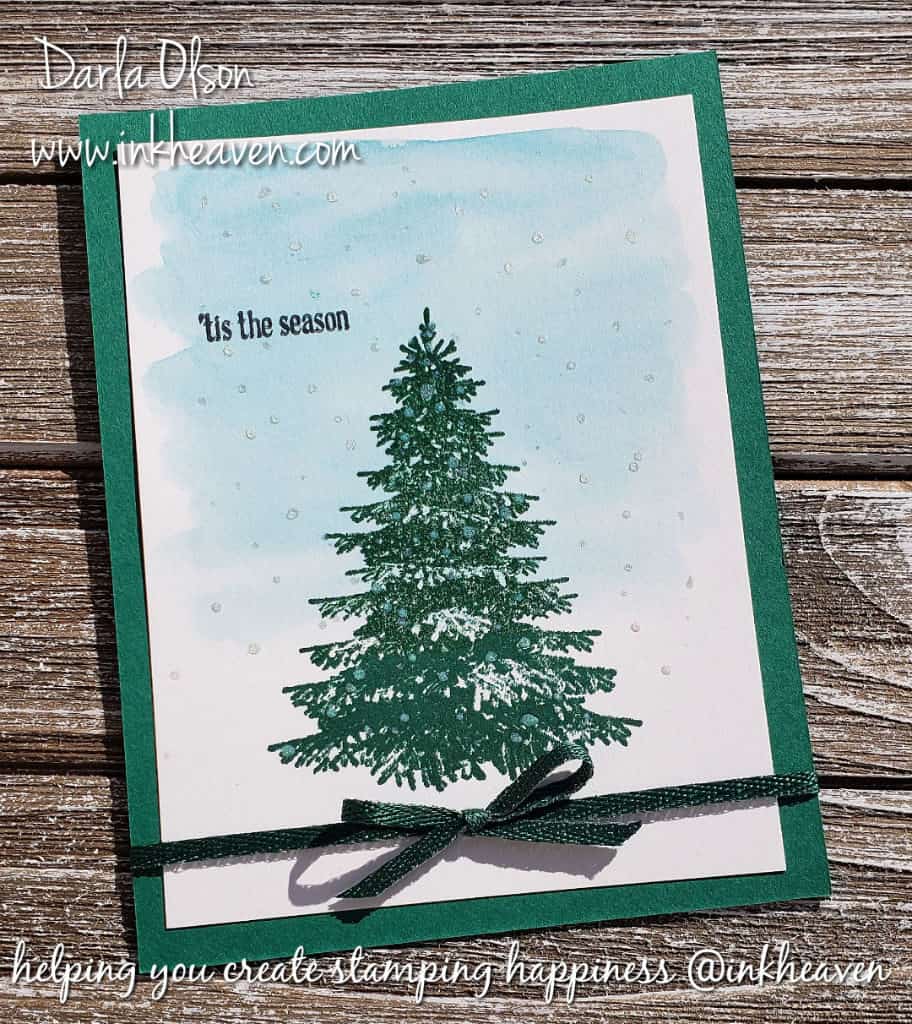
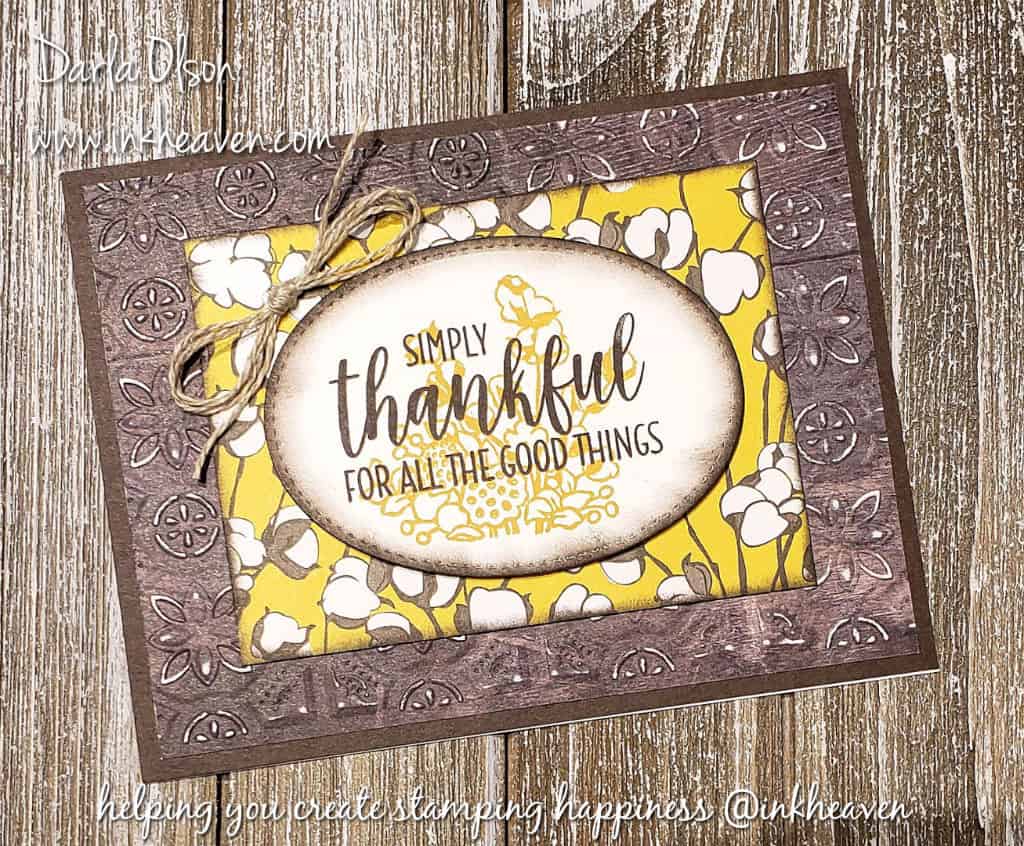
Coordinating Handmade Valentine’s Day Card
Create this coordinating card to give with your Faux Tea-Stained Heart-Shaped Box filled with treats! Download this free tutorial which includes a shopping list, dimensions, and instructions – CLICK HERE
Watch this video for a complete how-to demonstration of the box and card:
Be sure to shop inkheaven for your supplies. But wait! Before you place your order – be sure to read all about Sale-a-bration and how you can earn FREE product with every $50 you spend! To learn more about Sale-a-bration – CLICK HERE

Specials and Offers – CLICK HERE
To learn more about the 2019 Occasions Catalog – CLICK HERE
Thank you for stopping by to visit. If you have any questions, or need any help creating your Faux Tea-Stained, Heart-Shaped Box and Valentine’s Day card, please ask! I love helping you create stamping happiness for yourself and loved ones!
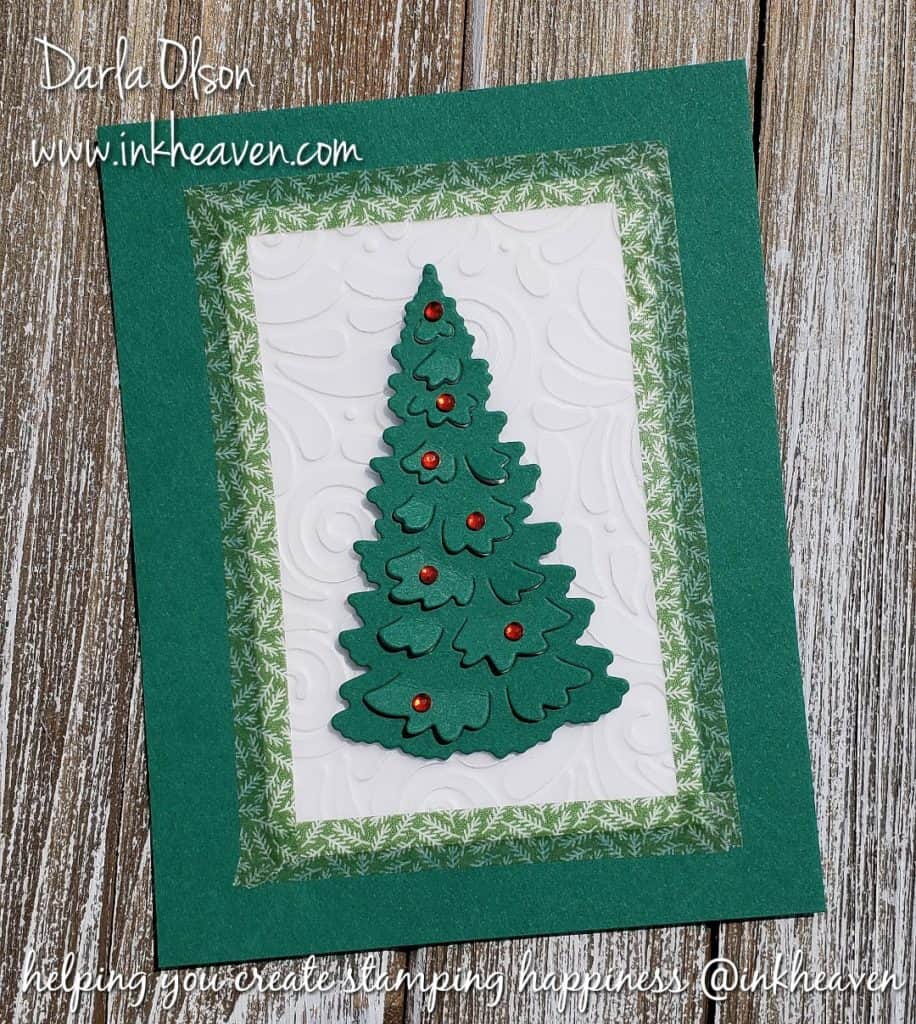
If you enjoyed this card – you might like this card with the Lace Dynamic Embossing Folder as well – CLICK HERE


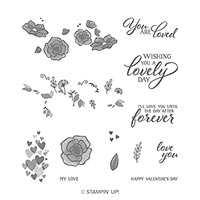


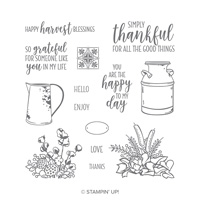


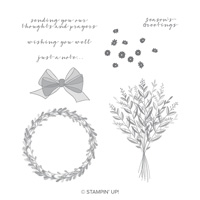 Wishing You Well Clear-Mount Stamp Set
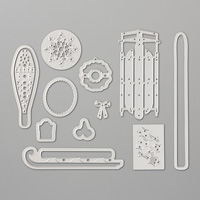
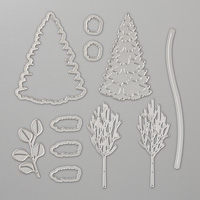
  Chicken Wire Elements
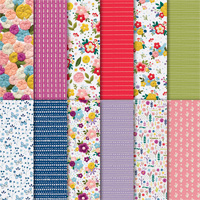
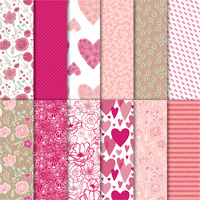
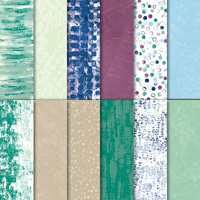
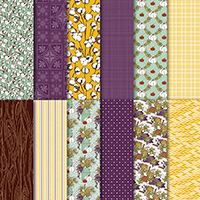
 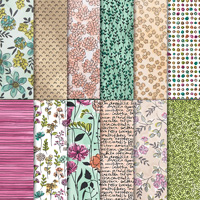 Share What You Love Specialty Designer Series Paper
 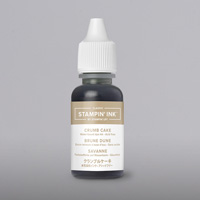 Crumb Cake Classic Stampin’ Ink Refill
  Paper Snips
  Clear Wink Of Stella Glitter Brush
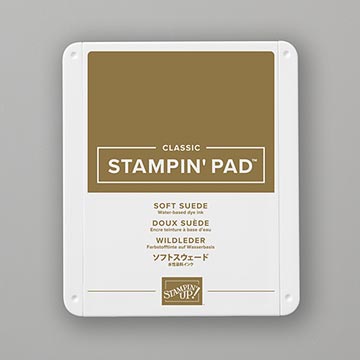
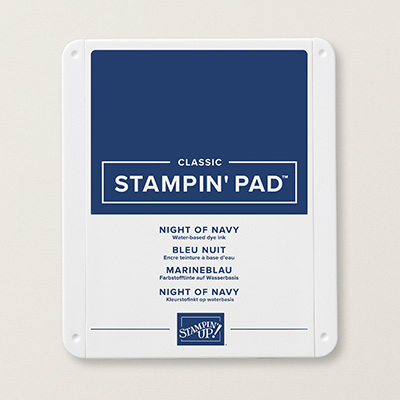
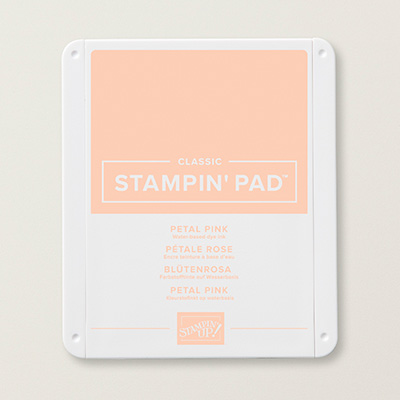
 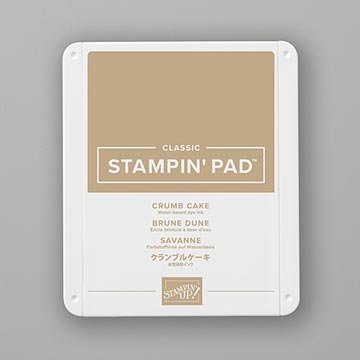 Crumb Cake Classic Stampin’ Pad