Create a Lovely Floral Thank You Card With Dynamic Embossing Folder

Create a Lovely Floral Thank You Card With Stampin' Up! Dynamic Embossing Folder by Darla Olson @ inkheaven

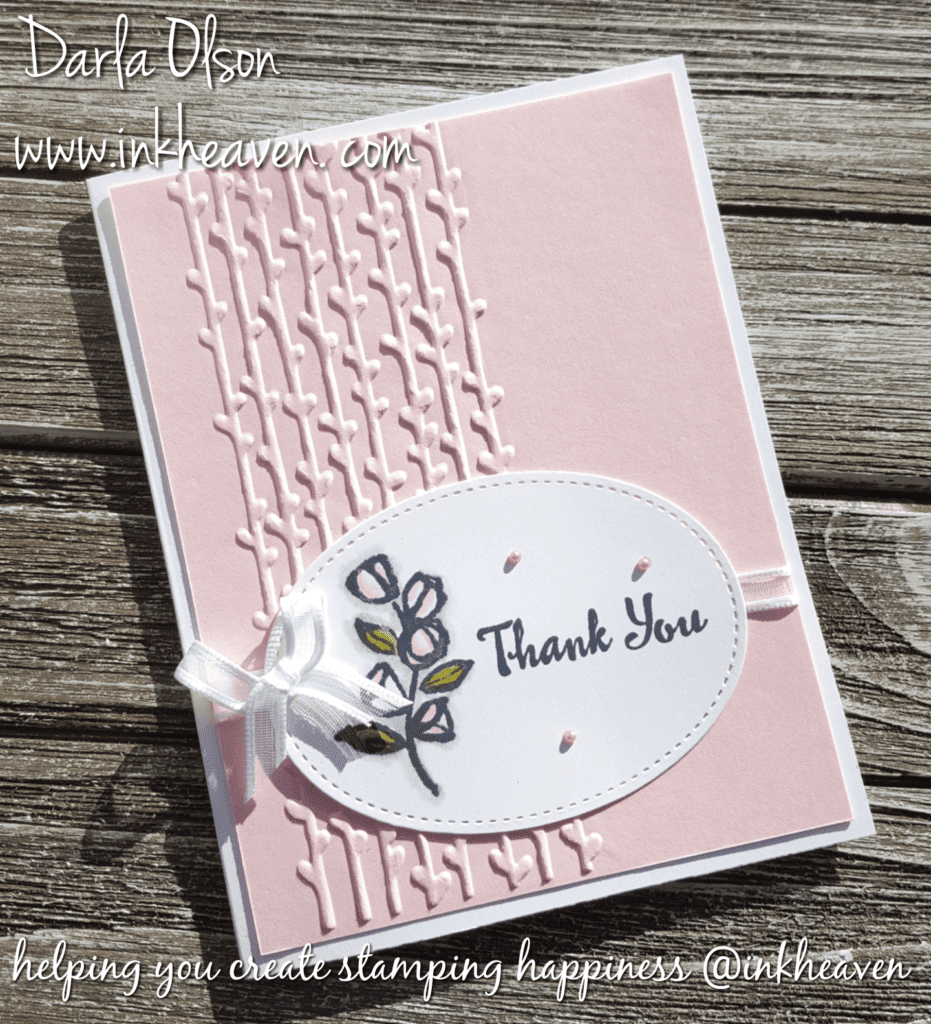
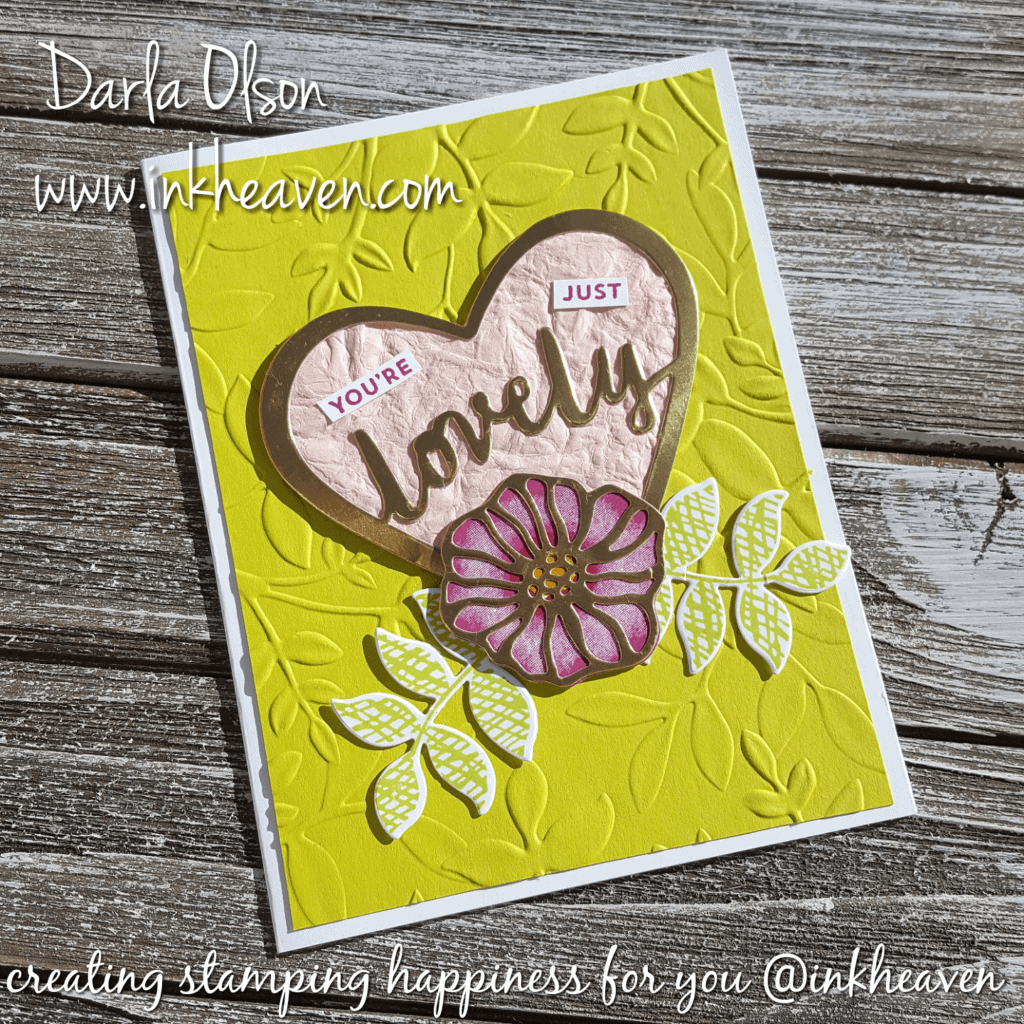
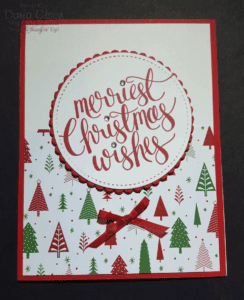
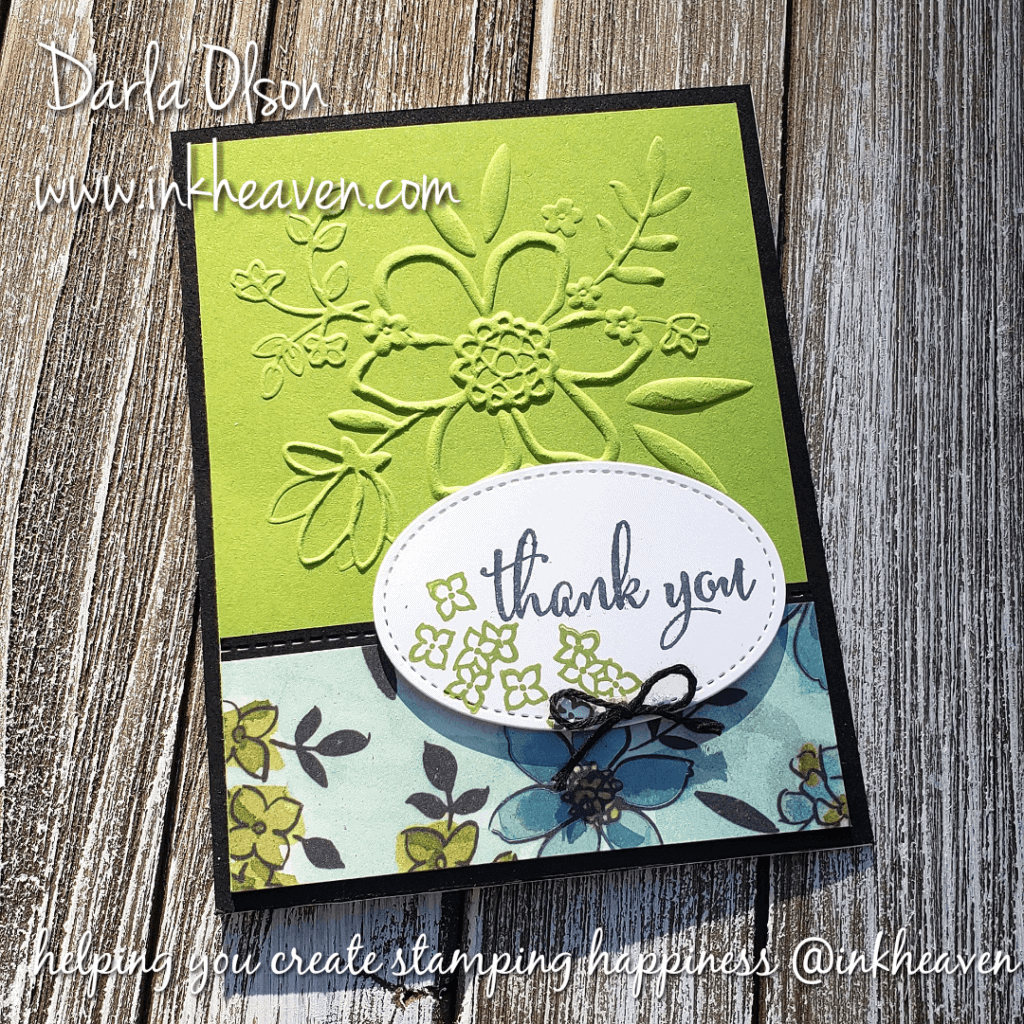
Create this Lovely Floral Thank You Card

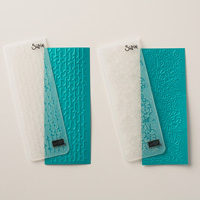
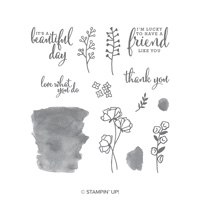
Creating this Lovely Floral Thank You Card is a snap with the Lovely Floral Dynamic Embossing Folder by Stampin’ Up! A clickable supply list and free tutorial are available at the end of this post.

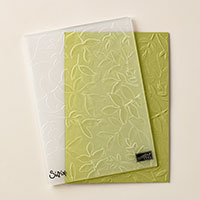
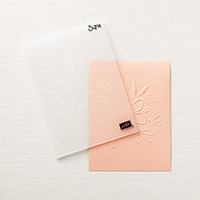
Dynamic  Embossing Folders take embossing to the next level, with deeper, more detailed impressions than standard embossing folders.  Watch the video below to learn more about the Dynamic Embossing Folders by Stampin’ Up!

Watch this Video For Tips and Tricks For Using Dynamic Embossing Folder

Special Features of this Lovely Floral Thank You Card

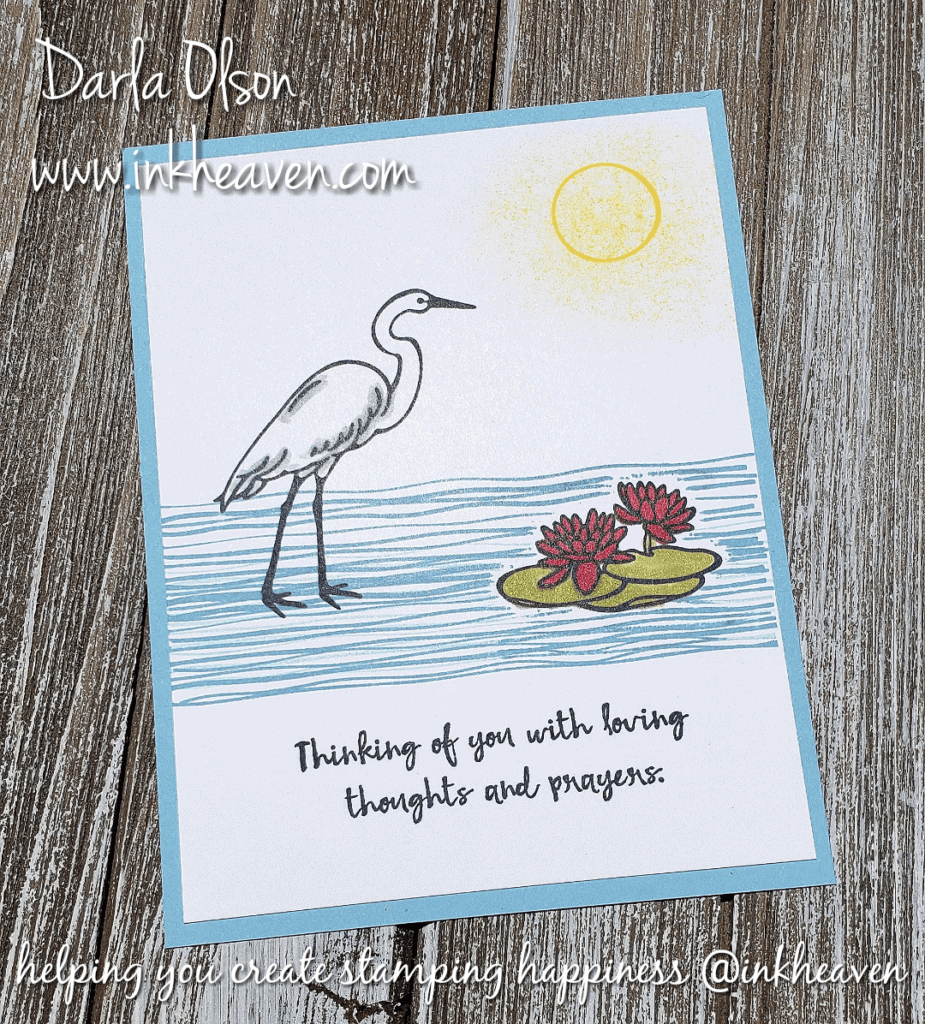
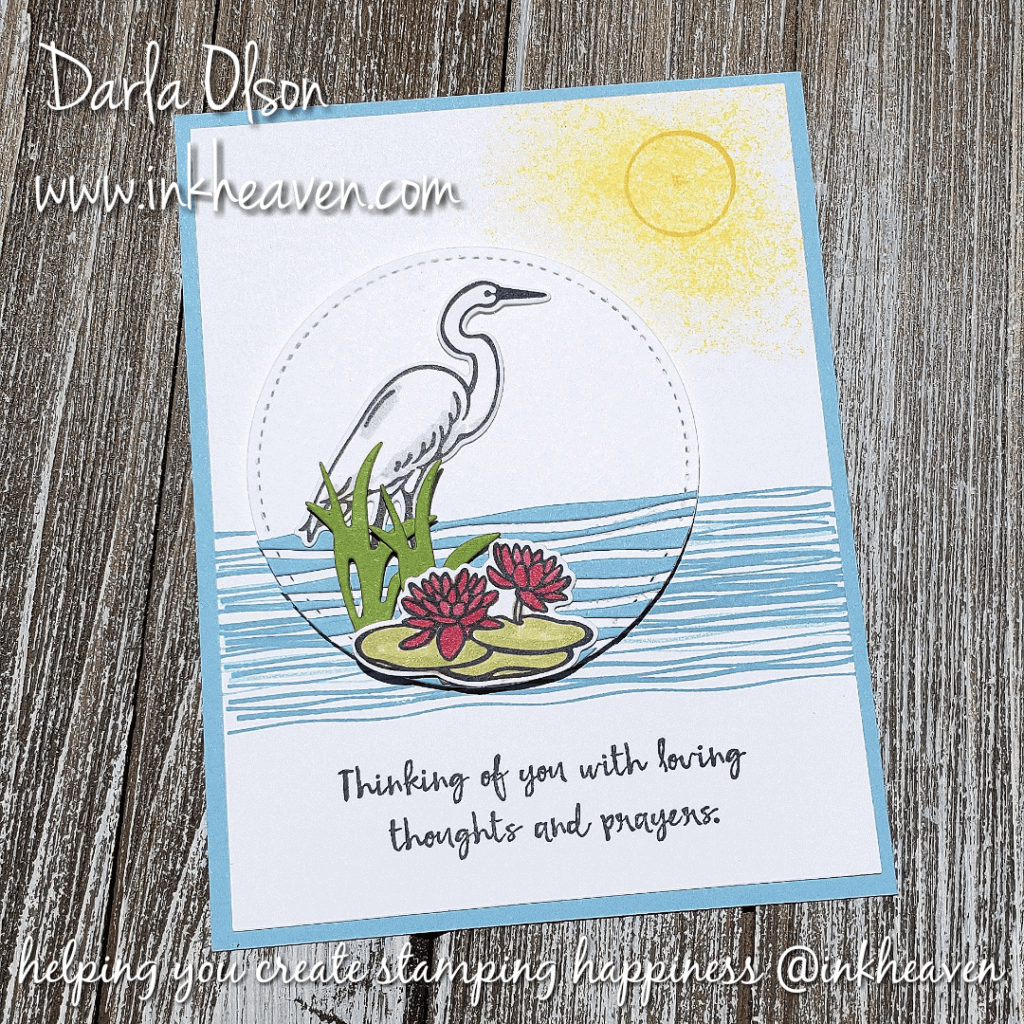
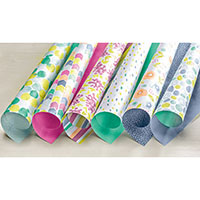
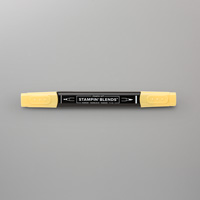
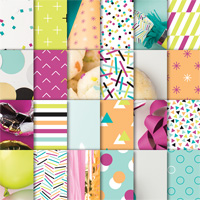
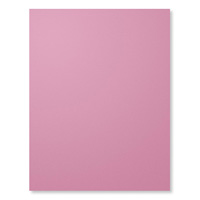
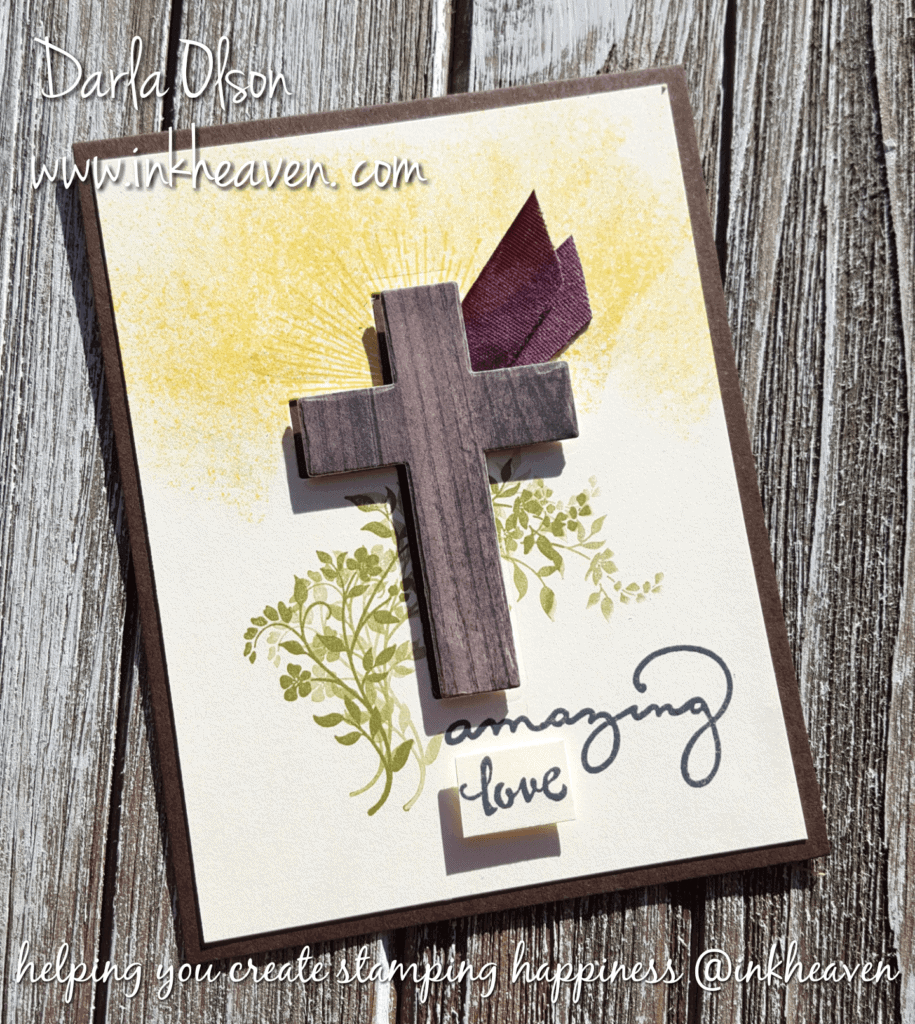
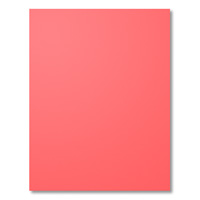
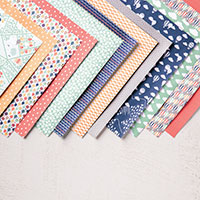
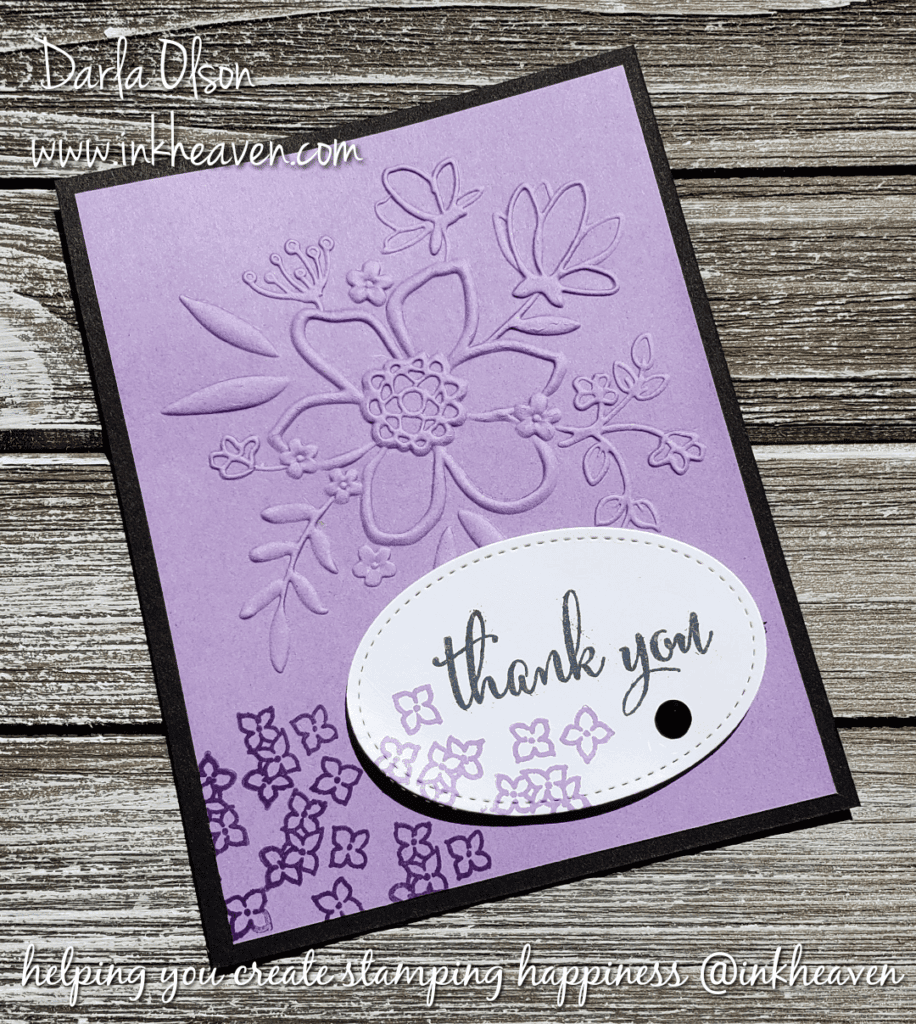
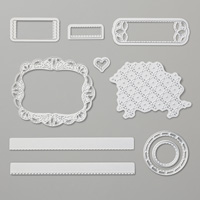
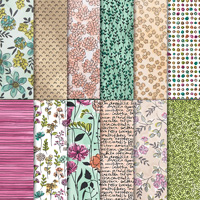
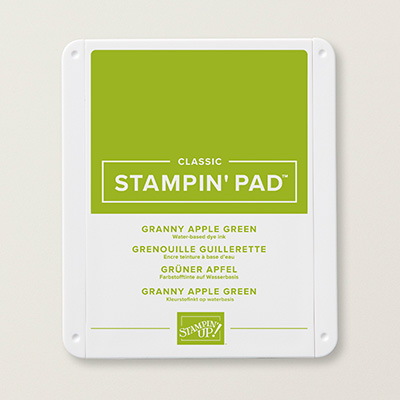
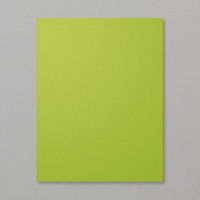
The card shown above was a free Make & Take for my new catalog launch (to learn more about the 2018-2019 Stampin’ Up! annual catalog and learn how to receive your free copy – CLICK HERE. I wanted each guest to have a sample of the lovely Share What You Love Designer Series Paper so they could see and touch the lovely pearl sheen, so I used it to anchor the bottom of the card. In addition, I showcased a few other new products; Granny Apple Green card stock and ink and the Stitched Labels Framelits.  The straight running stitch die from the Stitched Labels Framelits is a great addition to pair with the Stitched Shapes Framelits oval!  However, you can create much simpler cards with the Lovely Floral Dynamic Embossing Folder as well (see example below).

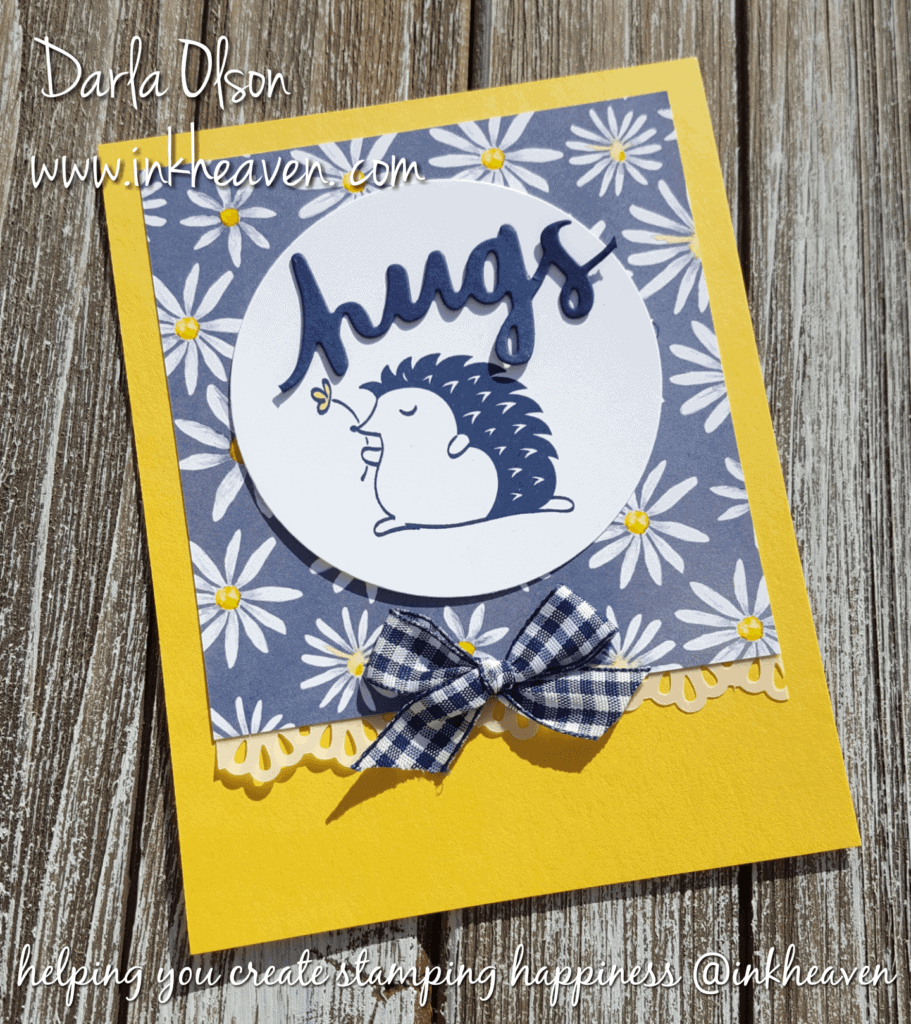
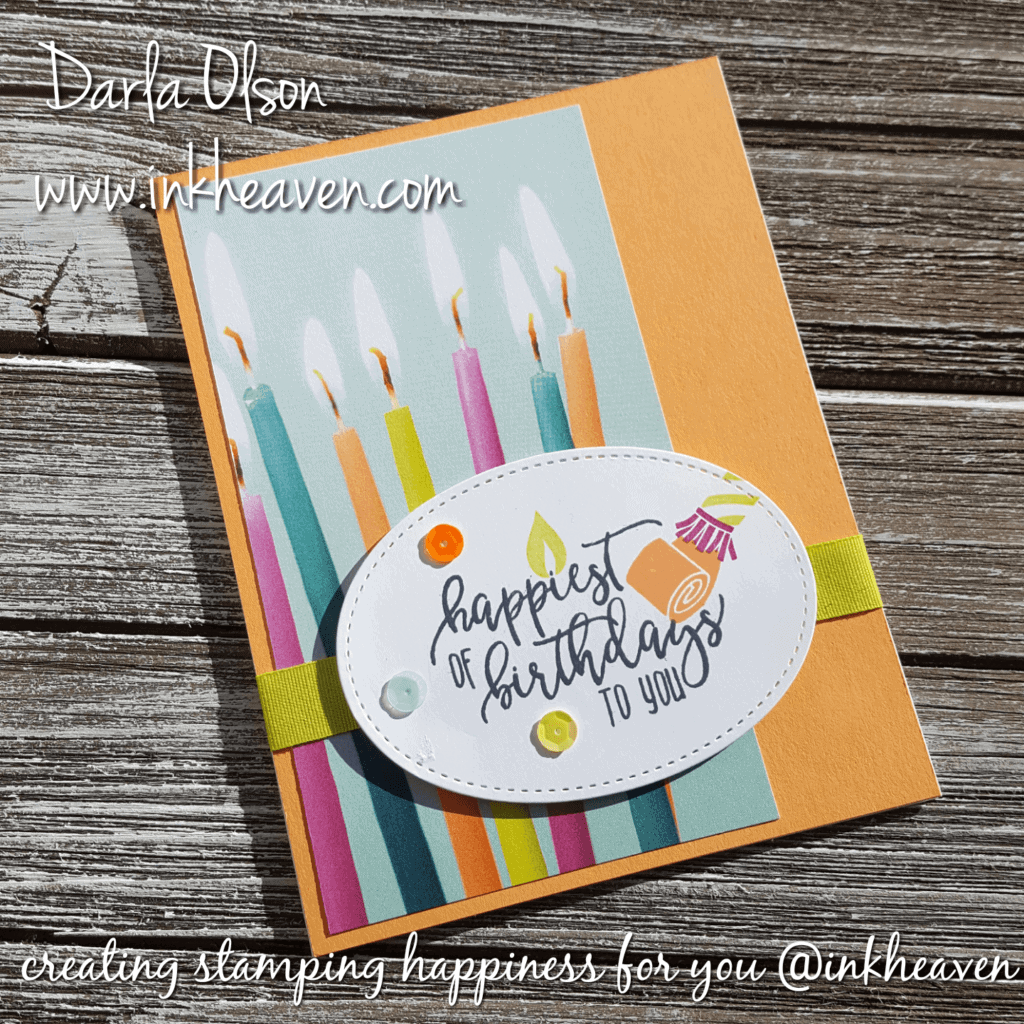
Simpler, Alternate Thank You Card

Create a simpler version of the Lovely Floral Thank You Card with the Stampin' Up! Lovely Floral Dynamic Embossing Folder by Darla Olson @ inkheaven

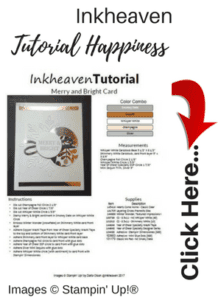
Create The Lovely Floral Thank You Card Clickable Supply List and Tutorial

To download the free tutorial – CLICK HERE

Specials and Offers – CLICK HERE

I am so happy that you stopped by to visit! If you have any questions or need any help creating this card, please don’t hesitate to ask!  Feel free to leave a comment, I would love to hear from you. Thank you for allowing me to help you create stamping happiness for you and your loved ones.

Darla Olson at inkheaven wishing you stamping happiness always

Lilypad Lake Stampin’ Up! Card Idea Using Masking Technique

Lilypad Lake, Stampin' Up! thinking of you handmade card using masking techniue created by Darla Olson @ inkheaven

Create a Beautiful Scene With Lilypad Lake Using Masking Technique

Lilypad Lake stamp set by Stampin’ Up! is perfect for creating peaceful lake scenes.  Using the masking technique, you can make the lilypads in this stamp set appear to be floating in the water. Masking is an easy technique for placing images in the foreground to create depth to a one-layer card.

How to Create a Mask for the Masking Technique

Stamp the image you want to remain in the foreground on a piece of scrap paper (if you use this you will need to use Tombow Liquid Glue), a Post-it note (if you use this be sure part of your image is on the sticky area), or on Post-Tape (my personal favorite) CLICK HERE to purchase the Post-it Tape. After the you have stamped the image, cut the image out. Tip: You may need to cut inside the lines to get good coverage.  However, for this card, that will not be necessary, just cut as close the line as possible. Next, you will stamp the image on your card front and place your mask over the image. After this, stamp the image that you wish to appear behind your masked image over the top of your mask. Finally, remove your mask. That’s it! You have just used the masking technique!

Clickable Supply List for my Stampin’ Up! Store and Tutorial

This Lilypad Lake card idea was a Make & Take at my 2018 New Catalog Launch. For more information about the 2018-2019 Stampin’ Up! Annual Catalog and how to receive you own copy, CLICK HERE. To download the  Lilypad Lake card idea Tutorial, CLICK HERE.

Please note: The Stampin’ Blends will not be available for purchase until sometime mid-June. Item numbers are listed on the tutorial.

Specials and Offers – CLICK HERE

Step it up With LayeringHere is a similar card idea that is stepped up with layering using the Lakeside dies from the bundle and save!

Stepped up version with Lakeside Dies Stampin' Up! @inkheaven

I am so happy that you stopped by to visit! If you have any questions or need any help creating this card, please don’t hesitate to ask! Comments are welcome. Thank you for allowing me to help you create stamping happiness for you and your loved ones.

Darla Olson at inkheaven wishing you stamping happiness always

Adorable Sending Hedgehugs Card With Free Tutorial

Adorable sending Hedgehugs card with free tutorial by Darla Olson @ inkheaven

Create and Send this Bright and Airy Hedgehugs Card

Usually, people who need a hug, need their spirits lifted. This bright and airy Hedgehugs card is sure to lift the spirits of anyone who is in need of hug!

This card is one of three from my class featuring the Hedgehugs stamp set. Since a couple of items on this card are on the retiring list, I thought that I would share it with you. Thankfully, the stamp set is sticking  around for awhile, but the Lovely Words Framelits is on the retiring list. Sadly, the Delightful Daisy Designer Series Paper is already sold out. (To see the entire list of what is retiring – CLICK HERE). However, if you would like to create this particular card, I do have a few class packets available that include this cheerful, daisy paper! To learn more about the class – CLICK HERE.

Clickable Supply List and Suggested Alternate

Please note that I have included an alternate designer series paper in this list. The Naturally Eclectic Designer Series Paper is also bright and airy. I personally recommend the Night of Navy with the dots. However, other sheets will also work but may require you to change to a different color card stock and ribbon.

Specials and Offers – CLICK HERE

I am so happy that you stopped by to visit! If you have any questions or need any help creating this Sending Hedgehugs card, please don’t hesitate to ask! To download the tutorial – CLICK HERE.  Thank you for allowing me to help you create stamping happiness for you and your loved ones.

Darla Olson at inkheaven wishing you stamping happiness always

Stop the Decline of the Thank You Card with this Beautiful Card!

Stop the decline of the thank you card with this beautiful card by Darla Olson @inkheaven

Sadly, the etiquette of sending a thank you card is in decline.

It is amazing and sad how often the thank you card goes over-looked.  How many times have you given a gift, volunteered your time, or gone out of your way for someone only to have it go unacknowledged?  Doesn’t it make you feel unappreciated?

Unfortunately, the rise of texting, social media, etc. has contributed to the decline  of the thank you card. Many people have resorted to sending a quick thank you via text, social media, etc. Additionally, there are some today who advocate for good etiquette to be modernized to include the digital thank you.

While a digital thank you is nice, it really does not replace the hand-written thank you note or card. Nothing shows appreciation more than someone taking the time to sit down and hand-write a thoughtful thank you note to acknowledge another’s efforts.

This card was a make and take at my Open House in March and is a quick and easy card to make and send to show your appreciation.

Create this card using this clickable supply list and tutorial.

Please note that Pink Pirouette is being discontinued and is only available while supplies last. For more information and a complete list of retiring items – CLICK HERE.

Specials and Offers – CLICK HERE

Help stop the decline of the thank you card! CLICK HERE to download the tutorial and make a stash of thank you cards today! Thank you for visiting me today and allowing me to help you create stamping happiness for you and your loved ones.

Darla Olson at inkheaven wishing you stamping happiness always

Use This Easy Card Sketch To Create Cards For Any Celebration

Easy card sketch for any celebration by inkheaven

Use an easy card sketch to create cards for any celebration.

Creating wow cards can be just as simple as using an easy card sketch. The wonderful thing about card sketches is that they can be used over and over again! All that is necessary is to switch out the inks, papers, stamps, and accessories, and keep the basic design.

This sketch is one of my go-to favorites. It has a centered focal point and it is anchored at the bottom.  In addition, I love using hearts in my focal points like the one above from the Sweet and Sassy dies. Sadly, these dies are being retired and are only available while supplies last. To learn more about the retired list CLICK HERE. However, any shape can be used with this design; stars, circles, ovals, squares, and more! CLICK  HERE to see another card that uses the same basic design but looks very different. It also uses the Sweet and Sassy dies but it is anchored with images at the bottom of the heart .

Create this card using this clickable supply list and tutorial.

Several of the supplies used to create this card are retiring. Consequently, you will want to place your order as soon as possible since these supplies will only be available while supplies last. These are the items that are retiring: Picture Perfect Party Designer Series Paper, Sweet & Sassy Framelits Dies, Sweet Sugarplum Cardstock, Glitter & Clear Epoxy Shapes, and the Love Mini Tinsel Trim. Additionally, the Party Pandas stamp set was from Sale-a-bration and is no longer available. However, I do have a couple of extra sets for sale – CLICK HERE.  Also, the Celebrate You Thinlits Dies were a Sale-a-bration item and won’t be available again until the new catalog makes its debut on June 1st! To learn more about our catalogs and how to get your own copy, CLICK HERE.

Specials and Offers – CLICK HERE

Have fun using this easy sketch to create this card and many other WOW cards. CLICK HERE for your free tutorial. Thank you for visiting me today and allowing me to help you create stamping happiness for you and your loved ones.

Darla Olson at inkheaven wishing you stamping happiness always

How to Create a Rainbow with the Tutti-frutti Adhesive Backed Sequins

Learn how to create a rainbow with sequins @ inkheaven

Create a Colorful Rainbow with Tutti-frutti Sequins

Sequins are a hot embellishment trend for 2018.  I wrote about that (click here) when I was preparing this card and tutorial for my Facebook Live earlier in the year.  I am finally getting around to posting the card, tutorial, and my Facebook Live (in the raw) video for you!

The Tutti-frutti Sequins are adhesive-backed which makes creating the rainbow  a snap. You can download the tutorial (click here). Watch my Facebook Live (in the raw) video below the clickable supply list.

Clickable Supply List for the Brighter Days Panda Card

If you missed out on Sale-a-bration and earning the Party Pandas set for free – I have two stamp sets available for sale in my shop (click here)

Here is a clickable supply list for your convenience:

Facebook Live Video (In the Raw!)

Thank you for visiting me today and allowing me to help you create stamping happiness for you and your loved ones.

Darla Olson at inkheaven wishing you stamping happiness always

Amazing Love Card Conveys The Easter Message

Amazing Love Easter Card

Amazing Love Easter Card

I created this Amazing Love Easter Card as a make & take for my Sale-a-bration Open House. For more information about Sale-a-bration, CLICK HERE.

While I enjoy all the fun things that we do to celebrate this holiday (decorating eggs, egg hunts, baskets, etc.), I prefer to have my Easter cards to be more about why we celebrate it in the first place.  With that in mind, I purchased the Hold on to Hope Bundle to have on hand for my cards. Be that as it may, I have to admit that it was never my intention to use three different stamp sets for my card. Ordinarily, I feature one stamp set and occasionally pair it with a greeting set.  However, as I thought about the holiday and what it represents, the song Amazing Love by Chris Tomlin popped into my head. Consequently,  I realized that the Amazing You stamp set was the perfect choice to pair with the Hold on to Hope stamp set to convey the message that I was looking for!

The Song That Inspired My Easter Card

I’m forgiven because You were forsaken
I’m accepted, You were condemned
I am alive and well, Your spirit is within me
‘Cause You died and rose again

I’m forgiven because You were forsaken
I’m accepted, You were condemned
I am alive and well, Your spirit is within me
‘Cause You died and rose again

Amazing love, how can it be?
That You, my King would die for me?
Amazing love, I know its true
It’s my joy to honor You
In all I do, I honor You

by Chris Tomlin

If you have not heard the song, you can listen to it in this video:

Putting it all together to create the perfect Easter Card

Now that I had inspiration for my Easter card, it was time to work on my layout.  The Crucifixion wasn’t pretty. For this reason, I did not want my card to be ornate, so I chose the Wood Textures paper to use for the cross.  In addition, I wanted to have something that would represent the joy of the resurrection, so I used the rays of light stamp from the Amazing You set with Daffodil Delight and a hint of Wink of Stella. Furthermore, I wanted the purple robe to be represented as well so I chose the Fresh Fig ribbon.  As the elements of the card came together, the next challenge was how I was going to incorporate the word, love.  I finally settled on the sentiment, “I just love you”, from Petal Palette.  For the tutorial, complete with measurements, directions, and supply list, CLICK HERE.

Clickable Supply List for the Amazing You Easter Card

For your convenience, here is a clickable supply list:

Creating this  Amazing Love Easter Card was exciting and fun and I am thrilled to be able to share it with you to help you create the perfect card that conveys the message of Easter!

Darla Olson at inkheaven wishing you stamping happiness always

Quick & Easy Happiest of Birthdays Card

Happiest of Birthdays Card by Darla Olson at inkheaven

Happiest of Birthdays Card – Quick & Easy!

I love this Happiest of Birthdays card! It’s quick and easy to make. Plus, it’s bright and cheerful!  Additionally, it’s suitable for all ages and sexes.

This card is quick and easy due to the simple design and the use of a suite of products.  Simple designs are easily duplicated and a suite of products provides coordination.  In this case, I used the Picture Perfect Party Suite by Stampin’ Up!

Here is a video showing you the products in the suite and how the coordination works (please note that the Picture Perfect Paper Ribbon in the suite is unavailable):

How I used the suite for coordination

First, I chose the paper with the candles from the Picture Perfect Party Designer Series Paper.  Then I chose colors from the paper that I wanted feature on my card.  Since my paper choice contained some bright images, I decided to make the focal point of my  card a sentiment. Additionally, I chose sequins to embellish around the sentiment to draw the eye to the sentiment.

Clickable Supply List for Happiest of Birthdays Card

Here is a clickable supply list for your convenience:


Please note that if you are shopping for supplies through March 31st, 2018, you can take advantage of Sale-a-bration and earn  free products with your purchase. To learn more about Sale-a-bration, CLICK HERE.
Happy Shopping @inkheaven
Thank you for shopping with me @inkheaven


CLICK HERE for your Happiest of Birthdays card tutorial.  Thank you for visiting me today. As always, I am here to help you create happiness for you and your loved ones.

Darla Olson at inkheaven wishing you stamping happiness always

Follow my blog with Bloglovin

Happy Valentine’s Day – You’re Just Lovely!

You're just lovely card to say Happy Valentine's Day by Darla Olson @ inkheaven

Happy Valentine’s Day!

I wish I could send all of you a Happy Valentine’s Day card. Since that is not humanly possible, I have chosen to share this card, and the tutorial for it, with you. This card was part of my September 2017 Card Making Class and the Inkheaven Party in a Box Program.

This card design is the perfect non-romantic Valentine’s Day card. Plus, since it uses a non-traditional color combination, this card can be used anytime for other occasions such as:

  • Thank you
  • Friendship
  • Just because, or
  • Change the sentiment for even more options!

Clickable Supply List For Non-Romantic Valentine’s Day Card

Here is a clickable supply list for your convenience:

For the downloadable tutorial CLICK HERE

Class Packet Card Making Kit Available For Purchase

Creative Classes of Happiness @ inkheaven

You are able to purchase Card Making Kits for my Oh So Eclectic Card Making Class that this card was featured in! This kit will be available until the stamp set is retired by Stampin’ Up! To learn more about purchasing this class kit CLICK HERE.


Cue the Confetti and Celebrate Birthday Cards!

Cue the confetti and celebrate at inkheaven

Cue the Confetti With a Years Worth of Birthday Cards!

Cue the Confetti and create some birthday happiness this year with this easy to make birthday card! Since it is easy, it’s the perfect card for you to create in bulk. Plus, with a $100 order, you will receive the Celebrate You Thinlits Dies used on this card for free! That’s just one more reason to cue the confetti and celebrate! CLICK HERE to learn more about Sale-a-bration and see the other items you can choose for free with your purchase.

To create this card in bulk, simply cut all the elements you need for the desired number of cards. Once you have all the elements cut out, you will stamp the sentiment. Now you are ready for assembly! To download the tutorial for assembly instructions, CLICK HERE.

Supply List With Clickable Links

Here is a supply list with clickable links for your convenience:

The Completed Card

Cue the confetti and celebrate card at inkheaven

Thank you for stopping by and allowing me to help you create some happiness today with this cue the confetti card!

Darla Olson at inkheaven wishing you stamping happiness always

Watercolor Christmas Merriest Christmas Wishes Card Tutorial

Stampin' Up! Watercolor Christmas used to create merriest Christmas wishes card by Stampin' Up!

Watercolor Christmas Beyond The Kit

Several posts ago I promised to share the make & takes and tutorials from my Holiday Catalog Launch with you. This merriest Christmas wishes card is the last installment on that promise, finally!

I had no idea when I started the process of moving my blog at the beginning of the year, that we would be soon begin the process of moving our household across the country!  Trying to learn a new blogging platform while moving has been a challenge.  Thankfully, email and Facebook stayed the same and I relied heavily on those two platforms to keep in communication with you!

I chose this card design for one of my Holiday Catalog Launch Make & Takes for several reasons.  The first being that I really like the project kit and I had a hunch that with all the upheaval of moving, the project kit would come in handy! Secondly, I really like the stamp set. The stamp set has 3 fabulous focal point sentiments, 3 fun little accent images, and a nice sentiment for the inside of the card making it perfect for quick and easy cards! Inkheaven tutorials include a color photo, color combo, supplies list, measurements, and instructions! Download your tutorial below:

Click here to download FREE Inkheaven Tutorial

Year End Clearance

Watercolor Christmas is in the Year End Clearance  and will only be available while supplies last or until January 2nd, 2018, whichever comes first! Purchase Watercolor Christmas and other supplies needed to create this card at my online store:

Happy Shopping @inkheaven
Thank you for shopping with me @inkheaven


Thank you so much for stopping by and visiting with me. I hope you will come back soon!

Darla Olson at inkheaven wishing you stamping happiness always

Carried Away With A Lift Me Up Card Bonanza!

How would you like to get carried away with a lift me up card bonanza? Get a free supply packet with your $150 order by February 20, 2017 from Darla Olson at inkheaven.

How would you like to get carried away with a Lift Me Up Card Bonanza?

Have you seen this great video tutorial shared by Stampin’ Up! showing how to create these 12 awesome cards?

Wasn’t that just totally fabulous? I know what I am going to be doing for my next batch of birthday, thinking of you, and just because cards!

To make it easy for you, I have posted all the items that you will need to have to create these fabulous cards at the bottom of this post. (Please note that the bundle isn’t necessary, but you save 10% with the bundle and get the fabulous Up and Away Thinlits, so why wouldn’t you?) Clicking any of the images will take you to my 24/7 online store where you can place your order. Did you know that the Carried Away Designer Series Paper and the Card Tin are both Sale-a-bration items that you can get for FREE with a $100 order! You will want that card tin to put all of your fabulously handcrafted cards in! The tins also work well for embossing folder and die storage as well!

However, if you place a $150 order with me by March 31st, you will receive $15 in Stampin’ Rewards and 3 Sale-A-Bration items of your choice from Stampin’ Up! AND

To sweeten the pot, if you place your order of $150 by February 28th with me, here is what you will get from me!

  • You will receive all the pre-cut supplies you need to make all 12 cards, plus the envelopes! How sweet is that? When you place your online order make sure that you DO NOT select *no contact* or I will not know where to send your FREE packet of supplies to create these 12 fabulous cards!
  • Your FREE Packet will be postmarked no later than March 15th, depending on when you placed your order. For those of you attending my Open House in Cedar Falls or Charles City, Iowa; you will receive your packet at my Open House!

In addition, if you order the Lift Me Up bundle through me, you will also be given an added BONUS for my upcoming Lift Me Up Online Class complete with Videos and tutorial sheets! My online class will consist of 4 Lift Me Up cards that I created as a Display Stamper for OnStage 2016 Kansas City. This online class will be offered for the one time BONUS PRICE OF $15 (valued at $25) to those who purchase the bundle through me and will be available in March! Remember, only those who order the bundle through me will be receiving the BONUS price on their class! You will receive a special link via email to order at the BONUS price! So, don’t delay! Click on any of the images below to be taken to my 24/7 online store to take advantage of these special offers! The clock is ticking! You can be a happy shopper with me anytime at www.darlaolson.stampinup.net.

If you are not familiar with my tutorial sheets, you can see one and download it from HERE.

Thank you so much for stopping by to create and learn with me. See you next time as we create, have fun, and repeat!

Copy That Card In The Catalog, Please!

Copy Stampin' Up! catalog samples for fun and easy card making! Tutorial shared by Darla Olson at inkheaven

Have you really looked at your Occasions Catalog and noticed how many great card samples there are to copy?

Balloon Adventures has a wonderful display of cards to copy!

I have copied this card. A bunch! I have all my February birthday cards made and except for the hand-written message, they are ready to send out!

My photography skills are not quite up to par with the creatives at Stampin’ Up! But I will share my card rendition all the same! Here it is! Aren’t you impressed? Since I have done all the leg work of figuring out supplies and dimensions, I have put together a tutorial with all of that information for you! Use the supply list on the tutorial to help you place your order.
You can click here to download!

Quick & Easy Balloon Adventures card copied from the Stampin' Up! Occasions catalog by Darla Olson at inkheaven

If you need a little more than a tutorial, I did stamp this card on FB Live (I had some difficulties in the beginning with my FB App. It “quit working unexpectedly” and closing on me so forgive the beginning, it has a rough start as I went live on my tablet to let everyone know I was having tech difficulties!)

Don’t forget that you can always use the layout and switch things up a bit! Different color combinations give different looks to the same layout! Check out this great switch shared by Shannon West of Stampin’ Up! It is the same card but the switch gives it an amazing look!

A color scheme switch shared by Shannon West of Stampin' Up! using the Balloon Adventures set shared by Darla Olson at inkheaven

How fabulous is that? I plan on taking some fun adventures in stamping with this amazing bundle! I hope you will take the adventure with me! The Balloon Adventures bundle is perfectly priced for Sale-A-Bration! To get started on this fun stamping adventure, you can click the Balloon Adventures image below to be taken to my 24/7 online store where you can purchase the Balloon Adventures bundle and choose a free Sale-A-Bration item! I will be here to take the adventure with you! Thank you for stopping by to create and learn with me!

Dimensions Chart for the Layering and Stitched Shape Stampin’ Up! Framelits

A free download on dimensions for the Stampin' Up! Layering & Stitched Shapes Framelits by Darla Olson at inkheaven


A free download with dimensions for the Stampin’ Up! Layering & Stitched Shapes Framelits.

Hello Stampin’ Friends!

Do you ever find yourself wishing that you knew the dimensions for the Stampin’ Up! Layering and Stitched Shapes Framelits? Wish no more! I have the lowdown on those dimensions in this handy chart that you can download and save (just CLICK HERE to download).

You can keep this handy little reference next to your stamping area and with a quick glance, know exactly what size circles, squares, or ovals that your dies will cut!

I will also be referencing these handy sizes in my Inkheaven Tutorials when I use these framelits on a card or project!

Don’t miss a thing! Sign up for my newsletter to get weekly emails and exclusive monthly freebies!

Enjoy the free download!  Thank you so much for stopping by to create and learn with me.

Darla Olson at inkheaven wishing you stamping happiness always

Sending Love With The Remarkable Blog Hop Sale-A-Bration

Sending out some love from Inkheaven with the Remarkable Blog Hop Sale-A-Bration!

Hello Stampin’ Friends! When Janet invited me to join her blog hop; I have to admit, I felt a wee bit intimidated! It didn’t help that it is my first blog hop of this kind, either! I have given a lot of thought as to what I would be sharing on the hop. Obviously, I wanted my project to be pretty, but that is not what I was considering…
Janet just recently reached her 1 million dollars in sales achievement with Stampin’ Up! (Congratulations, Janet!). I have watched Janet for many years (she was a Rising Star in my early years). I have always loved her Remarkable logo and loved watching her wave her banner across the stage and send a little love back to the people who got her there. It was inspiring.
With the advent of blogging, Facebook, and You Tube arriving on the Stampin’ Up! scene, I’ve gotten to watch her a little more and have come to love her spirit of sharing anything Stampin’ Up! Her spirit of sharing is truly remARKable! So, I came to the conclusion that my post must have something a little more to share to make it special!
I decided that a card sending out a little love would be appropriate, so here it is:
Handmade card created with Sealed With Love Bundle, Stampin' Up! and downloadable tutorial shared by Darla Olson at Inkheaven
Sending Love With The RemARKable Blog Hop Sale-A-Bration

And, in the remarkable spirit of sharing, I have a tutorial for you to download so you can easily create this card and send out a little love yourself.

Just click on the image to download the tutorial.

Sending Love RemARKable Hop Card Tutorial Click Here To Download
CLICK HERE TO DOWNLOAD TUTORIAL

Thank you so much for stopping by to create and learn with me!

Below are links to the previous, and the next, hoppers who are sending out a little Stampin’ Up! love and sharing some remARKable projects.

Previous Hopper:
Laura Pizzirusso

Next Hopper:
Leonie Shroder