How to Create Background Paper Using Stamps & Ink
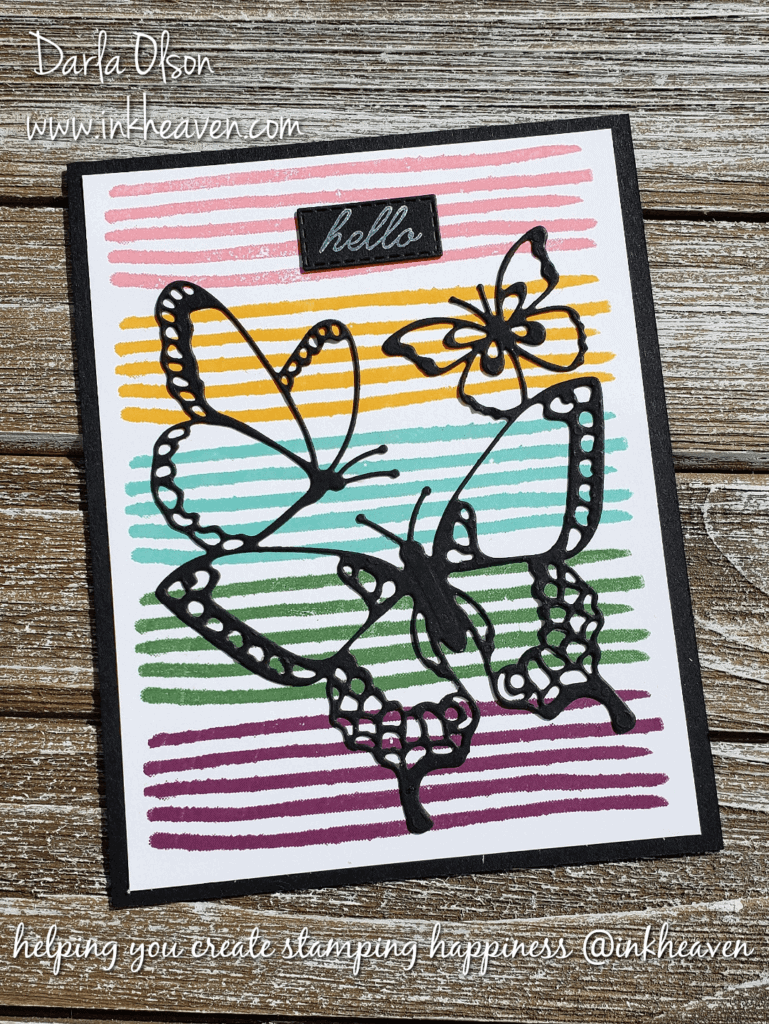
Creating your own background paper is one of the best ways to have your background coordinate with the focal point of your handmade card. Because you have control over both the stamps and inks used, your background it will coordinate perfectly with the rest of your card. Plus, Stampin’ Up! offers great stamp sets for creating backgrounds. In addition, many stamp sets include stamps designed for creating your own background paper..
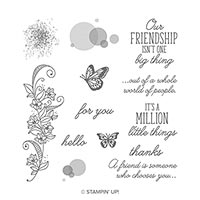
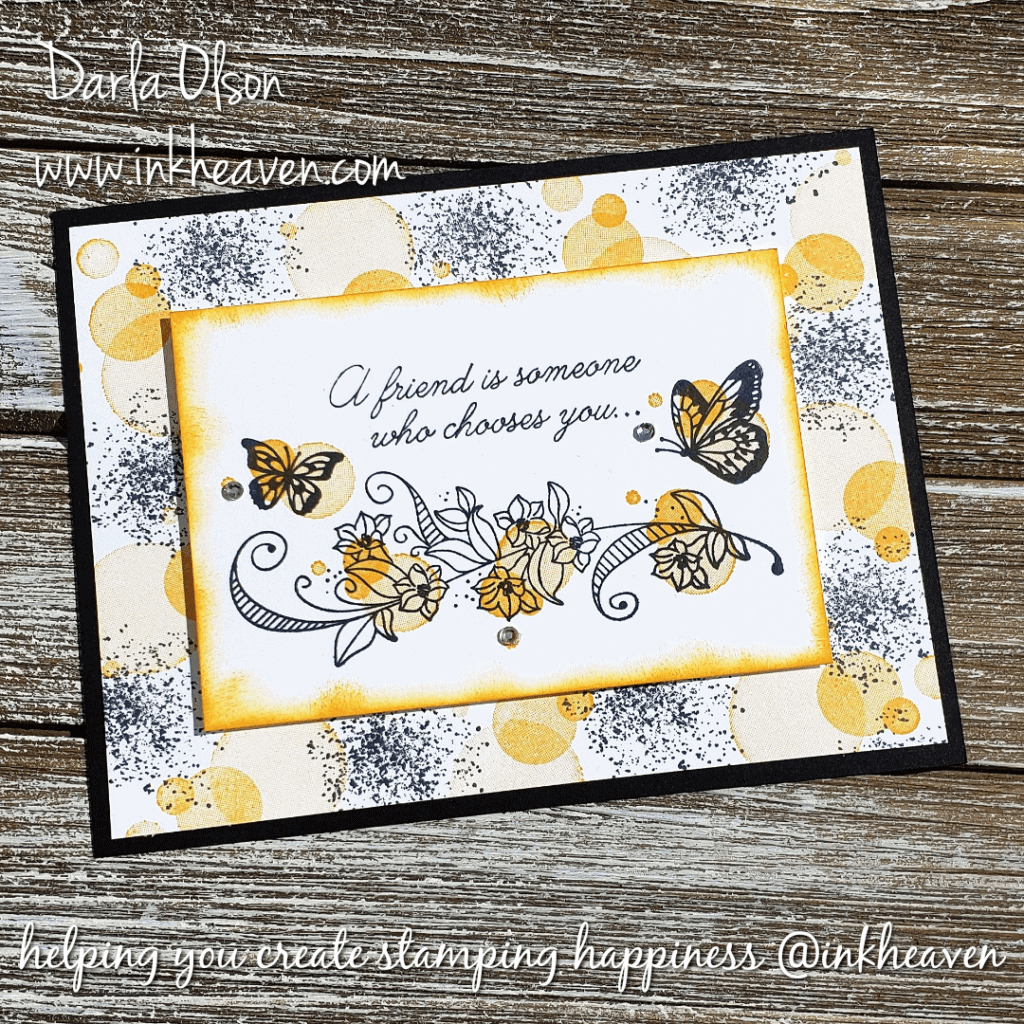
For example, this card has a background created with stamps and ink. Since the Beauty Abounds stamp set includes stamps designed for backgrounds, all the images work well together. Consequently, it is perfect for simple stamping and creating backgrounds!
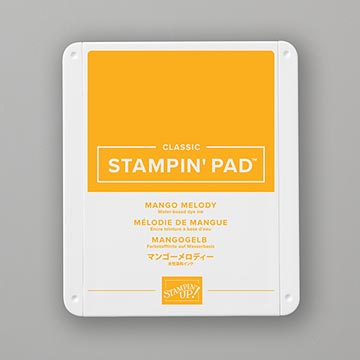
In this instance, I paired Basic Black ink with Mango Melody ink reminiscent of common butterfly colors. For additional coordination, these same colors are used on the front layer. Then a border of Mango Melody ink is sponged around the front layer in order to help it stand out from the stamped background .
For this card, the background is stamped with two different stamps which are inked in different colors and then alternately stamped in a pattern. However, there are many options in addition to this for creating a background.
Here are some ideas to demonstrate different ways to create background paper with stamps and ink:
- One ink color, one image, randomly repeated. See background example – CLICK HERE
- One ink color, one image, stamped in a repeated pattern. See background example – CLICK HERE
- One ink color, one image, stamped to create a corner. See background example – CLICK HERE
- Two ink colors, two images, stamped in a repeated pattern, and overlaid. See background example – CLICK HERE
As can be seen, these ideas for creating backgrounds are just the tip of the iceberg! To get you started here is a shopping list and a tutorial for this card!
Get the supplies you need to create this card:
CLICK HERE to get the free tutorial
