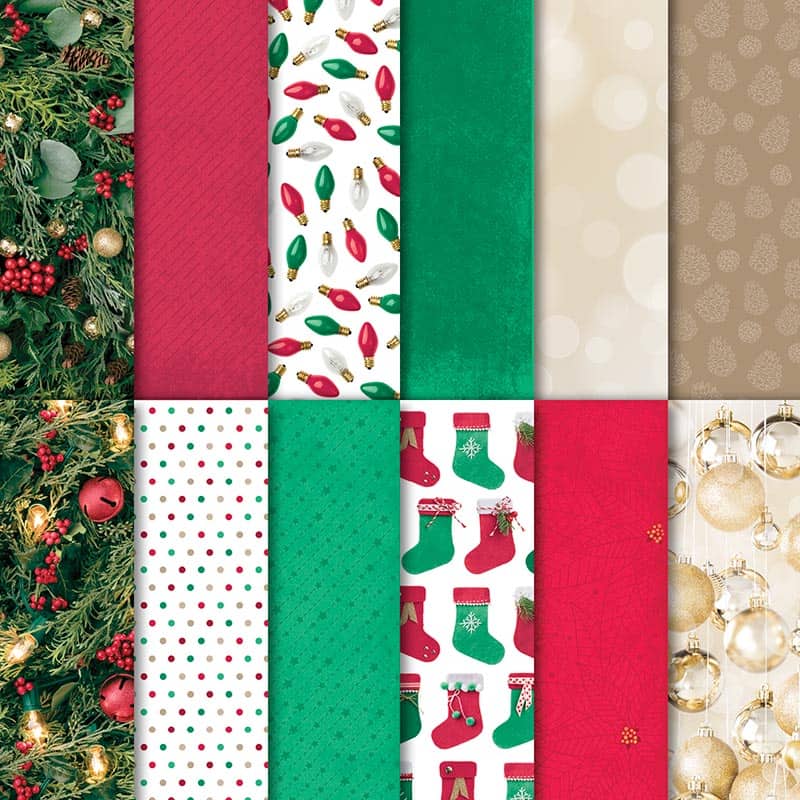
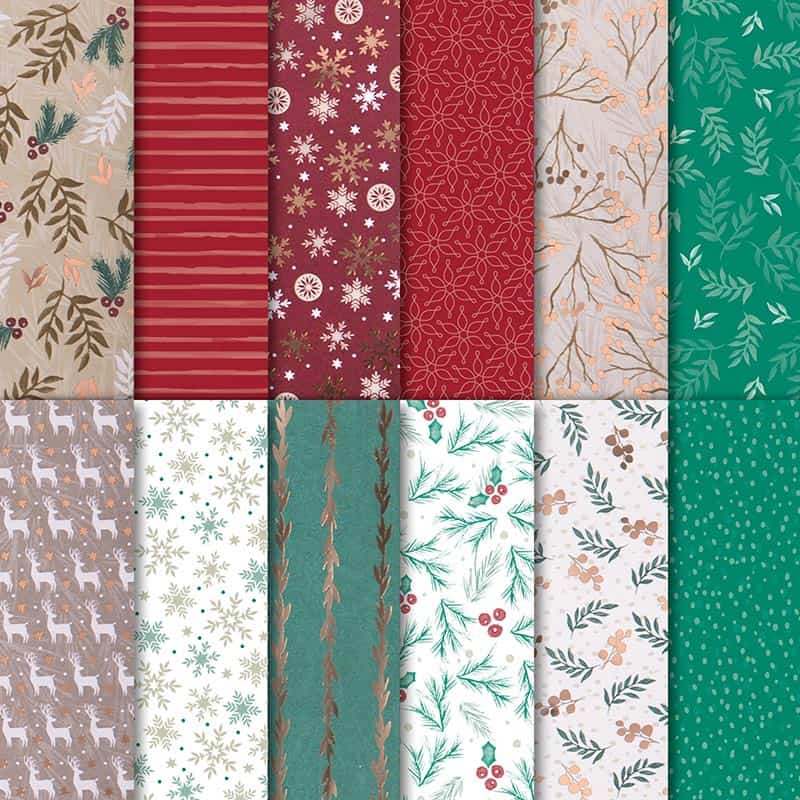
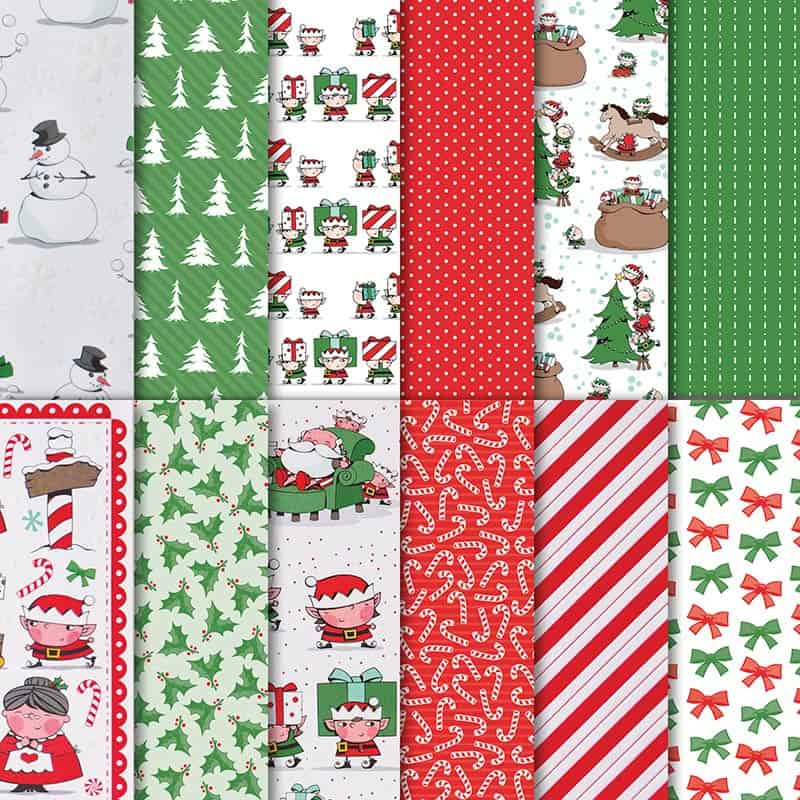
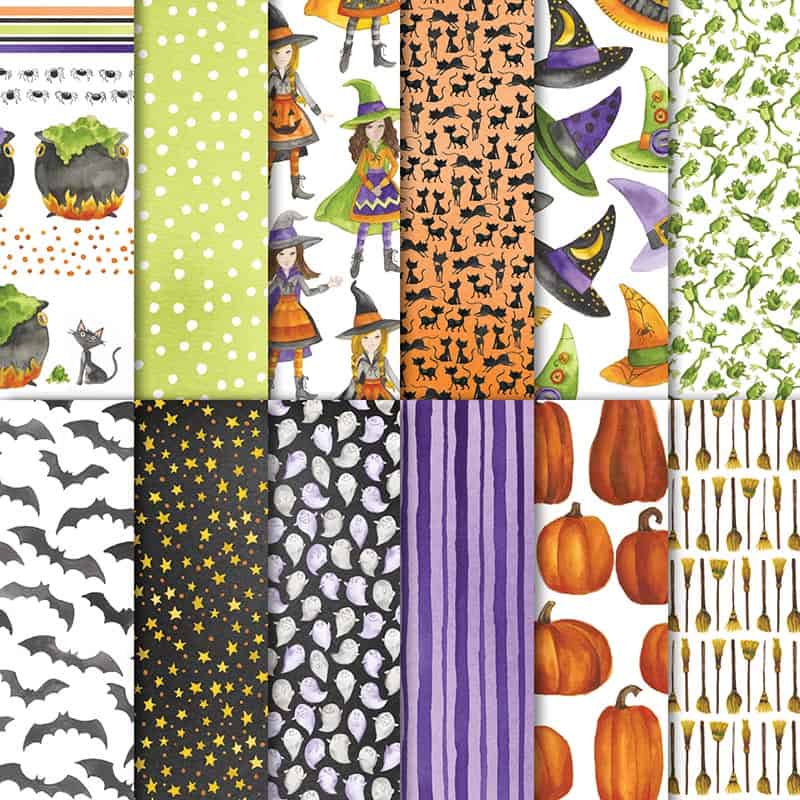
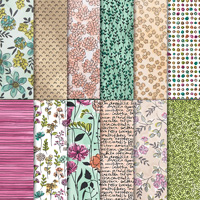
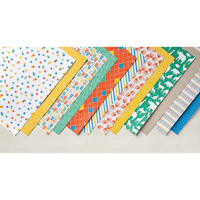
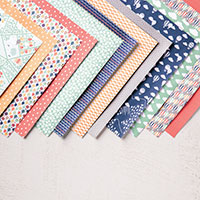
This Friday Feature is Designer Series Paper AKA Scrapbooking Paper
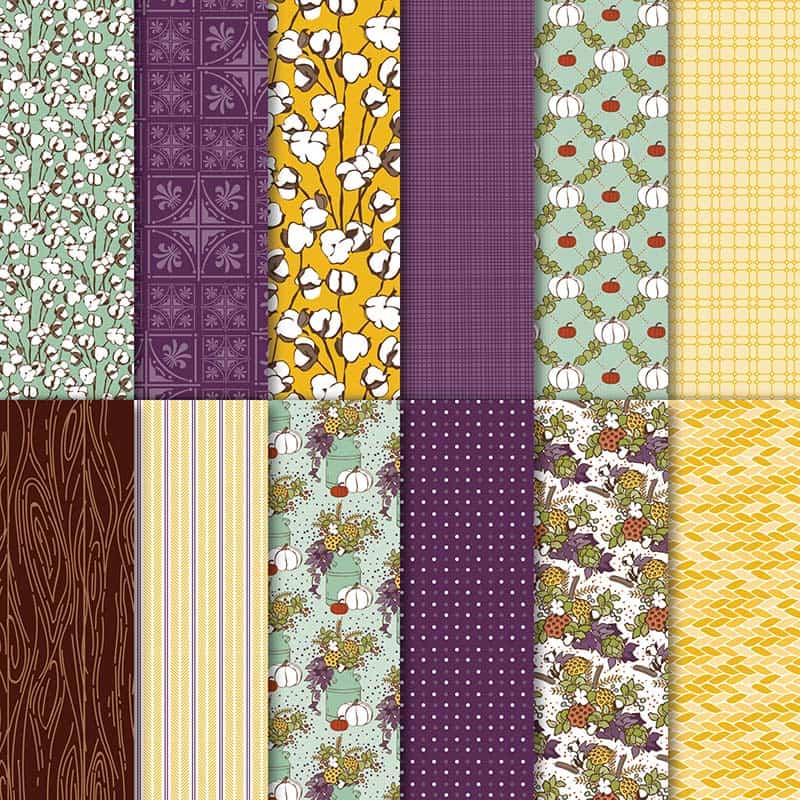
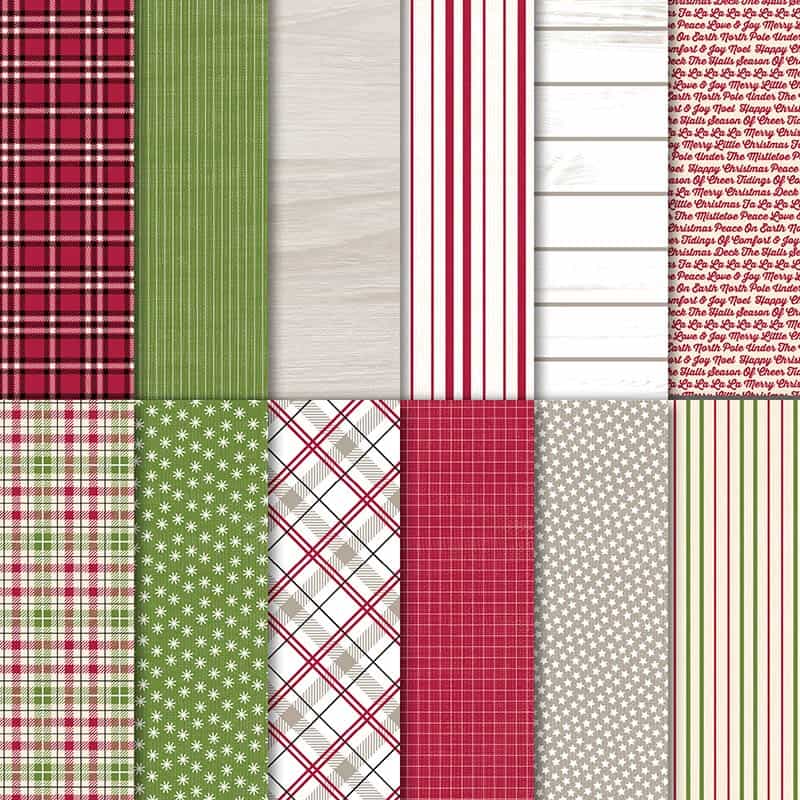
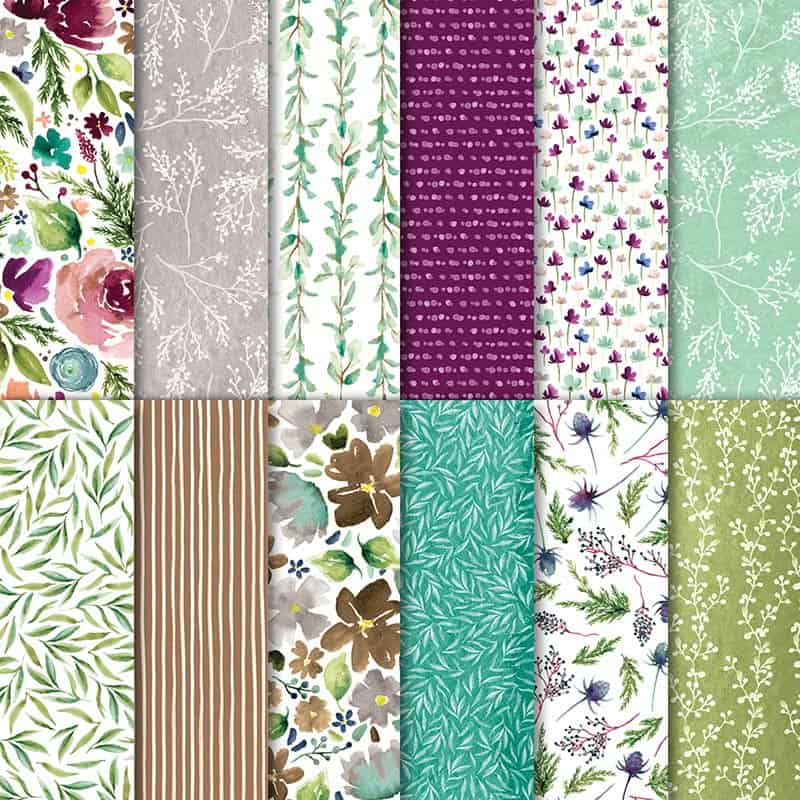
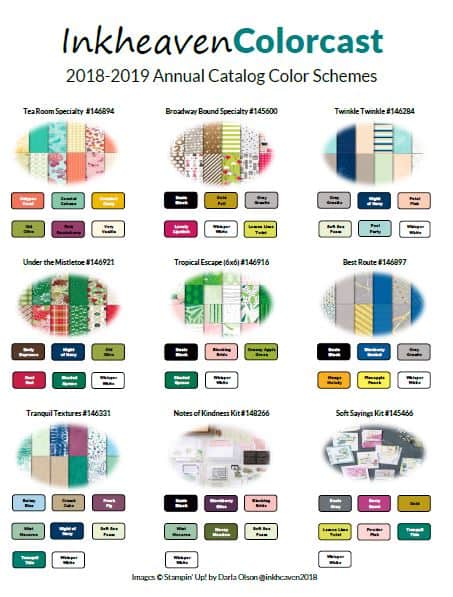
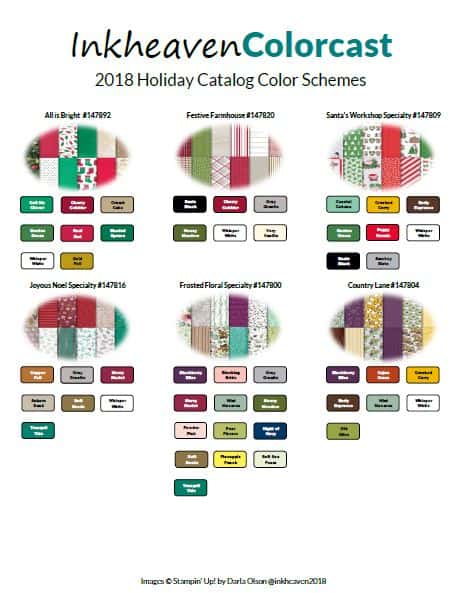
Stampin’ Up!’s designer series paper in the 2018 Holiday Catalog ranges from fun to gorgeous! In addition, many of the papers are filled with fabulous colors. These colors are on trend for Fall 2018. (View the Pantone Color Trend Report – CLICK HERE). Plus, some of them feature good old fashioned, traditional colors. As a result, it’s the perfect scrapbooking paper for your Fall and Winter paper crafting projects!
Designer Series Paper Coordination
Some of the coordination features of the paper are:
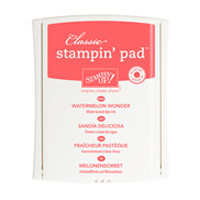
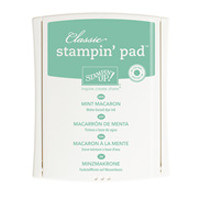
Packaging and catalog descriptions list all of the colors used in the scrapbooking paper, which makes color coordination a breeze.
Moreover, each paper pack has a coordinating package of card stock.
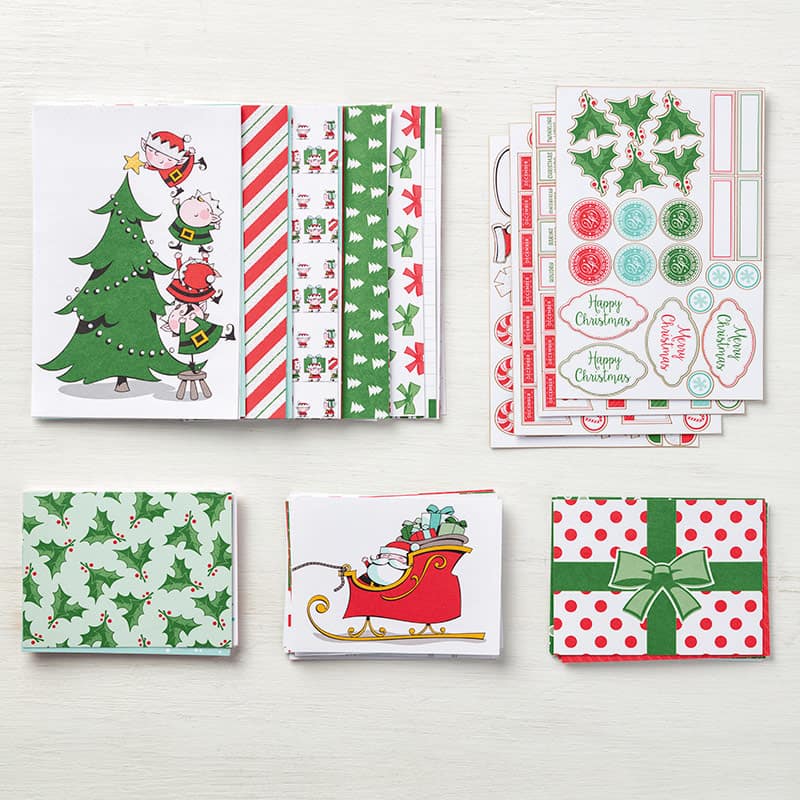
Additionally, some of the designer series papers have a coordinating Memories & More card pack. In the case of the holiday catalog, it is the Santa’s Workshop paper. So, if you like Project Life, you will love Memories & More!
Watch This Video To View Each Package Of Designer Series Paper.
Check out this video to get a good look at each sheet of paper. It will also help you to see the special features of each of the specialty papers!
Thank you for stopping by to visit. I hope you enjoyed learning about Stampin’ Up!s Designer Series Paper. If you have any questions, or need any help, please ask! I love helping you create stamping happiness for yourself and loved ones!
Be sure to subscribe to my newsletter before you go! My 2018 Holiday Catalog Tour has already begun – you won’t want to miss it!
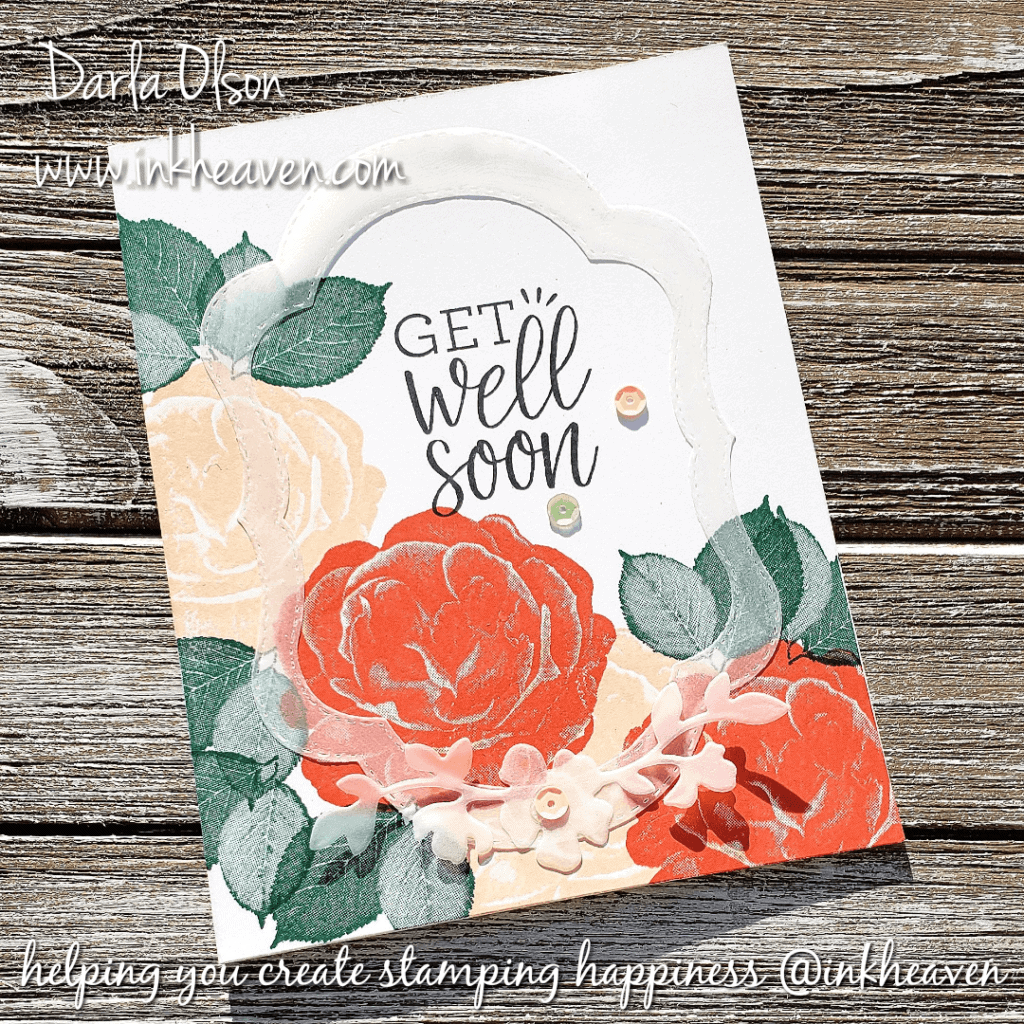
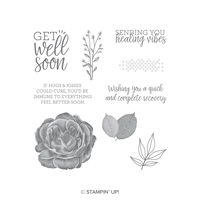
Vellum frames are an easy way to overlay a pretty accent to an otherwise one layer card! The translucent nature of vellum allows images to show through the overlay. Especially when they are paired with bold and vibrant floral images like the ones shown here from the Healing Hugs stamp set. Since it is a translucent paper, it can be tricky to adhere to your card without the adhesive showing. I have found that All Purpose Liquid Glue applied to the entire piece of the vellum overlay is the best solution. (Watch video below)
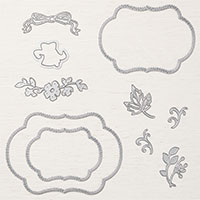
The Stitched Season Framelits are perfect for creating pretty frame overlays with vellum. Because the dies include stitching on both the positive and negative images, there is decorative stitching around all the edges of the frame! However, the Stitched Season Framelits are only available for a limited time starting today. To learn more about the Stitched Season Framelits promotion – CLICK HERE.
At the present time, we also have a Bonus Days promotion that allows you to earn rewards on your order! For more details – CLICK HERE.
Facebook Live Video
Here is an un-edited Facebook Live video that will show you how to create this card with the overlay. For the Color Coach charts referenced in the video – CLICK HERE. Please follow my Facebook Page for more live video demonstrations! CLICK HERE.
Here is a clickable list of the supplies I used to create this vellum overlay card:
Thank you for stopping by to visit. If you have any questions,or need any help, please feel free to ask! I love helping you create stamping happiness for yourself and loved ones!
If you enjoyed this post, please be sure to check out these other posts on using vellum:
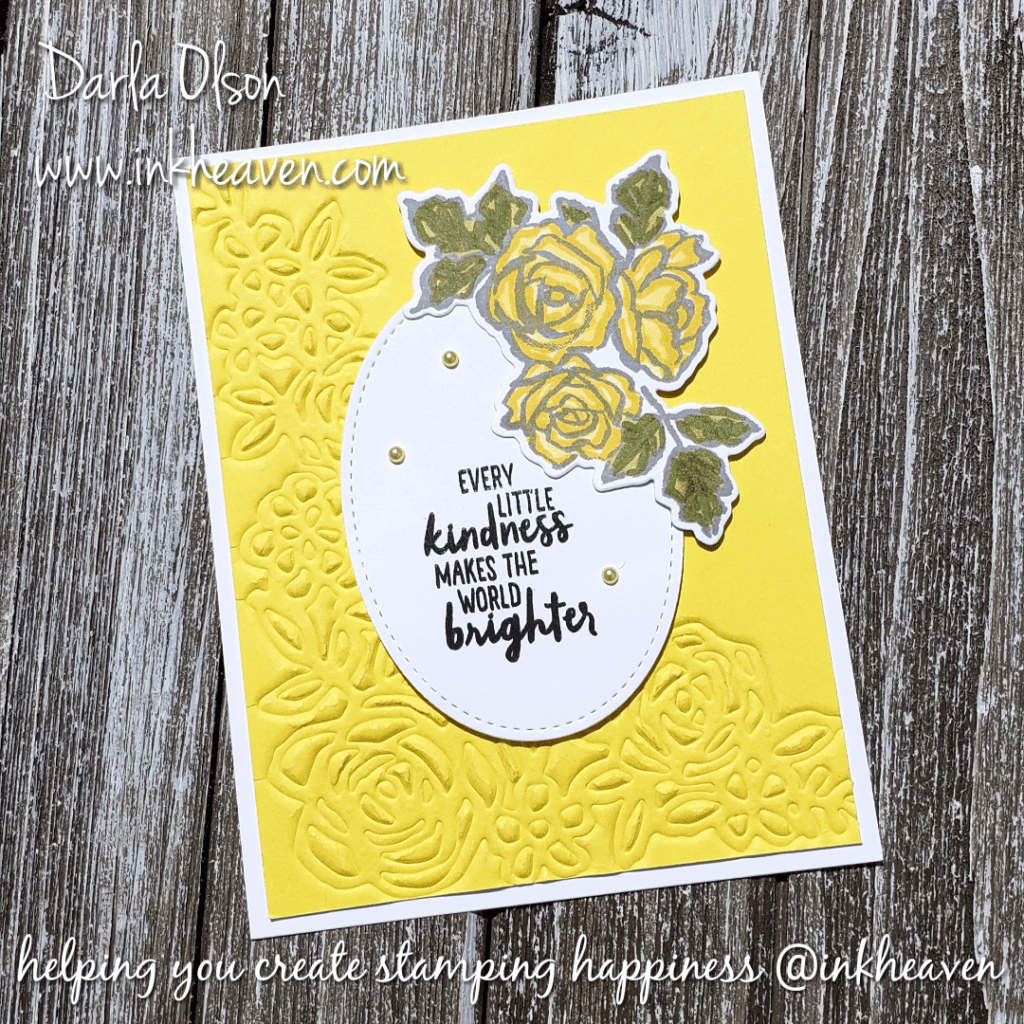
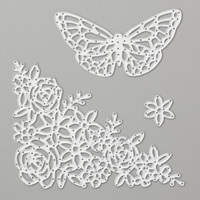
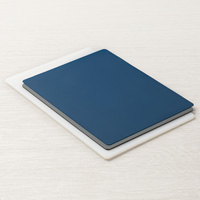
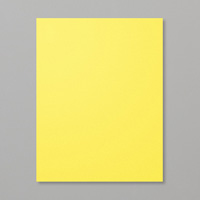
The Springtime Impressions Thinlits create a gorgeous embossed background when they are embossing using the Big Shot Embossing Mats. In addition, this Springtime Impressions Thinlit pairs really well with the roses from Petal Palette. Since roses are beautiful in any color, I chose to use Stampin’ Up!’s new In Color, Pineapple Punch. To learn more about the new In Colors, CLICK HERE.
Coloring the Roses
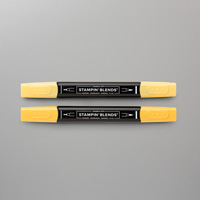
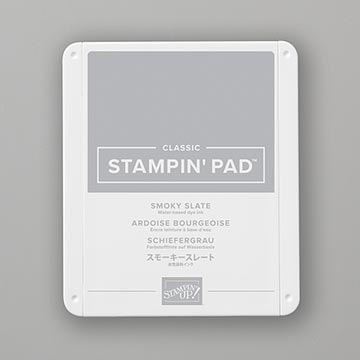
I wanted my roses to have a soft look, so I stamped them using Smokey Slate Classic Ink. After stamping them, I colored them with the Daffodil Delight and Old Olive Stampin’ Blends. To learn more about the Stampin’ Blends and how to use them – CLICK HERE.
Watch This Video To Learn How To Use The Big Shot Embossing Mats
Additional Tip: You can soften your card stock fibers before embossing by spritzing with water before embossing. Spritz lightly using a Stampin’ Spritzer:
Thank you for stopping by to visit. If you have any questions, or need any help, please feel free to ask! I love helping you create stamping happiness for yourself and loved ones!
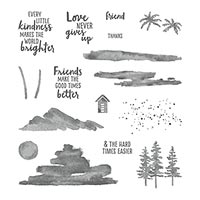
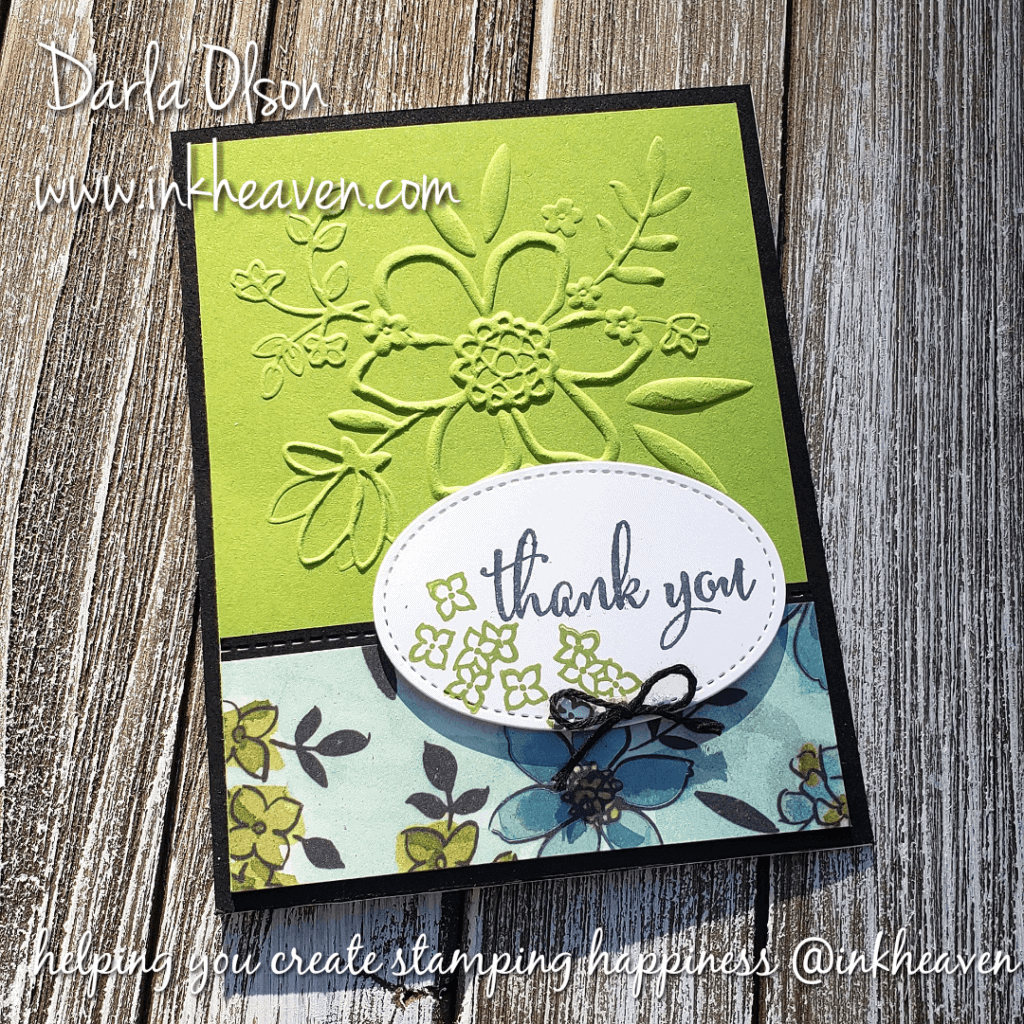
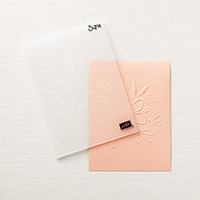
Creating this Lovely Floral Thank You Card is a snap with the Lovely Floral Dynamic Embossing Folder by Stampin’ Up! A clickable supply list and free tutorial are available at the end of this post.
Dynamic Embossing Folders take embossing to the next level, with deeper, more detailed impressions than standard embossing folders. Watch the video below to learn more about the Dynamic Embossing Folders by Stampin’ Up!
Watch this Video For Tips and Tricks For Using Dynamic Embossing Folder
Special Features of this Lovely Floral Thank You Card
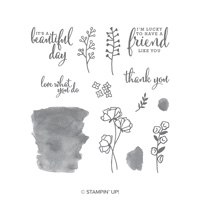
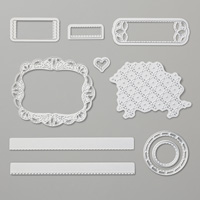
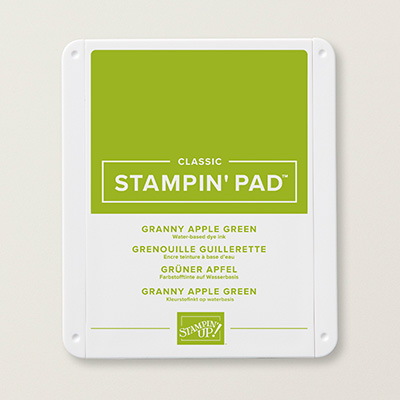
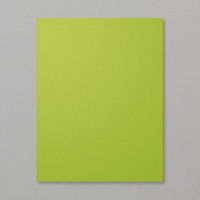
The card shown above was a free Make & Take for my new catalog launch (to learn more about the 2018-2019 Stampin’ Up! annual catalog and learn how to receive your free copy – CLICK HERE. I wanted each guest to have a sample of the lovely Share What You Love Designer Series Paper so they could see and touch the lovely pearl sheen, so I used it to anchor the bottom of the card. In addition, I showcased a few other new products; Granny Apple Green card stock and ink and the Stitched Labels Framelits. The straight running stitch die from the Stitched Labels Framelits is a great addition to pair with the Stitched Shapes Framelits oval! However, you can create much simpler cards with the Lovely Floral Dynamic Embossing Folder as well (see example below).
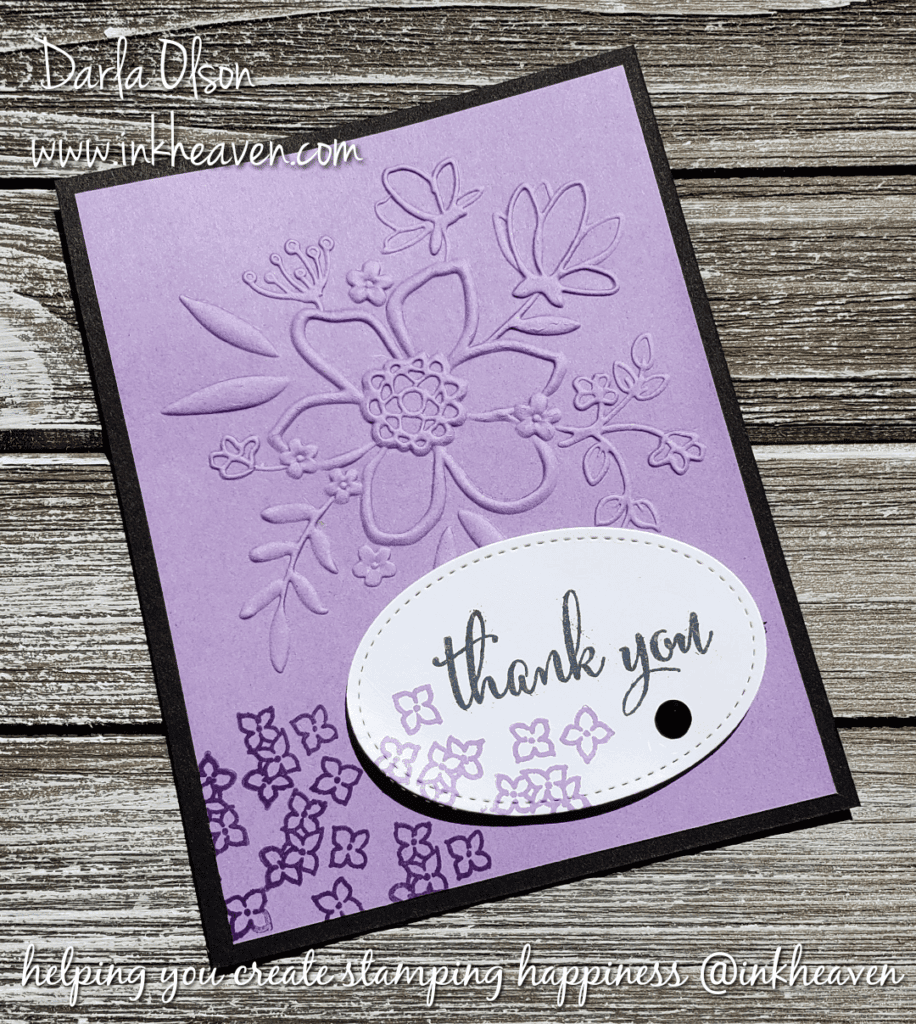
Simpler, Alternate Thank You Card
Create The Lovely Floral Thank You Card Clickable Supply List and Tutorial
I am so happy that you stopped by to visit! If you have any questions or need any help creating this card, please don’t hesitate to ask! Feel free to leave a comment, I would love to hear from you. Thank you for allowing me to help you create stamping happiness for you and your loved ones.
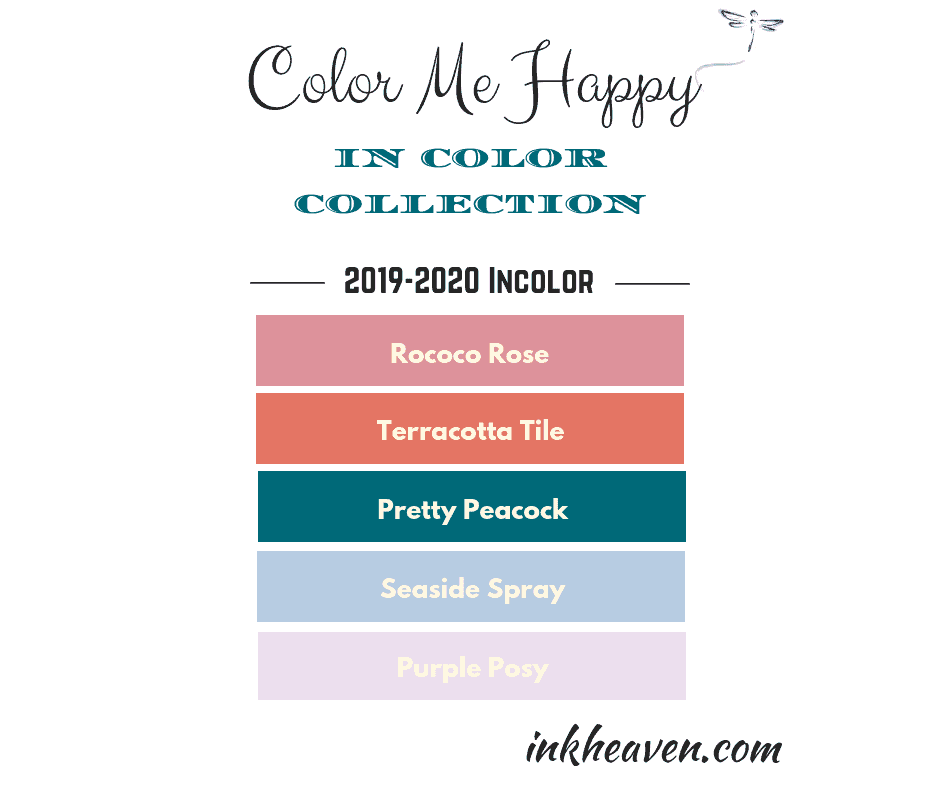
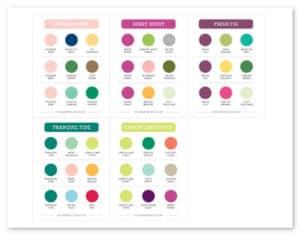
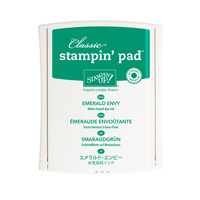
Each year Stampin’ Up! introduces five new colors to our Collection to keep our line up-to-date with current trends. Here is a little sneak peek of the 2019-2021 Collection!
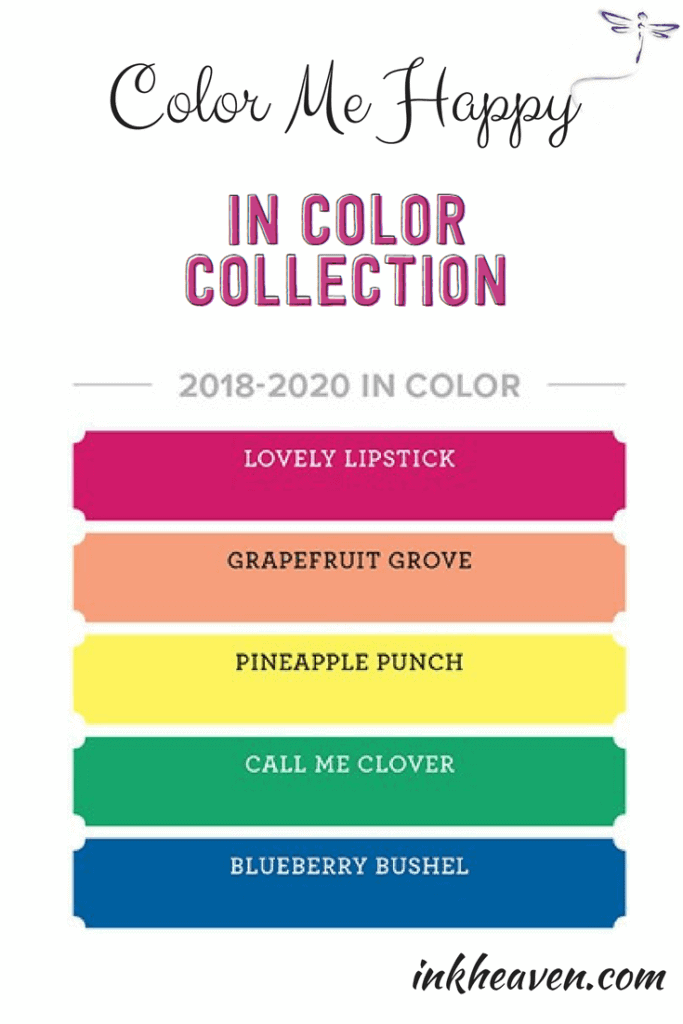
The 2018-2020 Stampin’ Up! In Color Collection
The 2018-2020 collection is a bright and cheerful collection and will be available for two years. In addition, the new collection is available in ink pads, markers, card stock, and designer series paper. Plus, you can purchase the ink pads in a bundle at a 10% discount! To purchase the discounted bundle – CLICK HERE!
To see an easy, monochromatic card in Blueberry Bushel CLICK HERE
Color Combo Downloads For The Revamp and 2018-2020 Collection
Click here to download this Stampin’ Up! color combo chart for the 2018 – 2020 collection!
Click here to download this Stampin’ Up! color combo for the new colors in the revamp!
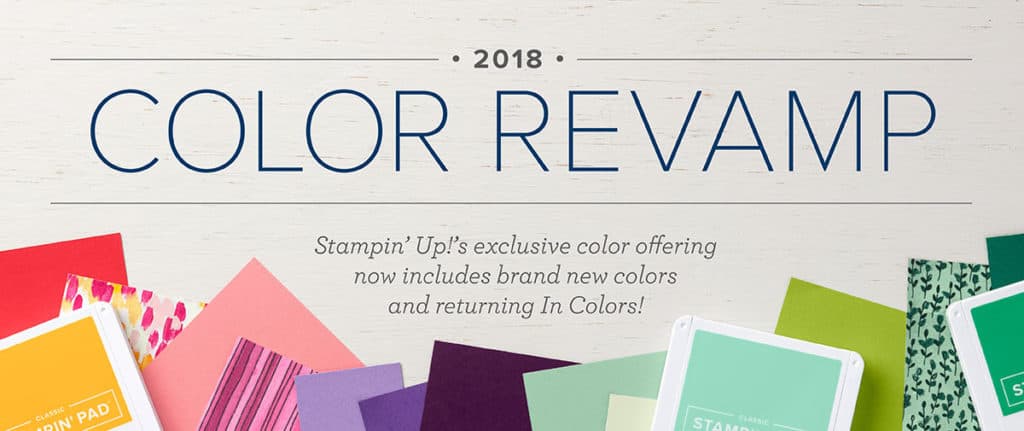
Stampin’ Up! Color Revamp
Stampin’ Up! does a color update every three to five years. This year they changed many of the core colors so it is a major revamp! As a result of the revamp we:
27 of the existing core collection were kept
13 of the core collection were discontinued
10 new were added to the core collection
6 returning In Colors were also added to the core collection
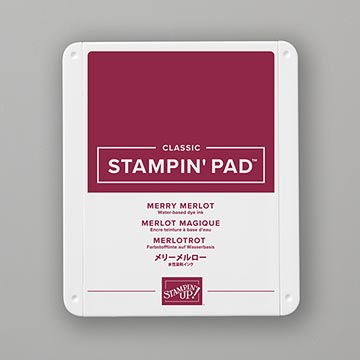
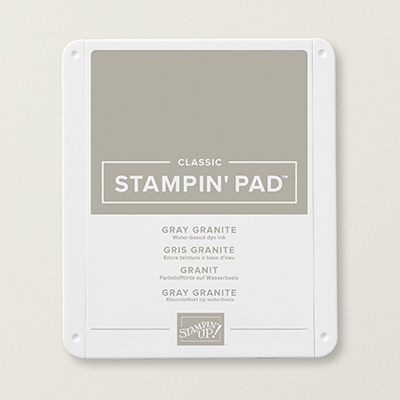
Here are the ten new core with direct links to my online store for your convenience:
Watch This Video To Learn More About The New Design
As part of the color revamp, Stampin’ Up! redesigned the ink pads! Learn more about the new ink pad design by watching the following video:
Thank you for stopping by to visit (And making it to the end of this long, but informative, post)! If you have any questions, please don’t hesitate to ask. Feel free to leave your questions and comments below. Thank you for allowing me to help you create stamping happiness for you and your loved ones.
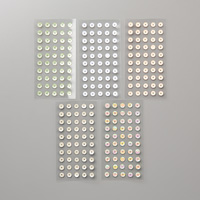
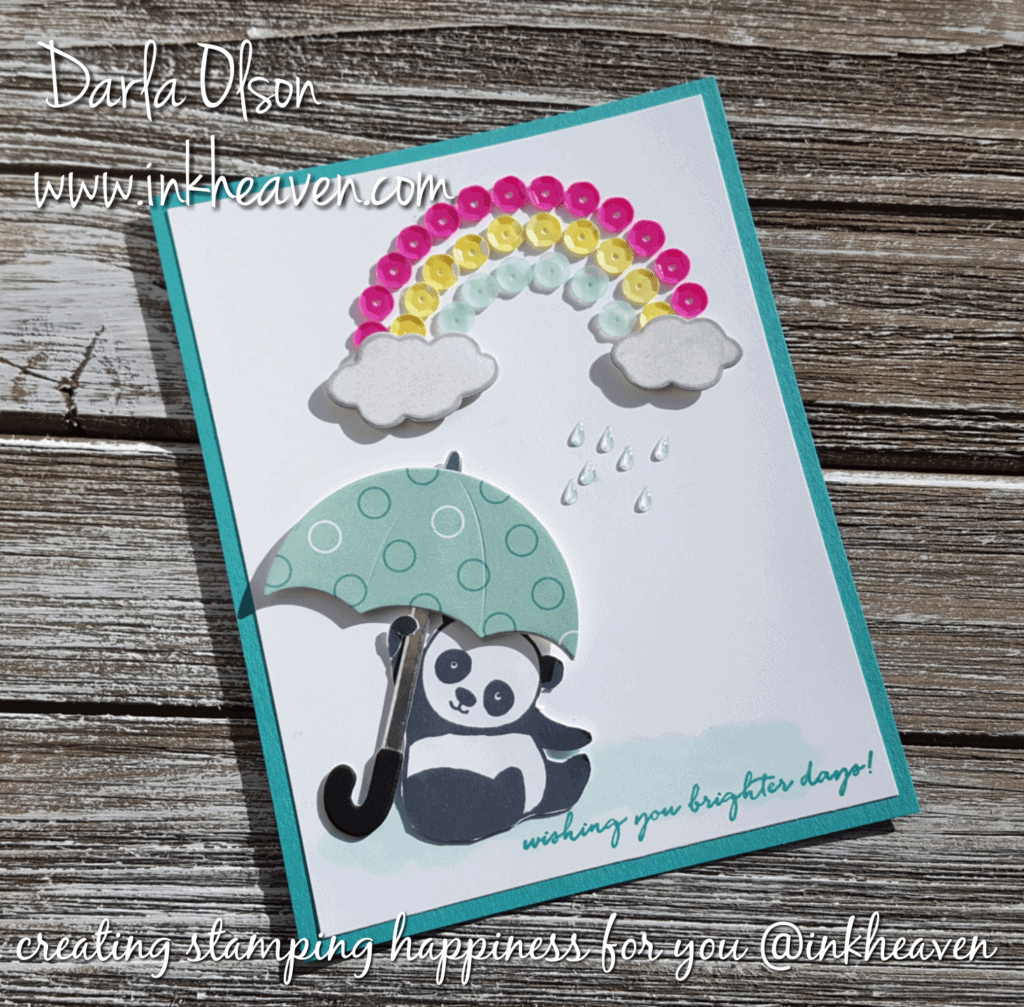
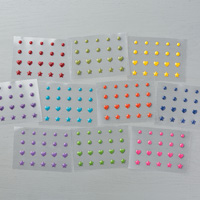
Create a Colorful Rainbow with Tutti-frutti Sequins
Sequins are a hot embellishment trend for 2018. I wrote about that (click here) when I was preparing this card and tutorial for my Facebook Live earlier in the year. I am finally getting around to posting the card, tutorial, and my Facebook Live (in the raw) video for you!
The Tutti-frutti Sequins are adhesive-backed which makes creating the rainbow a snap. You can download the tutorial (click here). Watch my Facebook Live (in the raw) video below the clickable supply list.
Clickable Supply List for the Brighter Days Panda Card
If you missed out on Sale-a-bration and earning the Party Pandas set for free – I have two stamp sets available for sale in my shop (click here)
Here is a clickable supply list for your convenience:
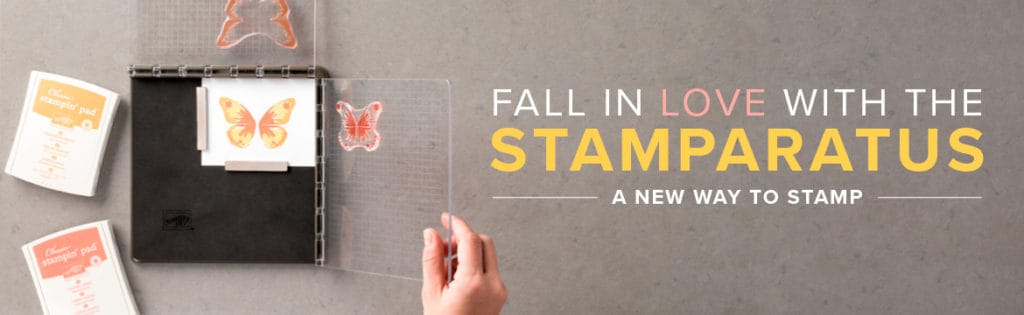
It’s big news when something breaks the mold and changes everything. The Stamparatus will change the way you stamp, watch the 5 Things to Know About the Stamparatus video below to see how.
The response to the first reservation window was amazing! Can you believe that the first window reached its maximum number of reservations in just 15 minutes? Wow! As a matter of fact, the response was so amazing thatStampin’ Up! decided to make some important adjustments to the reservation process:
As was previously announced, the second reservation window will remain open from December 5–30; however, during this reservation period we will take as many orders as we receive* (yay!) and not close the window until December 30. So whether the total number of reservations is 100 or 100,000, the window will stay open!
Why do YOU need one? You’ll fall in love with stamping all over again when you learn everything you can do with it (see it in action in the 5 Things to Know About the Stamparatus Video below)!
Make multiples with ease
Consistently stamp crisp, clean images
If you want a darker impression, apply more ink and restamp—no need to start over
Make fewer mistakes, saving time and money
Easily create 2-step, 3-step, and 4-step stamped images using reversible plates
Develop new and specialized stamping techniques with adjustable stamping plates and precision placement
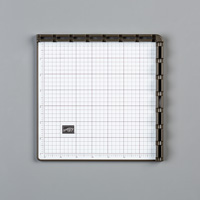
I need Stamparatus details! (See them in Stamparatus Video)
Compatible with Stampin’ Up!’s red rubber and photopolymer stamp
Foam mat to use with photopolymer stamps
Rulers and gridlines for quick measuring
2 open sides so you can stamp on larger paper
2 reversible plates: a total of 4 surfaces to work with
2 magnets to hold the paper in place
Magnet storage areas
Retail Price–$49.00 USD/$65.00 CAD
5 Things to Know About the Stamparatus Video!
OKAY. I’VE GOTTA HAVE ONE. HOW DO I GET IN LINE?
Even with the updated reservation process, there is a line! Reserving your Stamparatus is a FIFO! (First order in, first order out!) The first reservation window was while supplies last. For the second reservation window, we are not limiting the maximum number of reservations we will accept. The reservation window will stay open from December 5-30. Here is some additional information regarding the 2nd (and last) reservation window:
For the second reservation window, the limit is 1 tool per demonstrator and 1 tool per customer.
If you participated in the first reservation window, you may also participate in the second reservation window.
In order to reserve your Stamparatus, you are required to provide your credit card information.
Credit cards will not be charged until the Stamparatus ships from our facility. When you close your order, be sure to verify that your credit card and shipping information is correct.
Product dimensions are 8″ x 8″ x 7/8″.
Shipping begins March 19, 2018. Depending on the number of reservations we receive, we may stagger available-to-ship dates. You will receive additional communication once you place your reservation.
If you don’t get your Stamparatus reserved now – you will have to wait until June 2018 when the new Annual Catalog goes live.
You will be given an opportunity to add to your Stamparatus order in March before it ships – so you will be able to earn FREE Sale-a-bration items!
How to Reserve Your Stamparatus
In four easy steps: Click here for a printable tutorial that you can refer to during the reservation process (If you do not have a customer account, you will need to create one first!) Click the Shop Here Now button below – there will be a section that features the Stamparatas (scroll down the page – it will be under the Year End Sales Event banner on the right hand side). Go ahead and click to reserve!
Thank you for shopping with me @inkheaven.
Thank you so much for stopping by and visiting with me. Come back soon!
It’s big news when something breaks the mold and changes everything. The Stamparatus will change the way you stamp, and before long, you’ll wonder how you crafted without it! Reservations start Thursday, November 16th at 2 pm MT (3 pm CST)!
Why do YOU need one? You’ll fall in love with stamping all over again when you learn everything you can do with it!
Make multiples with ease
Consistently stamp crisp, clean images
If you want a darker impression, apply more ink and restamp—no need to start over
Make fewer mistakes, saving time and money
Easily create 2-step, 3-step, and 4-step stamped images using reversible plates
Develop new and specialized stamping techniques with adjustable stamping plates and precision placement
I need Stamparatus details!
Compatible with Stampin’ Up!’s red rubber and photopolymer stamp
Foam mat to use with photopolymer stamps
Rulers and gridlines for quick measuring
2 open sides so you can stamp on larger paper
2 reversible plates: a total of 4 surfaces to work with
2 magnets to hold the paper in place
Magnet storage areas
Retail Price–$49.00 USD/$65.00 CAD
Watch Stamparatus in Action!
OKAY. I’VE GOTTA HAVE ONE. HOW DO I GET IN LINE?
The global launch will feature three reservation windows. For each window, please note the following:
Reservation quantities are while supplies last.
Limit is 3 tools per demonstrator and 1 tool per customer per reservation window. (Note: The Stamparatus is not a Cash-and-Carry item.) JOIN MY TEAM TO RESERVE MORE THAN ONE!
You and your customers may participate in multiple reservation windows.
In order to reserve your Stamparatus, you are required to provide your credit card information.
Credit cards will not be charged until the Stamparatus ships from our facility. When you close your order, be sure to verify that your credit card and shipping information is correct.
If you do not have a Stampin’ Up! customer account yet, create one right now so you will be all set and ready to reserve your Stamparatus! Click the Shop Here Now to create your customer account!
Thank you for shopping with me @inkheaven
Thank you so much for stopping by and visiting with me.
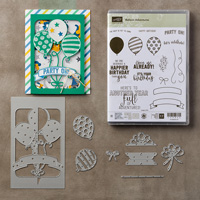
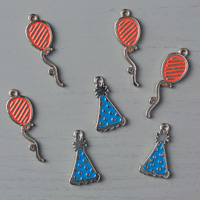
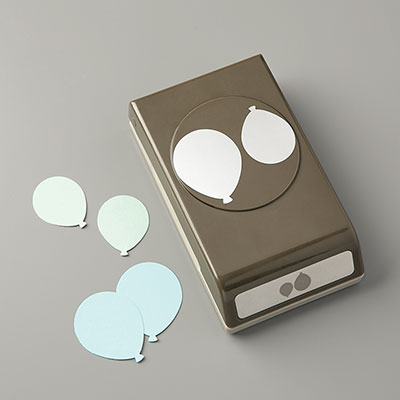
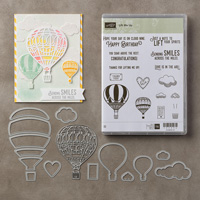
Quick video with tips using the Balloon Pop-Up Thinlit Dies as a card front!
I have been creating and having fun using my Balloon Adventures Bundle so I thought it was time to share!
Last year I made a decision to be better about sending out birthday cards and I have been using this bundle to help me do just that!
While I was preparing for my card making class featuring the Balloon Adventures Bundle I decided to attempt using just the balloon bouquet and banner from the pop-up die to create a card front without the “frame” created by the die. This meant some snipping and fussy cutting had to take place. Uh, oh! Right? Sometimes, it can be challenging to fussy cut things out and still have them look nice!
This die does create some score marks that outline the banner making the banner portion easy to cut out so the biggest challenge was cutting out the balloons. I shared my tips for cutting out around the ballooons on FB Live but have edited it and am giving you the short and sweet version (less than 10 minutes!) that you can watch here:
For your convenience, I have listed most of the supplies that I used creating this card below. Clicking any of the images will take you to my 24/7 online store where you can have fun shopping for your own creative supplies! Thank you so much for stopping by to create and learn with me at inkheaven. See you next time as we create, have fun, share, and repeat!
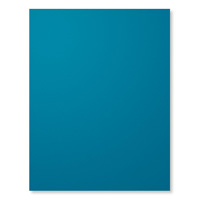
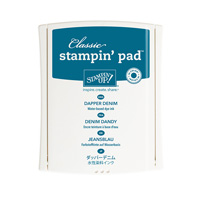
Look at how fantastic Reverse Words looks in Dapper Denim!
When I first break open a stamp set, I don’t always create a card right away. Sometimes, I like to just “warm up” to the stamp set. Many times my warm ups end up creating inspiration for my cards. Warm ups are a fun way to get familiar with your stamps and not feel any pressure to create a card.
When my 2nd release Sale-A-Bration order came I had intended to come up with a card or two for my FB Live but as luck would have it, I was otherwise occupied and did not have time to prepare one. So, as unnerving as it was for me, I decided to do a warm up on FB Live! It ended up being kind of fun once I got going! This card ended up as a result of my warm up that night! You can watch that video here:
Reverse Words is a 2nd Release Sale-A-Bration set and is FREE with a $50 order! Place your order today to get your FREE Reverse Words stamp set and help support my creative sharing here at inkheaven. For your convenience, I have listed most of the supplies that I used creating this card below. Clicking any of the images will take you to my 24/7 online store where you can have fun shopping for your own creative supplies!
Thank you so much for stopping by to create and learn with me at inkheaven. See you next time as we create, have fun, share, and repeat!
How would you like to get carried away with a Lift Me Up Card Bonanza?
Have you seen this great video tutorial shared by Stampin’ Up! showing how to create these 12 awesome cards?
Wasn’t that just totally fabulous? I know what I am going to be doing for my next batch of birthday, thinking of you, and just because cards!
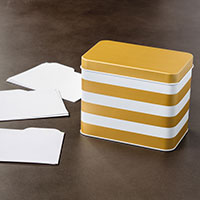
To make it easy for you, I have posted all the items that you will need to have to create these fabulous cards at the bottom of this post. (Please note that the bundle isn’t necessary, but you save 10% with the bundle and get the fabulous Up and Away Thinlits, so why wouldn’t you?) Clicking any of the images will take you to my 24/7 online store where you can place your order. Did you know that the Carried Away Designer Series Paper and the Card Tin are both Sale-a-bration items that you can get for FREE with a $100 order! You will want that card tin to put all of your fabulously handcrafted cards in! The tins also work well for embossing folder and die storage as well!
However, if you place a $150 order with me by March 31st, you will receive $15 in Stampin’ Rewards and 3 Sale-A-Bration items of your choice from Stampin’ Up! AND…
To sweeten the pot, if you place your order of $150 by February 28th with me, here is what you will getfrom me!
You will receive all the pre-cut supplies you need to make all 12 cards, plus the envelopes! How sweet is that? When you place your online order make sure that you DO NOT select *no contact* or I will not know where to send your FREE packet of supplies to create these 12 fabulous cards!
Your FREE Packet will be postmarked no later than March 15th, depending on when you placed your order. For those of you attending my Open House in Cedar Falls or Charles City, Iowa; you will receive your packet at my Open House!
In addition, if you order the Lift Me Up bundle through me, you will also be given an added BONUS for myupcomingLift Me Up Online Class complete with Videos and tutorial sheets! My online class will consist of 4 Lift Me Up cards that I created as a Display Stamper for OnStage 2016 Kansas City. This online class will be offered for the one time BONUS PRICE OF $15 (valued at $25) to those who purchase the bundle through me and will be available in March! Remember, only those who order the bundle through me will be receiving the BONUS price on their class! You will receive a special link via email to order at the BONUS price! So, don’t delay! Click on any of the images below to be taken to my 24/7 online store to take advantage of these special offers! The clock is ticking! You can be a happy shopper with me anytime at www.darlaolson.stampinup.net.
If you are not familiar with my tutorial sheets, you can see one and download it from HERE.
Thank you so much for stopping by to create and learn with me. See you next time as we create, have fun, and repeat!
Have you really looked at your Occasions Catalog and noticed how many great card samples there are to copy?
Balloon Adventures has a wonderful display of cards to copy!
I have copied this card. A bunch! I have all my February birthday cards made and except for the hand-written message, they are ready to send out!
My photography skills are not quite up to par with the creatives at Stampin’ Up! But I will share my card rendition all the same! Here it is! Aren’t you impressed? Since I have done all the leg work of figuring out supplies and dimensions, I have put together a tutorial with all of that information for you! Use the supply list on the tutorial to help you place your order. You can click here to download!
If you need a little more than a tutorial, I did stamp this card on FB Live (I had some difficulties in the beginning with my FB App. It “quit working unexpectedly” and closing on me so forgive the beginning, it has a rough start as I went live on my tablet to let everyone know I was having tech difficulties!)
Don’t forget that you can always use the layout and switch things up a bit! Different color combinations give different looks to the same layout! Check out this great switch shared by Shannon West of Stampin’ Up! It is the same card but the switch gives it an amazing look!
How fabulous is that? I plan on taking some fun adventures in stamping with this amazing bundle! I hope you will take the adventure with me! The Balloon Adventures bundle is perfectly priced for Sale-A-Bration! To get started on this fun stamping adventure, you can click the Balloon Adventures image below to be taken to my 24/7 online store where you can purchase the Balloon Adventures bundle and choose a free Sale-A-Bration item! I will be here to take the adventure with you! Thank you for stopping by to create and learn with me!
The Sending Love Suite Makes A Sweet Mailbox! (Video Tutorial)
Hello Stampin’ Friends!
The Sending Love Suite from Stampin’ Up! was just begging to have a sweet little mailbox! I have had a this mailbox project on my Sweethearts board on Pinterest for the longest time and when I bought the Sending Love Bundle I knew I wanted to take a stab at it! I bought this bundle specifically to do fun little things like this! It’s perfect for fun little cards and sweet treat projects!
I did a FB Live Video sharing this project and several other fun little projects that you can check out here:
Just some notes regarding the mailbox project:
I did test out the Banner Framelits and the smallest one is perfect! I will be sharing my tips for that on my FB Live on Thursday evening, January 26th at 7 p.m.!
Changing the Whisper White from 3″ to 5″ for the mailbox and scoring at 1″ at each end works way better than the instructions I followed for my video!
I also tested my idea for gluing 2 arrows back to back – that works great as well!
Like my Facebook Page here so you don’t miss any of my stamping videos for more fun little projects like this!
If you don’t have a demonstrator, I would love to be your demonstrator and help you to create, have fun, and repeat! Purchase your Sealed With Love Bundle at www.darlaolson.stampinup.net so you can have fun creating your own sweet little mailboxes (and take advantage of Sale-A-Bration, learn more here)!
Thank you so much for stopping by to create and learn with me.
Happy National Organization Month! Today I am sharing my very first full length video and talking about how to keep track of our beautiful Stampin’ Up! stamps!
I am very excited about this and I hope you will find it helpful!
Thank you so much for stopping by to create and learn with me!
I love dragonflies. I have been fascinated with them since childhood. Between their unique flying ability and the iridescent shimmer of their wings in the sunshine they are intriguing and dreamy!
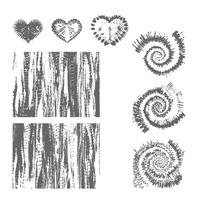
This card features Dragonfly Dreams, but the real secret is the Tie-Dyed background. I wanted to catch the shimmer of sunlight for a background and I had purchased Tie Dyed expressly for it’s capability to produce unique backgrounds, so I pulled it out for this card and got to playing! I originally created this card for my hubby’s birthday, but it was so much fun that I decided to do more for a swap. Each card turned out with a unique background.
I used a Watercolor Technique for the background. It is one of my favorite techniques for unique backgrounds! I shared a FB Live video tutorial for this technique here. This card will be in my Dragonfly Dreams class later this year and I am so excited to share it with you in class.
Every once in awhile I like to write. Usually, it’s a way to express whatever flood of emotions I am feeling. I wrote this in 2004 when my uncle passed away. Since it shares some of my feelings on dragonflies, I thought I would share it with you today.
Memories… Of childhood Hot summer days Dragonflies flitting, buzzing Wings shimmering in the sun Fascinated, awed, slightly afraid Following, but not too close Happy, warm, carefree
Memories… Like dragonflies Flitting, buzzing in my mind Shimmering in my heart Fascinated, awed, By the clarity of yesteryear, I follow close Happiness and warmth Comfort me in my sorrow
By Darla S. Olson 2004 I hope you enjoyed my card and my writing. Thank you for allowing me the liberty of a lengthier post that isn’t necessarily all about stamping. For your convenience, I have listed most of the supplies that I used creating this card below. Clicking any of the images will take you to my 24/7 online store where you can be a happy sale-a-bration shopper and get free stuff! Be a happy shopper anytime with me here at inkheaven by clicking here: www.darlaolson.stampinup.net.
Thank you so much for stopping by to create and learn with me at inkheaven!