Eclectic Garden Nestled on a Soft Succulent Background

Eclectic Garden Nestled on a Soft Succulent Background
Send Bright Wishes

Creating Cards With Eclectic Garden

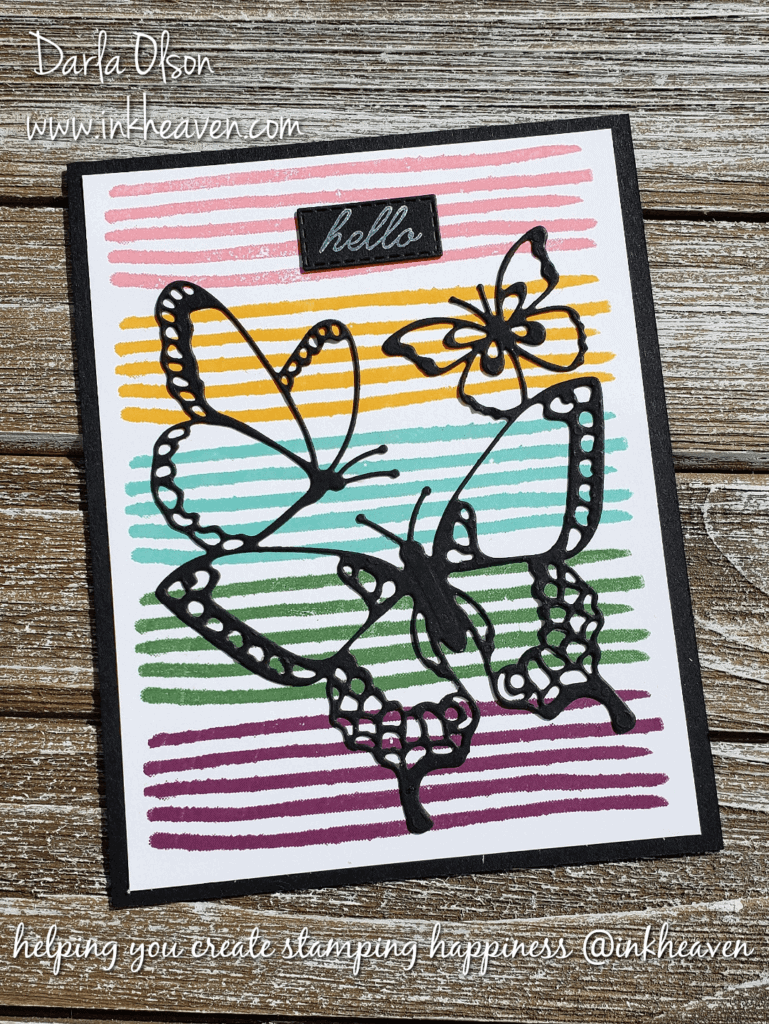
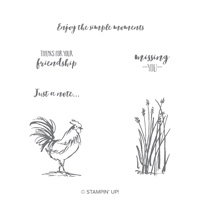
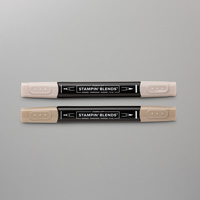
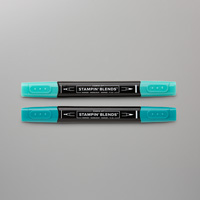
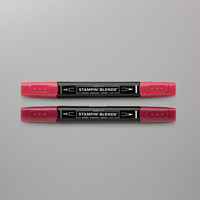
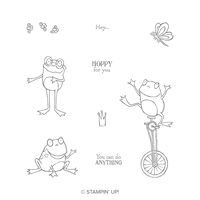
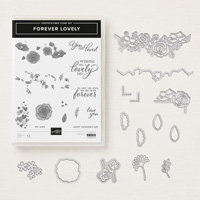
Eclectic Garden is an all-occasion, nature-inspired photopolymer stamp set. This Two-Step Stampin’ set allows you to layer two or more images to create one final image with extra texture and dimension in the colors you want. Or, if you prefer, use a coloring technique of your choice like the Stampin’ Blends that I chose. If you are not familiar with the Stampin’ Blends or how to use them – CLICK HERE

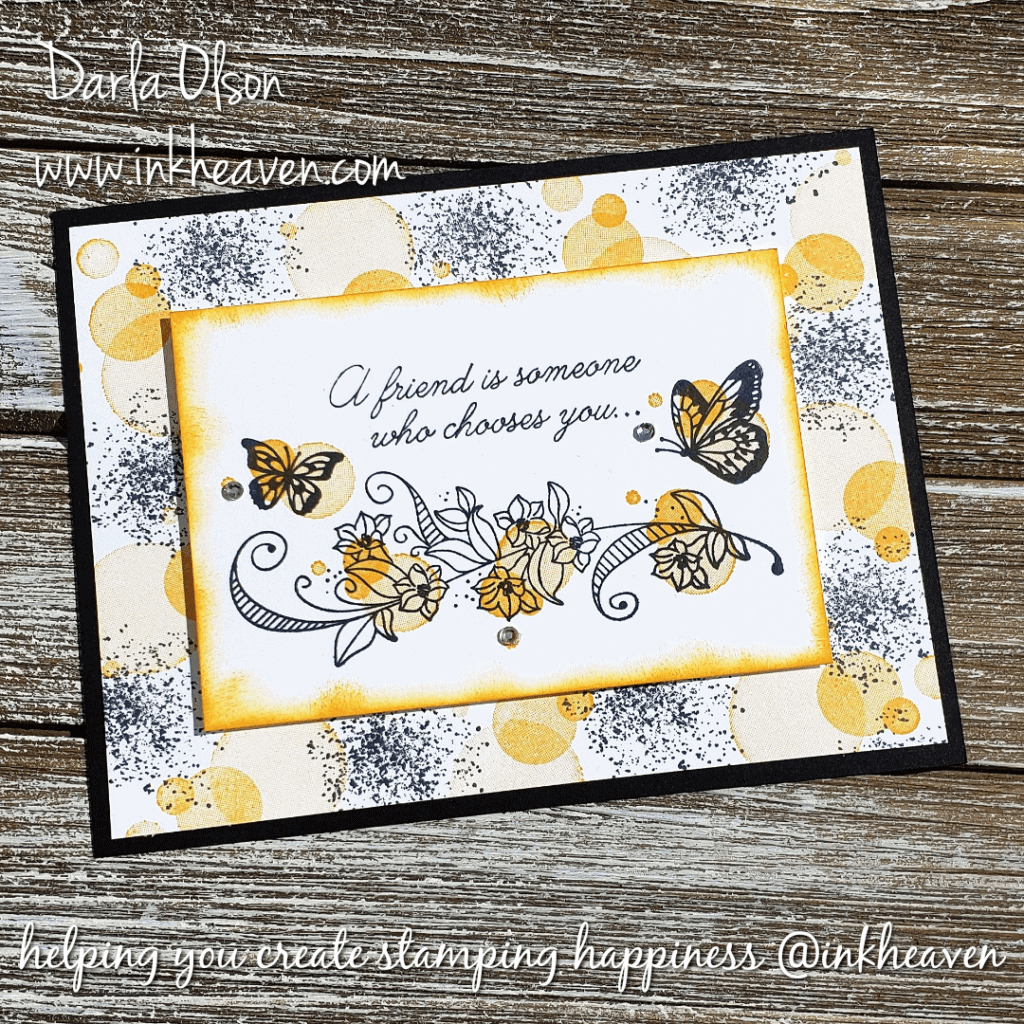
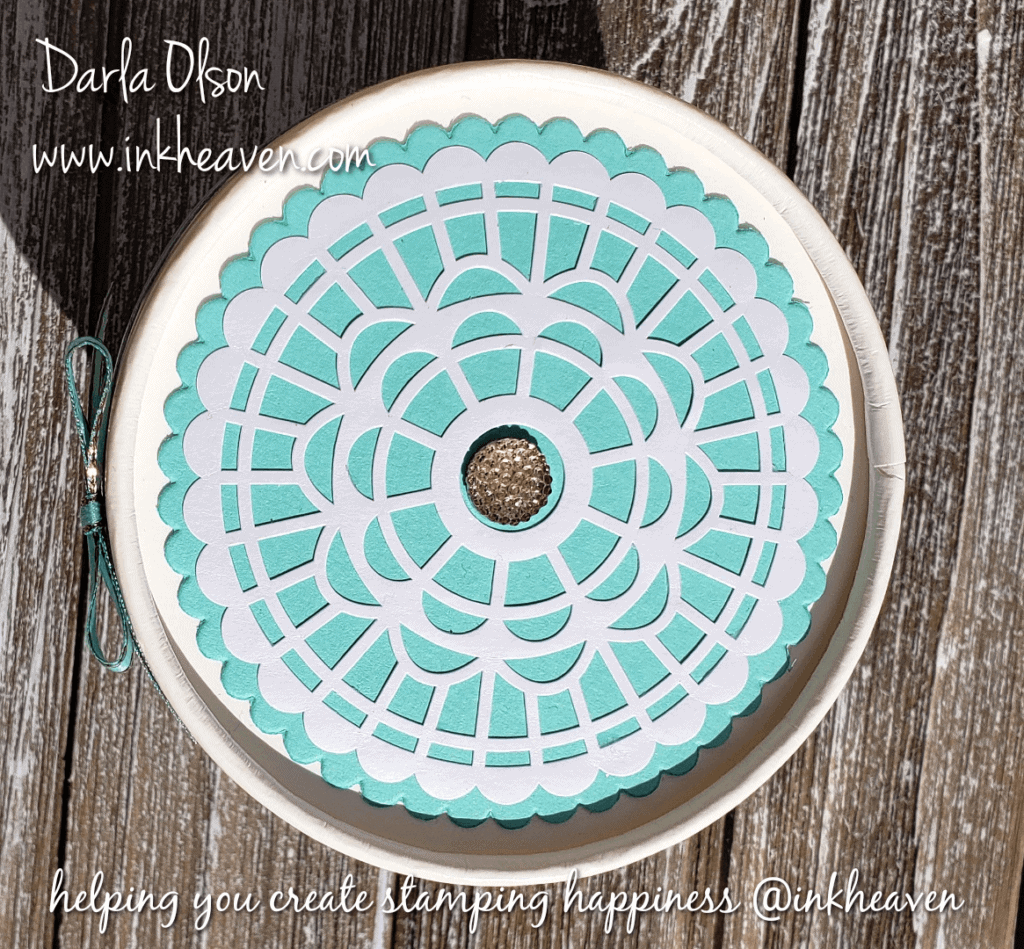
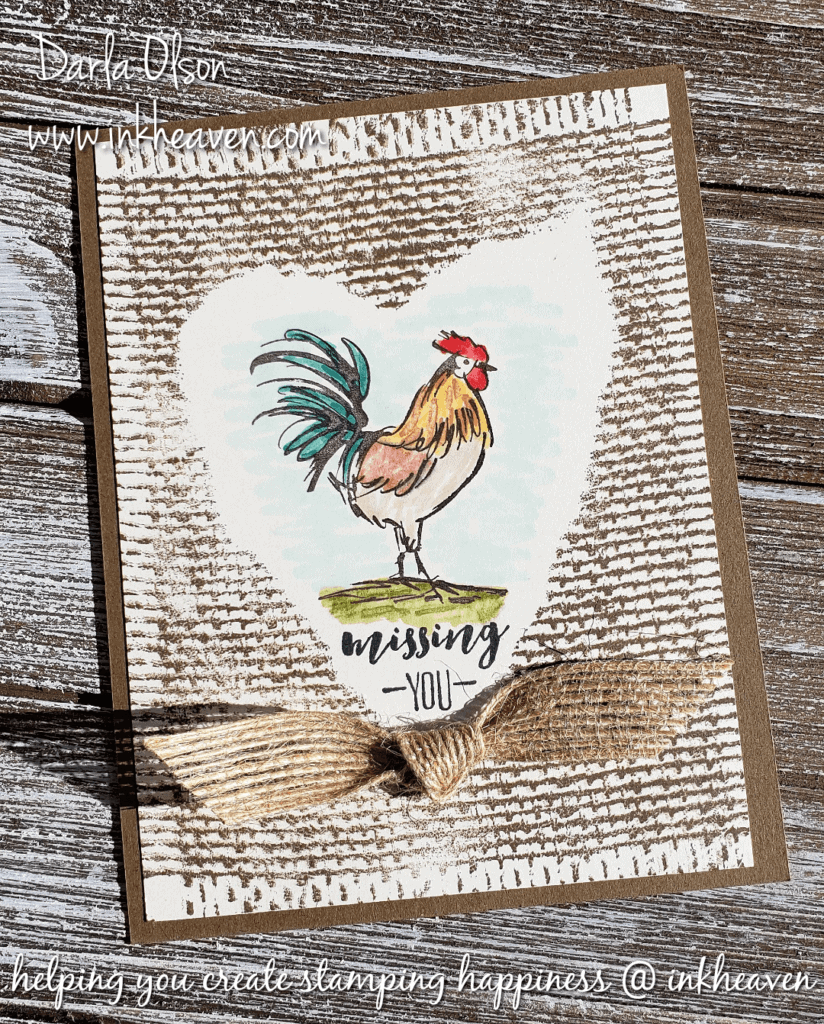
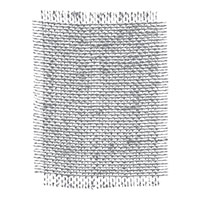
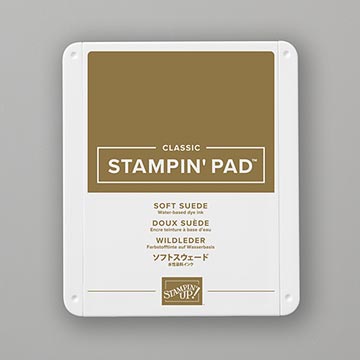
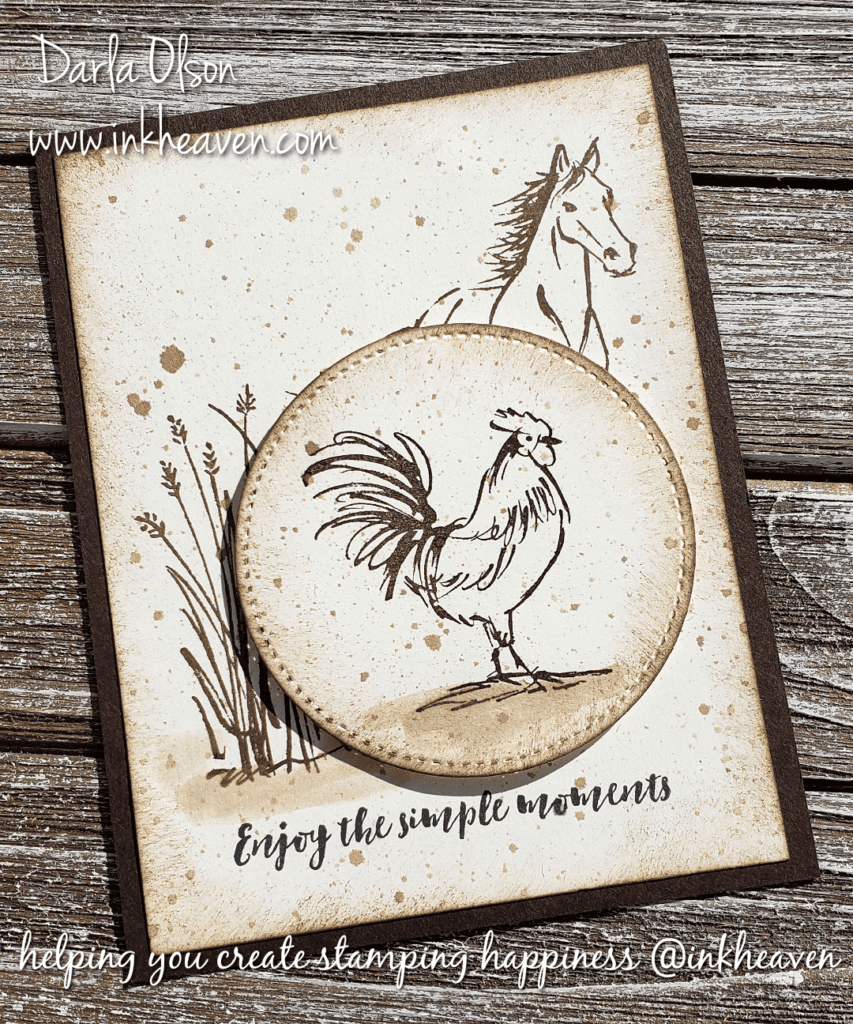
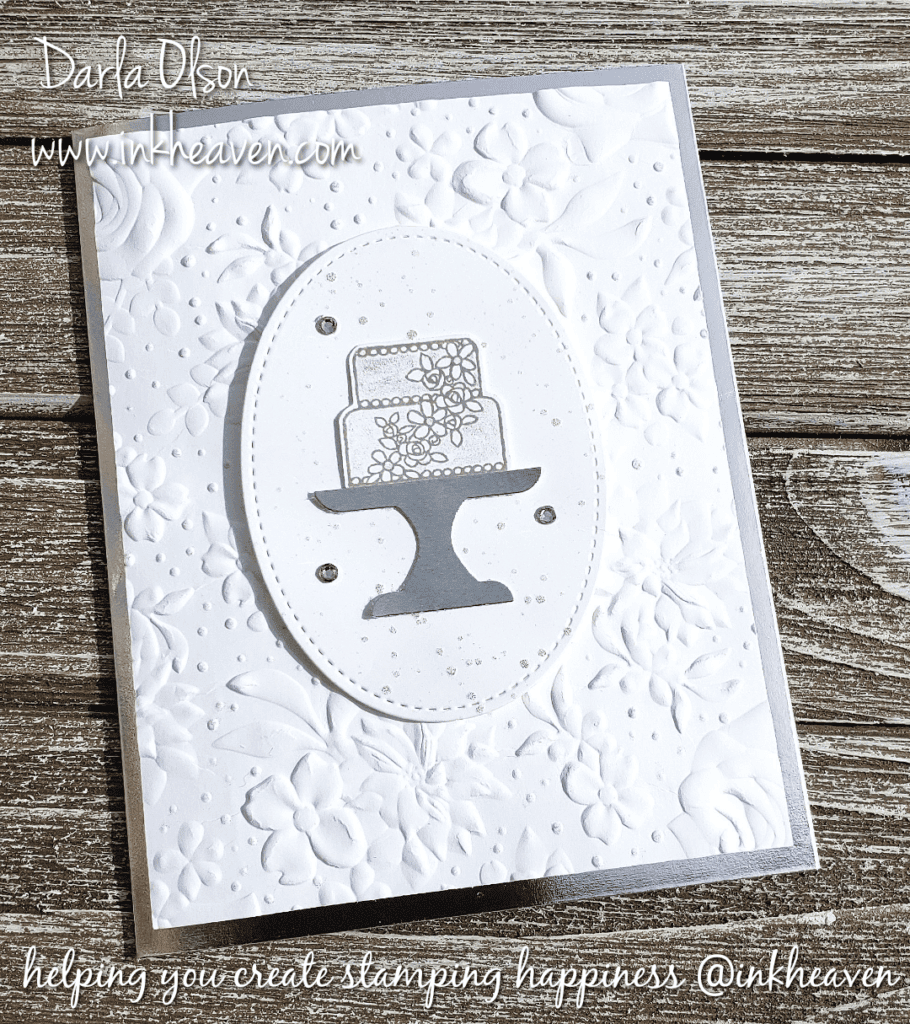
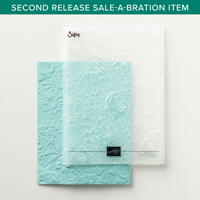
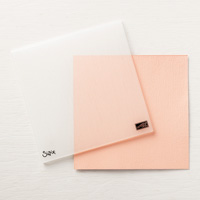
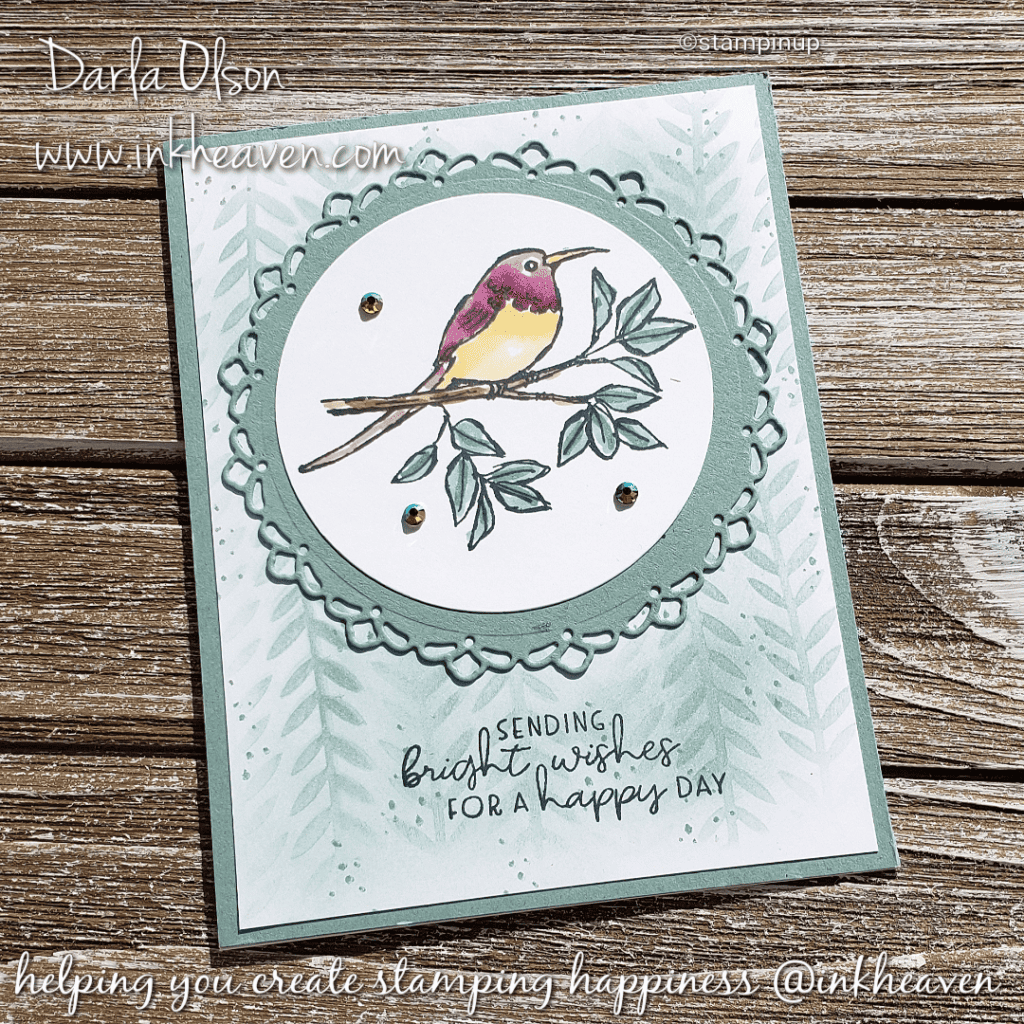
Seeing that the images (bird, berries, turnips, or a flower), in Eclectic Garden, are simple, they are perfect for layering on a detailed background like this Soft Succulent background created with Blending Brushes, Soft Succulent ink, and a Decorative Mask. In addition, Decorative Masks are wonderful tools for adding textured backgrounds to your cards with embossing paste.

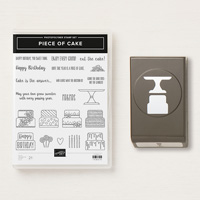
Below are the supplies you will need to have on hand to create this Sending Bright Wishes Eclectic Garden card. For your convenience there is a button to add all the necessary supplies to your shopping cart or you may use my shop here now button to browse my store for select items.

Happy Shopping @inkheaven
Thank you for shopping with me @inkheaven

Sending Bright Wishes Card Recipe

To have the recipe printed on one page the printable recipe does not contain the pictured supply list above. If you need more assistance with the instructions, I do have a Facebook Live video that you can watch – CLICK HERE

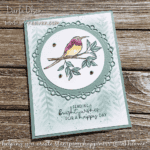
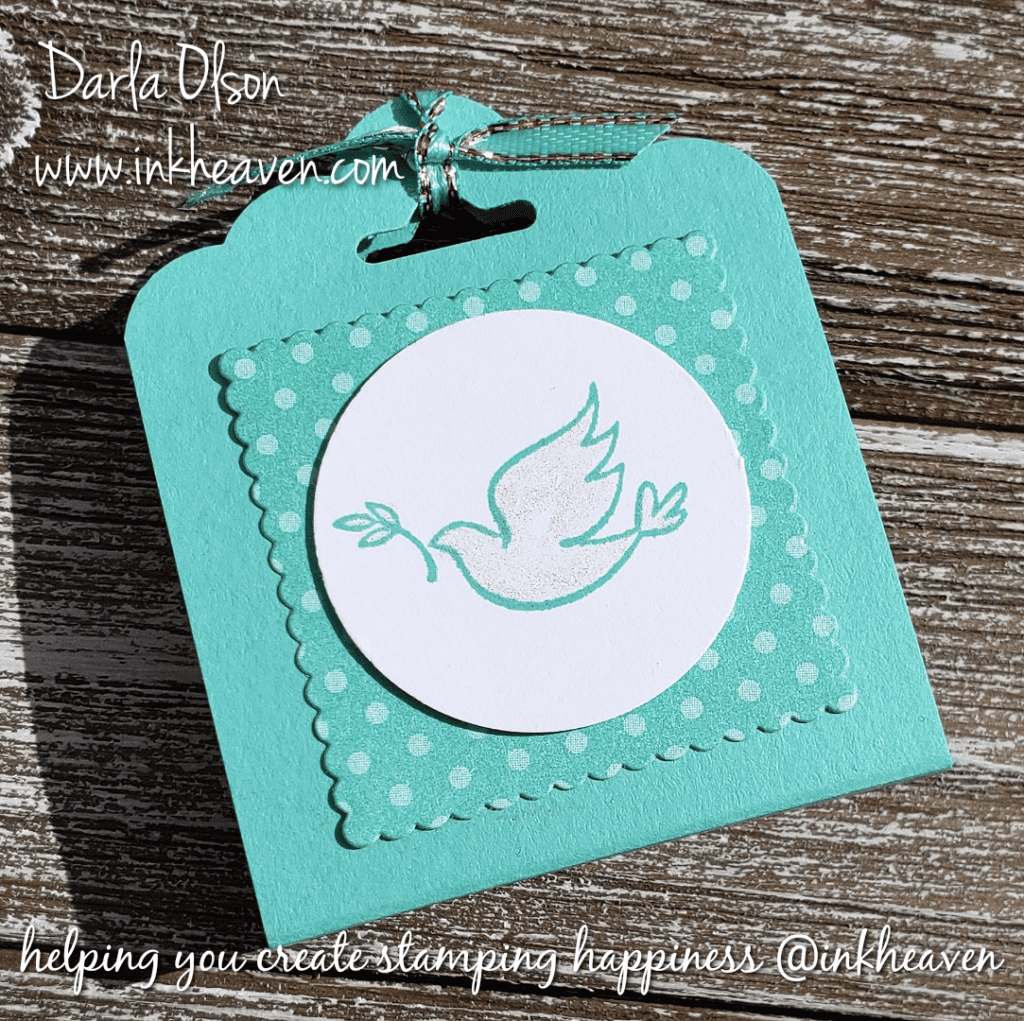
Sending Bright Wishes With Eclectic Garden

Nestle the beautiful bird from Eclectic Garden on a Soft Succulent background created with Blending Brushes and a Decorative Mask

Materials

Card Stock Dimensions

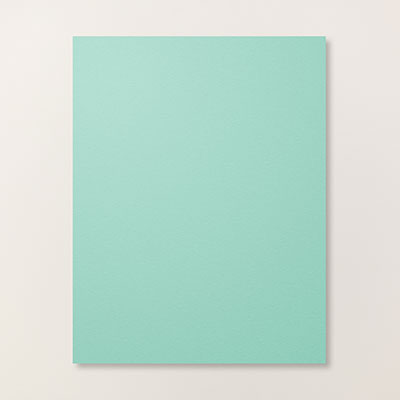
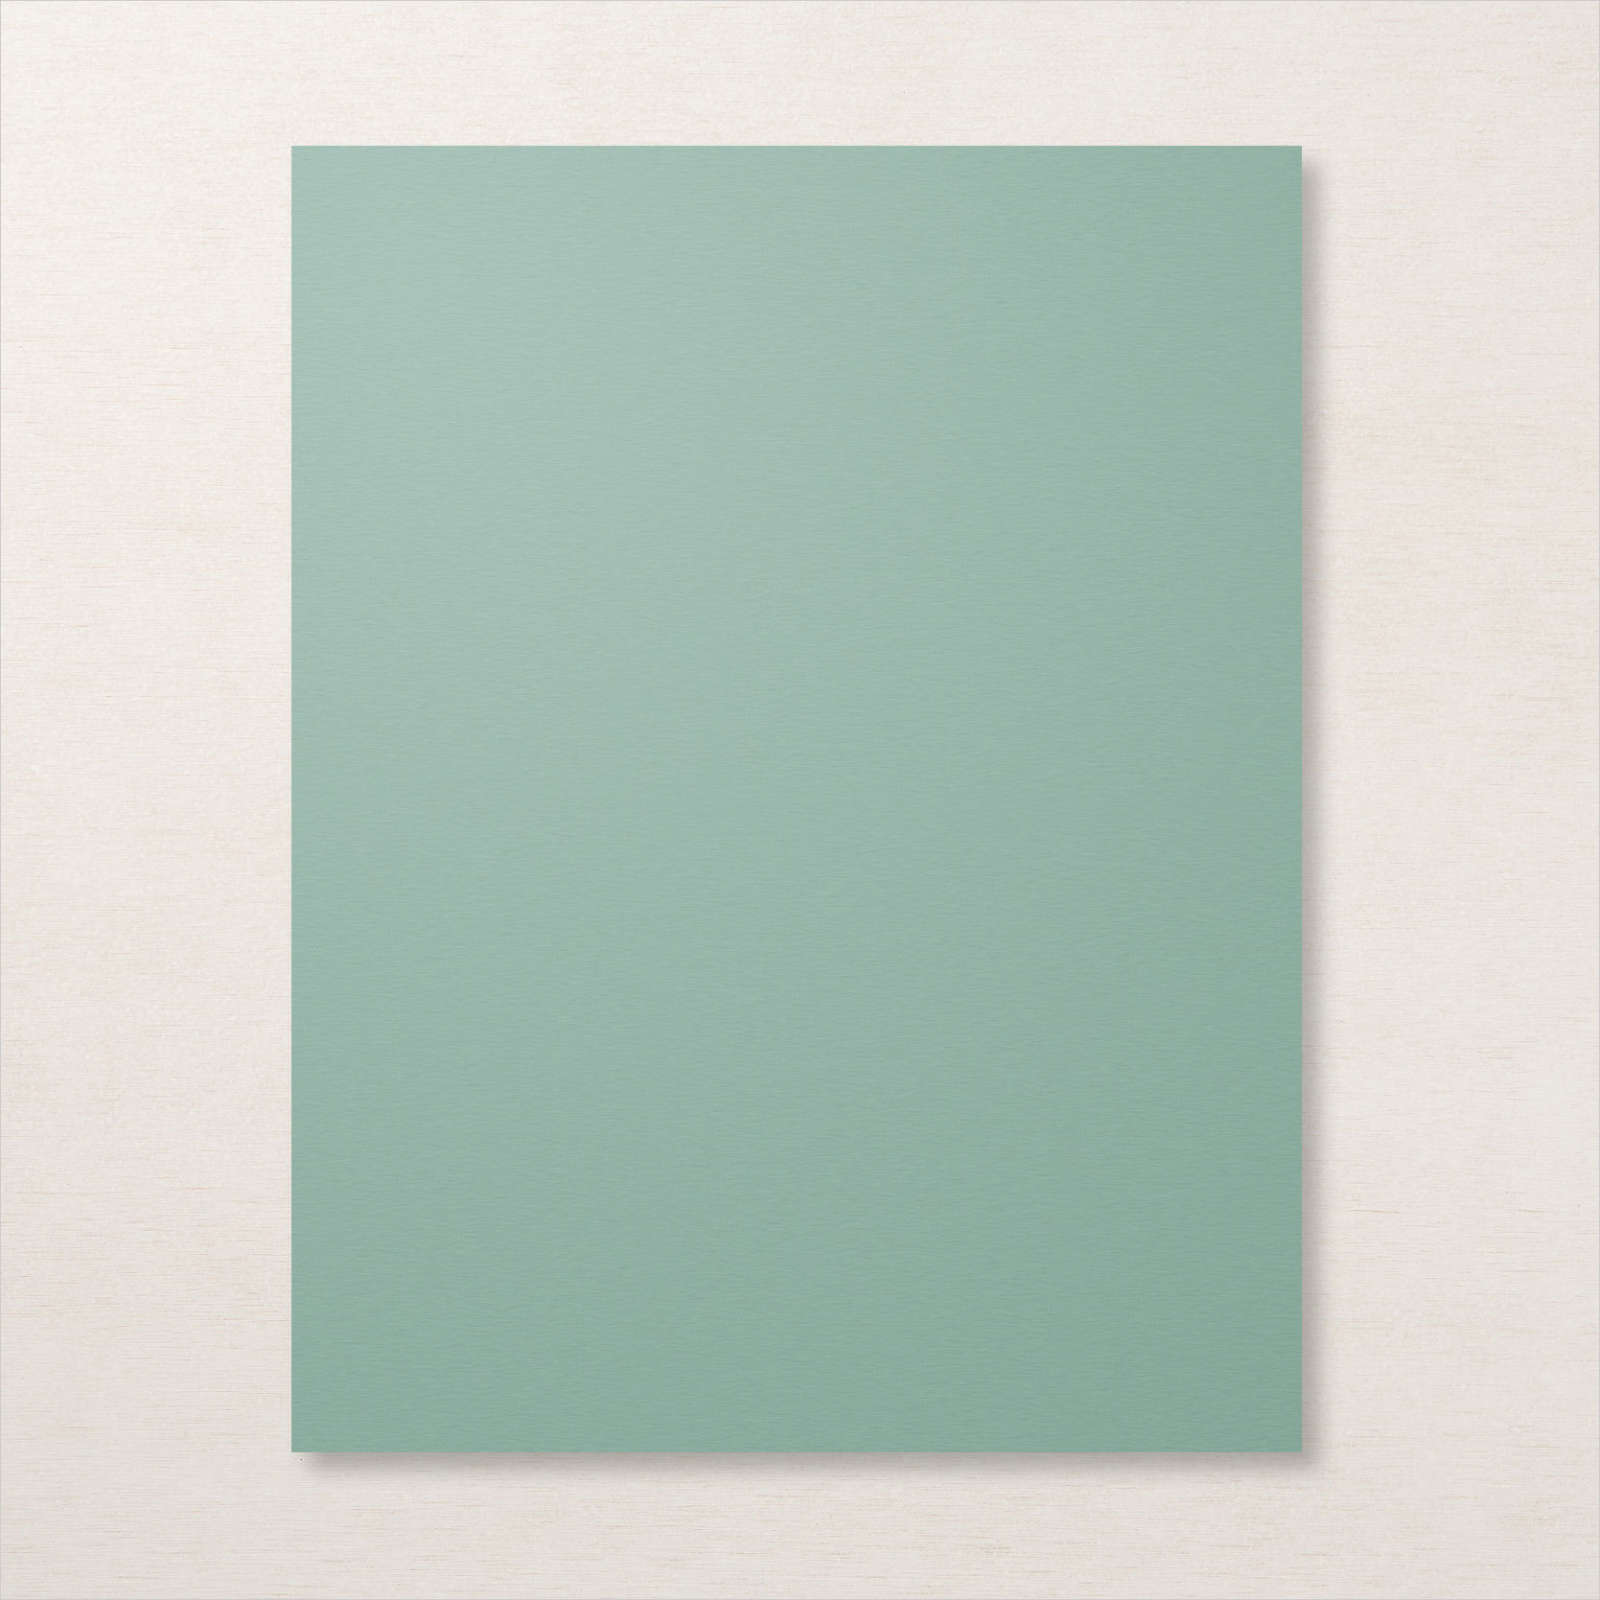
  • 1 4¼" x 5½" Cardstock (card front) Soft Succulent
  • 1 4" x 5¼" Cardstock (card front layer) Basic White
  • 1 4½" x 4½" Cardstock (Encircled in Beauty Die Cut) Soft Succlent
  • 1 3½" x 3½" Cardstock (Layering Circles Die Cut) Basic White
  • 1 8½" x 5½" Cardstock (card base) Basic White

Instructions

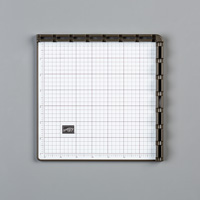
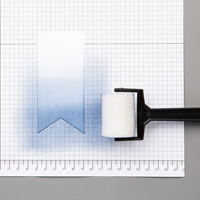
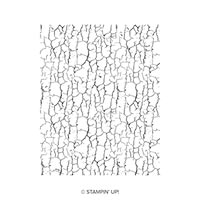
  • Place Decorative Mask over the Basic White card front layer. (Hold in place with masking tape or, if using the Stamparatus, magnets.
    1 4" x 5¼" Cardstock (card front layer)
  • Ink up the Blending Brush with Soft Succulent ink.
  • Lightly brush over the Decorative Mask. Tip: lightly brush in one direction as the decorative mask has lots of details that make it prone to moving if you do not use a light touch.
  • Remove mask after obtaining desired coverage.
  • Lightly stamp speckles (or dots) over the masked background in Soft Succulent ink as shown.
  • Layer the Soft Succulent card front to the Basic White card base.
    1 4¼" x 5½" Cardstock (card front), 1 8½" x 5½" Cardstock (card base)
  • Layer the Basic Whte card front layer (with the Soft Succulent background) to the Soft Succulent card front.
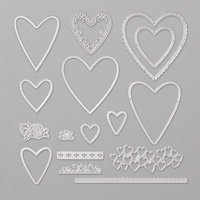
  • Die Cut the decorative circle using the Encircled in Beauty dies from Soft Succulent card stock.
    1 4½" x 4½" Cardstock (Encircled in Beauty Die Cut)
  • Layer your die-cut on the card front as shown.
  • Die-cut a circle with the Layering Circle dies from Basic White card stock as shown.
    1 3½" x 3½" Cardstock (Layering Circles Die Cut)
  • Stamp the bird in the circle using Tuxedo Black ink as shown.
  • Color the bird with Stampin' Blends as shown.
  • Layer the bird on to the card front as shown.
  • Stamp the Sending Bright Wishes sentiment to the card front in Tuxedo Black in as shown.
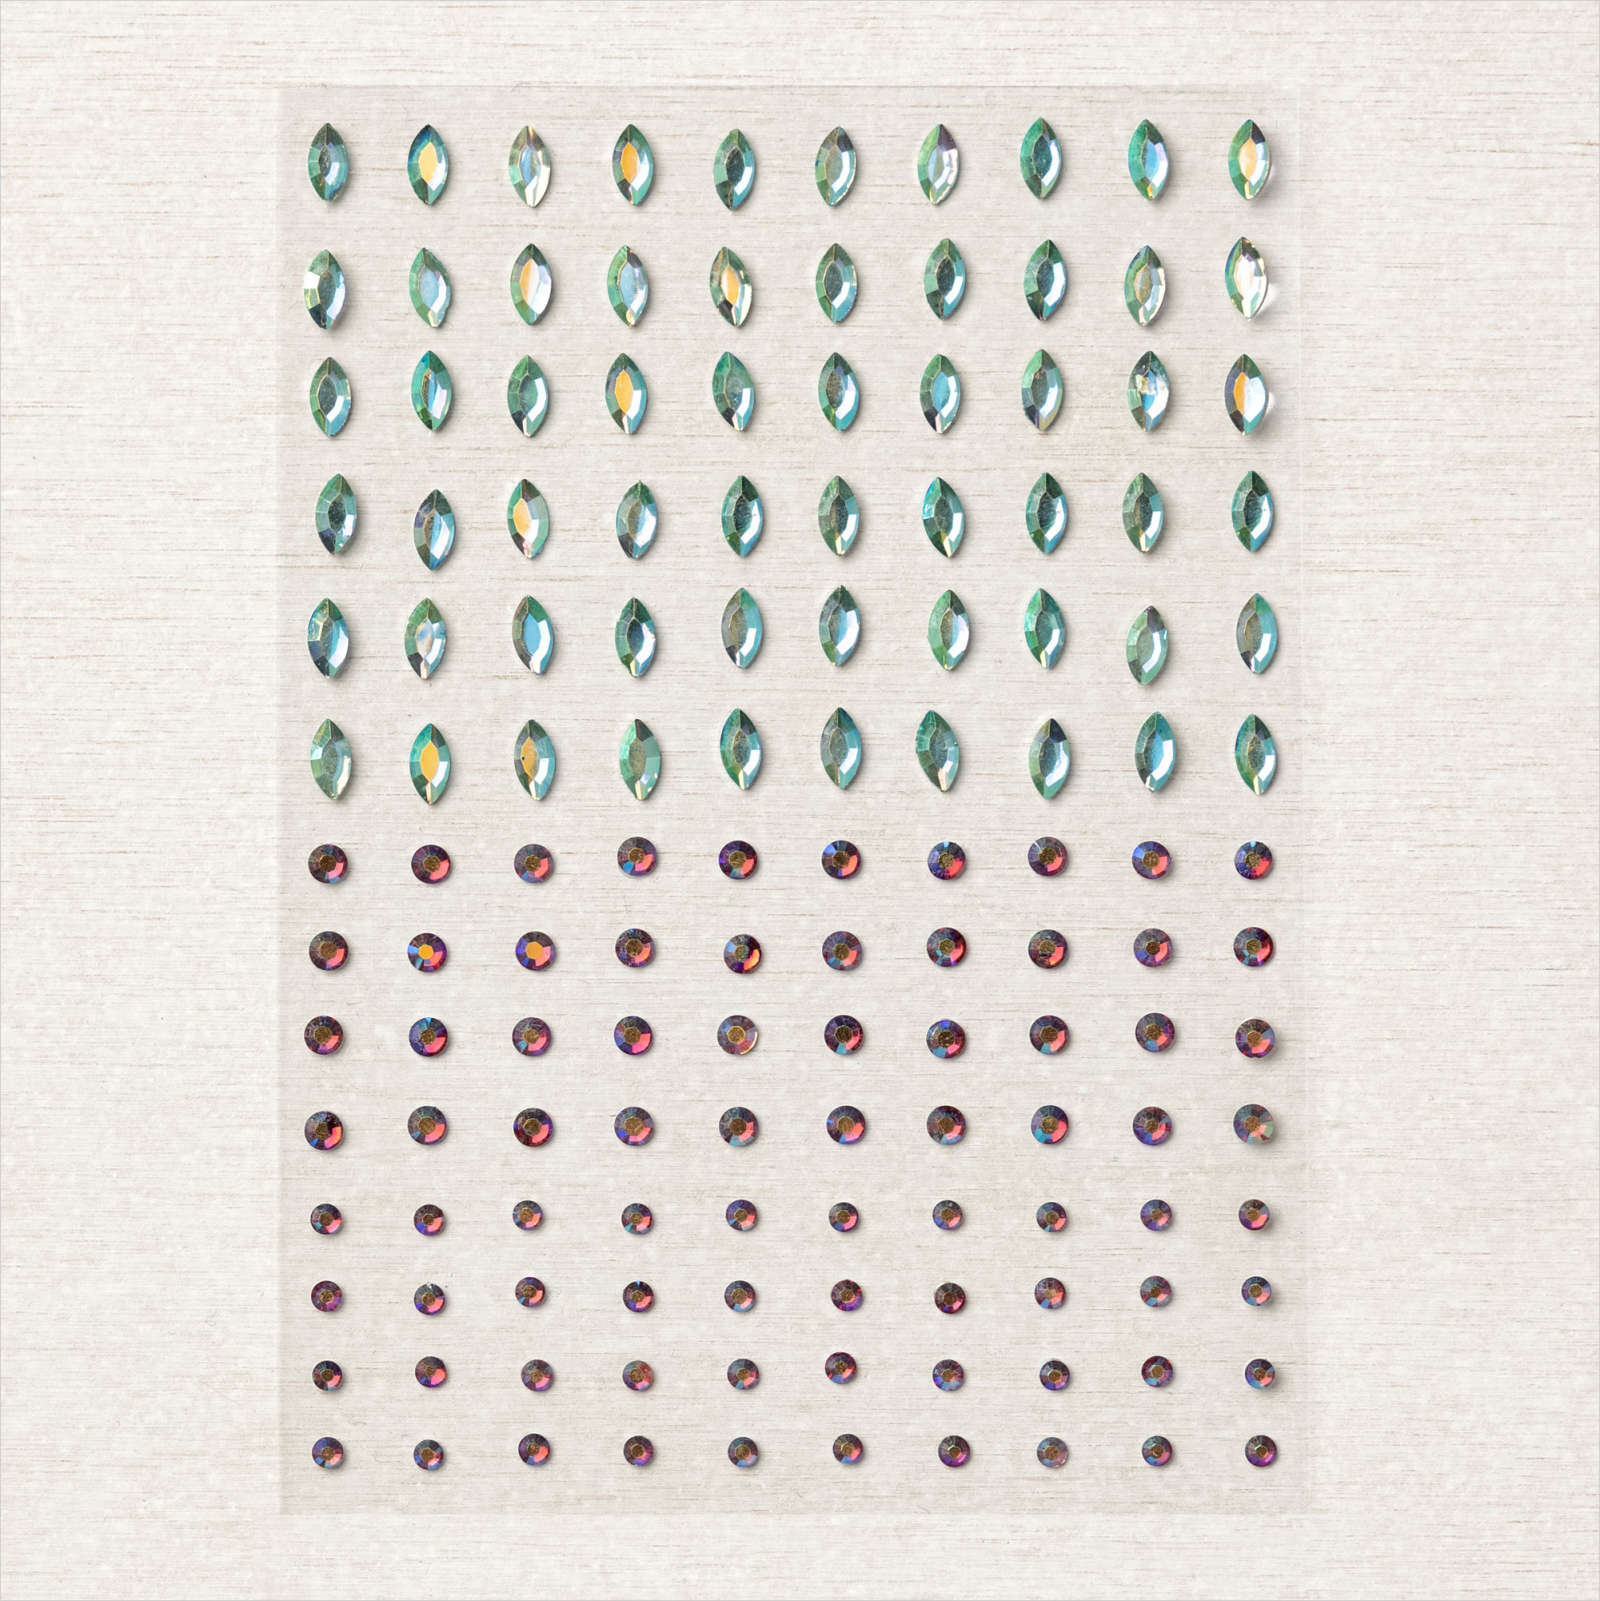
  • Add Garden Gems to the card front as shown.

Darla Olson at inkheaven wishing you stamping happiness always

Spread the love

Retiring Last Chance Products

Retiring Last Chance Products
Ready or not it’s retirement time!

Ready or not it’s Retirement Time! Stampin’ Up! has just released the list of retiring products and some items are on sale. Now is the time to get those items on your wish list ordered before they are long gone.  The 2020-2022 In Colors have been my favorite group of In Colors. If you need ink refills or another package of card stock in these colors, don’t delay! They will only be available while supplies last. I highlighted the retiring In Colors below.

Here are my Top 3 Tips for the Retirement List:

  1. In Colors: All 2020-2022 In Color inks, paper, and embellishments are retiring. These items usually sell out quickly so don’t forget to add ink refills and extra cardstock to your craft stash. You don’t want to miss having these gorgeous colors in your collection!
  2. Bundles: Bundles, with their 10% savings, all retire! Even if the bundle items carryover to the next catalog the discount does not – so if you have your eye on a bundle, get it now and save!
  3. Stamps vs. Accessories: Retiring stamps are available through 2 May 2022. All other retiring items, such as paper, embellishments, and dies are only available while supplies last, so you don’t want to wait and miss out.

View Retiring Last Chance Products Online

If you would like to download a pdf of the Last Chance Products retiring list so you can mark the retired items in your catalog you can go HERE

Darla Olson at inkheaven wishing you stamping happiness always

Retiring In Color Collection
Spread the love

Create Backgound Paper With Stamps & Ink

How to use your stamps to create background paper featuring the Beauty Abounds stamp set by Darla Olson at inkheaven.

How to Create Background Paper Using Stamps & Ink

Creating your own background paper is one of the best ways to have your background coordinate with the focal point of your handmade card. Because you have control over both the stamps and inks used, your background it will coordinate perfectly with the rest of your card. Plus, Stampin’ Up! offers great stamp sets for creating backgrounds. In addition, many stamp sets include stamps designed for creating your own background paper..

For example, this card has a background created with stamps and ink. Since the Beauty Abounds stamp set includes stamps designed for backgrounds, all the images work well together. Consequently, it is perfect for simple stamping and creating backgrounds!

In this instance, I paired Basic Black ink with Mango Melody ink reminiscent of common butterfly colors. For additional coordination, these same colors are used on the front layer. Then a border of Mango Melody ink is sponged around the front layer in order to help it stand out from the stamped background .

For this card, the background is stamped with two different stamps which are inked in different colors and then alternately stamped in a pattern. However, there are many options in addition to this for creating a background.

Here are some ideas to demonstrate different ways to create background paper with stamps and ink:

  • One ink color, one image, randomly repeated. See background example – CLICK HERE
  • One ink color, one image, stamped in a repeated pattern. See background example – CLICK HERE
  • One ink color, one image, stamped to create a corner. See background example – CLICK HERE
  • Two ink colors, two images, stamped in a repeated pattern, and overlaid. See background example – CLICK HERE

As can be seen, these ideas for creating backgrounds are just the tip of the iceberg! To get you started here is a shopping list and a tutorial for this card!

Get the supplies you need to create this card:

CLICK HERE to get the free tutorial

Happy Shopping @inkheaven
Thank you for shopping with me @inkheaven

Specials and Offers – CLICK HERE


Display Board Sample With Stamped Background Paper

Background Paper created with multiple inks and one stamp, repeatedly stamped using Incredible Like You stamp set by Darla Olson at inkheaven.

This card from my display board is an example of a stamped background paper using multiple inks and one stamp, repeatedly stamped to create a pattern. The background stamp is from the Incredible Like You stamp set. Unfortunately, this stamp set will be retiring on June 3rd, 2019. To learn more about what is retiring – CLICK HERE

Thank you for stopping by to visit. If you have any questions, or need any help creating background paper, please ask! I love helping you create stamping happiness for yourself and loved ones!

If you enjoyed learning how to create background paper, you might also enjoy seeing these backgrounds created with stamps and ink – CLICK HERE and CLICK HERE

Darla Olson at inkheaven wishing you stamping happiness always

Spread the love

Sponge Brayer Background Technique Creates Quick Color

Use a sponge brayer background technique to create quick color by Darla Olson at inkheaven

Easy Sponge Brayer Background Technique

I’m not a huge fan of doing lots of coloring on my handmade cards. As a result, I love techniques that provide quick color for my stamped images. This sponge brayer background technique does just that and it’s very easy to do!

Things you will need to create a background like the one above:

  • Sponge brayer
  • A template or mask to define background
  • Silicone mat or other surface to adhere mask and cardstock to
  • 3 ink pads in colors that coordinate

Watch the Facebook Live video replay below for a demonstration of the technique:


Get The Supplies I Used:

Happy Shopping @inkheaven
Thank you for shopping with me @inkheaven


Specials and Offers – CLICK HERE

The Humming Along Stamp set that I used to highlight the sponge brayer background technique (plus several other stamp sets that I referenced in my Facebook Live) is retiring and will no longer be available after June 3rd, 2019! To learn more about these Last Chance Products – CLICK HERE

If you don’t have a copy of the Color Combo charts that I shared in my Facebook Like you can get those and a sneak peek of the new, upcoming In Colors – CLICK HERE

As promised, I am sharing another project with you, along with a free tutorial. This project was a make & take from my Sale-a-bration Open House in March. Sadly, this stamp set used on this easy project will not be carrying over into the new catalog. In addition, it is also on the retiring list!

Sale-a-bration Open House Make & Take With Tutorial

Create cards easily with the simple images in Birthday Cheer. Plus, get a free tutorial. By Darla Olson at inkheaven.

The simple images in Birthday Cheer are perfect for simple stamping! To get the free tutorial – CLICK HERE

Thank you for stopping by to visit. If you have any questions, or need any help creating these cards, please ask! I love helping you create stamping happiness for yourself and loved ones!

If you enjoyed this sponge brayer background technique, you might also enjoy this simple sponging technique – CLICK HERE

Darla Olson at inkheaven wishing you stamping happiness always

Spread the love

Easter Blessings In A Sweet Cup – Plus A Dove Treat!

Give away Easter Blessings in a Sweet Cup with a dove treat by Darla Olson @ inkheaven

Share Easter Blessings In A Sweet Cup

Easter Blessings are about more than bunnies, candies, and baskets. Despite the many ways these items are used to celebrate, Easter is still about the Resurrection of Christ and new life. However, it is fun to indulge in sweet traditions to share the Easter message of the Resurrection of our Lord! With that in mind, I have this Sweet Cup of Easter Blessings to share with you today!

This project is incredibly easy to do. In addition, I have a Facebook Live video to help walk you through the steps. You will need this template to create the wrap for your cup – CLICK HERE

Here is photo shot of the lid to the cup:

Easter Blessings Sweet Cup Lid by Darla Olson @ inkheaven

Watch the Facebook Live

Dove Treat

Get the supplies you need to create these projects:

Please note that this list of supplies also includes tools for the Dove Treat as well!

Happy Shopping @inkheaven
Thank you for shopping with me @inkheaven

Specials and Offers – CLICK HERE

To learn more about the 2019 Occasions Catalog – CLICK HERE

Thank you for stopping by to visit. If you have any questions, or need any help creating these projects, please ask! I love helping you create stamping happiness for yourself and loved ones!

If you enjoyed these projects you might also enjoy creating a matchbook cover – CLICK HERE

Darla Olson at inkheaven wishing you stamping happiness always

Spread the love

Wishing You A Lovely Day With a Simple Sponging Technique

Wishing you a lovely day with a simple sponging technique and free tutorial by Darla Olson @inkheaven.

Use Simple Sponging Technique To Add More Color & Interest

Sometimes, all you need is some simple sponging to add more color and interest to a card. For instance, the sponging on this card adds a patina to the background. In addition, it draws the eye towards the key images and sentiment.

This lovely sponged card was one of four make and takes at my Sale-a-bration Open House events. Since I know that not all of you are able to attend these fun events, I like to share the tutorials with you! Get the tutorial – CLICK HERE

In addition, sponge brayers are an easy way to add background color – check out that technique – CLICK HERE

Preparing for my Open House events takes an enormous amount of time. Consequently, I am unable to do a blog post for all of my creations. Since that is the case, I thought I would share two projects per post for a few weeks even though Sale-a-bration is over. (Some of the projects may contain Sale-a-bration stamps. I will try to recommend a substitution when possible).

This Card Has A Fun Feature!

No sponging on this fun card - just a wobble by Darla Olson @inkheaven

This fun card has no sponging. However, it does have a fun feature that is quite easy to do! This cute frog from So Hoppy Together literally leaps right off the card! Plus, this style of card can be created with any critter that you have in your stamp stash! To make your critter leap off the card all you need is:

  • Window Sheet
  • Scoring Tool
  • Bone Folder
  • Glue Dots

I cut a strip of Window Sheet about 1/2″ wide and about 1-1/2″ long. Then, I scored it every 1/2″. After scoring, I creased it into a zig zag (Z) with my bone folder. Lastly, I used glue dots to attach it to the frog and card. How simple is that? Get the supplies you need to create this card:

Get the supplies you need to create this card:

Please note that Sale-a-bration is over and the So Hoppy Together stamp set is no longer available. However, I think the squirrel from Fable Friends would be a great substitution if you don’t own So Hoppy Together!

Happy Shopping @inkheaven
Thank you for shopping with me @inkheaven

Specials and Offers – CLICK HERE

To learn more about the 2019 Occasions Catalog – CLICK HERE

Thank you for stopping by to visit. If you have any questions, or need any help creating these cards, please ask! I love helping you create stamping happiness for yourself and loved ones!

If you enjoyed these projects and simple sponging technique you might also enjoy this technique – CLICK HERE

Darla Olson at inkheaven wishing you stamping happiness always

Spread the love

This “Masked In Burlap” Rooster Can’t Crow For Missing You!

This masked in burlap rooster can't crow for missing you by Darla Olson @inkheaven

Masked In Burlap – Who Was That Masked Man?

Okay, so it’s not a masked man – but it is rooster masked in burlap! I just love the Home to Roost stamp set! This rooster is no Lone Ranger and is a perfect fit with so many other stamps from our catalog. This time I have masked the rooster with the Burlap background stamp. I used the “stencil” I created and used for creating a mask on this card – CLICK HERE

In addition, even though I am not a huge fan of coloring, the rooster is a pretty small area, so I thought I’d get out my Stampin’ Blends and through some color on him for you!

Here are some quick steps for masking your rooster in burlap:

  • Create a heart mask with a window sheet (you can use paper or card stock, I prefer a window sheet since it is reusable).
  • Use a little piece of washi tape or semi-permanent adhesive to adhere the heart mask to the card where you want it to be.
  • Ink up the Burlap stamp and stamp over the mask and card.
  • Carefully remove your heart mask and stamp your rooster and sentiment inside.

To demonstrate this card, I did a Facebook Live video! I also demonstrated two other cards with the Home to Roost stamp set during this video. Please like and follow my Facebook page to be notified when I go live (and to watch the video) – CLICK HERE

Get These Supplies To Create This Card:

But wait! Before you shop – you need to know about Sale-a-bration! (Home to Roost is a limited-time FREE Sale-a-bration item!) Sale-a-bration is Stampin’ Up!’s premier annual sale! Given that, with every $50 you spend you will earn a FREE Sale-a-bration item of your choice! To learn more about Sale-a-bration – CLICK HERE.

This Rooster Rules The Roost On The Farm And In Monochrome!

This rooster rule the roost, on the farm, and in monochrome! by Darla Olson @inkheaven

Ruling The Roost On The Farm And In Monochrome

This proud fella rules the roost on the farm and in monochrome! Since I’m not a big fan of spending lots of time on coloring (I really have to be in the mood, which is rare), monochrome is one of my go to favorites! Plus, just in case you are new to the term monochrome, here is a definition by Webopedia that I like:

Monochrome means one color. Typically one color is presented in different values and intensities — or different shades of the single color.

It’s amazing to me how one color presented in different shades can create images that speak volumes! In this instance, I used several different techniques on this card to obtain those various shades of the same color. Plus, I took the liberty of stretching the rule of monochrome a bit and used black for the sentiment to help it pop. Here they are in no particular order:

  • Sponging
  • Spattering
  • Watercolor

To demonstrate this card, I did a Facebook Live video! I also demonstrated two other cards with the Home to Roost stamp set during this video. Please like and follow my Facebook page to be notified when I go live (and to watch the video) – CLICK HERE

Since the rooster and the horse are both farm animals, pairing the rooster (Home to Roost) with the horse (Let it Ride) just made sense. It’s a great pairing! To see another great stamp set pairing idea – CLICK HERE

Get These Supplies To Create This Monochrome Card:

But wait! Before you shop – you need to know about Sale-a-bration! (Home to Roost is a limited-time FREE Sale-a-bration item!) Sale-a-bration is Stampin’ Up!’s premier annual sale! Given that, with every $50 you spend you will earn a FREE Sale-a-bration item of your choice! To learn more about Sale-a-bration – CLICK HERE.

Happy Shopping @inkheaven
Thank you for shopping with me @inkheaven

Specials and Offers – CLICK HERE

To learn more about the 2019 Occasions Catalog – CLICK HERE

To learn more about Sale-a-bration – CLICK HERE

If you enjoyed this monochrome project and the techniques you might also enjoy this post about using layers and texture to create interest on your handmade cards – CLICK HERE

Thank you for stopping by to visit. If you have any questions, or need any help creating this card, please ask! I love helping you create stamping happiness for yourself and loved ones!

Darla Olson at inkheaven wishing you stamping happiness always

Spread the love

How To Use Layers And Texture To Add Interest To Your Handmade Cards

How to add layers and texture to an otherwise simple card created with Home to Roost by Darla Olson @inkheaven

Adding Layers And Texture

I’m not a huge fan of coloring. (Gasp! I know, many of you enjoy a good coloring session). Consequently, I look for other ways to add interest to my cards. Two things that I like to use are layers and textures.

Layers and texture can be added in several different ways (please note this is not necessarily a complete list) :

  • Masking
  • Background stamps or images
  • Cardstock
  • Accessories

Each of these can be used separately or combined together depending on the look you are trying to create. In this instance, I really did not want to color the rooster. I was tired of coloring him! Plus, there is a card sample on page 36 in our Occasions Catalog that uses the white flax ribbon like a card layer. (To learn more about the Occasions Catalog – CLICK HERE

Of course, when I saw that and said, “Shut the front door! I have to play with that idea!” However, since I was going for a rustic look with the Home to Roost stamp set, I chose to use the burlap ribbon for my layer. I also wanted to play with the new Crackle Paint background stamp, so I decided to combine several things to make up for my lack of coloring!

Adding Interest Layer by Layer

To keep things simple I chose a simple color combo of Early Espresso, Very Vanilla, and a very small pop of Cherry Cobbler. After establishing my color combo I took these steps to create my layers:

  • Stamped the Crackle Paint background in Early Espresso ink on a Very Vanilla to layer on an Early Espresso card base.
  • Created a focal point with the rooster and sentiment in Early Espresso ink on a rectangle shape of Very Vanilla card stock. (I used the Rectangle Stitched Framelits to create the rectangle, but that is optional.)
  • I then layered the focal point on another rectangle created with Early Espresso card stock. (Again, using the optional Rectangle Stitched Framelits.)
  • After this, I added the strips of burlap ribbon to the back of the focal point. Each strip was about 5 inches long so I trimmed them after adding them.
  • The focal point was then added to the card base with Stampin’ Dimensionals to give it a little lift off the card.

The card looked pretty good at this point. However, as I was looking at it trying to decided if I wanted to do a little watercolor wash at the bottom, I happened to look at my burlap ribbon trimmings. It was at this moment that inspiration to use the burlap trimmings as straw struck me. I snipped them up a little more and threw them on with a little glue. The added texture made an immediate difference to the card! Not to mention, I barely had to color at all to create this amazing card! I kind of feel like I won the lottery! Okay, that might be a slight exaggeration on my part. But you can help me out there by purchasing the supplies you need from me!

Get These Supplies To Create This Card:

But wait! Before you shop – you need to know about Sale-a-bration! (Home to Roost is a limited-time FREE Sale-a-bration item!) Sale-a-bration is Stampin’ Up!’s premier annual sale! Given that, with every $50 you spend you will earn a FREE Sale-a-bration item of your choice! To learn more about Sale-a-bration – CLICK HERE.

Happy Shopping @inkheaven
Thank you for shopping with me @inkheaven

Specials and Offers – CLICK HERE

To learn more about the 2019 Occasions Catalog – CLICK HERE

To learn more about Sale-a-bration – CLICK HERE

I did demonstrate this card during a Facebook Live and many times I download and share them here. However, I demonstrated several cards with Home to Roost during this Facebook Live and I keep getting a network error when I try to down load it. To not miss any of my Facebook Live classes, please follow me on Facebook! CLICK HERE

To get a schedule of my Facebook Live events (and more) delivered directly to your inbox, be sure to get on my email list!

If you enjoyed this project and technique you might also enjoy using this masking technique to create interest and layers on your handmade cards – CLICK HERE

Thank you for stopping by to visit. If you have any questions, or need any help creating this card, please ask! I love helping you create stamping happiness for yourself and loved ones!

Darla Olson at inkheaven wishing you stamping happiness always

Spread the love

This Wow Wedding Card Is A Piece Of Cake To Create

This wow wedding card is a piece of cake to create! by Darla Olson @inkheaven

This Wow Wedding Card is a Piece of Cake to Create!

Wedding cards can be a challenge. After all, what is more gorgeous than a wedding? We all want to give a card that is worthy of such a grand occasion. This wow wedding card is not only worthy, it is a piece of cake to create!

What makes this wedding card so easy? Here is the short list:

  • The silver foil-edged cards and envelopes give you a quick and elegant card base to work with plus a matching envelope.
  • The Country Floral embossing folder provides a quick, easy, and gorgeous background plus, it is FREE with a $50 order!
  • Minimal stamping and a coordinating punch which saves time (and money when you bundle & save 10%)
  • An easy spattering technique with Wink of Stella to add sparkle and shine!

Here’s a video clip from my Facebook Live

Get the supplies you need to create this card:

Please note: This Piece of Cake Bundle has been so popular that you won’t be able to order it until around March 18th! Please check back then!

But wait! Before you shop – you need to know about Sale-a-bration! Sale-a-bration is Stampin’ Up!’s premier annual sale! Given that, with every $50 you spend you will earn a FREE Sale-a-bration item of your choice! To learn more about Sale-a-bration – CLICK HERE.

Happy Shopping @inkheaven
Thank you for shopping with me @inkheaven

Specials and Offers – CLICK HERE

To learn more about the 2019 Occasions Catalog – CLICK HERE

To learn more about Sale-a-bration – CLICK HERE

Thank you for stopping by to visit. If you have any questions, or need any help creating this card, please ask! I love helping you create stamping happiness for yourself and loved ones!

If you enjoyed this project and technique you might also enjoy this project and technique – CLICK HERE

Darla Olson at inkheaven wishing you stamping happiness always

Spread the love

Happy Valentine’s Day! You Make Me Happy Masking Technique Card

Happy Valentine's Day from Darla @inkheaven! You make me happy card with masking technique!

Happy Valentine’s Day From Me To You!

I shared this fun Valentine’s Day card earlier during my Online Sale-a-bration launch on Facebook. Furthermore, I have already shared a few of those fun projects with you here on my blog. I also meant to share this one with you a bit sooner. However, I have been dealing with some structural, physical issues that make it difficult to do too many hours of computer work. Consequently, this post is a little later than I would have liked! In addition, if you missed my online launch, you can request to join the group to see all the projects, get the tutorials, and watch the videos. (Please note, there is no charge to be in this group!) CLICK HERE TO JOIN

This is a fun card that can be used for Valentine’s Day, or anytime, to acknowledge those in your life that make you happy. It looks complicated. However, it’s created using a simple masking technique that packs a lot of punch!

Additionally – I have some happy news about the free, So Hoppy Together, Sale-a-bration stamp set that I used to create this card! (To learn more about Sale-a-bration – CLICK HERE) Beginning March 1st, Stampin’ Up! will be offering Sale-a-bration Coordination products for a limited time! One of them will be framelits for this this adorable stamp set! The framelits will be available from March 1st through March 31st OR while supplies last! Be sure to check my specials and offers page on March 1st for all of the juicy details!

The Masking Technique

Masking with shapes to highlight an image is one of my favorite techniques. This is probably due to so many shapes nowadays that can be created with dies and punches which means no fussy cutting!

Here is what you will need to duplicate this technique:

  • Heart shaped die or punch
  • Foam brayer
  • Image stamp to highlight
  • Ink pads
  • Card stock
  • Window Sheet (optional)
  • Washi Tape or temporary adhesive

Follow these steps:

  • Die cut or punch your heart shape from Window Sheet (You can also use paper or card stock. I like to use a window sheet and save it for future use.)
  • Attach the shape to your card with washi tape rolled up underneath (or with temporay adhesive)
  • Ink up your foam brayer and roll over your card randomly until you like how it looks.
  • Carefully remove your Window Sheet shape (it will be covered in ink!)
  • Stamp the image you want to highlight in the center of the image you created with mask.

Create your own Valentine’s Day You Make Me Happy Masking Technique card with this tutorial and shopping list:

But wait! Before you shop – you need to know about Sale-a-bration! Sale-a-bration is Stampin’ Up!’s premier annual sale! Given that, with every $50 you spend you will earn a FREE Sale-a-bration item of your choice! To learn more about Sale-a-bration – CLICK HERE.

For the tutorial with photo, measurements, shopping list, and directions – CLICK HERE 

Please remember, shopping with me allows me to continue sharing these fabulous techniques, ideas, and tutorials!

Happy Shopping @inkheaven
Thank you for shopping with me @inkheaven

Specials and Offers – CLICK HERE

To learn more about the 2019 Occasions Catalog – CLICK HERE

To learn more about Sale-a-bration – CLICK HERE

Thank you for stopping by to visit. If you have any questions, or need any help with this masking technique, please ask! I love helping you create stamping happiness for yourself and loved ones!

If you enjoyed this project and technique you might also enjoy this project and technique – CLICK HERE

Darla Olson at inkheaven wishing you stamping happiness always

Spread the love

You Have To Kiss A Lot Of Frogs Before You Find Your Prince

You have to kiss a lot of frogs before you find your prince by Darla Olson @ inkheaven

You have to kiss a lot of frogs…

Before you find your prince! This cute card is so easy, a ton of fun, and includes free stamps! Plus, you really don’t have to kiss a frog – how much better can it get? For starters, I have a free tutorial for you – and a Facebook Live how-to video replay for you! Not to mention, I have a great tool to go with my tutorials so you know exactly which size dies to use when using the Be Mine Framelits and the Rectangle Stitched Framelit Dies! To get my Inkheaven Lowndown on these dies – CLICK HERE

In addition to this prince of a deal, I have some happy news regarding this adorable little frog and the, “So Hoppy Together stamp set!” This fun, free Sale-a-bration stamp set has some framelit dies that will be available to purchase for a limited time – March 1st – March 31. I will be updating my specials page with all the information, so be sure to check back! To find your prince…um, I means learn more about Sale-a-bration and how to earn this cute set for free – CLICK HERE

Create your own frog prince card with this tutorial and shopping list:

But wait! Before you shop – you need to know about Sale-a-bration! Sale-a-bration is Stampin’ Up!’s premier annual sale! Given that, with every $50 you spend you will earn a FREE Sale-a-bration item of your choice! To learn more about Sale-a-bration – CLICK HERE.

For the tutorial with photo, measurements, shopping list, and directions – CLICK HERE 

Happy Shopping @inkheaven
Thank you for shopping with me @inkheaven

Specials and Offers – CLICK HERE

To learn more about the 2019 Occasions Catalog – CLICK HERE

To learn more about Sale-a-bration – CLICK HERE

Watch Video For More Detailed Instructions

Thank you for stopping by to visit. If you have any questions, or need any help creating this fun, frog prince, I just adore you, Valentine, please ask! I love helping you create stamping happiness for yourself and loved ones!

If you enjoyed this project and you have found your prince, you might like to create this simple Valentine project to keep him from turning back into a frog – CLICK HERE

Darla Olson at inkheaven wishing you stamping happiness always
Spread the love

Celebrate The Year Of The Pig – Happy Chinese New Year!

Celebrate the Year of Pig with this cute Happy New Year card! by Darla Olson @ inkheaven

2019 is the Year of the Pig!

I am a big fan of acupuncture. Plus, I work at an acupuncture clinic! As a result, we will be having a little party at the clinic to celebrate the Chinese New Year. This year (2019) is the Year of the Pig. Preparations for the Chinese New Year started today as it is New Year’s Eve! If you would like to learn more about the Chinese New Year and the Year of the Pig – CLICK HERE

Since I have this fun little stamp set, “This Little Piggy”, I thought it would be fun to create some cards for the New Year celebration! I love how they turned out! I also used a retired set called, “Timeless Tidings”, for the new year sentiment. In addition, I had to do a bit of “elimination” masking to both the new year sentiment, and the sentiment on the pig image. However, any similar new year sentiment will do.

To dress the card up a little, I used the new Rectangle Stitched Framlits and embossed the Cherry Cobbler card stock with the Subtles folder. However, both of these are optional. The card would still be cute without them!

I used our Stampin’ Blends to color the image. To learn more about the Stampin’ Blends – CLICK HERE.


Create your own Year of the Pig, Chinese New Year Card with this shopping list:

But wait! Before you shop – you need to know about Sale-a-bration! Sale-a-bration is Stampin’ Up!’s premier annual sale! Given that, with every $50 you spend you will earn a FREE Sale-a-bration item of your choice! To learn more about Sale-a-bration – CLICK HERE.

Happy Shopping @inkheaven
Thank you for shopping with me @inkheaven

Specials and Offers – CLICK HERE

To learn more about the 2019 Occasions Catalog – CLICK HERE

To learn more about Sale-a-bration – CLICK HERE

Thank you for stopping by to visit. If you have any questions, or need any help creating this Year of the Pig, Happy Chinese New Year card, please ask! I love helping you create stamping happiness for yourself and loved ones!

If you enjoyed this project – you might like this pretty project using the stampin’ blends – CLICK HERE

Darla Olson at inkheaven wishing you stamping happiness always
Spread the love

Light My Fire With Chocolate, Valentine! Matchbook Cover

Light my fire with chocolate, Valentine! Create this fun matchbook to hold a ghirardelli chocolate for all your Valentine's by Darla Olson @inkheaven

Light My Fire With Chocolate! Create This Fun Matchbook Cover Gift!

This fun matchbook is nothing new. I have made all kinds of these in various sizes in the past! Since it’s time to prepare for Valentine’s Day, I think it is time to update this little gem with some new stuff! Speaking of new stuff, the Rectangle Stitched Framelit Dies inspired the update to this creation. In particular, the one that perfectly holds the, “Happy Valentine’s Day”, sentiment. Given that it was a great size for the “flint” on a matchbook cover, I just had to give it a go!

In addition to a free tutorial for you that includes a photo, measurements, instructions, and a supply list, I also have a Facebook Live how-to video to share with you below! Since it is a Valentine, and I do love chocolate, I had a little fun naming my project! What better name for a matchbook than, “Light My Fire With Chocolate, Valentine!”?

Inside of the Matchbook Cover Valentine

Here is the inside of the, Light My Fire With Chocolate, Valentine matchbook cover by Darla Olson @ inkheaven.

Create your own matchbook cover with this tutorial and shopping list:

But wait! Before you shop – you need to know about Sale-a-bration! Sale-a-bration is Stampin’ Up!’s premier annual sale! Given that, with every $50 you spend you will earn a FREE Sale-a-bration item of your choice! To learn more about Sale-a-bration – CLICK HERE.

For the tutorial with photo, measurements, shopping list, and directions – CLICK HERE
K

Happy Shopping @inkheaven
Thank you for shopping with me @inkheaven

Specials and Offers – CLICK HERE

To learn more about the 2019 Occasions Catalog – CLICK HERE

To learn more about Sale-a-bration – CLICK HERE

Watch Video For More Detailed Instructions

Thank you for stopping by to visit. If you have any questions, or need any help creating this Light My Fire With Chocolate, Valentine! Matchbook cover, please ask! I love helping you create stamping happiness for yourself and loved ones!

If you enjoyed this project – you might like this simple Valentine project & card – CLICK HERE

Darla Olson at inkheaven wishing you stamping happiness always
Spread the love

Create This Easy Handmade Floral Heart Valentine For Your Sweetheart

Create this easy floral heart Valentine for your sweetheart by Darla Olson @ inkheaven

Create this easy, floral heart Valentine for your sweetheart

You can create this easy, floral heart Valentine for your sweetheart in less than a half hour! In addition, the layout is simple enough that you can easily make substitutions. Here is what you will need:

  • Heart-shaped die or pattern
  • Floral background paper
  • Coordinating card stock
  • Valentine sentiment stamp
  • Coordinating ink

In my floral heart Valentine card, I used the colors in the background paper to choose my card stock colors. If you struggle with color coordination, keep in mind that Stampin’ Up! does the color coordination for you. As a result, it is very easy to create a well-designed card.

Create your own floral heart Valentine with this tutorial and shopping list:

But wait! Before you shop – you need to know about Sale-a-bration! Sale-a-bration is Stampin’ Up!’s premier annual sale! Given that, with every $50 you spend you will earn a FREE Sale-a-bration item of your choice! To learn more about Sale-a-bration – CLICK HERE.

For the tutorial with photo, measurements, shopping list, and directions – CLICK HERE

Happy Shopping @inkheaven
Thank you for shopping with me @inkheaven

Specials and Offers – CLICK HERE

To learn more about the 2019 Occasions Catalog – CLICK HERE

To learn more about Sale-a-bration – CLICK HERE

Thank you for stopping by to visit. If you have any questions, or need any help creating this floral heart Valentine, please ask! I love helping you create stamping happiness for yourself and loved ones!

If you enjoyed this card – you might like this simple Valentine project & card – CLICK HERE

Darla Olson at inkheaven wishing you stamping happiness always

Spread the love